Select Page
Succeed at Your End of Lease Cleaning

Succeed at Your End of Lease Cleaning

Moving out of a rental home can be a stressful experience. As a result because you have to worry about packing, transporting and unpacking your belongings. But you also have to make sure that the rental property is left in a clean and presentable condition.

It is an arduous process, and it can also be a successful end-of-lease cleaning. After acquiring the right knowledge, our end-of-lease cleaning guide, and cleaning service like My Cleaning Angel, you can make the end-of-lease cleaning process go much smoother.

We also have some expert cleaning tips before lease is ending that will help you get your full bond back. Here, you will learn what is expected of a thorough end-of-lease clean. Also what cleaning products to use, and the common mistakes to avoid. From properly cleaning the kitchen to dealing with stubborn stains. This guide will have you ready to tackle any end-of-lease cleaning challenge.

What Is Expected Of An End-of-lease Clean?

The owner or realtor conducts a final inspection of the property at the end of the lease. After all, the purpose of the final inspection is to determine whether the property was kept in a clean and proper condition throughout the duration of the lease. Therefore, the final inspection is also commonly referred to as the ‘bond inspection’. It also determines whether it was a successful end-of-lease cleaning or not. It’s better to hire a move out cleaning to make sure the job is perfect.

The owner or realtor will look for general wear and tear during the final inspection. Depending on the terms of the lease and the cleaning checklist that was signed at the beginning of the lease, the owner or realtor might ask the tenants to do a thorough end-of-lease cleaning and deodorizing.


book cleaning service online

What Cleaning Products And Materials Should Be Used?

The terms of the lease will determine what cleaning products and materials you can and cannot use to clean the property. Whatever cleaning products you use, make sure that they are safe to use on all types of surfaces and do not leave a toxic residue behind. The following cleaning products, materials, and tools should be used to thoroughly clean your rental property, take care of any wear and tear and leave behind a fresh scent.

  • General cleaning supplies and tools:

Cleaning rags, sponges, mops, buckets, mild detergent, disinfectant, toilet bowl cleaner, bleach, trash bags, etc.

  • Surface cleaning supplies and tools:

All-purpose cleaners, sponges, microfiber cloths, dusting cloths, rubber gloves, etc.

  • Stove cleaning supplies and tools:

Sponge, cooking oil, steel wool, cleaning agent, etc.

  • Oven cleaning supplies and tools:

Sponge, cleaning agent, etc.

  • Couch cleaning supplies and tools:

Vacuum cleaner, steam cleaner, cleaning agent, brush, etc.

  • Bedrooms cleaning supplies and tools:

Vacuum cleaner, steam cleaner, cleaning agent, brush, etc.

  • Other cleaning supplies and tools:

Scrubber, scrub sponges, etc.


end of lease cleaning

Common Mistakes to Avoid

Below are some of the most common mistakes that tenants make while cleaning the rental property. Avoid these at all costs when cleaning your rental property and you will ensure that you have a successful end-of-lease cleaning.

Not Reading the Cleaning Checklist

The cleaning checklist handed out at the beginning of the lease is an extremely important document for tenants. Make sure that you read it thoroughly and follow all instructions carefully. Remember that the cleaning checklist is there for a reason.

Not Taking Care of General Wear and Tear

Repairing everything would not only be an unnecessary waste of time but also very costly. Therefore, instead of repairing everything, make sure that you are cleaning everything.

Using the Wrong Cleaning Products

Make sure that you use only the recommended cleaning products for the surfaces of the rental property. This will ensure that you do not damage the property and that the cleaning is done thoroughly and effectively.

Not Deodorizing the Property

Apart from cleaning the property and repairing any wear and tear, you should also make sure that you deodorize the property. This way, you will ensure that the rental property smells fresh and clean.

cleaning at the end of your lease

Prepare for a Move-out Cleaning

Here are some steps you can take to plan and prepare for move-out cleaning:

1. Review your lease agreement or rental contract:

Make sure you are aware of any specific requirements for cleaning the property before you move out.

2. Set aside enough time:

Allow yourself enough time to thoroughly clean the property, including all surfaces, appliances, and floors.

3. Gather the necessary supplies:

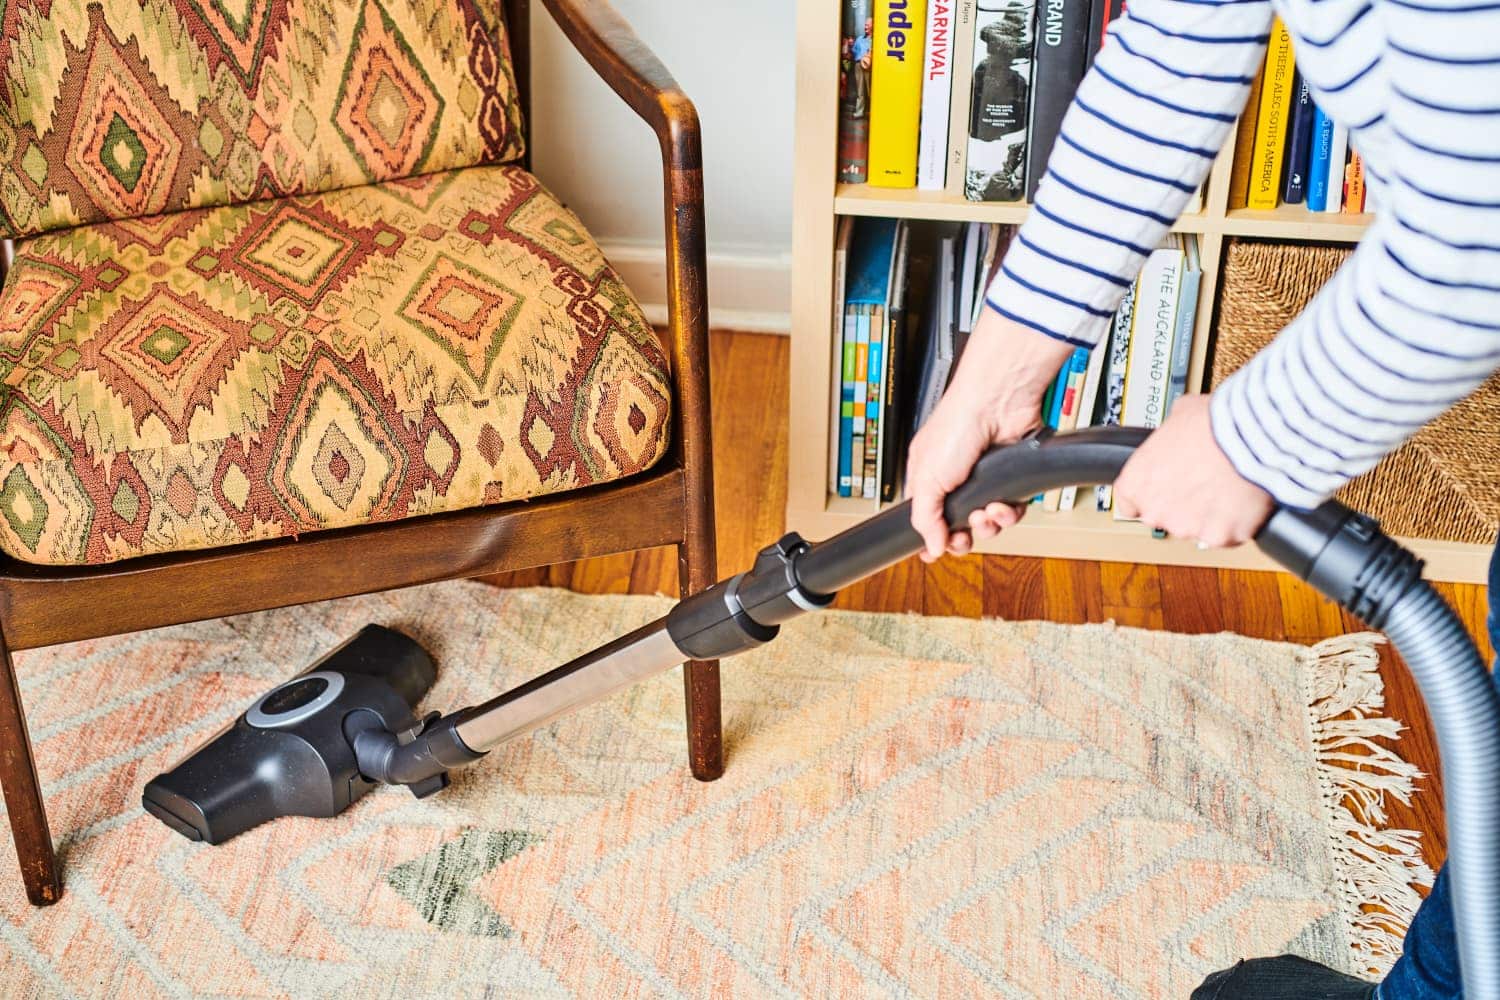
Make sure you have all the cleaning supplies you need, including a vacuum cleaner, mop, bucket, cleaning solution, and sponges

4. Make a list of tasks:

Create a list of all the tasks that need to be completed during the move-out cleaning process, including dusting, wiping down surfaces, and washing windows.

5. Consider hiring a professional cleaning company:

If you don’t have the time or resources to do the cleaning yourself, consider hiring a professional cleaning company to handle the job.

6. Coordinate with your landlord or property manager:

Make sure to communicate with your landlord or property manager about your plans for move-out cleaning and get their approval before you start the process.

7. Leave the property in good condition:

Remember to leave the property in the same condition as when you moved in, with all appliances and fixtures clean and in good working order.

cleaning at the end of the contract

Tips on How to Get the Most Out of Your End-of-lease Clean

Follow these tips to ensure that the end-of-lease cleaning goes as smoothly as possible and that you get the most out of your cleaning service.

Start Early

The earlier you start planning and preparing your end-of-lease cleaning, the smoother the process will go. Make sure that you have enough time to book the cleaning service, purchase cleaning supplies and do a thorough cleaning of the property.

Make a Cleaning Plan

Instead of randomly cleaning everything, create a cleaning plan. This will help you stay organized, allow you to clean more efficiently, and make sure that you do not miss anything.

Create a Cleaning Checklist

When creating your cleaning checklist, make sure that you include everything that needs to be cleaned. This way, you will know what needs to be done and you will make sure that the cleaning of the property is thorough.

Hire a Cleaning Service

Hiring a professional cleaning service to do the end-of-lease cleaning for you can be a great decision. Not only will it free up your time so that you can focus on other things, but it will also make sure that the cleaning is done properly.

cleaning at the end of the contract

Move out Cleaning Schedule

Here is an example of a move-out cleaning schedule:

1. Dust and wipe down all surfaces:

This includes counters, shelves, cabinets, and any other surfaces on the property.

2. Clean all appliances:

This includes the oven, refrigerator, microwave, and dishwasher.

3. Wash and sanitize all bathroom surfaces:

This includes the toilet, sink, and shower.

4. Sweep, vacuum, and mop all floors:

This includes all carpets, hardwood floors, and tiles.

5. Clean windows and mirrors:

Make sure to use a window cleaner and a lint-free cloth to avoid streaks.

6. Empty all trash cans and dispose of any trash left behind:

Make sure to remove all garbage from the property.

7. Check all light fixtures:

Make sure all light bulbs are working and replace any that are not.

8. Test all appliances and fixtures:

Make sure all appliances and fixtures are in good working order before you leave the property.

By following this schedule and our end-of-lease cleaning guide, you can ensure to meet the requirements of your lease agreement or rental contract. It is important to allow yourself enough time to complete all of these tasks and to make sure you have all the necessary cleaning supplies on hand.


end of lease cleaning

Cleaning Tips and Secrets from Experts

Following are some expert cleaning tips before lease is ending:

Always start from the top and work your way down. This way, any dirt and dust that falls from the ceiling as you clean will get swept up when you move to the floor.

A good vacuum and mop can go a long way in getting the job done quickly and efficiently.

Don’t forget to be prepared and organized. Set aside a specific amount of time each day to clean, and make sure you have all the necessary products and tools prepared before you start.

Clean spills as soon as they happen. This way, the spilled product won’t have time to settle and go deep into your carpet or sofa.

By taking these expert cleaning tips before lease is ending into account, you can make your cleaning routine much easier and more efficient.

My Cleaning Angel is at your Service

By following our end-of-lease cleaning guide, you can have a successful end-of-lease cleaning. We, at My Cleaning Angel, are always at your service, should you find your end-of-lease cleaning process too difficult or unmanageable. Contact us today to get a free quote!

Schedule cleaning services online has never been easier. You can get an instant quote and book a house cleaning online.

How To Remove Stains On Clothes

How To Remove Stains On Clothes

Whether it’s an adult stain from spilled coffee or a grass stain from playing outside, stains are frustrating. Big or small, stains affect the appearance of our clothes and negatively impact our confidence and self-esteem.

However, the good news is that removing stains from clothes at home is not as difficult as it may seem. Even the most stubborn stains can be taken out at home. With the right approach and suitable equipment, anyone can successfully remove stains from their clothe. And transform them back to new! Learn how to deep clean and remove stain from your clothes.

How to Remove Stains From Clothes

In this blog, we will share some of the best techniques and products on how to remove stains from clothes easily and effectively. We will also explore natural stain removers for those who prefer to use non-toxic and eco-friendly products. So, whether you’re dealing with a common stain like coffee or wine, or a more stubborn stain like grease or grass, there is a solution for everything.

Identify the Stain

Before you start treating a stain, it’s important to identify what caused it. Different types of stains require different treatments, and using the wrong treatment can make the stain worse. For example, trying to remove oil or grease stains on clothes water can actually set the stain into the fabric, making it harder or impossible to remove.

Try to remember what caused the stain or ask the person who was wearing the clothes what happened. If you can’t identify the stain, do a quick internet search or consult a stain removal chart to determine the best course of action.

Act Quickly

To remove stains from clothes at home easily, you need to act quick. As soon as you notice a stain, try to take it out as this will take less time and effort. This can prevent the stain from setting into the fabric and becoming more difficult to remove. Keep a stain remover pen or a small bottle of stain remover in your purse or bag for quick and easy stain removal on the go. If you want to avoid the dry cleaners and remove stains from clothes at home, don’t let the stained clothes sit in the laundry basket for days before washing them.

book cleaning service online

Check the Care Label

Always check the care label on your clothes. Some fabrics and colors require special care, and using the wrong cleaning method can damage or discolor your clothes. For example, silk should be dry cleaned, and certain colors may bleed if washed in hot water. If the care label says “dry clean only,” take your clothes to a professional cleaner rather than attempting to remove the stain from clothes at home yourself. If you’re not sure how to clean a particular fabric, do some research online or consult a cleaning expert.

Pretreat the Stain

Pretreating a stain involves applying a stain remover to the affected area before washing. There are many different types of stain removers available, including sprays, gels, and powders. To pretreat a stain, simply apply the stain remover directly to the stain and let it sit for a few minutes before washing.

Some stain removers work better on certain types of stains, so make sure to choose the right product for the job. For example, a grease-fighting laundry detergent may work better on a greasy stain than a general-purpose stain remover.

Use Hot Water

Hot water is often more effective than cold water when it comes to removing stains. However, not all fabrics can handle hot water, so make sure to check the care label before washing. If the care label allows for hot water, use the hottest temperature setting your washing machine offers. Hot water can help break down and dissolve stains, making them easier to remove.

stain on clothes 3

Don’t use too Much Detergent

Using too much detergent can actually make stains worse by creating a buildup on your clothes. Instead, use the recommended amount of detergent for your load size and soil level. If you want to remove oil stains from clothes, or any similar stains, you can add a little extra detergent but don’t overdo it. Excess detergent can also cause your clothes to become stiff and scratchy.

Soak the Clothes

For particularly stubborn stains, soaking your clothes before washing can be helpful. Fill a basin or sink with warm water and add a small amount of laundry detergent. Then, add your clothes and let them soak for 30 minutes to an hour before washing them. Soaking can help loosen and dissolve stains, making them easier to remove in the washing machine.

How to Remove Stains from Clothes? Try Natural Stain Removers!

There are many options to choose from for those who want a more eco-friendly approach. Here are some natural stain removers you can try:

  • Lemon juice – it can be used to get stains off of white clothing. Directly dab lemon juice onto the stain, then wait a few minutes before washing.
  • Vinegar – vinegar works wonders in removing stains from white clothing naturally. So how to remove stains on clothes with vinegar? Apply a solution made of equal parts water and vinegar on the stain and then rinse!
  • Baking Soda – you can use baking soda to get stains off colored clothing. Apply the paste you make by combining baking soda and water on the stain. 
  • Salt – you can also use salt to take some stains out like those of red wine. You can quickly sprinkle salt over a stain to absorb liquid if red wine is spilled on your shirt.

Tip: Whatever natural ingredient paste you choose, don’t forget to let it sit for a while before you wash it off.

stain on clothes 4

How to remove typical stains from Clothes?

Let’s talk about the most common types of stains and how to get rid of them.

Blood

Blood stains can be particularly tricky to remove, but soaking the item in cold water for 30 minutes to an hour can help. After soaking, wash the item with cold water. If the stain is still present, apply some hydrogen peroxide directly to the stain and let it sit for a few minutes before washing again.

Coffee

Coffee stains can be a real headache but don’t worry, there’s a simple solution! Start by blotting the stain with a clean cloth to remove as much of the coffee as possible. Then, mix together some water and vinegar and apply the mixture to the stain. Allow it to sit for a few minutes before washing the item with hot water.

Grass

If you have grass stains on your clothes, try pretreating the stain with a mixture of dish soap and water. Gently rub the solution into the stain and let it sit for a few minutes before washing the item with hot water. If the stain persists, try applying some rubbing alcohol or white vinegar directly onto the stain before washing.

Grease

Grease stains can be tough to remove, but with a little patience and elbow grease, it can be done. Start by pretreating the stain with a grease-fighting laundry detergent or a mixture of dish soap and water. Let it sit for a few minutes before washing the item with hot water. If you want to remove oil stains from clothes, or other stubborn grease stains, try using a degreaser spray or rubbing alcohol.

Red Wine

If you spill red wine on your clothes, don’t panic! First, blot the stain with a clean cloth to soak up as much of the wine as possible. Next, sprinkle some salt or baking soda onto the stain to help absorb the remaining wine. Let it sit for a few minutes before washing the item with hot water.

Sweat

Sweat stains are a common problem, but there’s an easy fix! Try pretreating the stain with a mixture of baking soda and water or white vinegar and water before washing the item with hot water. This can help remove the stain and eliminate any lingering odors.

stain on clothes 5

The Secret Lies in the Right Tools

The right tools, solutions, and equipment will make all the difference between a clean and stained result. Some of the useful tools that you should keep on hand are:

  • You can use chlorine bleach to get rid of stains on white clothing but don’t use too much or you risk ruining the fabric. For colorful clothing, oxygen bleach offers a safer alternative.
  • Laundry stain removers come in a wide variety of forms, including gels, powders, and sprays. Pick the option that best suits your needs.
  • An effective tool for removing stains while on the go is a stain removal pen. All you have to do is apply the pen directly to the stain and then wait a few minutes before washing.
  • You can remove stains from clothes at home by using a toothbrush, especially in difficult-to-reach places like collars and cuffs.
  • If you are using cloths or rags for stain removal, never use colorful towels because they can cause the dye to transfer onto your clothes.

Conclusion

You can successfully remove stains from your clothes and increase their lifespan with the correct tools, methods, and patience. However, keep in mind that if a stain is particularly difficult to remove, a professional cleaner may be your best option. Sometimes, even with the best techniques and products, a stain just won’t come out. If you’ve tried everything and the stain is still there, don’t give up hope.

Book cleaning services online has never been more easy. Get an instant quote and book it now!

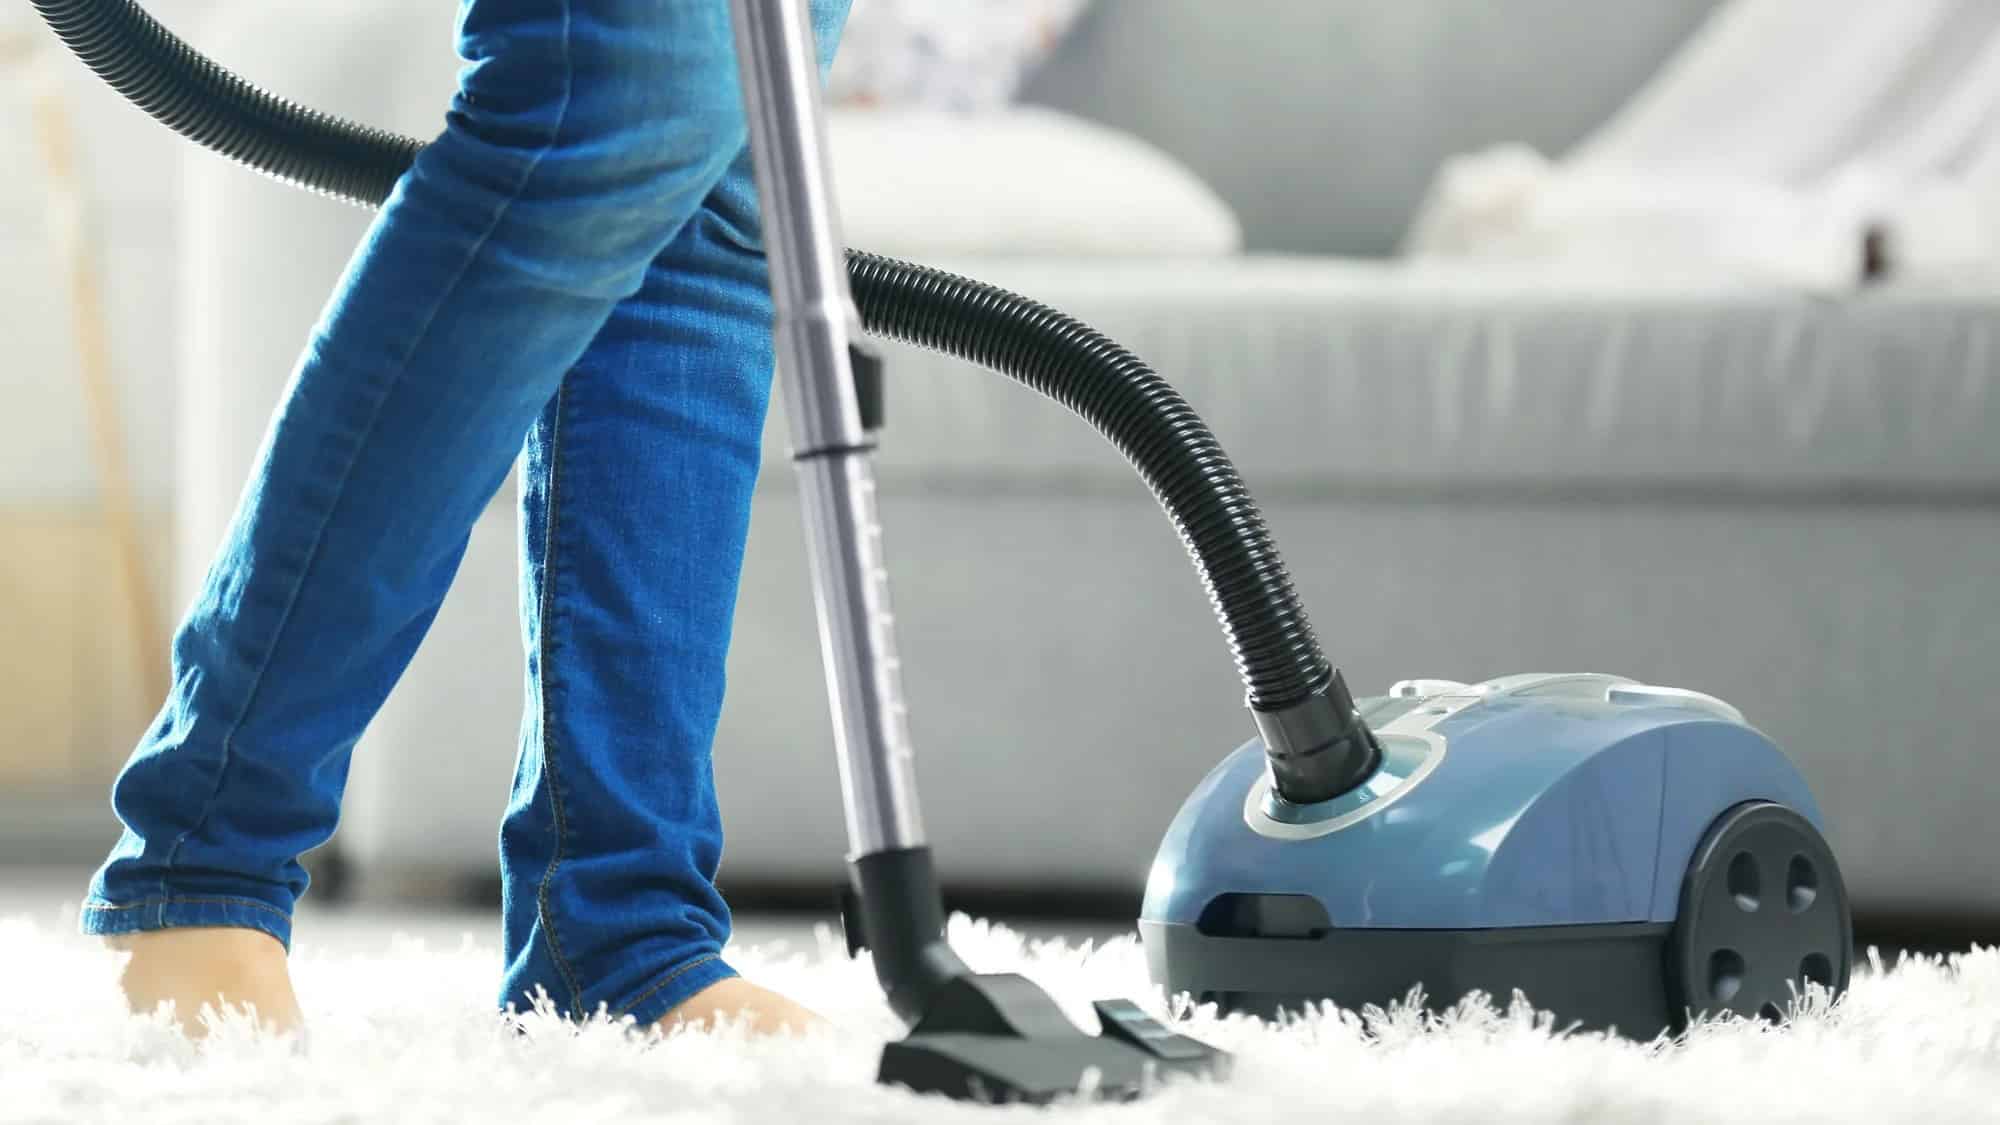
What Is Better – Vacuum Or Mopping? Find Out Now

What Is Better – Vacuum Or Mopping? Find Out Now

Keeping your home clean can be a difficult task, especially if you don’t have the right tools and equipment. Vacuums and mops are two of the most popular and widely used cleaning tools in the world, so it’s no surprise that there is always a debate about vacuum or mopping; which one is better.

In this article, we’ll be looking at the pros and cons of vacuuming and mopping, as well as the factors to consider when deciding between the two. With the help of this blog, you’ll be able to easily decide what is better; vacuum or mop. Either to a regular cleaning or a deep cleaning.

What is better – Vacuum or Mopping?

It’s hard to decide before knowing what is better, vacuum or mopping. Vacuums are said to be great for picking up dirt, dust, and debris from carpets, rugs, and hardwood floors. Mops, on the other hand, are great for cleaning hard surfaces such as tile, vinyl, and linoleum. Both are great tools for keeping your home clean and free from allergens, but which one is better?

Benefits of Vacuuming

Vacuums are the most popular cleaning tool for carpets, rugs, and hardwood floors. Vacuum cleaners are great for quickly and easily picking up dirt, dust, and debris from these surfaces. This makes them a great option for people with allergies. They are also great for getting deep into carpets and rugs to remove dirt and debris that is otheme.

Benefits of Mopping

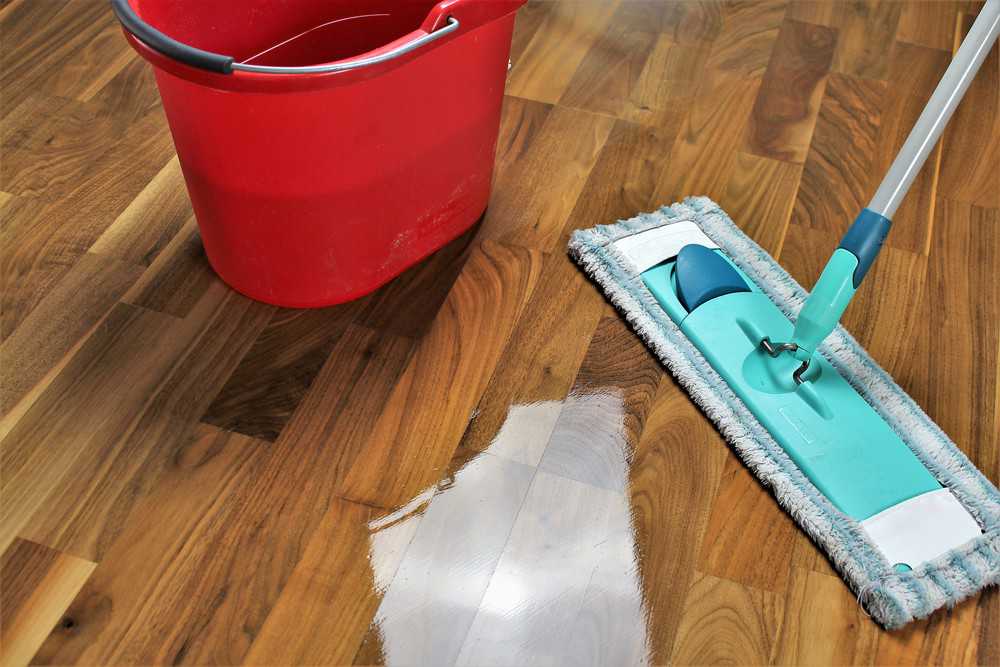
Mops are the most popular cleaning tool for hard surfaces such as tile, vinyl, and linoleum. Mops are great for quickly and easily removing dirt, dust, and debris from hard surfaces. They are also great for getting deep into grout lines and corners to remove dirt and debris that is otherwise difficult to reach. Mops are also great for removing allergens from hard surfaces, making them a great option for people with allergies, just like vacuum cleaners. Mops are also available in a wide variety of styles and sizes.

book cleaning service online

Pros and Cons of Vacuuming

Pros

  • Quick and easy to use
  • Great for picking up dirt, dust, and debris from carpets and rugs
  • Great for getting deep into carpets and rugs
  • Great for removing allergens from carpets and rugs
  • Comes in a variety of styles and sizes

Cons

  • Not as effective at cleaning hard surfaces
  • Can be harder to maneuver in tight spaces
  • Can be noisy

Pros and Cons of Mopping

Pros

  • Quick and easy to use
  • Great for removing dirt, dust, and debris from hard surfaces
  • Great for getting deep into grout lines and corners
  • Great for removing allergens from hard surfaces
  • Comes in a variety of styles and sizes

Cons

  • Not as effective at cleaning carpets and rugs
  • Can be harder to maneuver in tight spaces
  • Can be noisy
vacuum or mopping 2

Cleaning with Vacuum or Mop – Factors to Consider

When deciding between vacuum or mopping, there are a few factors you should consider.

The type of Flooring

The first factor to consider is the type of flooring you have. If you have carpets, rugs, and hardwood floors, then vacuuming is the best option. If you have tile, vinyl, or linoleum floors, then mopping is the best option.

How often do you clean?

The second factor to consider is how often you need to clean. If you need to clean your floors on a regular basis, then vacuuming is the best option. Vacuums are great for quickly and easily picking up dirt, dust, and debris from carpets and rugs. If you need to clean your floors less often, then mopping is the best option. Mops are great for removing dirt, dust, and debris from hard surfaces.

The Size of your Home

The third factor to consider is the size of your property. If you have a large home with lots of carpets and rugs, then vacuuming is the best option. Vacuums are great for quickly and easily cleaning large areas. If you have a small home with mostly hard surfaces, then mopping is the best option. Mops are great for quickly and easily cleaning small areas.

Tips for Vacuuming and Mopping

When it comes to vacuum or mopping, there are a few tips you should keep in mind.

Vacuuming

For vacuuming, make sure to use the appropriate attachment for the type of flooring you’re cleaning. For carpets and rugs, use a brush attachment. For hardwood floors, use a hard floor attachment. Also, make sure to vacuum in a back-and-forth motion to ensure that all dirt and debris is picked up.

Mopping

For mopping, make sure to use the appropriate cleaning solution for the type of flooring you’re cleaning. For tile and vinyl floors, use a mild detergent and warm water. For linoleum floors, use mild detergent and cool water. Also, make sure to mop in a back-and-forth motion to ensure that all dirt and debris is removed.

Cleaning schedule 3

How to Properly Vacuum?

Your vacuum must have strong suction and various attachments. Here are some tips on how to properly use a vacuum to clean your home.

Vacuuming the Floors

Cleaning your floors will help prevent dust mites and dander from settling. If you vacuum regularly, you may also notice an increase in the lifespan of your flooring. Vacuuming your floors will also remove pet hair and dirt. However, it is best to brush your pet at least once a week to avoid fur in your home. You can also use canned air to get rid of any debris that is tough to clean.

Furniture and Carpets

It’s also important to vacuum your furniture. You can also use a vacuum crevice tool to clean the edges of heavy furniture and your stairs. You can also use essential oils to freshen the air while you vacuum. When vacuuming your carpet, it’s important to use overlapping strips. This helps to loosen the fibers of the rug and makes it easier to flip over when you’re finished.

Vacuuming Schedule

You’ll need to set up a regular vacuuming schedule. Some people vacuum once a month while others do it every night. Having a regular schedule will make the chore less time-consuming and easier. When you’re vacuuming, it’s important to move slowly. You don’t want to accidentally push the dust off the floor or wiggle your vacuum. To make it easier, you can place a mat on your entry points.

How to Mop Your House Properly?

To get a good clean with a mop, you will need to use a floor cleaning solution that is safe for your floors. Make sure to follow the instructions on the bottle.

  • You should start by removing all furniture and light items from the room. Then, mop the backside of the room. This will help you avoid stepping on wet areas.
  • You should not only wipe the dirt off, but you should also vacuum the surface. This helps to capture the dust and dirt that would normally be picked up during sweeping.
  • When you are finished with the mopping process, you should let your floor air dry. You can also use a squeegee to dry the floor more quickly.

You may need to repeat this process several times to clean your floors thoroughly. If the area is not completely dry, you can spray some window cleaner on the surface. This will help remove streaks on ceramic tile and laminate flooring.

vacuum or mopping 5

Which Type of Mop to Use for Different Floors?

Choosing the right mop is an important part of your cleaning routine. Your choice will depend on the type of floor you have and the types of mess you encounter.

Types of Mops

The most common types of mops are sponge mops, string mops, and flat mops. Each of these mops has its advantages and disadvantages. While they are all great for cleaning floors, you need to choose the one that works for your specific floor.

1. Sponge Mops

A sponge mop has a spongy head that is incredibly absorbent. The spongy head can also be removed to make rinsing easier. These mops can be used on tile, hardwood, and other hard floors. You should replace the sponge if the mop head breaks or begins to smell.

2. Cotton String Mops

A traditional cotton string mop is effective for light messes. However, they are not so good for removing dirt from hard floors. They can also be difficult to wash.

3. Easy-to-clean Mops

Some top-rated mops have replaced their traditional pads with disposable microfiber pads. These pads are great for wet and dry messes. They are also easy to clean between uses.

4, Mops with Built-in Wringers

A mop with a built-in wringer is ideal for hardwood floors. The wringer also makes sweeping easier.

Conclusion – What is Better, Vacuums or Mops?

At the end of the day, when it comes to cleaning with a vacuum or a mop, the decision comes down to personal preference and the type of flooring you have. 

In the debate of vacuum or mopping, both are great tools for keeping your home clean, as long as you use the right method. If you still can’t decide between a vacuum or a mop, or if you have used both but were not satisfied with the results; give us a call. At My Cleaning Angel, our team gets the job done, whether it is using a vacuum or a mop.

How To Clean The Bedroom

How To Clean The Bedroom

Cleaning your bedroom can be a therapeutic and rewarding task, leaving you feeling refreshed and rejuvenated in your personal space. If you don’t know how to clean the bedroom or where to start, let us help you.

We have created a detailed guide filled with great bedroom cleaning tips. With a little bit of organization and some elbow grease, you’ll have a clean bedroom and inviting space in no time. Get ready to transform your bedroom into a peaceful sanctuary!

But Why Is It Important To Clean The Bedroom?

If you are wondering why a clean bedroom is so important, here are a few reasons that will push you to get started on that bedroom cleaning.

Promotes Better Health

Regular bedroom cleaning helps in the betterment of your physical and mental health. Dust, dirt, and allergens can accumulate in the bedroom and cause health issues such as respiratory problems like asthma. Cleaning the bedroom regularly minimizes the accumulation of these harmful particles and keeps the air clean and fresh.

An important house cleaning tip is to wash and clean the bed linens, curtains, and floors regularly to reduce the risk of illness and allergies. A clean and hygienic bedroom can help you to breathe easier, sleep better, and wake up feeling refreshed.

Improves Sleep Quality

A tidy bedroom can create a tranquil environment that can improve the quality of sleep. Having a clean and uncluttered bedroom can reduce distractions and fosters a peaceful state of mind that can lead to better sleep quality. A cluttered and disorganized bedroom can create stress and anxiety, making it hard to relax. Sleeping in a clean bedroom can help you to wake up feeling rejuvenated.

book cleaning service online

Enhances Mental Well-Being

It is basic human nature that we feel stressed and overwhelmed in cluttered and messy spaces that lead to anxiety and depression. A neat and tidy bedroom can instill a sense of calm, which can help to reduce stress levels and improve mental health. A tidy bedroom can help to create a positive and productive mindset, which can enhance mood and promote feelings of happiness and contentment.

Increases Productivity

An organized bedroom can also increase productivity. A cluttered and disorganized space can make it difficult to focus and concentrate, leading to procrastination and decreased productivity. A tidy bedroom can help to create a clear and focused mindset that can enhance productivity.

By eliminating distractions and reducing clutter, you can create a space that promotes focus and concentration, which can help you to accomplish more in less time. A clean bedroom can also help you to feel motivated and energized, leading to increased productivity and success.

clean bedroom

How to Clean the Bedroom

Your bedroom should be a place of relaxation, a sanctuary where you can unwind and recharge after a long day. But when your space is cluttered and dirty, it can be hard to feel calm and comfortable. That’s why it’s important to know how to clean your bedroom effectively. Let’s turn your messy bedroom into a clean and serene space.

Start with the Bed

The bed is one of the most important items in the bedroom, as it’s where you spend a significant amount of time. Begin by removing all the bedding, including sheets, pillowcases, and comforters. Place the bedding in the washing machine and use hot water to kill any bacteria or allergens. While the bedding is washing, take a vacuum cleaner and use the upholstery tool attachment to clean the mattress and box spring.

Pay special attention to crevices and corners where dust and dirt can accumulate, as these areas are often neglected. If there are any stains on the mattress, you can use a mixture of hydrogen peroxide, dish soap, and baking soda to spot-clean them. Allow the mattress to air dry before remaking the bed with fresh linens.

Declutter

Clutter can quickly accumulate in the bedroom, making it feel cramped and uninviting. Start by picking up any items that do not belong in the bedroom, such as dishes or trash. Then, go through your dresser, nightstand, and other storage areas, and remove any items that you no longer need or use. Consider donating or discarding items that are still in good condition but are no longer necessary.

Once you’re done, arrange and sort the remaining items by category. For example, place clothing in the closet, accessories in a drawer, and books on a shelf. Consider using storage containers, hangers, and other organizers to keep everything tidy and easily accessible.

clean bedroom

Dust and Clean Surfaces

Dust accumulates quickly in every corner of the house and the bedroom is no exception. Therefore it is essential to dust and clean surfaces regularly. Start by using a microfiber cloth or dusting tool to remove dust from surfaces like dressers, nightstands, and shelves. Don’t forget to pay attention to hard-to-reach areas such as corners, edges, and lampshades.

Once all surfaces are dust-free, use a damp cloth to wipe them down and remove any remaining dirt or grime. This step can help eliminate allergens that can accumulate in the room, especially if you or anyone in your household has allergies. Don’t forget to clean any mirrors or windows in the room as well, using a glass cleaner and a microfiber cloth.

Vacuum and Clean Floors

The bedroom floor can be a hotbed for dust and dirt, more so if you have carpeting or area rugs. Begin by vacuuming the floor, starting at one corner of the room and working your way toward the other. If you have hardwood or tile floors, use a broom or dust mop to remove any loose dirt and debris before using a damp mop to clean and sanitize the floors.

This step can help eliminate any bacteria or germs that may be lingering on the surface. Don’t forget to vacuum or sweep under the bed and any other furniture in the room, as these areas are often neglected.

Freshen the Air

You can also use a scented candle, essential oil diffuser, or room spray to add a pleasant aroma to the space. Consider using scents that aid in relaxation such as lavender or vanilla, to create a calm and soothing environment.

cleaning service company 3

Quick Tips for a Daily Clean

  1. Make the bed as soon as you wake up in the morning to create a tidier space instantly.
  2. Keep a laundry hamper in the room to avoid clothes piling up on the floor.
  3. Wipe down surfaces like dressers and nightstands with a damp cloth to remove any dust or dirt.
  4. Use a handheld vacuum or dustpan and brush to quickly pick up any debris on the floor.
  5. Take a few minutes to put away any items that are out of place, such as books or clothing.
  6. Open the windows to let in fresh air and reduce odors.
  7. Avoid eating in the bedroom to prevent crumbs and spills.
  8. Use a freshener spray or essential oil diffuser to add a pleasant scent to the space.
  9. Do a quick scan of the room before going to bed every night to ensure everything is in its place.
  10. Encourage other household members to follow these tips to maintain an organized and clean bedroom daily.
clean the bedroom 4

Conclusion

Congratulations! You’ve learned some valuable tips and tricks to organize your bedroom. By implementing these techniques and developing daily cleaning habits, you can easily maintain a peaceful and tidy space that encourages restful sleep and relaxation, ultimately contributing to feelings of happiness!

Cleaning your bedroom may seem like a daunting task, but don’t let that overwhelm you. With the right mindset and approach, it can become an enjoyable and even therapeutic experience, even if you don’t much fancy the ‘cleaning’ chore. So take it step by step and make it a routine.

Don’t let a cluttered and dirty bedroom stress you out. Use these tips and tricks to transform your space into a place of peace and tranquility. A bedroom is a safe place for us, so go ahead and give it the attention it deserves.

My Cleaning Angel

It’s not necessary that everyone enjoys cleaning or is good at it. If cleaning and organizing is not your cup of tea, you can always hire help. Professional cleaning services like My Cleaning Angel exist to assist you in every cleaning need that you may have.

If cleaning is not a form of therapy for you, don’t stress out. Get an instant quote and book cleaning services online now, it’s fast and easy. Or ive us a call and our team of highly trained and qualified professionals will take care of everything; leaving you satisfied and your home sparkling.

How Often A Medical Office Should Be Cleaned?

How Often A Medical Office Should Be Cleaned?

Medical offices and facilities are extremely congested areas where a large number of people come and go on a daily basis. This means that these offices usually contain more germs and bacteria than most workplaces. It also makes them one of those business environments that need to be cleaned and sanitized strictly on a regular basis. Medical office cleaning is not just necessary because you need to protect the health of the employees and the patients who visit every day. But it also helps in leaving a good impression about the ethical and professional standards of your medical office.

All offices should try to be up to date with the health and safety regulations for the protection of their staff. But medical and dental offices need to comply with even stricter protocols. An inspection may come at any stage. So in order to deter severe penalties, medical and dental offices have to be very careful and regular with their hygiene and sanitation procedures.

Before beginning their medical office cleaning process, one question most people often tend to ask is how often they should clean their office. When it comes to it, there are several things to consider before deciding the right approach. Various sizes and spaces require varying cleaning methods and amounts of time. This is because an extremely high frequency of purification is essential to the medical sector. Read on and find out everything you need to know about making sure that your medical office cleaning efforts give you the best results!

Looking for professional medical office cleaning?

Let us professional cleaners take care of it. We do the hard work. 

Satisfaction guaranteed.

How Often Should You Clean Each Part of Your Medical Office?

As a professional cleaning service, we recognize the importance of cleaning and sanitizing a medical office properly and regularly. Here is our guide on how often you should be getting every part of your medical facility cleaned: 

The Waiting Room/Lobby:

To the patients, medical representatives and potential applicants who enter your medical office for the very first time, your waiting room will be your first impression. A clean and organized front room or reception will help people who visit your facility to make sure that your medical office is safe to enter. 

This is why you need to ensure that the waiting room is cleaned on a regular basis. At least once every three days. This includes cleaning the floors – which should be cleaned by washing, mopping, and even vacuuming thoroughly on a daily basis. Pay special attention to hard surfaces and those areas which are touched a lot. Such as door handles and light switches, as these need to be routinely sanitized. Furthermore, all stainless steel surfaces, glass doors and wooden tables should be cleaned every single day, as well. 

At the very least, make sure that you dust all the hung pictures. Vacuum the floor and any artificial lights or plants before turning in for the night. Thorough cleaning of your medical facility undertaken on a daily basis will make sure that your patients and workers feel comfortable. And reassured by the fact that their health is your top priority.

medical office cleaning 1

Washrooms:

Bathrooms are known to have some especially high contact areas including sinks, doorknobs, light switches, taps, etc. That can be the prime targets for bacteria, germs, and viruses to make their home. As a result, it is obvious that bathrooms should be extremely sanitized and cleaned as much as possible. 

During regular cleaning and disinfection, washrooms and toilets need to be your top priority. Extra procedures should be followed to disinfect the sinks, toilet seats, and even the restocking of hygiene supplies. In order to minimize disease transmission.

Basically, for the sake of cleanliness and general health care, bathrooms need to be washed every single day. If you hire a professional cleaning service, their cleaners will clean the sinks, floors and toilets. While ensuring that ample toilet paper is stocked in every single stall. In order to make your patients feel more comfortable, the sink counters, bathroom walls, and mirrors should also be washed down and sanitized thoroughly. 

The floor needs to be wiped and sanitized and the soap dispensers next to each sink should also be refilled. Maybe clients or patients use bathrooms regularly in your medical facility. Then they must be inspected by the medical office employees throughout the day.

Examination Rooms:

Examination rooms need to be disinfected and cleaned after every patient’s checkup concludes. This includes replacing the table runners with new ones and cleaning the table or chair used by the patient. 

Exam rooms need to be washed more thoroughly as compared to other rooms each day so that all those surfaces that are touched a lot are cleaned and disinfected. Such as examination tables and sinks, medical instruments, apparatus, fixtures, and countertops. Door handles, light switches, and computer touch screens and keyboards – particularly if your consultation room is shared with other doctors – must also be cleaned regularly. 

Due to daily interaction with sick patients, the medical devices and equipment in the examination rooms may hold all kinds of germs, bacteria, and viruses. They require frequent sanitation and disinfection so that infections are not easily spread among patients. 

It is necessary to remember that when it comes to the examination rooms in your medical office, only trained and professional cleaners can do a thorough job at complete cleaning and disinfection.

If you want to obtain a quote for specialized cleaning services for your medical facility, contact My Cleaning Angel. A professional cleaning service! They can get you down the right path to having a clean, disinfected office that your patients and staff would feel safe working in.

tidying up the medical office

Staff Desks and their Surroundings:

A professional cleaning firm will pay special attention and clean and disinfect some of the items that come in a lot of contact with your medical office employees. These include:  

  • Mouse  
  • Computer keypad  
  • Personal Computers 
  • Telephones and mobiles 

If you are cleaning your office yourself, you need to clean every day to remove bacteria and germs from these surfaces by using antiseptic wipes. 

If the top of your desk appears to be clean already, don’t be fooled. Germs and bacteria are invisible. Grab a clean dust rag and spray the desk with some furniture polish before finally wiping off the excess. Follow the same procedure for your chairs. Don’t forget to wipe the dust off of any bookshelves, books, and wall art. 

Windows:

You should clean the windowsills of your office as regularly as you can. The general rule of thumb is to clean them once a week, but be sure to check every single day so that you are certain that they are actually clean. 

Most medical offices often employ a trained window cleaning service. You can also ask the cleaning and maintenance agency you have already hired if they also deal in cleaning windows. Most of the time, they have dedicated employees just for window cleaning, who do a very fine job of cleaning them. When deciding on a window washing routine, there are a few aspects to consider:  

  • The location of your medical office: The windows may get very dirty in case the office building is right next to a highway or a busy road. As a result, you may need to clean them up more frequently. 
  • The landscape or surroundings of the office: On the off chance that your office is surrounded by a lot of mulch and trees that also drip loads of sap, your office windows may require regular maintenance to remove the dirt and dust sticking to them. 
  • Climate: You will need to wash the windows a lot more if the office is located in an area where it rains a lot. Regular cleaning, in that case, is extremely necessary so that the mineral traces left by the storm can be washed away much faster.

Usually, it is wise to get your windows cleaned in detail at least twice a year. With a regular spot cleaning scheduled on a daily basis.

medical office cleaning 3

Floors

If the floors of your medical office are carpeted, then that carpet must be vacuumed every night. To get rid of the dirt and debris that might have accumulated over the course of the day. Furthermore, the carpets and floors should be washed every week. Preferably on the last working day of the week so that they can dry over the weekend without anyone walking over them and making them dirty again. 

Dusty floors should be mopped at least once a day. And if the floor in the staff rooms is linoleum or tile, then it should be cleaned at night. If a lot of rain or snow has been brought by the staff or patients into the medical office, it is important to sweep the floors more frequently.

Once you are done with dusting the floors lightly, do some extra cleaning on the hardwood floors by using a damp mop or even a lightweight vacuum cleaner. At least twice a year, wooden floors and carpets should be properly polished and cleaned. To ensure that they are maintained and the built-up dirt and grime are removed promptly. 

Removal of Waste and Rubbish

This is probably the most overlooked yet the most important part of cleaning an office, especially a medical office. Your medical office cleaning staff should take care of removing medical waste and other rubbish at least once a day. If not multiple times. 

Make sure that the appropriate steps are taken in trash removal. And also that the right holding facility is being used to dispose of the waste. Once the waste has been collected, the waste bins should be disinfected properly. After which you should replace the liners. When you are collecting waste, you should never push it down into the waste bag. Because sharp or other hazardous materials can be found inside it, which may lead to a serious injury.

medical office cleaning 4

Why Should You Hire A Professional Cleaning Service For Your Medical Office?

Do you want to ensure the maximum safety and comfort of your staff and patients? It will be a wise decision to reach out to a professional cleaning service to take care of all your medical office cleaning needs. There are any important reasons for so, such as:

  • The cleaning and disinfection process of a medical office is a lot different from the cleaning of other offices. In order to do the job effectively, safely, and reliably, specific techniques, equipment, items, and materials are required which only an expert cleaning firm can provide.
  • As maintaining a sanitary, safe and hygienic medical environment is a legal obligation. Only cleaners with proper qualifications and specialized skills should be engaged for undertaking the cleaning of your medical facility. This is why you should really look into employing an accomplished team of cleaners who specialize in sanitizing medical centers. 
  • Patients expect and demand cleanliness from all physicians and hospital. You might end up losing patients, and even staff members, if your medical office is not cleaned properly. 

In a nutshell, it is better that you should consider hiring professional cleaners who are specially trained in sanitizing and cleaning medical offices, instead of handing your medical office cleaning to the general janitor employed in your hospital.

medical office upkeep

Hire My Cleaning Angel and schedule your cleaning right now

My Cleaning Angel offers Medical Office Cleaning, among others commercial cleanings. If you’re looking for someone to clean your medical office in Florida, you already found it. Book now online your medical office cleaning with us, we get the job done!