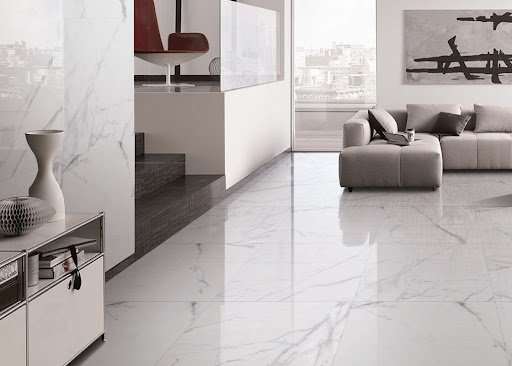
How To Clean Marble Floors?
Have you been noticing small stains on your marble floor? Is it not as shiny as it was when you installed it? Then read along, as you are about to find all your answers and learn how to clean marble floors!
As elegant as they look, you do need to clean marble floors to ensure they last a long time. Let us first find out what marble is and the type of your marble floor so that you can use the right medium to clean it.
Marble and Its Types
Marble is a limestone, which is usually processed, polished, and shaped into tiles for it to be used as flooring. The marble is either natural or cultured. As the name suggests, the natural one is directly extracted from the earth, making it a high-end product. While the cultured marble is man-made and so cheaper. Maintaining a floor and house cleaning is not a easy job. If you feel you need help, look for it.
Even though there is not much difference in the cleaning process, there are a few tests you can do to find your marble’s type.

Find Your Type
1. Acid Test
Natural marble tends to react to acidic solutions by forming bubbles. Wipe the acid as soon as you see the bubbles forming, it might damage your marble if left for a while.
2. Temperature Test
Natural marbles tend to be cooler even if the temperature around is hot as compared to the cultured marble.
3. Scratch Test
Scratch your marble floor, if you see the scratches, your marble is natural, otherwise it is man-made.
Don’t worry, we have got your marble floor covered either way!
Cleaning Marble Floors
There are some very easy steps to keep your marble floors brand new. These steps can be easily done by you at your ease.
1. Wipe The Dust
Clean the marble floors every other day with a dust mop to wipe off all the dust and dirt stored.
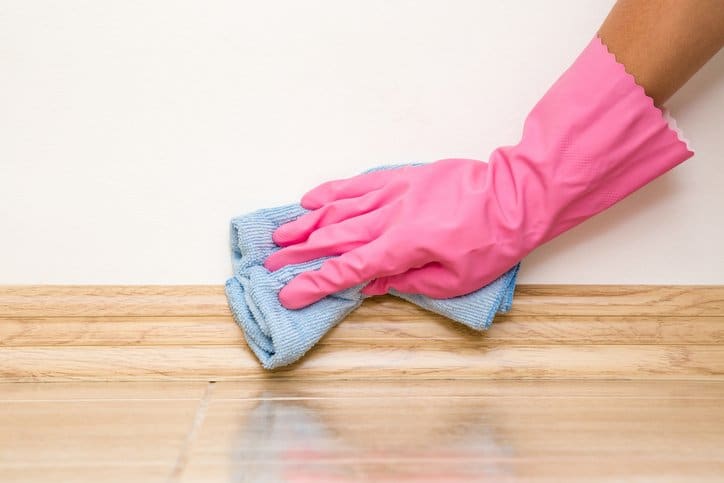
2. Wet Wipe
Some dust particles tend to stick to the marble. These need to be wiped with a wet cloth or a wet mop. Try doing that at least twice a week.
3. Stain Free
If you drop coffee, tea, or anything else on the floor, don’t let it sit. Take a towel, or even tissue paper, clean the marble floor as soon as possible! This way you can keep your marble stain-free.
Are The Stains Stubborn?
Have the stains been sitting around for a while? Or is something stuck on the marble tiles for a day or two? Don’t worry, they can be removed easily if you follow these hacks.
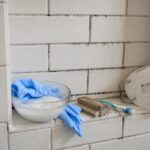
- Add some mild cleaner to the water, and use that to wipe your floor.
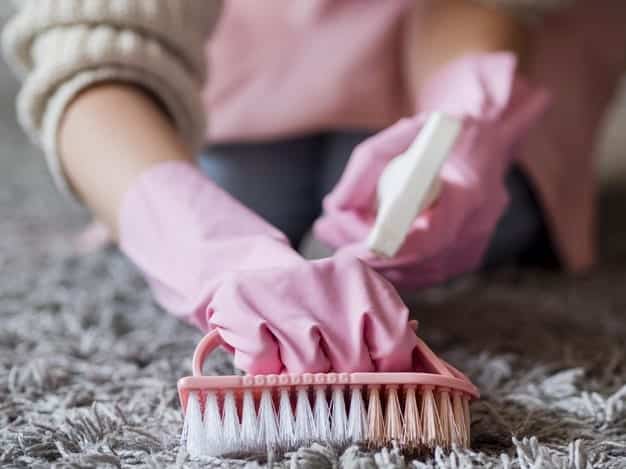
- You may leave the detergent over the stain, or lightly scrub it a bit to scrap it off. Don’t scrub harshly, you might damage your marble.
- If you’ve dropped an oil on the floor, spread over some cornstarch. Cornstarch absorbs the oily substance leaving the surface clean.
- You may use an ammonia solution to clean the marble floor. The ratio should be 1 portion ammonia and 2 parts water. To wear a mask while using ammonia has it has a strong odor.
- If the stains are still visible and affecting the overall look of your marble floor, the next step is a paste. The most effective paste to lighten up the stains consists of baking soda mixed with hydrogen peroxide. Apply it with a brush, and thoroughly wash the area with water within half an hour. Make sure none of the paste is left on the floor.
These steps can surely bring back the shine of your marble, restoring the elegance of your house. That’s how you clean marble floors.

How to Polish the Marble Floor?
Clean marble floors is a routine thing. Something you should add to your weekly tasks. However, polishing your floor should be done once a year or maybe twice depending on your use, and the condition of your marble floor.
Baking soda and water can be used in equal amounts to create a simple DIY polish that can be created at home. Apply it by smearing it across the marble surface. After leaving it alone for a few hours, use a microfiber cloth to clean it off. To ensure that the polish lasts longer and to increase the shine of the floor, you can also dip the cloth in warm water and gently wipe the paste with circular motions.
Can The Polish Be Sealed?
Indeed, without a doubt. To extend its shelf life, seal the polish, whether it’s homemade or purchased from a store. You may get marble sealants from any hardware store or by calling us!
To ensure that every area is sealed and covered, the sealing agent may need to be applied twice or three times during the process.
It is recommended that you wait to use the floor until the sealant has dried before applying more sealer. The sealant can work its magic more effectively in this fashion. To maintain the marble’s shine, you might need to seal the polish annually, if not polish it.
What Can You Do To Maintain The Marble Floor?
You may still maintain your marble floors neat even if you are a really lazy cleaner or if you are overly preoccupied with other household duties. Pro tip: Keep it clean if you don’t want to clean it.
There are a couple of things that you should
- Install rugs and mats around your floor, especially at the entrances of washrooms and main gates. This way the dirt, and germs will get wiped off in the rugs and mats. Keeping the floor cleaner. You can then dry clean or machine wash your rugs.
- Avoid any spill of citrus, coffee, tea, or anything having vinegar in it on your marble. This very important, and usually the most common source of stains on the marble. If by mistake, the spill has occurred, spray water all over it, as soon as you can. The water will balance off the pH level. Hence, reducing the chances of permanent stains.
- But if you are a pet lover, and own one, you should clean marble floors at least every other day. Removing the hair of the animal is very important for your health and your family.
These tips can surely make your life easier, and you will be able to avoid lengthy cleaning sprees every other week. But we are here to make your life much easier. You won’t even have to worry about the maintenance. Why not try hiring a cleaning company?.

Why Hire Us?
Our customers mean the world to us. We are aware of your needs. With top-notch cleansers, polishes, and sealants at their disposal, our cleaners are highly trained. It’s very simple to book cleaning services online, so give it a shot.
Our staff will take care of your marble floors and restore their original beauty. Hiring us will not only save you a tonne of time, but it will also improve the appearance of your marble, restoring the beauty of your home.
Our staff at Cleaning Angels is very accommodating, and our services are very reasonably priced. Leave all of the marble floor cleaning, polishing, and upkeep to us. We’ll be ready when you call!