Select Page
Summer Cleaning Checklist – The Complete Guide

Summer Cleaning Checklist – The Complete Guide

Ah, the sweet scent of summer is in the air, and it’s time to get your home ready for warm weather and sunshine! But let’s be real, the thought of tackling a full-blown summer house cleaning can feel a bit daunting.

But don’t worry; we’ve got you covered with the most comprehensive summer cleaning checklist that will make the process a breeze! From decluttering your closet to giving your outdoor spaces a makeover, this summer cleaning checklist has got everything you need to know for a fresh and clean home. So, let’s get ready to roll up our sleeves and make your house a summer oasis that you’ll never want to leave!

book cleaning service online

Preparing for Cleaning

Set a Cleaning Schedule

Cleaning for the summer doesn’t have to be a burden. Actually, it may be a pleasant and entertaining process with the correct preparation! First things first, make a cleaning timetable that works for you and allot adequate time to do everything. Depending on how it fits into your schedule, you may either dedicate a whole day to cleaning or divide it over many days. You need a cleaning schedule you’ll learn on this summer cleaning checklist.

Gather Necessary Supplies

No soldier goes into battle without their weapons, and the same goes for your summer cleaning! Stock up on all the necessary supplies, like cleaning products, paper towels, sponges, and other tools you’ll need. Don’t forget the little things, like a ladder, dust clothes, and a vacuum cleaner. That can make a big difference in the cleaning process.

Create a Task List

You’ll keep organized and make sure you don’t forget anything if you make a list of everything you need to clean. Make a broad list first, and then divide it up into smaller, more doable chores. Sort your jobs into priority lists according to significance, and don’t forget to provide time for breaks.

Stay Hydrated

Even though being hydrated is essential year-round, it’s more crucial in the summer and while doing housework because of the heat. It may not seem like cleaning would have much of an effect on your hydration levels. But any action that causes you to become winded or sweating counts as exercise and may cause you to become dehydrated. It’s best to take it easy and slow when cleaning in the heat. As you clean, make sure to take frequent breaks and drink plenty of water.

Get Summer-Ready with a Closet Clean out

Are you sick of digging through messy closets to find your go-to summer shoes? This season, give your outfit a makeover by organizing your closet. Start by going through your wardrobe and discarding everything that you haven’t worn in more than a year. Create space for the summer collection by selling or donating items you no longer need.

Put your sandals and flip flops front and center on your shoe rack for convenient access. And to maintain the aroma of your closet as lovely as it appears, add a dash of freshness with scented candles. Prepare for the warm season in elegance by keeping your closet simple and well-groomed.

summer cleaning checkist

Tips for Making Cleaning More Efficient

Cleaning can be a time-consuming process, but there are ways to make it more efficient. Here are a few tips to keep in mind:

  • Start at the top and work your way down to avoid having to clean the same area twice.
  • Use a microfiber cloth to pick up dirt and dust instead of a traditional feather duster.
  • Use a vacuum cleaner with a HEPA filter to capture dust, dirt, and other particles.
  • Clean as you go to avoid having to tackle a big mess later on.

Cleaning the Interior of Your Home – A Room-by-Room Adventure

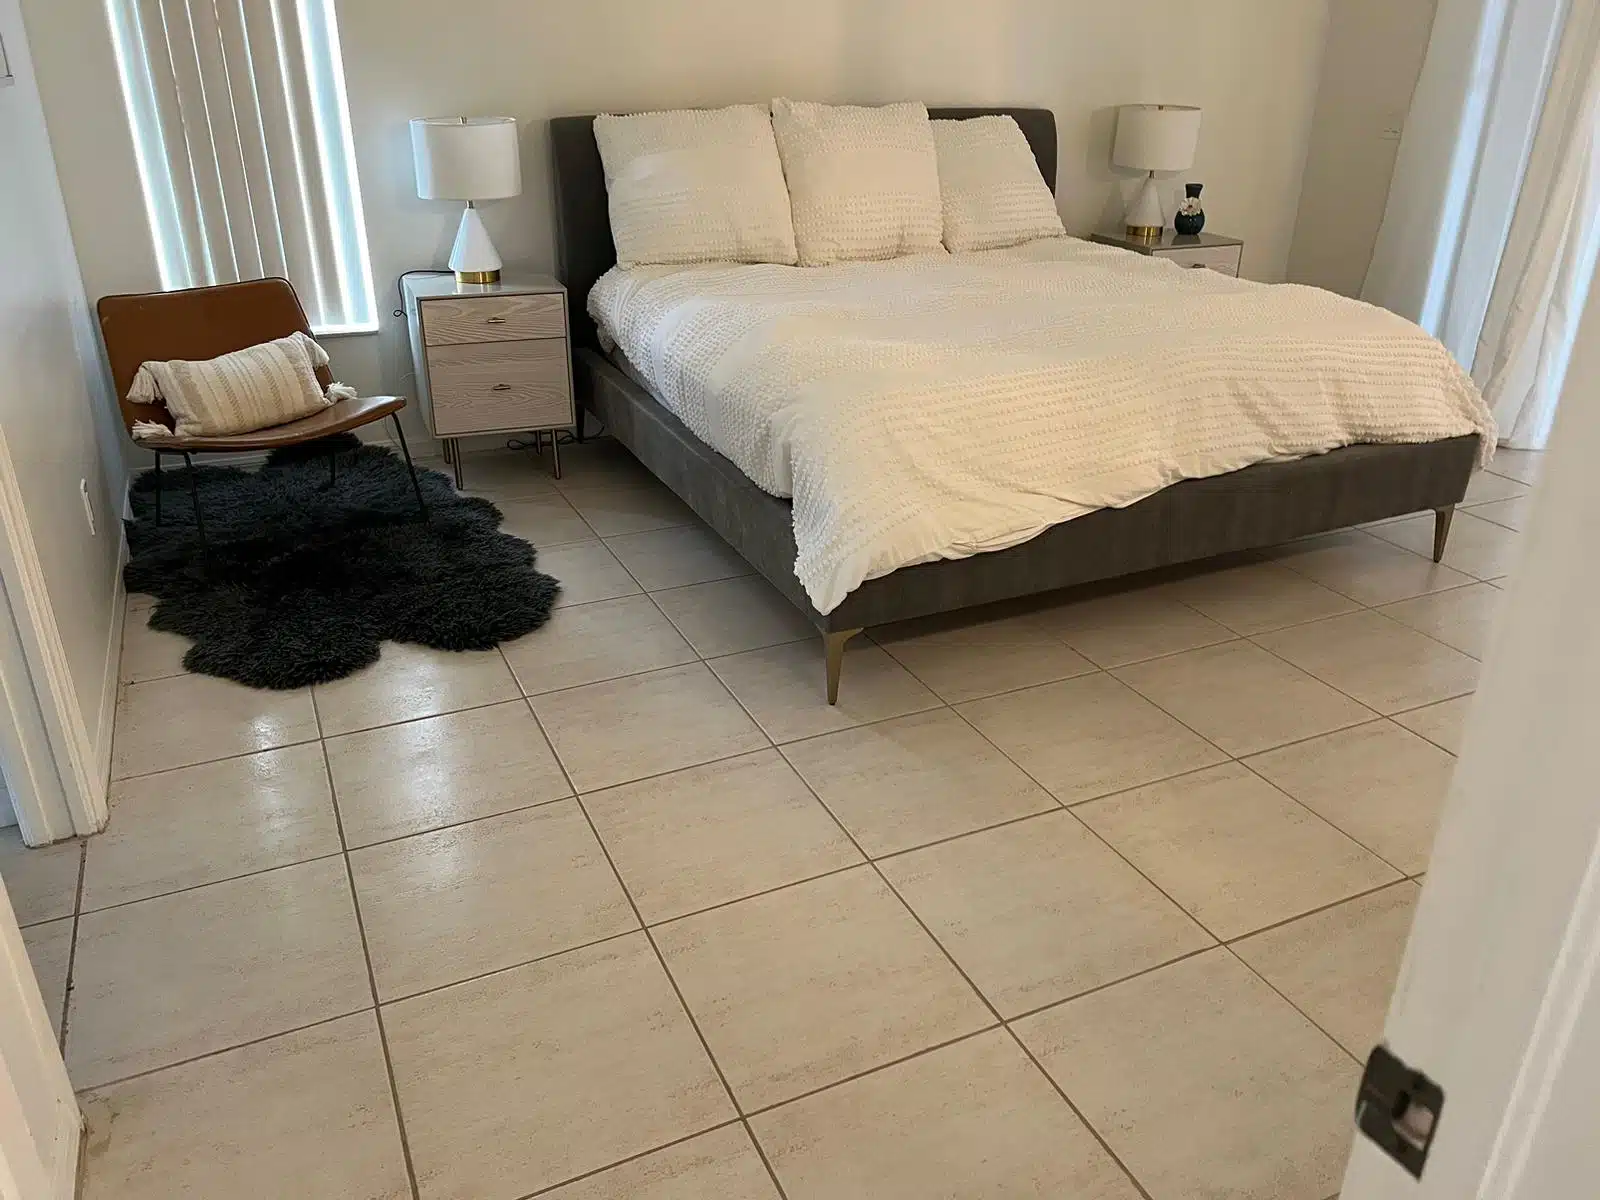
  • Bedrooms

Dusting and Wiping Down Surfaces

Kick off your cleaning journey by giving all your surfaces good dusting. Say goodbye to the grime and hello to a streak-free shine with a trusty microfiber cloth.

Vacuuming and Washing Floors

Nothing says “clean room” like freshly swept floors. Vacuum or sweep away any dirt or debris to create a welcoming environment for your feet. Don’t forget to give your carpet a good deep clean, or mop your hardwood or tile floors for a polished look.

Decluttering and Organizing Closets and Drawers

Transform your space into a tidy haven by going through your closets and drawers, getting rid of anything you no longer need. Organize what’s left to create a clutter-free environment for your clothes and essentials.

  • Bathrooms

Scrubbing the Tub, Shower, and Sink

Get ready to take on the grime with a scrub brush and cleaner. Scrub away the buildup in your tub, shower, and sink, then rinse and dry for spotless results.

Cleaning the Toilet

No one likes cleaning the toilet, but with the right tools, it can be a breeze. Tackle the task with a toilet brush and cleaner, and you’ll have a clean and fresh throne in no time.

Wiping Down Mirrors and Surfaces

Use a squeegee or microfiber cloth to wipe down mirrors and other surfaces, removing any streaks or smudges.

bedroom summer cleaning
  • Kitchen

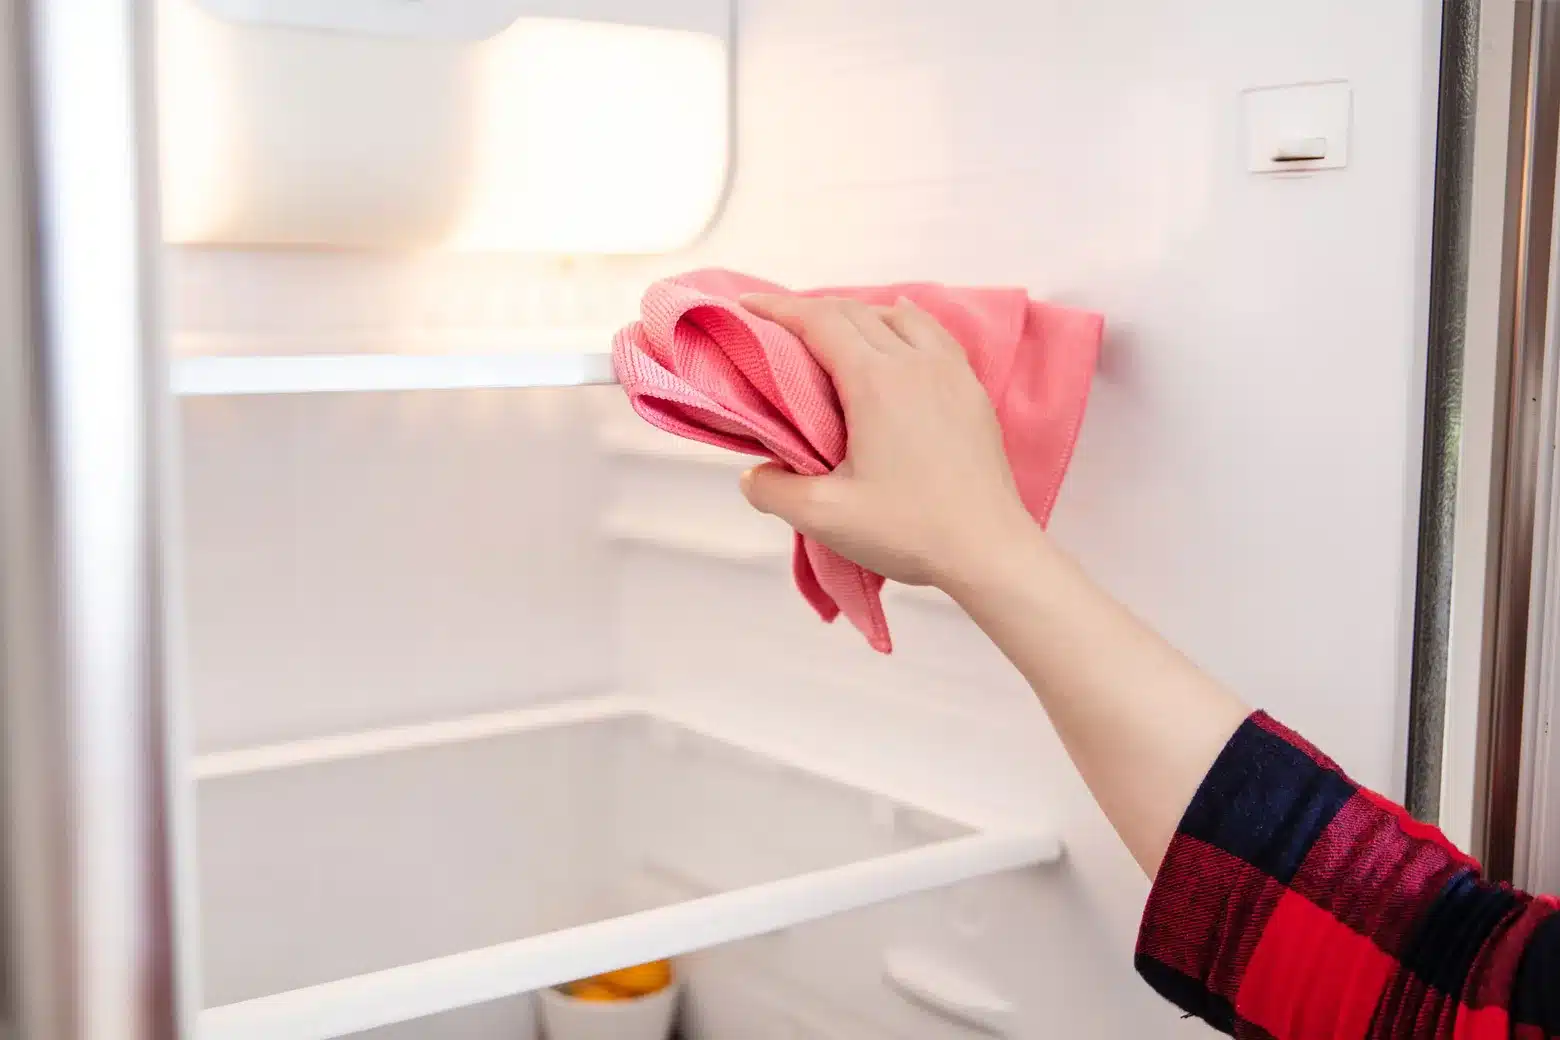
Cleaning the Refrigerator and Stove

Start your kitchen cleanup by tackling the appliances. Clean the inside of your refrigerator, including the shelves, and wipe down the exterior. Don’t forget to give your stove and oven a good scrub, including the burners, grates, and knobs.

Wiping Down Counters and Cabinets

Keep your kitchen looking its best by wiping down all surfaces. Use a microfiber cloth and cleaner to remove any fingerprints or smudges, especially on high-touch areas like cabinet handles.

Scrubbing the Sink and Floors

Scrub away any buildup or grime in your sink and on your floors. Use a cleaner and scrub brush for tough spots, then rinse and dry for a sparkling finish.

  • Living Area

Dust Surfaces

Keep your living areas looking great by giving all your surfaces good dusting. Use a microfiber cloth to achieve a streak-free shine, giving your space a warm and inviting feel.

Vacuum and Wash Floors

Nothing says “home sweet home” like freshly swept floors. Vacuum or sweep away any dirt or debris, and don’t forget to give your carpet a deep clean or mop your hardwood or tile floors.

Declutter and Organize Shelves and Tables

Create a cozy and clutter-free environment by going through your shelves and tables, getting rid of anything you no longer need. Organize what’s left to bring a sense of peace and relaxation to your living areas.

Spot Clean the Floor

Who can really be bothered to carefully sweep, vacuum, and scrub when they are already drenched in sweat? Spot-cleaning the floors will save you a lot of time and effort.

Follow this room-by-room complete summer cleaning checklist and you’ll be well on your way to creating a sparkling and organized interior for your home. By setting a cleaning schedule, gathering necessary supplies, and creating a task list, you’ll have everything you need to make cleaning more efficient. And with these summer cleaning checklist for making the most of your cleaning time, you’ll be able to enjoy the fruits of your labor in no time!

living room during summer

Cleaning the Exterior of Your Home

It’s time to take your cleaning efforts outside! By tackling the exterior of your home, you can create a welcoming outdoor space that you and your family can enjoy all summer long. Here’s how you can get started!

Windows and Screens

Let the sunshine in by giving your windows and screens a good cleaning. Use a gentle cleaning solution and a soft cloth to remove dirt and grime, and then let the windows air dry. Don’t forget to inspect your screens and make any necessary repairs.

Outdoor Spaces

Give your deck, patio, and garden areas a quick power wash to remove any built-up dirt and grime. Then, take a few minutes to clear out any overgrown plants or weeds and organize your landscaping. Finally, give your outdoor furniture a good cleaning and arrange it in a way that’s both functional and visually appealing.

Garage and Storage Areas

It’s time to turn your attention to the garage and storage areas of your home. Begin by decluttering and organizing your storage spaces, then move on to your tools and equipment. Make sure everything is in good working order and put it away in a safe and accessible place. With these tips, you’ll be able to keep your exterior spaces looking neat and tidy all summer long.

Maintaining Your Clean Home

You’ve made it this far! Congrats on completing your summer cleaning checklist. Now it’s time to focus on maintaining a clean and organized home. Here’s what you need to know to keep your home in tip-top shape.

Tips for Keeping Your Home Clean and Organized

With a little bit of effort and some helpful cleaning tips from our summer cleaning checklist, you can keep your home looking and feeling its best. Here are a few things to keep in mind:

  1. Tackle messes as soon as they occur to prevent clutter from building up.
  2. Put things away as soon as you’re finished using them to maintain a tidy space.
  3. Make use of storage solutions, like baskets, bins, and shelving, to keep things organized.
  4. Establish a “no shoes” policy in your home to prevent dirt and grime from being tracked in.
  5. Have a designated spot for items that tend to accumulate, like mail, keys, and bags.
  6. Make it a habit to tidy up before going to bed, so you start each day with a clean slate.
  7. Create a donation box or bag for items you no longer need, and regularly donate or sell them.
  8. Keep high-traffic areas tidy. These areas, like the kitchen and living room, require more attention, so make sure to keep them tidy and clutter-free.
summer cleaning checkist

Set a Regular Cleaning Schedule

Say goodbye to the overwhelming feeling of cleaning by embracing the power of a set schedule! Not only will it make the process feel less daunting, but it also allows you to tackle tasks in manageable chunks. Make daily tasks like tidying up and wiping down surfaces a breeze, take on weekly cleaning with confidence, and tackle monthly deep cleaning and organizing sessions like a pro. And the best part? Get your entire family involved and turn cleaning into a team effort. Trust us, a little help goes a long way! 

Don’t forget to use our trusty summer cleaning checklist to stay on track and make sure every nook and cranny is taken care of. Get ready to enjoy a clean, organized, and stress-free home for the summer season!

Creating a Maintenance Plan for Outdoor Spaces

Just like the interior of your home, your outdoor spaces will require regular maintenance to keep them looking their best. Here’s what you need to include in your maintenance plan:

  • Regularly trim trees and bushes to keep them in good health.
  • Clean outdoor furniture and accessories.
  • Keep outdoor spaces free of debris, like leaves and twigs.
  • Inspect outdoor structures, like decks and patios, for any needed repairs.
  • Keep your landscaping looking tidy by removing dead plants and maintaining healthy ones.

Be Sustainable While You Clean

Incorporating sustainable cleaning practices into your routine not only keeps your home clean and organized but also has a positive impact on the environment. Start by using natural and non-toxic cleaning products, which are better for both you and the environment. Reduce waste by finding new ways to reuse and repurpose items instead of throwing them away. Additionally, make an effort to conserve water and energy while cleaning to reduce your carbon footprint.

summer cleaning checkist

Leave the Summer Cleaning to the Pros

If you’re feeling overwhelmed by the thought of tackling a summer cleaning project on your own, don’t fret! Consider turning to the experts at My Cleaning Angel for a helping hand. These professional cleaning services can take the stress out of cleaning and help you enjoy a sparkling clean home without lifting a finger. Book cleaning services online with My Cleaning Angel now. It’s fast and easy!

With years of experience and a commitment to quality, My Cleaning Angel is the perfect solution for anyone looking for a fresh and tidy home this summer season. So why not sit back, relax, and let the experts handle the cleaning for you?

how long to deep clean
Does a Landlord Have to Clean Before I Move In

Does a Landlord Have to Clean Before I Move In

Key Takeaways

  • While there’s no legal obligation, landlords are expected to provide a clean living space for new tenants.
  • Tenants have the right to expect a reasonable level of cleanliness in common areas like living rooms, hallways, and entryways.
  • Landlords are expected to address mold or mildew problems in bathrooms and ensure a clean and well-maintained environment for the tenant’s comfort and health.
  • Renters should expect clean and undamaged floors and walls, whether carpeted or not, to enhance the overall appearance and comfort of the living space.
  • In addition to cleanliness, landlords are responsible for addressing necessary repairs promptly for a comfortable and well-maintained property throughout the lease.

Moving into a new rental property is an exciting endeavor, but it often raises questions about the condition of the place and the responsibilities of the landlord when it comes to cleanliness. In this article, we will explore the common expectations regarding the cleaning before the move-in of a rental property and what areas are typically addressed in a move in cleaning before a new tenant moves in.

my cleaning angel book now cta

Does a Landlord Have to Clean Before I Move In?

It’s a common question among tenants: does a landlord have an obligation to clean the property before a new tenant moves in? While there is no explicit legal requirement mandating landlords to perform a thorough cleaning, there are essential considerations of a clean before moving in.

Landlords are generally expected to provide a clean and habitable living space, adhering to basic standards. This includes ensuring that the property is free from health hazards and that fundamental cleanliness is maintained.

As a tenant, it’s reasonable to expect the following:

General Cleanliness

When it comes to general cleanliness, tenants can expect that the property is free from accumulated dust, dirt, or other debris. Common areas such as living rooms, hallways, and entryways should be clean and welcoming. While landlords are not bound to provide a spotless environment, a reasonable level of cleanliness is expected for the comfort and well-being of the tenants.

Functional Appliances

How well cooking appliances work is very important for a smooth living experience. You have a right as a tenant to expect that appliances like stoves, fridges, and dishwashers are not only clean before move-in but also in good working order. This means looking for signs of wear and tear that could make them less effective.

Sanitary Conditions in Bathrooms

Bathrooms tend to get the dirtiest out of all the other rooms in a house, so tenants have a right to expect them to be clean and germ-free. If there are mold or mildew problems, landlords should fix them while making sure that the water systems are in good shape to avoid them growing back. A clean and well-maintained bathroom is essential for the overall comfort and health of the tenant.

Flooring and Walls

Whether the floors are carpets or wood, renters should expect them to be clean and free of damage or spots that are easy to see. The walls should also be in good shape with no marks or structural problems that can be seen. 

Responsibility for Repairs

While cleanliness is a key aspect, landlords are also responsible for addressing any necessary repairs or maintenance issues. This includes fixing leaks, addressing electrical problems, or resolving issues with heating and cooling systems. A well-maintained property guarantees a comfortable living environment and reflects a landlord’s commitment to tenant satisfaction.

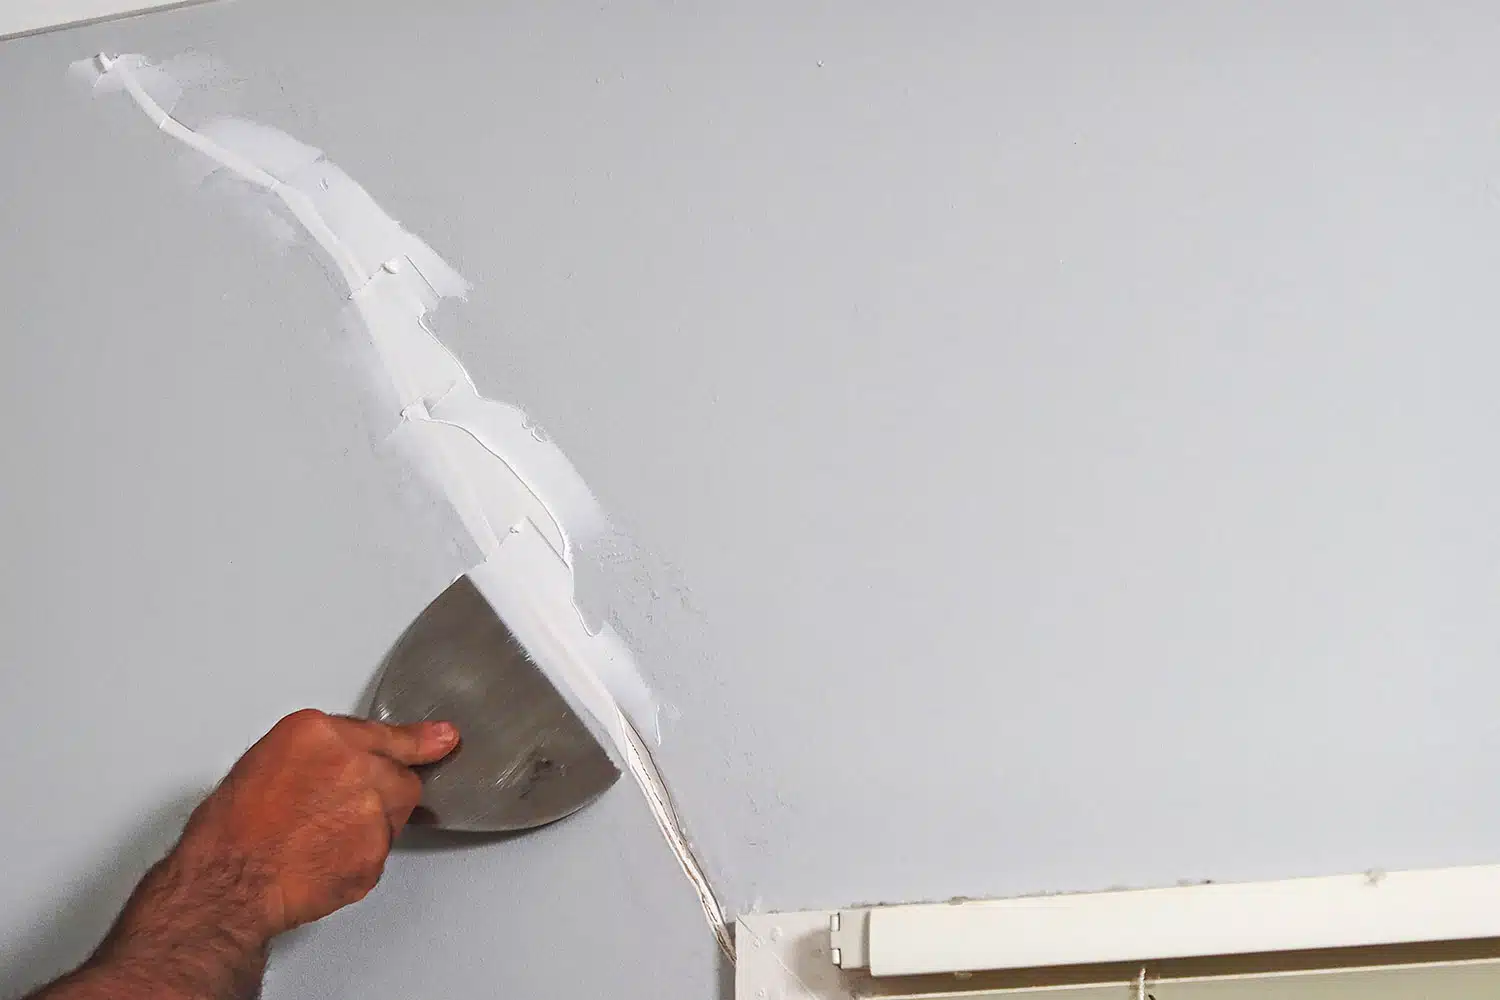
wall repair

DIY Cleaning Checklist: A Comprehensive Guide for Tenants

For tenants who enjoy taking a hands-on approach to cleanliness, do-it-yourself cleaning provides the flexibility to personalize the process according to individual standards. Here’s a detailed guide on common DIY cleaning tasks and how you, as a tenant, can effectively maintain a clean and organized living space:

1. Vacuuming

How to:

  • Use a high-quality vacuum cleaner equipped with different attachments.
  • Focus on high-traffic areas, carpets, rugs, and upholstery.
  • Empty the vacuum bag or clean the dustbin daily.

How Often:

  • Vacuuming frequency depends on factors like foot traffic and the presence of pets.
  • Aim for once a week in low-traffic areas and more frequently in high-traffic zones.

2. Mopping Floors

How to:

  • Choose an appropriate floor cleaner based on the flooring type (wood, tile, laminate, etc.).
  • Sweep or vacuum the floor first to remove loose dirt.
  • Mop in sections for thorough coverage and avoid over-wetting.

How Often:

  • Frequency varies based on lifestyle; typically, once a week is suitable for most households.

3. Dusting Surfaces

How to:

  • Use microfiber or electrostatic dusting cloths to trap dust effectively.
  • Dust from top to bottom, starting with higher surfaces like shelves and working downward.
  • Pay attention to commonly overlooked areas, such as light fixtures and vents.

How Often:

  • Dusting can be done weekly, with more frequency in areas prone to dust buildup.

4. Cleaning Appliances

How to:

  • Wipe down surfaces of appliances with a damp cloth.
  • Clean refrigerator shelves and drawers, removing expired items.
  • Run dishwasher cleaning tablets through the dishwasher regularly.

How Often:

  • Make it a routine to clean visible surfaces of appliances.
  • Perform deeper cleaning tasks, like cleaning the refrigerator, every month.

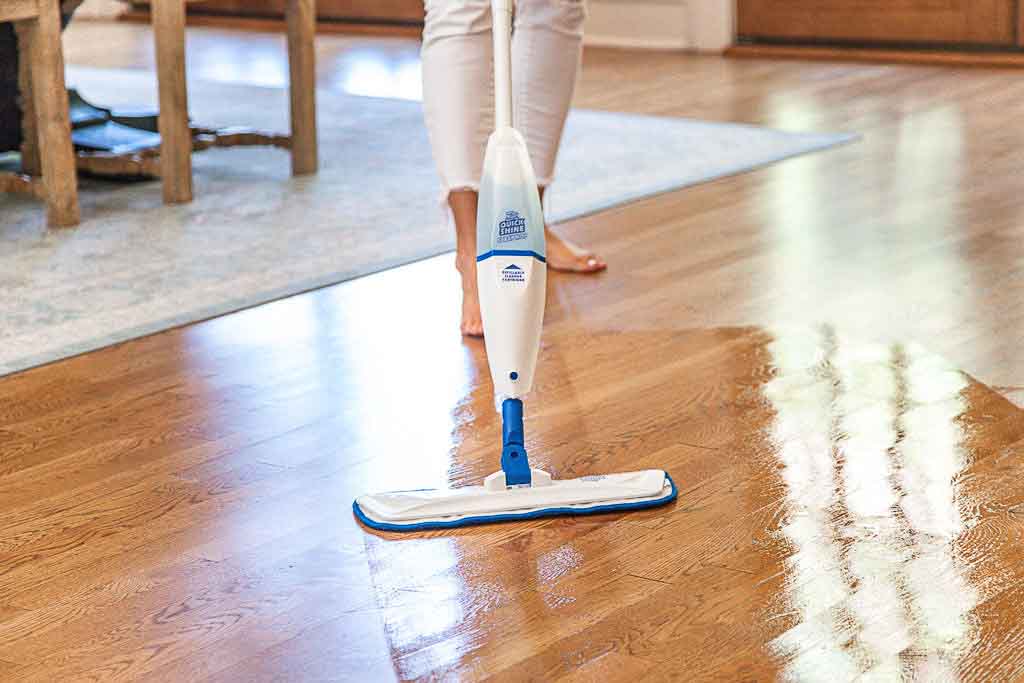
mopping floors

5. Organizing Spaces

How to:

  • Declutter by removing unnecessary items.
  • Use storage solutions, such as bins or baskets, to keep belongings organized.
  • Establish a routine for returning items to their designated places.

How Often:

  • Assess each room for clutter and organize as needed.
  • Establish a cleaning routine to prevent the accumulation of unnecessary items.

Bathroom Cleaning

How to:

  • Clean and disinfect surfaces, including countertops, sinks, and faucets.
  • Scrub the toilet bowl and wipe down the exterior.

How Often:

  • Bathroom cleaning may be done weekly, with more frequent spot cleaning as needed.

6. Window Cleaning

How to:

  • Use a glass cleaner or a mixture of vinegar and water for streak-free windows.
  • Wipe windows with a microfiber cloth or newspaper for best results.

How Often:

  • Window cleaning can be done seasonally or as needed for visible dirt or streaks.

7. General Maintenance

How to:

  • Check for and address any leaks, drips, or other maintenance issues.
  • Replace air filters regularly to maintain air quality.
  • Test smoke detectors and replace batteries as needed.

How Often:

  • Inspect the property for maintenance issues and address them as soon as they arise.

Adjust the frequency of tasks based on individual lifestyle factors and the specific needs of the property. Consistent efforts contribute to a well-maintained home environment for a healthy and happy family!

landlord have to clean

Professional Cleaning Services: Taking Cleanliness to the Next Level

When tenants or landlords opt for professional cleaning services, they’re choosing a thorough and efficient approach to maintaining an ideal living space in every way. Professional cleaners bring expertise, specialized tools, and careful attention to detail, offering a level of cleanliness that goes beyond routine DIY efforts. Here’s what you can expect from professional cleaning services and why they are often considered superior:

Comprehensive Carpet Cleaning

Professional cleaners use industrial-grade equipment to achieve a deep clean of carpets. Techniques such as deep cleaning not only sanitize but also refresh carpets for a higher level of cleanliness. The use of specialized tools targets tough stains that may be challenging for standard household equipment.

Window Cleaning Expertise

Professionals employ specialized window cleaning solutions and tools for streak-free results. They utilize squeegees and microfiber cloths are utilized to achieve a polished finish. This approach results in crystal-clear windows, enhancing natural light and contributing to a longer-lasting shine.

Specialized Bathroom Deep Cleaning

Professional cleaners use powerful cleaning agents to address challenges in the bathroom. From eliminating mold and mildew to sanitizing and disinfecting surfaces, the process provides a thorough, hygienic environment.

Kitchen Appliance Detailing

Professional cleaners go beyond routine cleaning by disassembling and cleaning oven components for thorough degreasing. Refrigerator interiors are sanitized, targeting hidden areas prone to bacteria. This results in an odor-free kitchen while promoting food safety and appliance longevity.

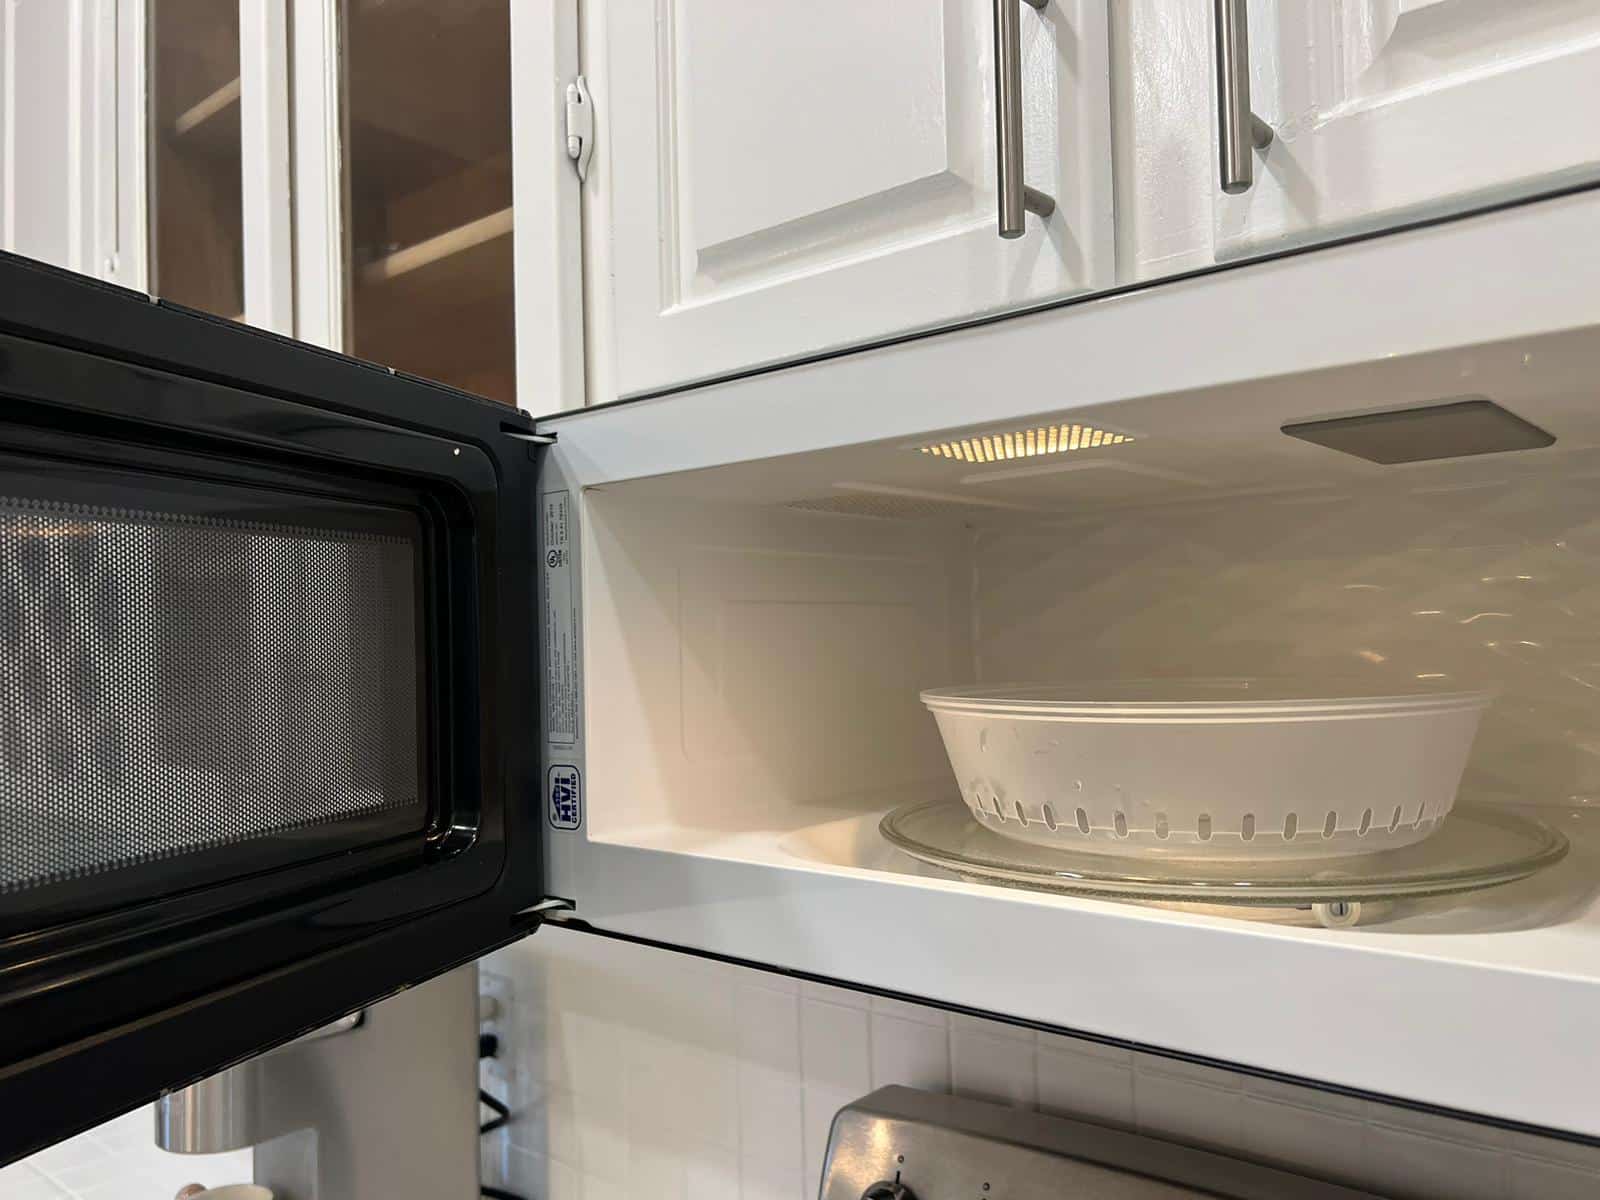
kitchen appliances microwave

High-Quality Dusting and Polishing

Utilizing microfiber cloths and dusters, professional cleaners capture and remove dust effectively. They apply professional-grade furniture polish for a lasting shine. This method achieves a higher level of dust removal, enhancing indoor air quality, and the use of specialized polishes contributes to a longer-lasting, glossy finish on surfaces.

Tailored Cleaning Plans

Professional cleaning services develop customized plans based on the specific needs and preferences of the client. This includes adjusting cleaning frequencies and focusing on areas according to the client’s priorities. Tailored plans mean that the cleaning service aligns with the unique requirements of the property.

Time Efficiency and Professionalism

Professional cleaners utilize efficient processes and teamwork to complete tasks quickly. Following industry best practices for professionalism and courtesy, they save clients time and effort by providing a thorough cleaning in a shorter duration. This approach warrants a hassle-free cleaning before move-in for clients, contributing to overall satisfaction with the cleaning service. 

Conclusion

If you are worried about the level of cleaning from your landlord, then look to the experts. Professional cleaning services like My Cleaning Angel are trained and experienced in a deep clean before move-in time. By hiring professionals, you can rest assured that your new house or apartment is sparkling clean whether or not your landlord has agreed to a clean before moving in.

landlord have to clean
my cleaning angel book now appointment

FAQs

Is the landlord obligated to clean the rental property before I move in?

Landlords are expected to provide a clean and habitable living space for tenants. However, specific cleaning obligations may vary based on local laws and lease agreements.

What cleaning tasks are typically the responsibility of the landlord?

Landlords are usually responsible for cleaning common areas so the property meets health and safety standards and addressing any issues that could impact the habitability of the rental unit.

Can I request a professional cleaning service before moving in?

Some landlords may agree to hire professional cleaners at their expense, especially if the property requires significant cleaning. It’s important to discuss and clarify such details before signing the lease.

What should I do if the property is not clean when I move in?

Upon moving in, document any cleanliness issues through photographs and a detailed written description. Report these concerns to your landlord promptly to ensure they address the cleaning concerns timely.

Are there any legal requirements for cleanliness before moving in?

Many jurisdictions have specific regulations regarding the cleanliness and condition of rental properties. Tenants should familiarize themselves with local laws and regulations to understand their rights and responsibilities.

5 Summer Cleaning Tips You Should Know

5 Summer Cleaning Tips You Should Know

Summer is that time of the year when we enjoy the pleasant weather and people enjoy it differently. Some opt for BBQs with family and friends while eating the season’s fresh fruits and vegetables. Some people pack their bags and travel the world for the full season, others, along with their children, think of it as the resting or relaxing phase compared to the rest of the year.

If you are the stay-home type or like to host gatherings, before sending out the red, white, and blue invites, you have to make sure that your house is in excellent shape.

Therefore, we’ve put together a list of simple, practical, and easy house cleaning tips that anyone can follow easily. These practical summer home maintenance suggestions keep your home running so you can relax on vacation without having to worry about returning to a mess. Follow the summer cleaning tips below to keep your house fresh, clean, and ready for a season of fun in the sun.

book cleaning service online

1. Maintain Your Air Conditioner

The filters in air conditioners gather dust and other material over time, reducing their efficacy. So, start with your filters with moderate dish detergent and warm water. Be careful to turn off the power before clearing away any trapped material if you have a condenser outside. You’ll use a lot your air conditioner this time of the year. So it’s a important part of summer cleaning tips. After that, follow the steps below:

Start with the Filters

After dusting the filter, clean it with lukewarm water and mild soap. Allow the filter to dry fully before putting it back in the unit.

Find the Coils

Most air conditioners feature two sets of coils: the evaporator coils on the inside and the condenser coils on the outside (outside).

Brush the Coils 

Use a soft brush or cloth to remove dirt from the coils. After that, wash away the remaining dust residue using a spray bottle filled with mildly soapy water.

Replace the Front Cover

See to it that all the units of your AC are clean and dry before you replace the front cover.

If the debris is stubborn, add a little light detergent or dish soap to the bottle, but not so much that it becomes overly sudsy. Maintenance of AC is most likely the most crucial step in our Summer Cleaning Guide. An air conditioner that is blocked with dust and filth may not perform properly or, worse, may malfunction, leaving you extremely uncomfortable in the summer heat.

2. Clean the Windows

Cleaning your windows in the summer is an important aspect of keeping your home looking nice. So, make the most of the lovely weather by cleaning your windows first thing in the morning. It’s considerably preferable to do this now rather than later in the winter. Follow our below step-by-step guide to effectively clean any kind of stains and dust off your windows:

Use Hot, Soapy Water

Start by making a bucket of hot soapy water. Begin from the top of the window and start working your way down while being careful to rinse away the dirty water. To eliminate debris, clean the window frames and sills in the same manner.

Use Vinegar

Instead of purchasing an expensive window cleaner, make your vinegar-based solution. Fill one cup of white (distilled) vinegar and ten cups of water into your spray bottle and spray your window with the prepared solution.

Use a Lint-Free, Soft Towel

A lint-free microfiber cloth is an ideal cleaning tool to bring streak-free shine to your windows. So, wipe your window glass using a microfiber cloth in multiple different directions to remove streaking as well as any remaining residue of your cleaning solution.

Cleaning glass and other bright surfaces outside in direct sunlight may not be a smart idea. The heat can dry the cleaning solutions at a rapid speed, leaving water droplets or product stains on the glass surface. We recommend going on a cloudy day or later in the evening when the temperature has dropped.

summer cleaning tips

3. Clean your Fans

Coming third on our list of summer cleaning tips is cleansing of dust from your fans. Fans circulate air around your home, which is great for cooling things down. However, this is not so wonderful if they are unclean. And after a season of the entire winter, there’s bound to be a large quantity of dust on top of your fans. Therefore, cleaning them is essential for your summer house maintenance:

Unplug and Turn off the Fan

Turn off and disconnect the fan before cleaning. Whenever cleaning any electrical appliances, make sure you unplug them first.

Make a Solution

Pour 3 cups of cold water and 2 tablespoons of a dishwashing product with a grease cutter into a spray bottle.

Wipe the Fan Blades

Spray the prepared solution all over and allow a few minutes for the dishwashing solution to cut through the debris. Then, wipe clean every surface with a microfiber cloth.

Dry the Blades

Before reassembling your fan, make sure everything is completely dry. You don’t want water getting into the fan’s electrical components.

Your ceiling fan will be working overtime, and the last thing you want is dust drifting around your house. Dusty fans exacerbate the symptoms of seasonal allergies and hay fever. They will continue to spread dust and pollen as they revolve if not properly cleaned. The same cleaning procedures can be used to clean the housing of a space heater, which circulates warm air. Dust and dirt should be cleaned regularly.

clean fans

4. Clean the Refrigerator

With children rushing around opening the refrigerator over and over to get some chilly air on their faces or to fetch another popsicle out of the freezer, you start to wonder if the food is still fresh and cold. It does not take too much imagination to guess that your refrigerator runs more frequently in summer than in any other season. This means more energy consumption, which might occasionally put your fridge in trouble. 

Hence, the importance of cleaning your refrigerator to keep it reliable cannot be overstated. It’s extremely important in this summer cleaning tips. Here are a few quick and effective steps to clean your fridge:

Remove the Food

The first step in carrying out a thorough cleaning is to empty and remove everything in your refrigerator.

Clean Removable Shelves

Remove the bins and drawers and wash them one at a time with the help of a new sponge and Dawn Dish-washing Liquid.

Wipe the Interior

Start from the top of the refrigerator and wipe down the walls and shelves with a sponge or absorbent paper towels, taking your time to get into all of the plastic seams while you work your way down to the bottom of the unit.

Dry thoroughly

Moisture increases the growth of bacteria, so make sure the interior of your refrigerator is absolutely dry before you finish. Wipe away any excess moisture using a paper towel or dry cloth, giving special care to the seams.

Take the time to clean out your refrigerator, cleaning it with gentle antibacterial soap and tossing out anything expired or moldy. This is especially critical during the fruit and vegetable season. To make your fridge seem neater, group things by comparable-sized bottles or heights. Never forget that it’s simple things like these that make each day a bit brighter.

summer cleaning tips

5. Degrease your Grills

Last but not least, degreasing your grill is the final step in our complete summer cleaning tips. Because the meat has a distinct smokey flavor, many people believe that cleaning the grill is unnecessary. But it couldn’t be further from the truth. Bacteria found on grimy surfaces and tainted food can make you sick, which is the last thing you want after a delicious meal. Hence, cleaning your grill should be a top priority. The following are a few tips for properly removing grease from any type of grill:

Using Steam

Fill a standard metal container from your kitchen with water and place it on the grill to boil. Push the tin aside (with a mint!) and start scraping with a bristle brush. The steam is effective and helps in the removal of any kind of dirt and grease.

Using Apple Cider Vinegar

Put the regular apple cider vinegar in a spray bottle and spray it all over the grill. After that, use a piece of aluminum foil to scrape the gunk away and get back to being the undisputed king/queen of backyard cookouts.

Using Onion

Cut an onion in halves and rub it all over the barbecue grates with the end of a grilling fork before cleaning with a bristle brush.

A summer party would be incomplete without grilling! Guests do not want to eat meat that tastes like burnt onions or charcoal. It’s a good idea to give your grill a thorough cleaning, safety check, and preparation a few days just before the party to ensure excellent results and wonderful cuisine.

Conclusion

That concludes our comprehensive summer cleaning checklist. These useful summer cleaning techniques can help you keep your house clean and tidy without having to spend the entire summer cleaning. Just a few minor tweaks to your daily routine will improve your cleaning results while requiring less effort, enabling you to return to enjoying every precious minute of summer fun. Book cleaning service online with My Cleaning Angel. It’s easy and fast, get a quote, see the price right in the moment and schedule it!

Following these summer home maintenance tips will inspire you to take care of your home throughout the summer and will help you enjoy a more relaxing summer overall. However, if you find it hard to take out the time for regular cleaning and maintenance, you can always give us a call. At My Cleaning Angel, we are equipped with the best products, tools, and solutions to do a spotless job that satisfies every customer who chooses us.

how long to deep clean
How to Clean Mirrors

How to Clean Mirrors

If your once-sparkling mirror has become encrusted with grime, streaks, and fingerprints, it’s probably time to clean mirros!

You might think cleaning your mirror is as easy as wiping a towel or newspaper across the smudged glass, and you are right. However, achieving a shiny and spotless mirror does have some sneaky tricks. The secret lies in using the right tools, cleaning products, and techniques. So, keep reading to discover some of the best hacks to clean mirrors. It’s an important part of house cleaning.

Key Takeaways

Before we dive into our mirror-cleaning tips, here’s an overview of what you can expect from this how-to post:

  • For regular cleaning, apply cleaner fluid across the mirror glass using a microfiber cloth.
  • For a deeper clean, go for a mixture of distilled vinegar and water.
  • To tackle the most stubborn residues, rubbing alcohol smeared on bamboo rounds does the trick.
  • Use baking soda mixed with vinegar to erase hard water stains.

book cleaning service online

Products You Will Need

Here are the basic tools and supplies required for cleaning a mirror:

  • Dry microfiber cloths
  • Distilled water
  • White vinegar
  • Glass-cleaning fluid
  • Reusable bamboo cotton rounds
  • Rubbing alcohol
  • Baking soda

Let’s Get to Mirror Cleaning

Once you’ve got all the materials in hand, it’s time to start cleaning. Let’s look at four fail-safe ways to clean a dirty mirror:

1. Wipe Down the Mirror Surface with a Microfiber Cloth

According to experts, the best way to clean mirrors is with a high-quality microfiber cloth. Most homeowners use paper towels or newspapers for cleaning, but this isn’t recommended. Not only do paper products generate waste, but they also tend to leave unsightly smears, lint, and dust on the glass. A microfiber cloth cleans your mirror thoroughly without leaving any streaks or lint.

The process is pretty straightforward. Spritz some cleaning fluid onto a dry microfiber cloth and rub across the mirror surface from edge to edge. Begin at the top of the mirror and wipe in broad, zigzag strokes resembling ‘S’ or ‘Z’ shapes. This helps prevent smudging and effectively captures any debris or dirt coating the mirror.

Then, take a fresh, clean microfiber cloth and wipe the mirror dry using the same zigzag motions.

2. Use a Vinegar-Water Blend for Deeper Cleaning

If you want to save yourself some bucks and hassle, create your own glass-cleaning formula at home.

Simply mix a cup of distilled vinegar with a cup of water in a spray bottle. Shake vigorously, and voila, you have the perfect remedy for tackling stubborn streaks and smudges. Not only is this recipe natural, cheap, and practical, but it is also free of soap solvents, unlike store-bought detergents. Excess soap can leave streaks on glass surfaces that can be hard to clean.

To clean the mirror, follow these steps:

  • Spray some of the vinegar-water solution onto a microfiber cloth.
  • Work your way down from the top of the glass to the bottom in zigzag patterns.
  • Dry the mirror with a fresh microfiber cloth using similar motions. Then, take a step back and admire your handiwork: your mirror will now be gleaming like new!

Remember to store your homemade mirror cleaner properly after each use.

clean mirrors

3. Apply Rubbing Alcohol to Remove the Hardiest Streaks

Do you know that you have a tailor-made mirror cleaner right inside your medicine cabinet? Rubbing alcohol is a great way to clean mirrors that endure frequent staining. For instance, your bathroom mirror regularly gets caked with dried-up or cloudy residue from grubby fingerprints, toothpaste, or hair products.

The ideal way to erase such marks is to pre-treat them with rubbing alcohol before cleaning the entire mirror surface.

Wiping untreated areas with paper cloths and glass-cleaning detergents often leaves streaks, which only grow oilier and more stubborn with each swipe. Avoid this by daubing rubbing alcohol onto a bamboo round and applying it to any visible problem spots. This will break up and remove all the congealed gunk from the surface. Then, clean the glass using a dry microfiber cloth.

This simple treatment leaves your bathroom mirror streak-free and gleaming in no time!

4. Use Baking Soda to Get Rid of Hard Water Stains

Hard water is rich in dissolved minerals. It is formed when natural water seeps through deposits of chalk, limestone, and gypsum, which are composed mainly of calcium and magnesium carbonates. You may have noticed your hands remain viscous despite washing them with soap, or your drinking water has a chalky appearance; this is likely due to water hardness.

Hard water can leave unsightly stains on mirrors that are exceedingly tough to clean. Worse, the longer these smudges remain, the thicker they become and, hence, the harder to remove. Such stains are best erased by treating them with baking soda.

Baking soda is a potent cleaning agent. It can eliminate dirt, grease, and grime from virtually any surface. It is also natural, affordable, and easy to use, making it one of the most common household ingredients.

The steps to clean mirrors using baking soda are as follows:

  • Combine equal parts vinegar and baking soda in a bowl. Mix until you’ve formed a paste.
  • Use your fingers to gently smear the paste across the hard water stains.
  • Once the paste is dry, remove it using a clean, moist cloth.
  • Dry the mirror surface with another clean cloth.

clean mirrors

Conclusion

Nothing ruins a room’s appearance like a dirty, grubby, or stained mirror. Clean mirrors are visually appealing and can make your space feel brighter. They also reflect a greater amount of light, thereby enhancing the room’s overall ambiance. Moreover, regular cleaning prevents the accumulation of dirt and grime that can adversely affect a mirror’s quality and lifespan. Well-kept mirrors tend to maintain their appearance for a longer time.

However, if you work long hours and don’t have time for extensive glass cleaning, a great solution is to hire a cleaning agency to do the job for you. Professional cleaners like My Cleaning Angel have the knowledge and expertise to tackle even the most challenging cleaning tasks. These experts will take the burden of deep cleaning off of you and leave your home spotless and immaculate before you know it! Book cleaning services online with us now, it’s easy and simple. Get a quote, see your price and book it now!

clean mirrors

FAQs

How frequently should I clean my mirror?

It depends. Accent mirrors displayed in drawing rooms or formal dining rooms only need occasional dusting. However, mirrors that are regularly used require more frequent care. For example, your bathroom mirror is in constant use and needs a daily wipe-down to clear it from water droplets, toothpaste spatters, and other stains. Decorative mirrors hung in living rooms or foyers should be cleaned on a biweekly basis to keep them free of pollutants.

What is the best way to clean a mirror’s frame?

This will depend on the material the frame is made from. If it is wooden, clean it with a duster. Metal frames must be wiped with a soft microfiber cloth soaked in cleaning fluid.

My mirror is becoming increasingly hazy. How do I tackle this?

Haziness is often caused by a buildup of natural residues. Thankfully, the solution is pretty simple. Dip a cotton ball in rubbing alcohol and wipe it over the particularly hazy spots. Next, create a cleaning formula by mixing one part vinegar with four parts warm water. Spritz this mixture thoroughly across the surface. Let it soak for ten minutes if the buildup is considerable. Then, use a microfiber cloth to wipe the mirror dry. This should take care of the haziness.

Is there a way to prevent mirrors from becoming foggy during showers?

Yes, there’s a nifty tip to avoid this. Mix a cup of vinegar, a cup of water, and a teaspoon of dishwashing liquid in a spray bottle. Shake gently, then squirt the mixture directly onto the mirror. After a few seconds, rub the glass dry with a clean microfiber cloth. This quick remedy will prevent your mirror from fogging up for a few days. Continue applying this formula to keep the fogginess at bay.

What types of chemicals and tools are harmful to mirrors?

Many chemicals used for household cleaning can damage your mirror. Bleach, for instance, can leave unsightly streaks and dull the mirror’s gleaming surface. Rubbing alcohol, ideal for many glass surfaces, isn’t recommended for antique mirrors, as it can strip away the delicate finishes on such mirrors. Ammonia can wreak havoc on tinted mirrors, causing discoloration, chipping, or cloudiness. Always use mild, non-toxic cleaners and detergents that are specially designed to clean glass.

Avoid using tools such as steel wool or wire brushes, as they can irreparably damage delicate glass surfaces. Stick to materials like microfiber cloths that glide smoothly across the mirror and help you achieve a streak-free shine.

My mirror has ugly black spots along its edges. What could be the reason?

The best option is to replace the mirror after several years of use. However, if your mirror is a precious antique or family heirloom that you can’t bear to part with, consider ordering a custom frame to encase it in. This will help hide the discoloration.t

how long to deep clean