Select Page
How Do You Spring Clean Like A Pro

How Do You Spring Clean Like A Pro

As the winter season starts to fade away and the first hints of spring emerge, it is time to throw open the windows and let the fresh air in. But wait… what’s that you see? The accumulated dust, dirt, and grime seem to have taken up residence during the colder months. Fear not! With the arrival of spring comes the perfect opportunity for a one-time cleaning spree. So, how do you spring clean like a pro?

Let’s dive in and uncover some expert spring cleaning hacks and tricks to transform your space from winter dreariness to springtime freshness! Let’s start this deep cleaning in the spring!

Key Takeaways 

  • Spring cleaning is an essential seasonal task that refreshes your home and prepares it for the warmer months ahead.
  • Start by creating a checklist and gathering essential cleaning supplies to stay organized and efficient.
  • Break down tasks into smaller, manageable steps and deal with high-traffic areas first for a thorough clean.
  • Don’t forget to declutter your space and add DIY touches to refresh your decor for the season.

book cleaning service online

Preparing Your Spring Cleaning Supplies

Let’s kick off spring cleaning with a few essential cleaning supplies that you’ll find around your home. 

Take inventory of your cleaning supplies, including:

  • All-purpose cleaner
  • Disinfectant wipes
  • Glass cleaner
  • Microfiber cloths or cleaning rags
  • Broom, mop, and vacuum cleaner
  • Scrub brushes and sponges

Make a shopping list for any missing items to make sure you have everything you need.

How to Do Spring Cleaning Like a Professional

Spring cleaning is a time-honored tradition that refreshes your home and prepares it for the warmer months ahead. To ensure your spring cleaning efforts are thorough and efficient, follow these professional spring cleaning guide and complete every step like a pro.

Step 1: Customize Your Own Spring Cleaning Playlist 

Creating a playlist of your favorite songs or podcasts can make cleaning more enjoyable and keep you motivated. Choose upbeat music or engaging podcasts that you love to listen to while you clean. Use your playlist to help you keep track of time and maintain momentum during your cleaning sessions. 

Step 2: Create a Checklist

Before diving into your spring cleaning tasks, it’s essential to create a detailed checklist to keep you organized and on track. A thorough checklist may seem like a lot at the time, but it will make your cleaning process much smoother.

Pro Tip: Print out our detailed checklist and add your additional tasks to it! We have done the work for you!

  • Room-by-Room Approach: Start by walking through each room in your home, like bedrooms, bathrooms, kitchen, and living room. Note down specific cleaning tasks as you go along.
  • List Specific Tasks: Write down exactly what needs to be done in each room. For example:
  1. Bedroom: Dust furniture, vacuum carpets, change bed linens, tidy up closets.
  2. Bathroom: Scrub tiles, clean shower and toilet, wipe down counters and mirrors, swap out towels.
  3. Kitchen: Clean appliances inside and out, wipe down cabinets and counters, wash the sink, and organize the pantry.
  • Estimate Time: Think about how long each task might take. Allocate time slots for cleaning sessions accordingly. It’s important to be realistic.
  • Keep It Visible: Once your list is ready, put it up somewhere you can easily see it. Checking off tasks as you complete them helps you keep track of your progress and stay motivated. And, let’s face it, checking the bullets on a list is an unmatched exhilarating feeling.

spring clean like pro

Step 3: Declutter Your Home Inside Out

Start by focusing on one area at a time, such as closets, cabinets, or storage spaces. Take everything out of the designated area and sort through each item, asking yourself whether you truly need or use it. Items that haven’t been used in months or no longer serve a purpose should be set aside for donation or disposal. As you go through each item, be strict in your decision-making to avoid holding onto unnecessary clutter.

Once you’ve decluttered the main storage areas, don’t forget to tackle hidden spots like under the bed and behind furniture. These areas often accumulate forgotten items and dust bunnies over time. Pull out items stored underneath beds or tucked away in corners, and assess whether they should stay or go. Be sure to vacuum or sweep these areas thoroughly to remove any dirt or debris that may have accumulated.

Step 4: Make a Rule – Smaller Cleaning Tasks First

To avoid feeling overwhelmed, one of the top strategies for spring cleaning is to start with smaller cleaning tasks before moving on to larger ones. Begin with high-traffic areas like the bathroom, kitchen, and fridge. 

Kitchen:

  1. Clear countertops: Remove any items and wipe down countertops with a multipurpose cleaner.
  2. Clean appliances: Wipe down the exterior of appliances like the microwave, oven, and refrigerator.
  3. Scrub the sink: Use a cleaning solution to scrub and sanitize the sink basin, faucet, and drain.
  4. Clean stovetop: Remove grates and burner covers, clean the stovetop surface, and wipe down knobs and controls.
  5. Organize cabinets and drawers: Declutter cabinets and drawers, wipe down shelves, and organize items.
  6. Wash dishes: Hand wash or load dirty dishes into the dishwasher for cleaning.
  7. Sweep and mop floors: Sweep or vacuum floors to remove debris, then mop with a suitable floor cleaner.

Fridge:

  1. Remove contents: Take out all food items from the fridge and place them on the counter.
  2. Dispose of expired items: Check expiration dates and dispose of any expired or spoiled food.
  3. Wipe down shelves and drawers: Use a mild cleaner to wipe down shelves, drawers, and door bins.
  4. Clean interior walls: Wipe down the interior walls of the fridge to remove any spills or stains.
  5. Sanitize surfaces: Use a disinfectant spray or wipes to sanitize high-touch areas like door handles and controls.
  6. Organize contents: Group similar items together and place them back into the fridge neatly.

Washroom:

  1. Clear surfaces: Remove toiletries and other items from countertops, shelves, and ledges.
  2. Clean surfaces: Wipe down countertops, sinks, and faucets with a suitable cleaner.
  3. Scrub tiles: Use a tile cleaner and scrub brush to clean grout lines and tiles in the shower or bathtub.
  4. Clean toilet: Scrub the toilet bowl, seat, lid, and exterior with a toilet brush and cleaner.
  5. Wipe mirrors: Clean mirrors and glass surfaces with a glass cleaner and lint-free cloth.
  6. Sanitize high-touch surfaces: Use disinfectant wipes to clean doorknobs, light switches, and towel racks.
  7. Replace towels: Swap out used towels for fresh ones, and launder dirty towels as needed.

spring clean like pro

Step 5: Move to Other Rooms

After completing the smaller tasks, it’s time to move on to cleaning the other rooms in your home. Begin by focusing on the bedroom, living room, and dining room to ensure a thorough spring cleaning.

Bedroom:

  1. Dust furniture: Use a microfiber cloth or duster to remove dust from dressers, nightstands, and other furniture.
  2. Vacuum carpets and rugs: Use a vacuum cleaner to thoroughly clean carpets and rugs, paying special attention to high-traffic areas.
  3. Change bed linens: Strip the bed and replace it with fresh sheets, pillowcases, and bedding.
  4. Organize closets: Declutter and organize clothing, shoes, and accessories in closets and drawers.
  5. Wipe down surfaces: Clean bedside tables, lamps, and any other surfaces with a damp cloth.

Living Room:

  1. Dust the furniture: Dust all surfaces including coffee tables, bookshelves, and entertainment centers.
  2. Vacuum upholstery: Use a vacuum cleaner with upholstery attachments to remove dust and debris from sofas, chairs, and cushions.
  3. Clean windows and window treatments: Wipe down windowsills and frames, and dust or wash curtains or blinds.
  4. Declutter surfaces: Clear clutter from tables and shelves, and organize items in decorative baskets or bins.
  5. Vacuum floors: Vacuum floors thoroughly, including underneath furniture and in corners.

Dining Room:

  1. Dust and polish furniture: Dust dining table, chairs, and any other furniture with a microfiber cloth.
  2. Clean dining table: Wipe down the dining table with a damp cloth to remove crumbs and spills.
  3. Wash tableware: Wash dishes, utensils, and glassware used during cleaning breaks or meals.
  4. Dust light fixtures: Dust chandeliers or pendant lights, and wipe down light switches and fixtures.
  5. Sweep or vacuum floors: Sweep or vacuum dining room floors, and mop if necessary to remove any remaining dirt or debris.

Step 6: Target High Traffic Areas

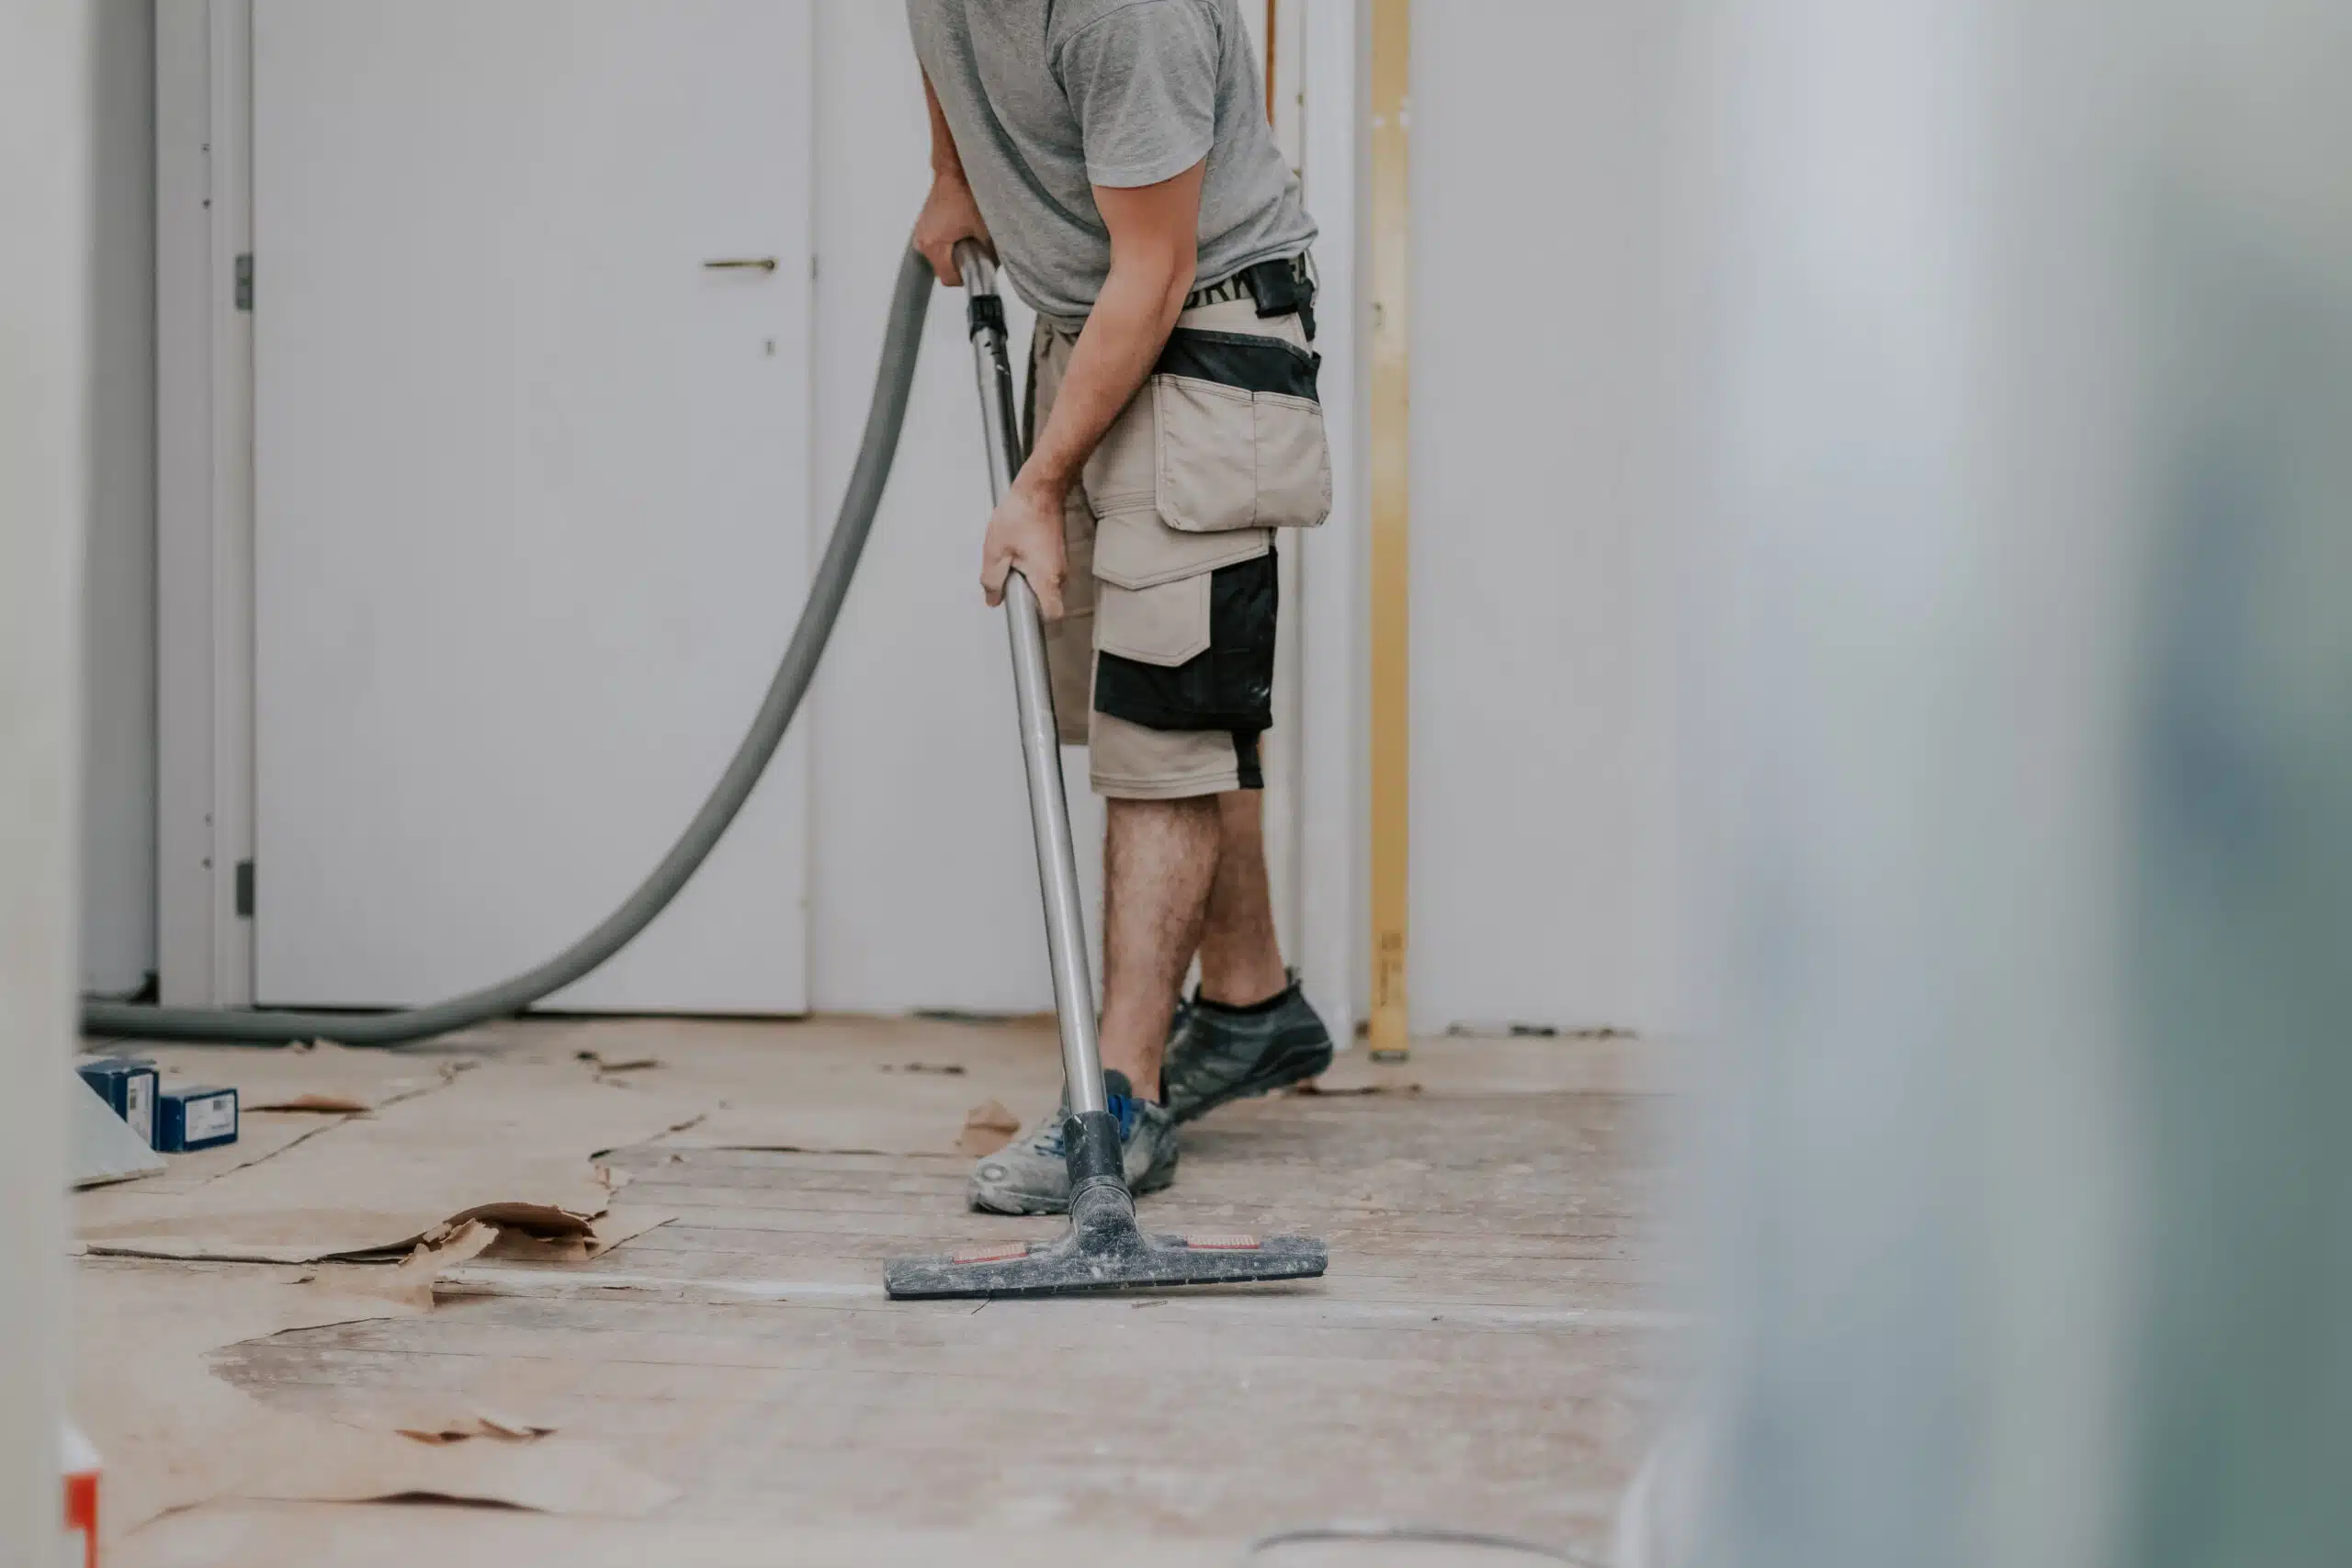
High-traffic areas like floors, windows, walls, and floors require special attention during spring cleaning. Start by vacuuming and mopping floors throughout your house, paying extra attention to spots that see the most activity. Use a vacuum with attachments to reach into corners and under furniture where dust accumulates. For hard floors, opt for a gentle cleaner appropriate for the surface. Consider steam cleaning carpets and upholstery to deeply cleanse and eliminate embedded dirt and allergens.

Next up, let’s get on with those windows! Begin by clearing away debris from frames and sills, then wash windows using a mild solution or commercial cleaner. Dry them carefully to prevent streaks. For outdoor windows, use a hose or pressure washer to remove dirt before washing.

spring cleaning in the bedroom

Step 7: Check up on HVAC Filters 

As part of your spring cleaning routine, don’t forget to check and replace HVAC filters and batteries in smoke detectors and carbon monoxide detectors. These tasks make sure that your home’s air quality remains optimal and that your safety devices are in proper working order.

Homeowners in cold climate cities like Minneapolis and Chicago use spring as the moment to flush out months of trapped heating dust from their ductwork and inspect furnace components before storing them for the warmer season, those in humid markets like Houston and Miami prioritize mold inspections inside vents and coil cleanings to reset after a long moisture heavy winter, families in high pollen regions like Atlanta and Dallas focus heavily on filter upgrades and air purifier maintenance as allergy season peaks, and right here in the desert where winter still pushes dust through every vent in the house, booking a professional service like Air Duct LV providing certified air duct cleaning services, inspecting dryer vents for lint buildup, checking exhaust fans in bathrooms and kitchens, and testing your thermostat calibration ensures that spring cleaning goes beyond the surface and addresses the hidden systems that keep your home running safely and efficiently all year long.

Step 8: Add a little DIY for Spring Decor 

Inject some creativity into your spring cleaning routine by incorporating DIY projects around the house. Consider painting an accent wall, refreshing furniture with a new coat of paint, or creating a gallery wall with framed photos or artwork. These simple DIY projects can breathe new life into your home and make it feel fresh and rejuvenated for the season ahead.

Treat your spring cleaning like holiday cleaning by incorporating seasonal decor and accents into your home. Swap out heavy winter textiles for lighter fabrics, add pops of color with fresh flowers or vibrant throw pillows, and bring in natural elements like potted plants or botanical prints. 

Step 9: Reward Yourself 

After putting in the hard work of spring cleaning your home, it’s important to take some time to reward yourself for a job well done. Treat yourself to a well-deserved break and indulge in activities that bring you joy and relaxation.

Sit back, relax, and enjoy a few moments of peace and quiet. Put your feet up, sip on your favorite beverage, and simply unwind. Escape into the pages of a good book and let your mind wander to far-off places or dive into a captivating story.

Spend quality time with your partner by cooking a delicious meal together. Or treat yourself to some pampering with a DIY spa day at home. Draw a warm bath, light some candles, and indulge in a luxurious soak. Do anything that brings you joy after a tiring day of cleaning, scrubbing, and decluttering. 

Wrapping Up

Mastering the art of spring cleaning doesn’t have to be a daunting task. By following the best spring cleaning tips mentioned in this guide, you can tackle your spring cleaning like a pro and achieve a fresh and rejuvenated home.

Starting with smaller tasks helps prevent overwhelm while targeting high-traffic areas ensures a thorough clean. Don’t forget to add a touch of DIY creativity and embrace the opportunity to redecorate for the season ahead. And if spring cleaning becomes too overwhelming, remember that you can always rely on the professionals at My Cleaning Angel to handle the rest, allowing you to enjoy a sparkling clean home without the stress!

spring clean like pro

FAQs

What’s the best way to tackle spring cleaning if I have a busy schedule?

If you have a busy schedule, it’s essential to prioritize tasks and break them down into manageable chunks. Consider setting aside dedicated time slots for spring cleaning tasks or taking the help of family members or professional cleaning services to lighten the workload.

What should I do with items I no longer need during spring cleaning?

Items you no longer need during spring cleaning can be donated to charity, sold or given away to friends or family, or disposed of responsibly. Consider decluttering and organizing items before deciding their fate and remember to recycle or properly dispose of any items that cannot be donated or reused.

how long to deep clean
8 House Cleaning Tips for Seniors

8 House Cleaning Tips for Seniors

Maintaining a clean and organized home is not just about aesthetics. It’s also vital for creating a safe and comfortable living environment, especially for seniors. However, we understand that as the years go by, certain house cleaning tasks may become more challenging. Simple daily activities, like dusting shelves or bending down to pick up cluttered items, might not be as easy as they once were. 

Therefore; we offer you a list of 8 easy house cleaning tips for seniors that will simplify the cleaning routine. These practical suggestions are designed to make the cleaning process more manageable and will help seniors enjoy a neat living space without unnecessary stress.

Key Takeaways

Before we dive into the details of the cleaning tips for seniors, let’s see an overview of everything you can expect from this blog:

  • Use extendable cleaning tools to avoid dangerous climbs and falls
  • Organize your cleaning supplies on a rolling rack for convenience
  • Opt for natural cleaning solutions to promote a healthy indoor environment
  • Break your cleaning tasks into smaller, manageable portions to avoid exhaustion
  • Declutter your living space to reduce hazards and stay organized
  • Employ labeled bins and containers for efficient storage
  • Clean your bathroom using vinegar-based solutions
  • Protect your back by avoiding bending during floor cleaning.

book cleaning service online

Use Extendable Cleaning Tools

No one can deny that cleaning is a challenge, taking time out of your routine or busy schedule, gathering the supplies, and then getting to work. It takes time and effort and as you age, things get even tougher. This is because most seniors face challenges because of mobility and balance. Climbing on ladders or overstretching to reach high spots can lead to accidents, falls, or injuries. This is where clever inventions like extendable tools come in handy. Seniors can use these to access areas like ceilings, shelves, and cupboards without the risk or fear of falling or straining their bodies. It’ll help learning cleaning tips for seniors with us.

Benefits of Using Extendable Cleaning Tools

  • These tools significantly reduce the risk of falls or injuries while cleaning
  • Seniors can clean high areas effortlessly without physical strain
  • They can be used for a wide range of cleaning tasks, from dusting to wiping surfaces
  • Seniors can maintain their homes independently, promoting a sense of accomplishment. 

Cleaning Supplies

Efficient cleaning begins with organizing your supplies. Managing your cleaning supplies effectively is one of the most important steps of any cleaning routine for several reasons:

  • Convenience – an organized cleaning kit so that you have everything you need close at hand.
  • Reduced physical strain – seniors need to avoid unnecessary movements and heavy lifting.
  • Time-saving – efficient organization means you spend less time searching for the right tool and more time cleaning.

What You Will Need

  • Cleaning solutions like all-purpose cleaners, disinfectant spray or wipes, glass cleaner
  • Bathroom supplies like a non-slip bath mat, long-handled scrub brush, toilet brush with an extended handle, and squeegee for shower or bathtub
  • Dusting and surface cleaning supplies including microfiber dusting wand or cloth, extendable duster with a long handle
  • Baking soda for absorbing odors
  • A small trash can with a lid and disposable liners
  • Safety Equipment, which includes gloves for protection and a face mask if needed
  • Personal care items like hand sanitizer and disposable or washable cleaning cloths for personal hygiene
  • Dolly or cart for moving heavy items

senior_home_ceiling_fan_cleaner_plain_apron

Choose a Rolling Rack

A compact rolling cart loaded with all your cleaning essentials is the solution to all your cleaning troubles. This cleaning tip for seniors to your cleaning routine can make a significant difference. Here’s why:

  • Easy Mobility

The rolling rack allows you to move your cleaning supplies effortlessly from room to room. No more constant back-and-forth trips to your storage area, saving you time and energy.

  • No Heavy Lifting

Seniors often struggle with lifting heavy buckets or bags of cleaning products. With a rolling rack, you don’t need to carry anything. Just push the cart.

  • Accessibility

Everything you need is at your fingertips. Whether it is microfiber cloths, brooms, vacuums, mops, or cleaning spray bottles, you can access them instantly without hassle.

How to Set Up Your Rolling Rack

  • Choose a rolling rack with the right size and number of shelves to accommodate your cleaning supplies.
  • Organize your cleaning tools and products. Make sure everything has its designated place on the rack.
  • Keep frequently used items on the top shelf for easy and quick access.
  • Place the rolling rack in a convenient location where you can start your cleaning tasks.

Declutter Your Living Space

Decluttering your living space is a beneficial process that can enhance your safety, well-being, and overall quality of life as a senior. It is also said to be therapeutic. So, how to declutter easily and efficiently? Let’s see:

Set Clear Objectives

  • Define your decluttering goals
  • Choose what to achieve – more space, safety, or organization
  • Specific goals keep you focused and motivated.

Choose a Specific Area

  • Start with a manageable space like a closet
  • Focusing on one area builds confidence
  • Prevents feeling overwhelmed.

Sorting and Decluttering

  • Use sorting categories: Keep, donate, throw away
  • Assess each item for value, utility, and emotion
  • Efficiently decide what to keep and let go.

Maintenance and Benefits

  • Maintain a clutter-free living space
  • Regular reviews prevent re-cluttering
  • Enjoy the benefits: accomplishment, safety, comfort.

rolling rack

Wipe Down Surfaces

Cleaning and disinfecting surfaces is an essential part of maintaining a healthy and safe living environment. As a senior, it’s important to do this task effectively while considering your physical well-being. Here are some cleaning tips for seniors for wiping down surfaces:

Gather Your Supplies

Before you start cleaning, gather all your cleaning supplies. Having everything at hand will save time and energy, preventing the need to move back and forth during cleaning.

Choose the Right Cleaning Products

Opt for cleaning products that are both effective against germs and safe for your surfaces. Many seniors prefer milder, eco-friendly cleaners to avoid harsh chemicals that can be irritating.

Take Your Time

Cleaning surfaces thoroughly requires time and attention to detail. Focus on one area at a time, especially if you have limited stamina. Avoid rushing through the task to ensure cleanliness and safety.

Use Proper Techniques

When wiping down surfaces, use long, sweeping motions rather than vigorous scrubbing. Apply consistent pressure but avoid excessive force to prevent strain or fatigue. Let cleaning solutions sit for a few minutes on stubborn stains before wiping.

Maintain a Cleaning Schedule

Consistency is key to maintaining a clean living space. Develop a regular cleaning routine that aligns with your energy levels and abilities. Frequent, lighter cleaning sessions are more manageable than infrequent, intensive ones, ensuring a clean and safe environment.

Clean Your Bathroom

Maintaining a clean bathroom is essential for hygiene and safety, but it can be physically demanding. You can achieve a spotless bathroom with the help of natural ingredients like vinegar. Here are some useful cleaning hacks:

Limescale Removal

Limescale buildup on faucets and showerheads is a common issue. Instead of vigorous scrubbing, place towels soaked in vinegar over these fixtures. The vinegar’s acidity helps dissolve limescale and makes it easier to wipe away.

Vinegar’s natural disinfecting properties make it effective in removing germs. Therefore; vinegar-soaked paper towels or cloths can also be used in your bathroom’s deep cleaning; to get rid of stubborn stains or mold. Apply these to the areas that need extra attention. 

Toilet Bowl Care

Keeping your toilet clean and disinfected is crucial. A simple method of cleaning the toilet bowl is filling a jar with vinegar and placing it in the toilet tank. With each flush, a small amount of vinegar will be released, which will help to prevent stains and odors.

cleaning tips for seniors

Protect Your Back While Cleaning Floors

For seniors, back sprains and joint issues are common concerns while cleaning floors. It is important to adopt the right techniques to prevent these. Here’s how to protect your back:

Avoid Bending

Bending over while scrubbing and mopping can hurt your back and joints. Instead, opt for a more back-friendly approach. Use spray bottles filled with a mixture of vinegar and water. This allows you to apply the cleaning solution evenly across the floor without heavy lifting or bending.

Microfiber Mops

Invest in a microfiber mop with an extendable handle. These mops are lightweight and can reach even the most distant corners without requiring you to stoop or apply excessive force.

Extendable Vacuum

Consider using an extendable vacuum cleaner designed for various floor types. This tool eliminates the need for manual scrubbing and ensures efficient and back-friendly cleaning.
Vacuuming is a common household chore, but for seniors, it’s important to ensure safety while cleaning.

Conclusion

Cleaning your home should always be a manageable task, regardless of your age. These easy house-cleaning tips for seniors are designed to simplify the cleaning process and promote a clean, safe, and comfortable living space. A clean home is a healthy and happy home indeed, but you don’t have to do it all by yourself. This is why reputable companies like My Cleaning Angel exist, so they can make cleaning as easy for you as possible, by taking the burden off of you. These professionals can tackle any cleaning job effectively, whether it is major or minor.

cleaning tips for seniors

FAQs

Why is house cleaning important for seniors?

House cleaning is necessary for elders to live in a safe and healthy environment. It aids in the prevention of accidents, lowers exposure to allergens and bacteria, and promotes general health.

How often should seniors clean their homes?

The frequency of cleaning depends on individual needs and the size of the home. Generally, seniors should aim for regular light cleaning and more thorough deep cleaning a few times a year.

Should elderly people use professional cleaners?

It’s a fantastic alternative, especially if a senior struggles with housekeeping. Professional cleaners can do comprehensive and effective cleaning so it is highly recommended that seniors should opt for hiring cleaning services rather than doing these chores by themselves.

Is there any cleaning advice for seniors with allergies or respiratory problems?

Seniors with allergies or respiratory issues should use HEPA filters in vacuums, dust using moist towels, and clean with adequate ventilation.

Remember that the unique needs of elders can vary, so it is important to tailor cleaning strategies to individual circumstances and health conditions.

how long to deep clean
The Step by Step Process of Post Construction Cleaning

The Step by Step Process of Post Construction Cleaning

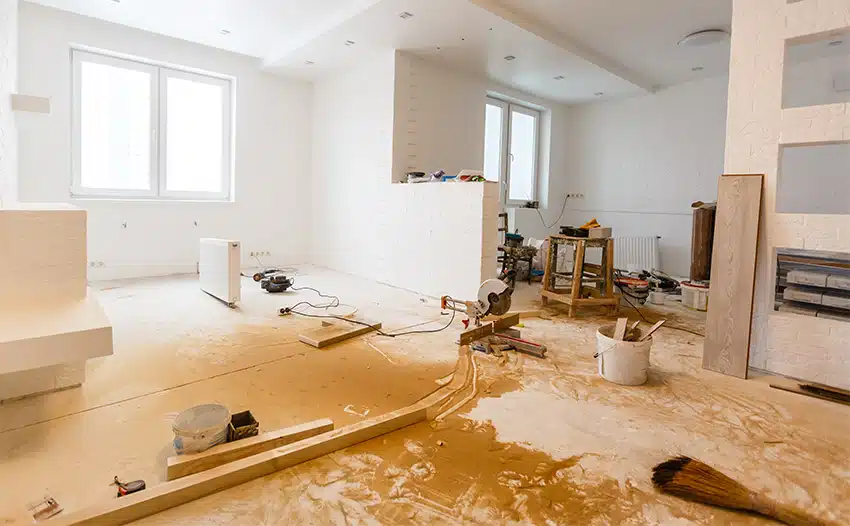
As the final nails find their place and construction dust settles, the natural progression for any commercial or residential property is post-construction cleaning. Beyond aesthetics, it ensures a safe and healthy environment by eliminating any construction residue, allergens, and potential hazards left behind after construction.

In this blog, we’ll explain the step-by-step process of post-construction cleaning, including the essential equipment you will need, the necessary precautions, and how to tackle each cleaning task effectively. 

Key Takeaways

  • Gather tools like vacuum cleaner, brooms, mop, scrub brush, and protective gear for efficient post-construction cleaning.
  • Identify and handle hazardous materials cautiously; prioritize ventilation, and wear appropriate protective gear like gloves and dust masks.
  • Begin with area preparation; clear debris using brooms, vacuums, and dusting tools.
  • Eliminate residual dust, conduct a thorough deep clean, address walls, ceiling, and windows, mop floors, clean air vents, and give attention to the exterior.

book cleaning service online

Essential Equipment and Products for Post-Construction Cleaning

Equipping yourself properly for post-construction cleaning is key to ensuring efficiency and safety. Here’s a breakdown of the equipment and products you’ll need, as well as essential personal protective gear:

Cleaning Equipment and Products

  • Vacuum cleaner – a tool with various attachments to efficiently remove dust and debris from different surfaces.
  • Brooms and dustpans – ideal for sweeping up larger debris like wood chips or broken glass.
  • Mop and bucket – essential for cleaning hard floors, particularly those with stubborn stains or grime.
  • Scrub brush – useful for tackling surfaces with tough dirt or grime, such as tile grout or bathroom surfaces.
  • Cleaning cloths and towels – make sure to have a variety, including microfiber cloths, rags, and paper towels for different cleaning needs.
  • Cleaning solutions – gather various solutions for different surfaces and types of dirt, like a degreaser for kitchens or a glass cleaner for windows.
  • Protective gear – safety first: wear gloves, safety glasses, and respirators if necessary to protect yourself during cleaning.
  • Ladders – for reaching high areas like ceilings or light fixtures.
  • Trash bags – heavy-duty bags for efficient disposal of debris and waste.
  • Sponges and scouring pads – handy for diverse cleaning tasks, such as scrubbing countertops or removing stubborn stains.

Personal Protective Equipment (PPE)

Always prioritize safety when cleaning a construction site. Here’s the PPE you should consider:

  • Rubber-soled shoes – closed-toe shoes with rubber soles protect from sharp objects and potential hazards.
  • Rubber gloves – protect your hands from chemicals and sharp objects.
  • Dust mask – shield your lungs from harmful debris and dust during the cleaning process.
  • Goggles or eye protection – prevent any irritations or injuries to your eyes from debris or cleaning agents.

equipment for post construction cleaning

Precautions for Post-Construction Cleaning

When it comes to the process of post-construction cleaning, safety is the name of the game. With potentially hazardous materials and sharp objects in the mix, taking precautions is a must. So, how to stay safe:

Spotting Hazardous Materials

Before you start cleaning, be on the lookout for things like asbestos, lead, mold, and other toxic substances. Handle them with care following the right procedures.

Let the Air In

Keep things airy, especially if you’re using chemicals. Open windows and doors to let fresh air in and make sure there’s good airflow in the cleaning area.

Handle Chemicals like a Pro

Read and follow the instructions on your cleaning chemicals. Wear the right gear, don’t mix different chemicals without proper knowledge, and store them safely away from heat and flames.

Watch Out for Sharp Stuff

Be cautious with sharp objects like nails and broken glass. Handle them carefully and consider using a magnet to pick up small metal bits.

Climbing Up? Do It Safely

If you’re using a ladder for high spots, be careful. Make sure it’s secure, and on a stable surface, and avoid overreaching or standing on the top rungs.

Trash Disposal Done Right

Follow local rules for waste disposal. Keep it simple: don’t mix different types of waste, label hazardous materials, and store them securely until disposal.

process of post construction cleaning

The Step-by-Step Process of Post-Construction Cleaning

Now that everything is ready, it’s time to start the process of post-construction cleaning. We will take you through each step, making sure your new space transforms from construction chaos to sparkling clean simplicity.

  • Step 1: Ready, Set, Prep the Area

A little organization goes a long way. Start smart by cleaning from the farthest point, moving top to bottom and inside to outside, ensuring dust and dirt are consistently directed outside. 

Make the area as dust-free as possible before intensive cleaning. It not only eases your final task but is safer for your well-being. Seal off unaffected rooms with plastic sheeting (grab it from your local hardware store) and use masking tape for a secure fit. Remember to block vents and openings with additional plastic sheeting to protect your HVAC system.

  • Step 2: Clearing the Path

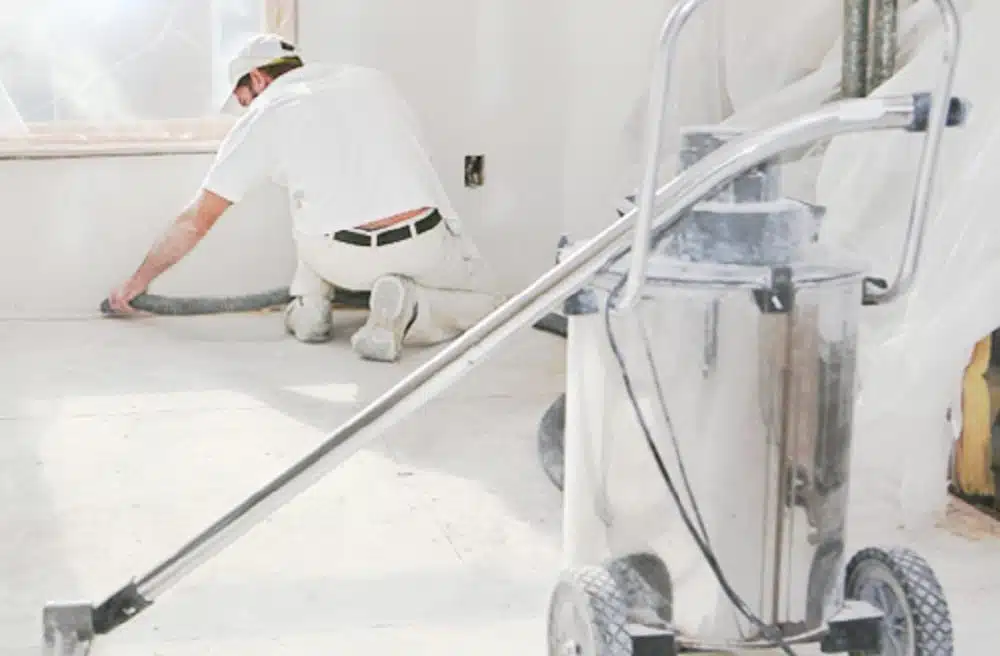
In the second phase of post-construction cleaning, the focus is on clearing away all debris and dust lingering from the construction process. This includes both substantial items like construction materials and the finer dust particles settled on surfaces; floors, walls, and any décor, etc. You can utilize a combination of brooms, vacuums, and dusting tools to meticulously clean the area, clearing up some space for the deep cleaning ahead. 

Efficiently dispose of the waste using wheelbarrows, or dumpsters, or consider professional debris removal services for larger items. When tackling smaller debris, opt for a vacuum equipped with a HEPA filter to ensure the removal of tiny particles and dust. 

  • Step 3: Removing the Residual Dust

From stickers on doors to mortar and plaster residues, excess grout, and various types of dust, we’re tackling them all during this step.

Drywall and Plaster Dust

Create a cleaning solution with 2 cups of white vinegar in a gallon of warm water. Gently mop small areas, keeping them as dry as possible, and quickly dry them with a towel. Repeat until your surfaces shine, changing the solution when it gets cloudy.

Brick and Mortar Dust

Heavier than other dusts, brick dust demands extra care. Begin by vacuuming with a powerful nozzle, and then dilute 1.5 cups of hydrogen peroxide in a gallon of water. Use soft cotton rags for wiping hard surfaces, taking care not to press too hard to avoid scratches. For soft surfaces like carpets, use a stiff-bristled brush to scrub the dust; avoid wetting brick dust on soft surfaces to prevent staining.

Spackling Paste

Scrape spackling paste with a plastic putty knife to avoid surface damage. On tiles, wet the paste for softening before scraping, then wipe clean. On wood, use wood oil for softening before scraping. For carpets, let the paste dry completely, break off as much as possible, and then use a carpet cleaner.

equipment for post construction cleaning

Step 4: The Deep Clean

Now that the heavy lifting is done, it’s time for the deep clean, ensuring every nook and cranny sparkles. You can do this the day after the rough clean or, if you’re up for it, dive right in. We’ve got your checklist for each room:

Kitchen

Hold off on the cooking for about a week after this deep clean. Here’s your kitchen checklist:

  • Dust all cabinet tops, counters, shelves, ceiling fans, and door and window frames
  • Deep clean inside and out of cabinets and drawers
  • Clean appliances inside and out
  • Scrub sinks and faucets
  • Clean counters, backsplash, and walls
  • Clean light switches and fixtures
  • Vacuum air vents
  • Vacuum and mop the floor.
  • Clean the sink and stovetop using a degreaser

Bathrooms

Priority is key here – ensure that it’s sanitary and move-in ready:

  • Remove marks or paint stains from walls and baseboards
  • Deep-clean and disinfect all surfaces
  • Vacuum and mop the floor
  • Clean cabinets and drawers inside and outside
  • Clean windows and glass surfaces
  • Clean doors, including doorknobs and frames
  • Clean light fixtures
  • Polish stainless steel surfaces
  • Clean and disinfect exhaust fans, filters, and ventilation grills
  • Remove all trash.

Other Interior Rooms

Apply this checklist to any other room in the house:

  • Dust cabinets, shelving, ceiling fans, and door and window frames
  • Deep clean inside and out of closets, cabinets, and drawers
  • Clean walls, windows, and baseboards
  • Clean light switches and fixtures
  • Vacuum air vents
  • Vacuum floors
  • Mop hard floors.
  • Step 5: Tackle the Walls, Ceiling, and Windows

Turning our attention to the vertical spaces, we start with the ceiling – equip yourself with a long-handled mop and your chosen cleaning solution. Mop side to side for a comprehensive cleanse, ensuring every dust particle is swept away. To combat construction dust, utilize a sponge or soft-bristled brush, followed by a damp cloth and soapy water, with regular rinsing for a flawless finish. Pay meticulous attention to corners and light switches. 

Similar to the ceiling, use a damp cloth and soapy water to wipe down the walls. Begin by removing dirt from crevices with a sponge or soft-bristled brush. Rinse your clothes regularly during the cleaning process to ensure all soap is removed. Give special attention to corners and intricate details where dust might linger. 

For windows, a water-dampened soft rag removes dust, with a follow-up of streak-free glass cleaner for that crystal-clear view. With these straightforward steps, your walls, ceiling, and windows will gleam, adding the final touch to your post-construction cleaning journey.

  • Step 6: Mop the Floors

After the construction crew leaves, it’s normal for your floors to look a bit rough, but fear not—reviving them is a breeze.

Ceramic Tile Floors

Ceramic tile floors need more than a shower to sparkle. Start by vacuuming, and then mix warm water with a mild cleanser in a bucket. Mop with a micro-fiber mop, avoiding sponge mops as they struggle with grout tracks. Opt for a circular motion for a thorough clean.

Hardwood Floors

Dust off the hardwood floor using a floor brush attachment on your vacuum cleaner to prevent scratches. Mop with warm water using a soft towel. For that extra shine, use a wood polishing product after the post-construction cleaning to repel dust.

Carpets and Rugs

Begin by vacuuming with a new filter bag at the highest power level for maximum effectiveness. Since we’re dealing with dust, avoid washing, as it can worsen the situation. If not done correctly, dust might turn into stubborn dirt, requiring professional carpet cleaning.

Laminate Floors

Laminate flooring is tough. Dust, sweep, or vacuum without using scratchy attachments, similar to hardwood floors.

cleaning floors post construction

Step 7: Clean Air Vents and Replace Filters

In the aftermath of a renovation, dust can sneak into the air vents, affecting the air you breathe. Whether your project covered the entire home or just a part of it, showing some care to your air vents is vital for fresh indoor air.

Here’s the drill: Remove vent covers from walls and ceilings, give them a good wash with soap and warm water, and let them air dry completely. Before putting the covers back, swap out any exposed air filters with fresh ones. This step isn’t just about cleanliness; it’s about making sure the air in your home is as crisp as your newly renovated space. Skipping this might lead to allergies or respiratory issues, so take a moment to keep the air flowing fresh and clear.

  • Step 8: Revive the Exterior

As you wrap up the transformation inside, don’t forget the exterior; time for a little outdoor TLC. Here’s a simple checklist to guide your post-construction outdoor cleaning:

Remove Debris

Begin by clearing away any construction leftovers in the yard, garage, or other outdoor areas. Nails, screws, sawdust, and miscellaneous materials should bid farewell.

Wash Exterior Walls

Grab a pressure washer to breathe new life into your exterior walls. Blast away dirt, dust, and debris to reveal the true beauty of your outdoor surfaces.

Windows

Let the light in! Give all windows a sparkling clean with a reliable glass cleaner.

Gutters

Ensure smooth water flow by cleaning out gutters. Remove debris and keep an eye out for any potential damage.

Walkways and Driveways

Sweep away the remnants of the construction journey from walkways and driveways. A clean path sets the tone for your refreshed space.

Patios and Decks

Sweep off patios and decks, then wield the power of a pressure washer to banish any lingering dirt and debris.

Fences and Gates

A pressure washer is your ally here too. Give fences and gates a thorough cleaning, restoring them to their former glory.

Wrapping Up

And there you have it—the final brushstroke in your post-construction cleaning masterpiece! Your space has officially shed the remnants of construction, and it’s now a clean, inviting canvas ready for the next chapter.

We understand that amid the excitement, there might have been moments of feeling overwhelmed by certain tasks. That’s where My Cleaning Angel steps in to lend a helping hand. Our team of professional and vetted cleaning experts is here to take care of every post-construction cleaning task meticulously, so you can savor the excitement of moving into a new space without the hassle of cleaning! Book cleaning services online now, it’s fast and easy, you won’t regret.

clean post construction living room

FAQs

How to protect yourself during the process of post-construction cleaning?

Always wear appropriate gear, including gloves, safety glasses, dust masks, and, if necessary, respirators. Closed-toe, rubber-soled shoes are essential to protect against hazards like broken glass and nails.

How hard is post-construction cleaning?

Post-construction cleaning involves steps beyond regular cleaning, requiring additional skills and specialized tools. Tasks may include using wet and dry vacuums, commercial floor polishers, steam cleaners, and shop vacuums. While these tools can be rented, hiring cleaning professionals is advisable if you’re uncertain about their usage.

What are the phases of post-construction cleaning?

  • Rough Cleaning

Clearing visible debris like dust, paint overspray, adhesives, and masking materials. Includes thorough vacuuming, dusting, and mopping.

  • Thorough Cleaning

Revisiting tasks from the first stage, emphasizing interior surfaces with microfiber rags and neutral cleaners for residue-free cleanliness.

  • Touch-up Cleaning

Meticulously addressing fine details, typically done a few days after the second cleaning to catch any remaining settled dust or dirt.

how long to deep clean
When is the Right Time to Start Spring Cleaning?

When is the Right Time to Start Spring Cleaning?

The last of the snowfall has melted away, the holiday decorations are safely tucked back into the attic, and there’s a subtle warmth in the air – can you feel it? It’s the unmistakable sign that spring is right around the corner! As the Sun begins to shine bright and the holiday season wraps up, there’s a parallel urge that creeps in for many of us: the desire to freshen up our home for spring. 

It’s time to open those windows wide, let the crisp breeze in, and set on the annual tradition, it’s time to start spring cleaning. But when is the most suitable moment to begin spring cleaning? Join us as we explore the ideal moment to get in the spirit of house cleaning and give your home a vibrant, clutter-free start to the season!

Key Takeaways

  • Watch for warmer weather, longer days, and allergy triggers as signals to begin spring cleaning.
  • While no fixed date, starting around March 20th aligns well with changing weather patterns and daylight, making it an ideal kick-off.
  • Make the process efficient with room-specific tasks from the kitchen to the home office, so no space is overlooked.
  • Keep it simple with an all-purpose cleaner, vacuum, broom, and more for effective and hassle-free cleaning.

book cleaning service online

What is Spring Cleaning and When Should You Start It?

Spring cleaning is a traditional practice of thoroughly cleaning and organizing your home during the spring season. It goes beyond regular cleaning routines, involving tasks like deep cleaning, decluttering, and reorganizing spaces. The idea is to refresh the home after a long winter and prepare it for the warmer months ahead.

Here are some common signs that it’s the best time to start spring cleaning:

Changing Weather Patterns

As winter turns into spring, the weather starts warming up, giving us a heads-up that it’s time to start spring cleaning. As things get toastier, we get a chance to throw open our windows, letting in the fresh air. This is the perfect moment to take care of tasks that might have been put on the back burner during the colder days. Think cleaning windows, drapes, and other spots that could use a good breeze to freshen up.

Increased Daylight Hours

When spring rolls in, it brings longer days and more sunlight. The extra daylight makes it a breeze to see where our homes need a little TLC. With all that natural light streaming in, we can easily spot and tackle dust, dirt, and grime hiding in corners and overlooked nooks – things that might have been missed during the darker winter months.

Allergy Symptoms

Spring is famous for causing allergies, thanks to blooming flowers and pollen floating in the air. When those sneezes and sniffles start, it’s nature’s way of nudging us to start our spring cleaning. Getting rid of dust, giving the vacuum a workout, and cleaning our bedding can make a big difference. It helps reduce allergens, giving relief to allergy sufferers and making our homes a healthier place to be.

Traditionally, the start date for spring cleaning should be from March 20th and onwards. According to the 2019 National Cleaning Survey by the American Cleaning Institute, 77% of households in the US spring clean every year, and on average, spring cleaning takes six days to finish. 

Considering the amount of time it takes, you should aim to start the process when you feel motivated and have sufficient time to dedicate to the tasks. Many find that March or April align well with the natural shifts in weather and daylight, providing an ideal window to kickstart the spring cleaning routine.

table with flowers

Week-Long Spring Cleaning Plan: March 20th Onwards

Here’s a simple guide to the cleaning supplies you’ll need for a successful and stress-free session:

  • All-Purpose Cleaner: A handy solution for various surfaces like tables, countertops, and appliances.
  • Glass Cleaner: Perfect for sparkling windows, mirrors, and glass surfaces.
  • Disinfectant Wipes or Spray: Keep high-touch areas germ-free, such as doorknobs, light switches, and handles.
  • Dust Cloths or Microfiber Cloths: Ideal for dusting surfaces without spreading it around.
  • Vacuum Cleaner: Essential for carpets, rugs, and hard-to-reach spots.
  • Broom and Dustpan: Sweep away dust and debris from your floors.
  • Bucket and Cleaning Rags or Sponges: Perfect for various tasks, from scrubbing surfaces to wiping down walls.

If you plan to start your spring cleaning on March 20th, then you are in for a treat. Here is a day-by-day cleaning action plan, the most detailed yet concise that you have ever come across! Let’s begin; prep the home for spring: 

1st Day: March 20th – Kickoff and Declutter

  • Begin with high-traffic areas.
  • Tackle the entryway by creating a designated space for shoes and coats.
  • Dust surfaces with a microfiber cloth for a thorough clean.
  • Rotate or flip sofa cushions to maintain their shape.
  • If cushions are removable, vacuum the undersides for a deeper clean.

2nd Day: March 21st – Kitchen Deep Dive

  • Install pull-out shelves for easy access to pots and pans.
  • Utilize clear containers for pantry staples so it’s easy to identify low stock.
  • Label each container for convenience and a clutter-free look.
  • Run a vinegar cycle through your coffee maker for descaling.
  • Scrub the refrigerator coils to improve energy efficiency.

3rd Day: March 22nd – Bedroom Rejuvenation 

  • Store out-of-season shoes in labeled bins.
  • Vacuum under the bed to eliminate dust mites.
  • You can use under-bed storage drawers for shoes or seasonal items.
  • Add a bedside charging station to declutter cord chaos.

4th Day: March 23rd – Bathroom Revamp

  • Get and use a toothbrush and grout cleaner to remove tile grout.
  • Invest in stackable storage bins for a neat under-sink area.
  • Floating shelves are a great idea for extra storage and a modern look.
  • Add drawer liners for a touch of freshness.

bathroom spring cleaning

5th Day: March 24th – Office and Electronics Day

  • Sort paperwork into labeled folders for quick access.
  • Invest in a cable management box to hide unsightly cords.
  • Clean keyboard keys using a small brush or compressed air.
  • Use screen wipes for a streak-free shine on monitors and laptops.

6th Day: March 25th – Windows, Floors, and Fabrics

  • You can polish window hardware for a gleaming finish.
  • Replace or clean window screens to improve airflow.
  • Rent a steam cleaner for carpets to remove deep-seated stains.
  • Polish hardwood floors with a floor-safe cleaner for a dazzling shine.
  • Spritz upholstery with a fabric freshener for a subtle scent.
  • Launder bed linens with lavender-scented detergent for a calming atmosphere.

7th Day: March 26th – Final Touch and Celebration

  • Upgrade to smart bulbs for customizable lighting.
  • Consider dimmer switches for ambient control.
  • Arrange décor using the rule of threes for visual appeal.
  • Add a cozy throw blanket and decorative pillows for ultimate comfort.
  • Treat yourself to a scented candle and a relaxing bath. You deserve it! 

Conclusion

So to answer your question of “when is it time to start spring cleaning”, think of this: when the weather shifts, daylight stretches its arms a bit longer, and those pesky allergies make their annual appearance – that’s your cue!

From the kitchen to the bedroom, living room, bathroom, and your home office, each space deserves a bit of love and attention. Starting with small, specific tasks like decluttering and deep cleaning can turn your home into a haven of freshness.

However, if the idea of tackling spring cleaning feels a bit too daunting, don’t worry. My Cleaning Angel is here to lend a helping hand. Our experts are ready to make the process smoother, so you can sit back, relax, and enjoy the freshness of spring in your beautifully cleaned home.

time to start spring cleaning

FAQs

Can I start spring cleaning later in the season, or is it better to begin early?

Absolutely, you can start spring cleaning later if needed. While beginning early aligns with the changing weather, you can adapt. Just remember, the key is responding to the signs of spring, whether it’s budding flowers or warmer days. 

Should I involve my family in spring cleaning?

Yes, involving the family can make spring cleaning more fun and efficient. Assign tasks based on everyone’s abilities and interests. Create a schedule, play some upbeat music, and turn it into a team effort. 

How often should I deep clean my home during the spring season?

Once a year dedicated to thorough spring cleaning is common. However, doing regular maintenance cleaning throughout the season helps keep your home fresh. Small, consistent efforts can make the big annual clean less overwhelming.

What’s the difference between regular cleaning and spring cleaning?

Regular cleaning is your day-to-day upkeep, while spring cleaning is a comprehensive approach. Think of it as going beyond the basics – tackling neglected areas, decluttering, and organizing spaces.

Can I start spring cleaning later if my schedule is tight?

Absolutely! While starting earlier aligns with changing weather patterns, flexibility is key. Begin when you can dedicate time and energy, whether it’s in late March or early April.

how long to deep clean