As the final nails find their place and construction dust settles, the natural progression for any commercial or residential property is post-construction cleaning. Beyond aesthetics, it ensures a safe and healthy environment by eliminating any construction residue, allergens, and potential hazards left behind after construction.
In this blog, we’ll explain the step-by-step process of post-construction cleaning, including the essential equipment you will need, the necessary precautions, and how to tackle each cleaning task effectively.
Key Takeaways
- Gather tools like vacuum cleaner, brooms, mop, scrub brush, and protective gear for efficient post-construction cleaning.
- Identify and handle hazardous materials cautiously; prioritize ventilation, and wear appropriate protective gear like gloves and dust masks.
- Begin with area preparation; clear debris using brooms, vacuums, and dusting tools.
- Eliminate residual dust, conduct a thorough deep clean, address walls, ceiling, and windows, mop floors, clean air vents, and give attention to the exterior.

Essential Equipment and Products for Post-Construction Cleaning
Equipping yourself properly for post-construction cleaning is key to ensuring efficiency and safety. Here’s a breakdown of the equipment and products you’ll need, as well as essential personal protective gear:
Cleaning Equipment and Products
- Vacuum cleaner – a tool with various attachments to efficiently remove dust and debris from different surfaces.
- Brooms and dustpans – ideal for sweeping up larger debris like wood chips or broken glass.
- Mop and bucket – essential for cleaning hard floors, particularly those with stubborn stains or grime.
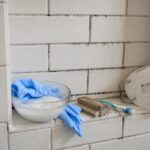
- Scrub brush – useful for tackling surfaces with tough dirt or grime, such as tile grout or bathroom surfaces.
- Cleaning cloths and towels – make sure to have a variety, including microfiber cloths, rags, and paper towels for different cleaning needs.
- Cleaning solutions – gather various solutions for different surfaces and types of dirt, like a degreaser for kitchens or a glass cleaner for windows.
- Protective gear – safety first: wear gloves, safety glasses, and respirators if necessary to protect yourself during cleaning.
- Ladders – for reaching high areas like ceilings or light fixtures.
- Trash bags – heavy-duty bags for efficient disposal of debris and waste.
- Sponges and scouring pads – handy for diverse cleaning tasks, such as scrubbing countertops or removing stubborn stains.
Personal Protective Equipment (PPE)
Always prioritize safety when cleaning a construction site. Here’s the PPE you should consider:
- Rubber-soled shoes – closed-toe shoes with rubber soles protect from sharp objects and potential hazards.
- Rubber gloves – protect your hands from chemicals and sharp objects.
- Dust mask – shield your lungs from harmful debris and dust during the cleaning process.
- Goggles or eye protection – prevent any irritations or injuries to your eyes from debris or cleaning agents.

Precautions for Post-Construction Cleaning
When it comes to the process of post-construction cleaning, safety is the name of the game. With potentially hazardous materials and sharp objects in the mix, taking precautions is a must. So, how to stay safe:
Spotting Hazardous Materials
Before you start cleaning, be on the lookout for things like asbestos, lead, mold, and other toxic substances. Handle them with care following the right procedures.
Let the Air In
Keep things airy, especially if you’re using chemicals. Open windows and doors to let fresh air in and make sure there’s good airflow in the cleaning area.
Handle Chemicals like a Pro
Read and follow the instructions on your cleaning chemicals. Wear the right gear, don’t mix different chemicals without proper knowledge, and store them safely away from heat and flames.
Watch Out for Sharp Stuff
Be cautious with sharp objects like nails and broken glass. Handle them carefully and consider using a magnet to pick up small metal bits.
Climbing Up? Do It Safely
If you’re using a ladder for high spots, be careful. Make sure it’s secure, and on a stable surface, and avoid overreaching or standing on the top rungs.
Trash Disposal Done Right
Follow local rules for waste disposal. Keep it simple: don’t mix different types of waste, label hazardous materials, and store them securely until disposal.

The Step-by-Step Process of Post-Construction Cleaning
Now that everything is ready, it’s time to start the process of post-construction cleaning. We will take you through each step, making sure your new space transforms from construction chaos to sparkling clean simplicity.
-
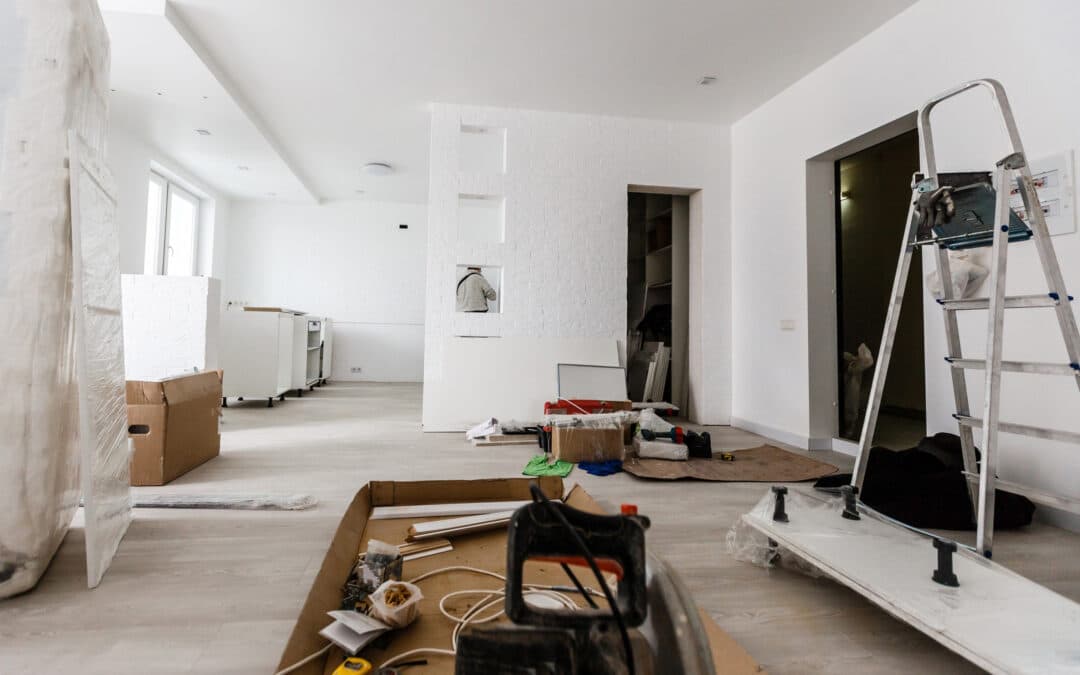
Step 1: Ready, Set, Prep the Area
A little organization goes a long way. Start smart by cleaning from the farthest point, moving top to bottom and inside to outside, ensuring dust and dirt are consistently directed outside.
Make the area as dust-free as possible before intensive cleaning. It not only eases your final task but is safer for your well-being. Seal off unaffected rooms with plastic sheeting (grab it from your local hardware store) and use masking tape for a secure fit. Remember to block vents and openings with additional plastic sheeting to protect your HVAC system.
-
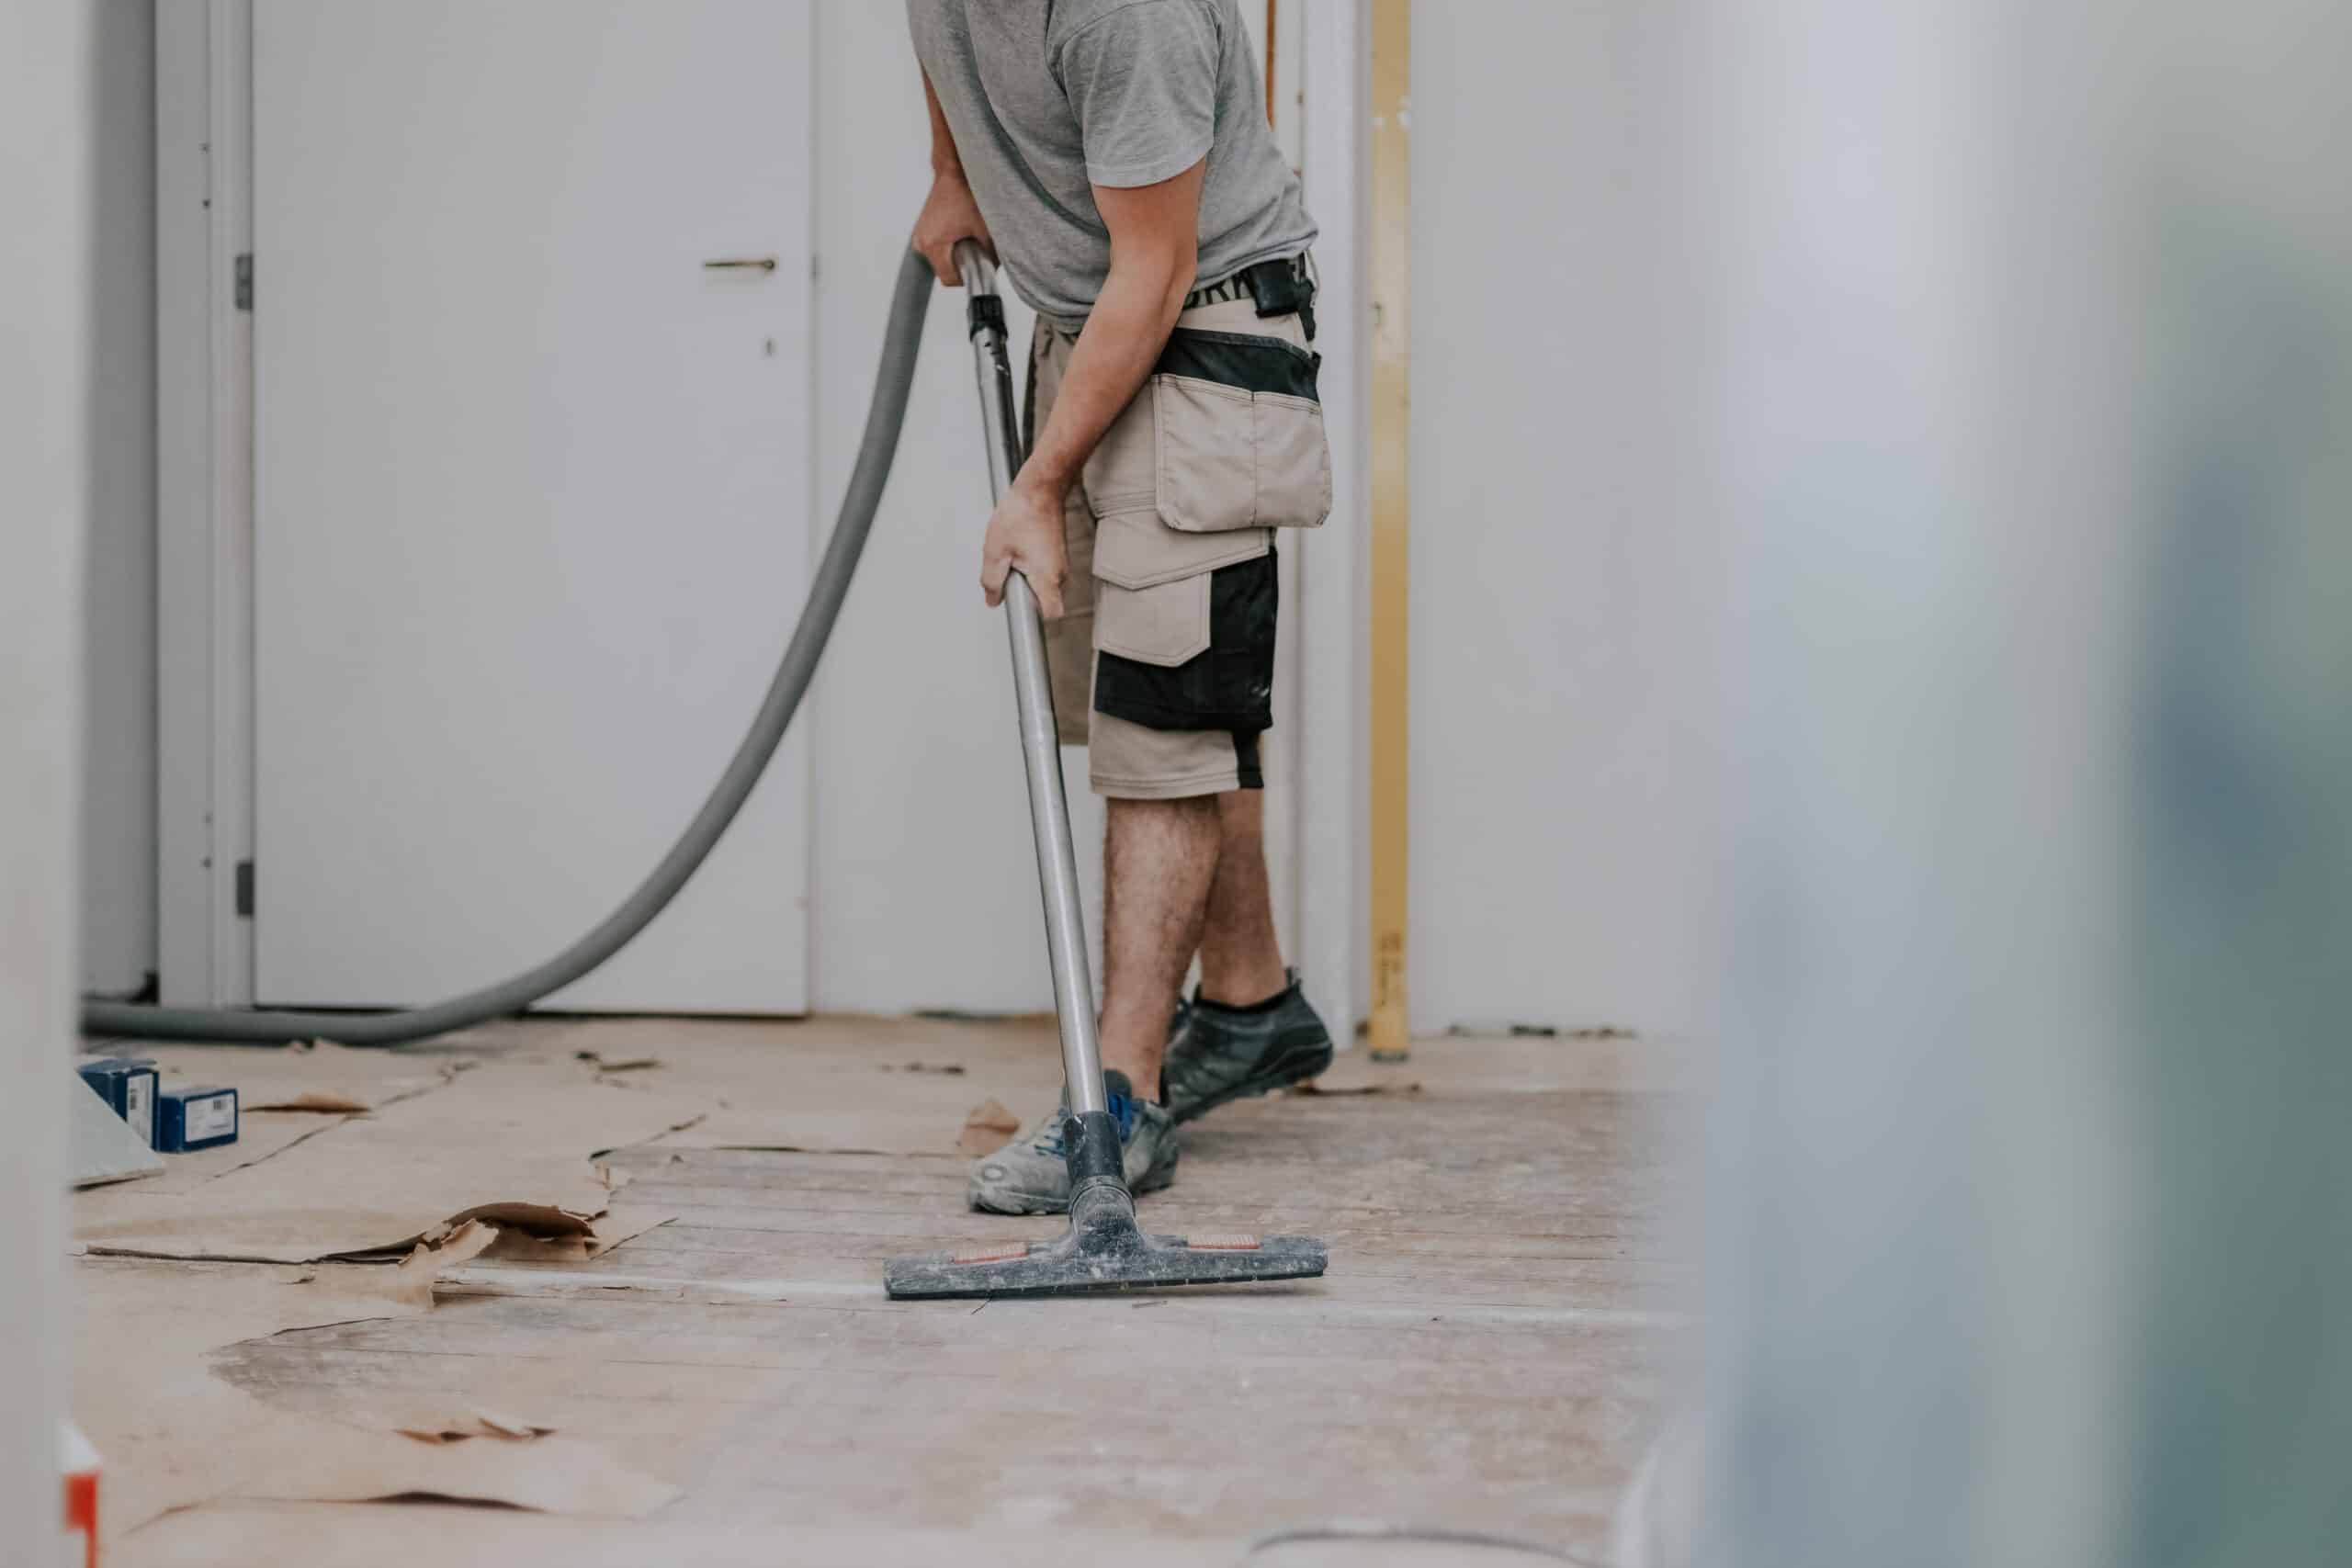
Step 2: Clearing the Path
In the second phase of post-construction cleaning, the focus is on clearing away all debris and dust lingering from the construction process. This includes both substantial items like construction materials and the finer dust particles settled on surfaces; floors, walls, and any décor, etc. You can utilize a combination of brooms, vacuums, and dusting tools to meticulously clean the area, clearing up some space for the deep cleaning ahead.
Efficiently dispose of the waste using wheelbarrows, or dumpsters, or consider professional debris removal services for larger items. When tackling smaller debris, opt for a vacuum equipped with a HEPA filter to ensure the removal of tiny particles and dust.
-
Step 3: Removing the Residual Dust
From stickers on doors to mortar and plaster residues, excess grout, and various types of dust, we’re tackling them all during this step.
Drywall and Plaster Dust
Create a cleaning solution with 2 cups of white vinegar in a gallon of warm water. Gently mop small areas, keeping them as dry as possible, and quickly dry them with a towel. Repeat until your surfaces shine, changing the solution when it gets cloudy.
Brick and Mortar Dust
Heavier than other dusts, brick dust demands extra care. Begin by vacuuming with a powerful nozzle, and then dilute 1.5 cups of hydrogen peroxide in a gallon of water. Use soft cotton rags for wiping hard surfaces, taking care not to press too hard to avoid scratches. For soft surfaces like carpets, use a stiff-bristled brush to scrub the dust; avoid wetting brick dust on soft surfaces to prevent staining.
Spackling Paste
Scrape spackling paste with a plastic putty knife to avoid surface damage. On tiles, wet the paste for softening before scraping, then wipe clean. On wood, use wood oil for softening before scraping. For carpets, let the paste dry completely, break off as much as possible, and then use a carpet cleaner.
Step 4: The Deep Clean
Now that the heavy lifting is done, it’s time for the deep clean, ensuring every nook and cranny sparkles. You can do this the day after the rough clean or, if you’re up for it, dive right in. We’ve got your checklist for each room:
Kitchen
Hold off on the cooking for about a week after this deep clean. Here’s your kitchen checklist:
- Dust all cabinet tops, counters, shelves, ceiling fans, and door and window frames
- Deep clean inside and out of cabinets and drawers
- Clean appliances inside and out
- Scrub sinks and faucets
- Clean counters, backsplash, and walls
- Clean light switches and fixtures
- Vacuum air vents
- Vacuum and mop the floor.
- Clean the sink and stovetop using a degreaser
Bathrooms
Priority is key here – ensure that it’s sanitary and move-in ready:
- Remove marks or paint stains from walls and baseboards
- Deep-clean and disinfect all surfaces
- Vacuum and mop the floor
- Clean cabinets and drawers inside and outside
- Clean windows and glass surfaces
- Clean doors, including doorknobs and frames
- Clean light fixtures
- Polish stainless steel surfaces
- Clean and disinfect exhaust fans, filters, and ventilation grills
- Remove all trash.
Other Interior Rooms
Apply this checklist to any other room in the house:
- Dust cabinets, shelving, ceiling fans, and door and window frames
- Deep clean inside and out of closets, cabinets, and drawers
- Clean walls, windows, and baseboards
- Clean light switches and fixtures
- Vacuum air vents
- Vacuum floors
- Mop hard floors.
-
Step 5: Tackle the Walls, Ceiling, and Windows
Turning our attention to the vertical spaces, we start with the ceiling – equip yourself with a long-handled mop and your chosen cleaning solution. Mop side to side for a comprehensive cleanse, ensuring every dust particle is swept away. To combat construction dust, utilize a sponge or soft-bristled brush, followed by a damp cloth and soapy water, with regular rinsing for a flawless finish. Pay meticulous attention to corners and light switches.
Similar to the ceiling, use a damp cloth and soapy water to wipe down the walls. Begin by removing dirt from crevices with a sponge or soft-bristled brush. Rinse your clothes regularly during the cleaning process to ensure all soap is removed. Give special attention to corners and intricate details where dust might linger.
For windows, a water-dampened soft rag removes dust, with a follow-up of streak-free glass cleaner for that crystal-clear view. With these straightforward steps, your walls, ceiling, and windows will gleam, adding the final touch to your post-construction cleaning journey.
-
Step 6: Mop the Floors
After the construction crew leaves, it’s normal for your floors to look a bit rough, but fear not—reviving them is a breeze.
Ceramic Tile Floors
Ceramic tile floors need more than a shower to sparkle. Start by vacuuming, and then mix warm water with a mild cleanser in a bucket. Mop with a micro-fiber mop, avoiding sponge mops as they struggle with grout tracks. Opt for a circular motion for a thorough clean.
Hardwood Floors
Dust off the hardwood floor using a floor brush attachment on your vacuum cleaner to prevent scratches. Mop with warm water using a soft towel. For that extra shine, use a wood polishing product after the post-construction cleaning to repel dust.
Carpets and Rugs
Begin by vacuuming with a new filter bag at the highest power level for maximum effectiveness. Since we’re dealing with dust, avoid washing, as it can worsen the situation. If not done correctly, dust might turn into stubborn dirt, requiring professional carpet cleaning.
Laminate Floors
Laminate flooring is tough. Dust, sweep, or vacuum without using scratchy attachments, similar to hardwood floors.
Step 7: Clean Air Vents and Replace Filters
In the aftermath of a renovation, dust can sneak into the air vents, affecting the air you breathe. Whether your project covered the entire home or just a part of it, showing some care to your air vents is vital for fresh indoor air.
Here’s the drill: Remove vent covers from walls and ceilings, give them a good wash with soap and warm water, and let them air dry completely. Before putting the covers back, swap out any exposed air filters with fresh ones. This step isn’t just about cleanliness; it’s about making sure the air in your home is as crisp as your newly renovated space. Skipping this might lead to allergies or respiratory issues, so take a moment to keep the air flowing fresh and clear.
-
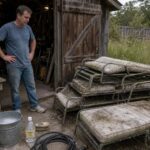
Step 8: Revive the Exterior
As you wrap up the transformation inside, don’t forget the exterior; time for a little outdoor TLC. Here’s a simple checklist to guide your post-construction outdoor cleaning:
Remove Debris
Begin by clearing away any construction leftovers in the yard, garage, or other outdoor areas. Nails, screws, sawdust, and miscellaneous materials should bid farewell.
Wash Exterior Walls
Grab a pressure washer to breathe new life into your exterior walls. Blast away dirt, dust, and debris to reveal the true beauty of your outdoor surfaces.
Windows
Let the light in! Give all windows a sparkling clean with a reliable glass cleaner.
Gutters
Ensure smooth water flow by cleaning out gutters. Remove debris and keep an eye out for any potential damage.
Walkways and Driveways
Sweep away the remnants of the construction journey from walkways and driveways. A clean path sets the tone for your refreshed space.
Patios and Decks
Sweep off patios and decks, then wield the power of a pressure washer to banish any lingering dirt and debris.
Fences and Gates
A pressure washer is your ally here too. Give fences and gates a thorough cleaning, restoring them to their former glory.
Wrapping Up
And there you have it—the final brushstroke in your post-construction cleaning masterpiece! Your space has officially shed the remnants of construction, and it’s now a clean, inviting canvas ready for the next chapter.
We understand that amid the excitement, there might have been moments of feeling overwhelmed by certain tasks. That’s where My Cleaning Angel steps in to lend a helping hand. Our team of professional and vetted cleaning experts is here to take care of every post-construction cleaning task meticulously, so you can savor the excitement of moving into a new space without the hassle of cleaning! Book cleaning services online now, it’s fast and easy, you won’t regret.

FAQs
How to protect yourself during the process of post-construction cleaning?
Always wear appropriate gear, including gloves, safety glasses, dust masks, and, if necessary, respirators. Closed-toe, rubber-soled shoes are essential to protect against hazards like broken glass and nails.
How hard is post-construction cleaning?
Post-construction cleaning involves steps beyond regular cleaning, requiring additional skills and specialized tools. Tasks may include using wet and dry vacuums, commercial floor polishers, steam cleaners, and shop vacuums. While these tools can be rented, hiring cleaning professionals is advisable if you’re uncertain about their usage.
What are the phases of post-construction cleaning?
-
Rough Cleaning
Clearing visible debris like dust, paint overspray, adhesives, and masking materials. Includes thorough vacuuming, dusting, and mopping.
-
Thorough Cleaning
Revisiting tasks from the first stage, emphasizing interior surfaces with microfiber rags and neutral cleaners for residue-free cleanliness.
-
Touch-up Cleaning
Meticulously addressing fine details, typically done a few days after the second cleaning to catch any remaining settled dust or dirt.