
Sticky fingerprints, cloudy spills, and greasy cabinet doors can turn any kitchen into a cleaning nightmare. Many homeowners feel frustrated when their kitchen cabinets seem to attract grime overnight.
Even after wiping the countertop or scrubbing the kitchen sink, spots on cabinetry remain stubborn.
Most people do not realize that airborne grease from cooking floats around and lands everywhere including on your favorite wood finishes and glass doors. That greasy film builds up fast without regular care using proper cleaning tools like a microfiber cloth and mild dish soap.
This guide covers easy ways to clean kitchen cabinets, no matter what material you have wooden panels, painted surfaces, or even glass inserts. Readers will learn which products work best for each type of mess: dust bunnies hiding behind bakeware or stuck-on gunk near the handles.
Clear steps show how to use warm water with Dawn in a spray bottle or try a deep-clean with simple household supplies.
Ready for tips that actually make this chore quick? Keep reading your cabinets are about to shine!
Key Takeaways
- Use a microfiber cloth and warm water mixed with mild dish soap for regular cleaning of kitchen cabinets. This method is safe for all finishes and helps prevent grease buildup.
- Avoid using abrasive tools, harsh chemicals, or too much water when cleaning cabinets to prevent damage like scratches, warping, or peeling paint.
- For stubborn grime and grease on kitchen cabinets, vinegar and baking soda provide effective natural cleaning solutions. Mix equal parts white vinegar and warm water or create a paste with baking soda for tough stains.
- Clean cabinet hardware separately in a solution of warm water and mild dish soap to tackle fingerprints and grime in tiny grooves effectively.
- Regularly inspect your cabinets for signs of damage or buildup, ensuring quick action can be taken to maintain their appearance over time.
Importance of Keeping Kitchen Cabinets Clean
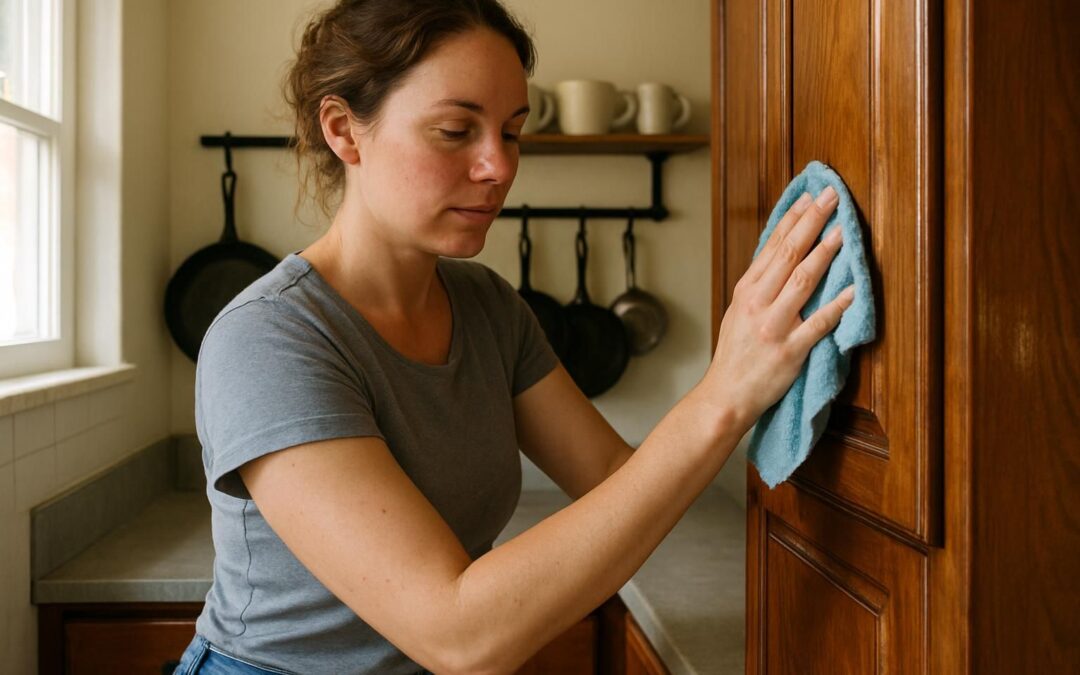
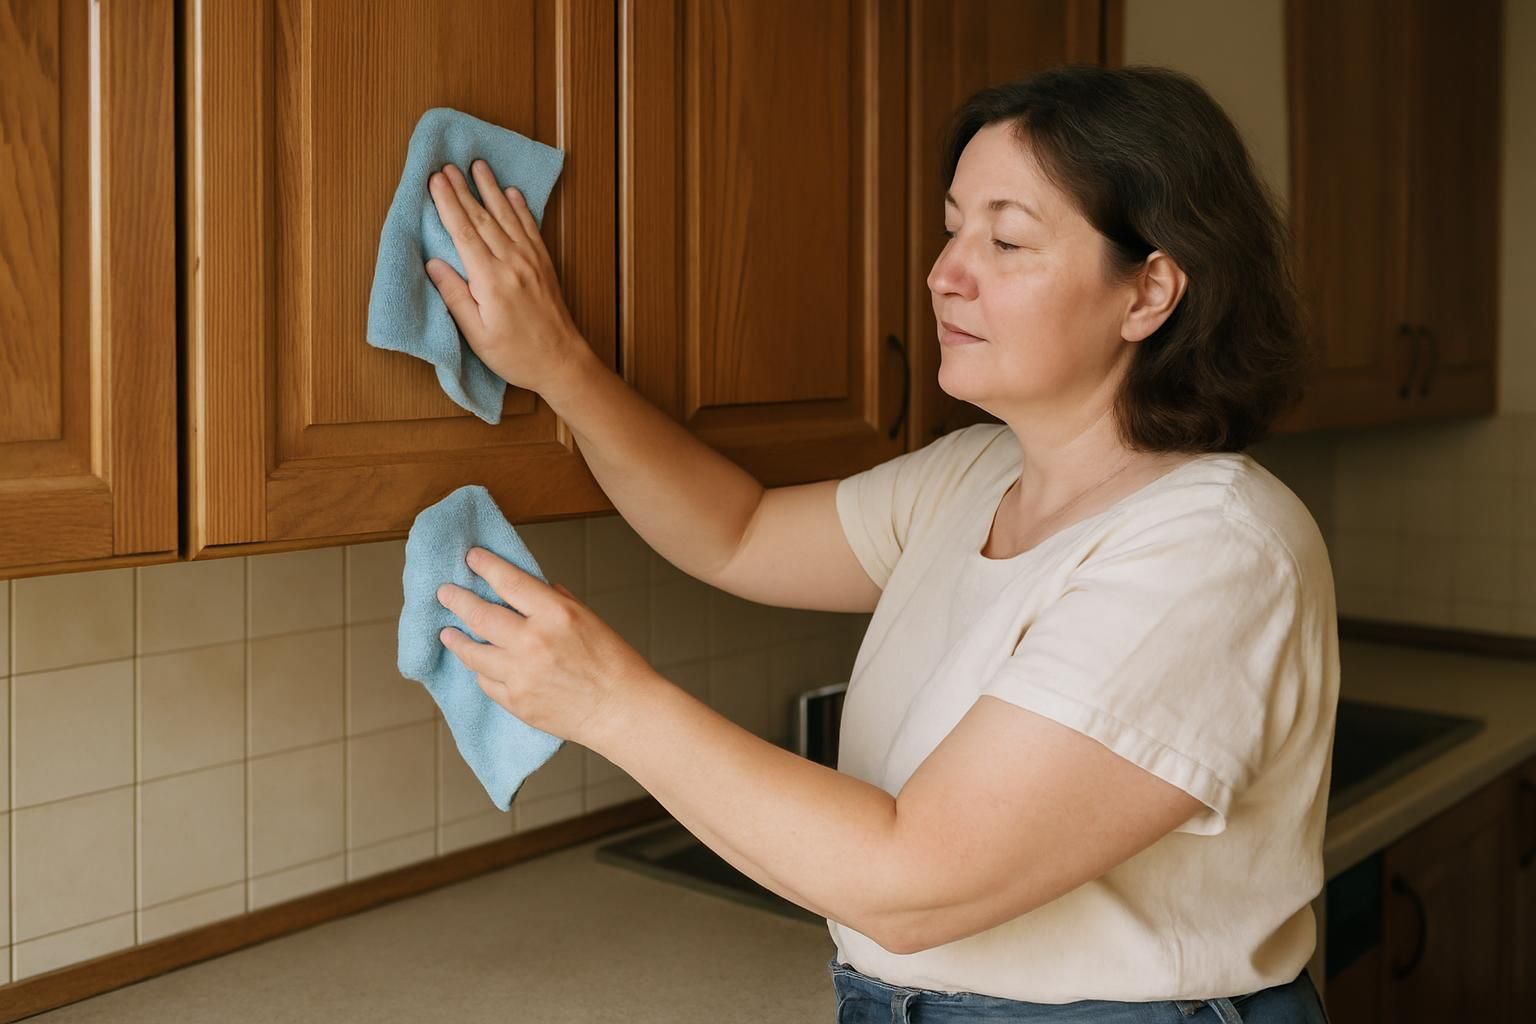
A tidy kitchen loses its charm if dusty or grimy cabinets steal the spotlight. Grease from frying eggs or bacon drifts through the air and sticks to cabinet doors, especially above the stove and refrigerator.
Food spills, fingerprints from curious kids, and splatters build up fast on every surface. Regular cleaning with a microfiber cloth and warm water keeps bacteria at bay and stops mold growth in its tracks.
Ignoring mess lets germs linger on cabinet hardware like handles, knobs, or pulls; that’s a bad recipe for families who reach into their cabinets daily for utensils or cookware. Wiping down surfaces using all-purpose cleaners reduces deep cleaning sessions later since buildup never gets out of control.
Choosing safe cleaning products protects each cabinet finish so parents avoid costly damage caused by abrasive cleaners or harsh degreasers sold online and at stores like Kitchn. It’s simple: Clean often, stress less about grime taking over your space!
Preparation Before Cleaning
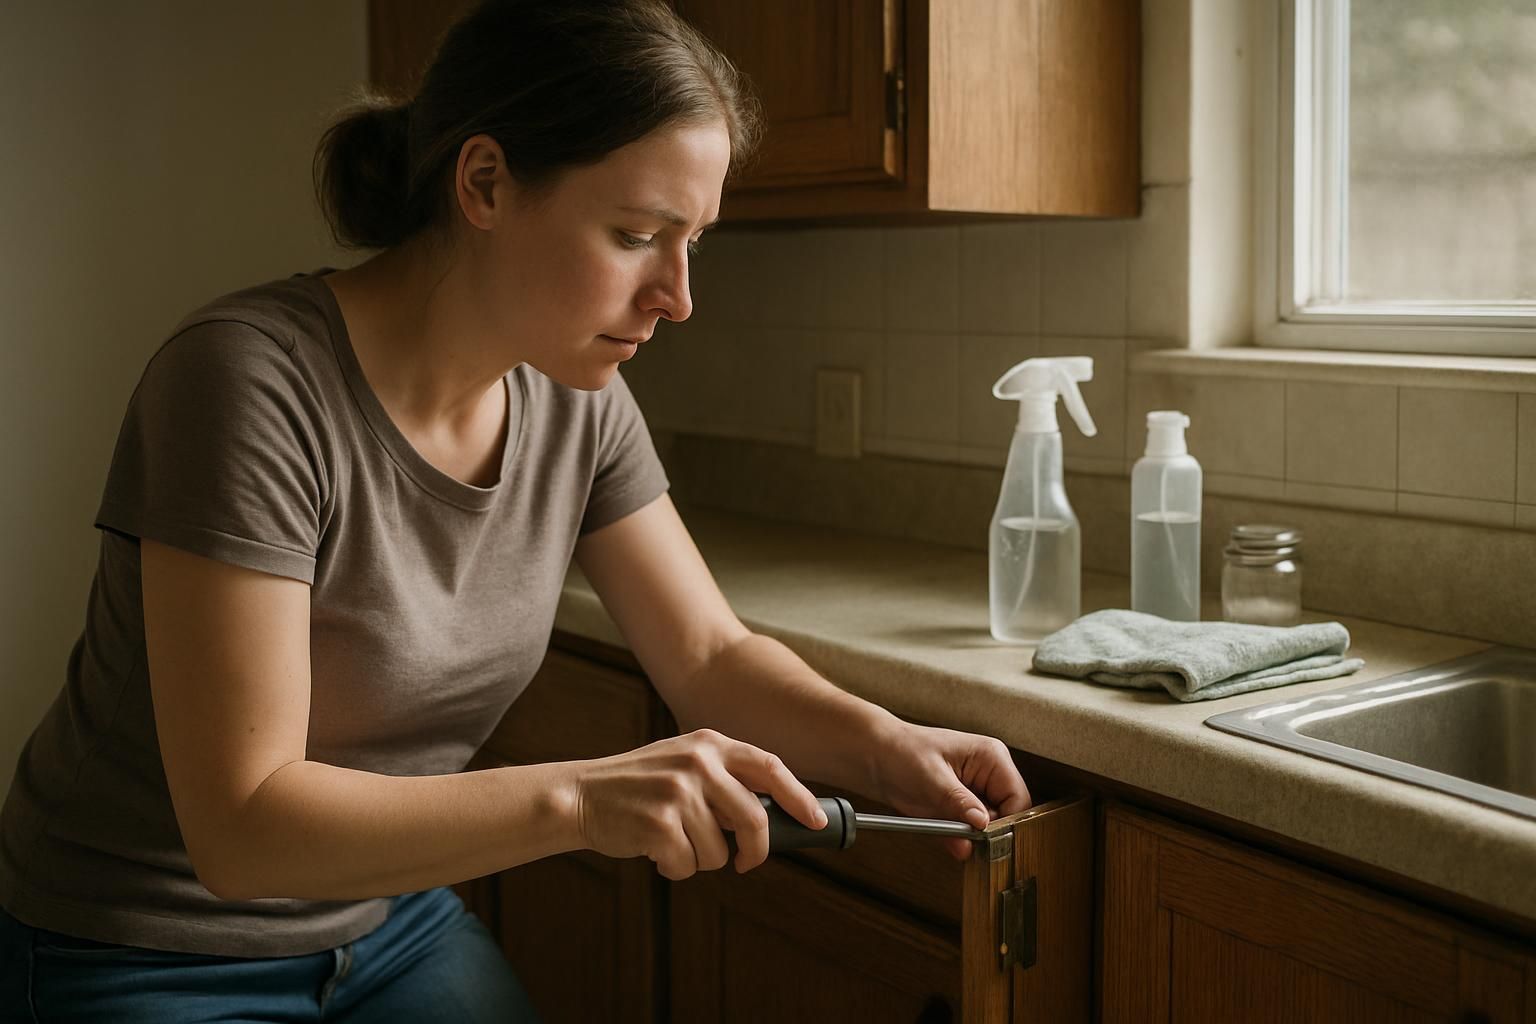
Before anyone soaks a sponge, it is smart to get all cleaning tools in one place. Some folks even grab the screwdriver and take off cabinet hardware for better access this makes wiping away years of spaghetti sauce splatters much easier.
Gather necessary supplies
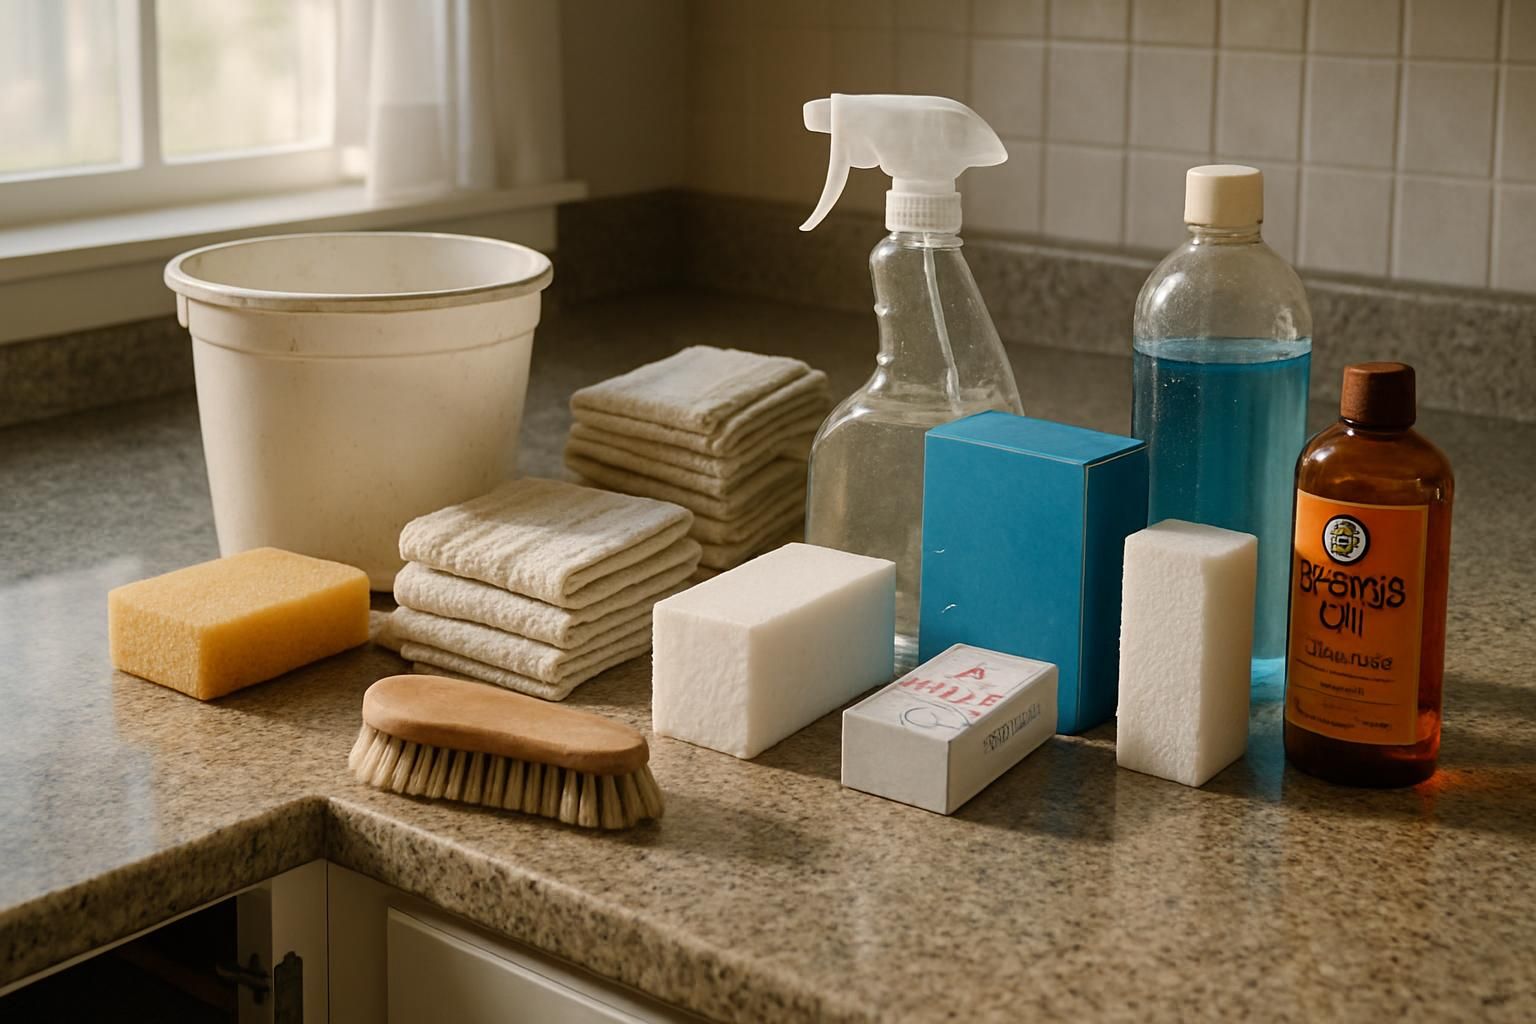
A medium-size bucket comes in handy for mixing warm water with Dawn mild dish soap. Parents often depend on a soft sponge, clean rags, and trusty microfiber cloths to tackle dust or sticky spots.
Grab a spray bottle with an adjustable nozzle for quick spot cleaning along trim or hard-to-reach corners. A soft-bristled brush helps remove grime from cabinet hardware like handles, knobs, and pulls.
Used dryer sheets can double as dusters if microfiber cloths are all in the wash. Households dealing with glass doors might add a Mr. Clean Magic Eraser or some gentle glass cleaner to the basket of cleaning tools.
Howard Orange Oil Wood Polish brings back shine when polishing wood cabinets without harming the cabinet finish. Tossing an under-sink mat below sink cabinets adds extra protection against water damage while you work your housekeeping magic.
Remove cabinet contents and hardware (optional)
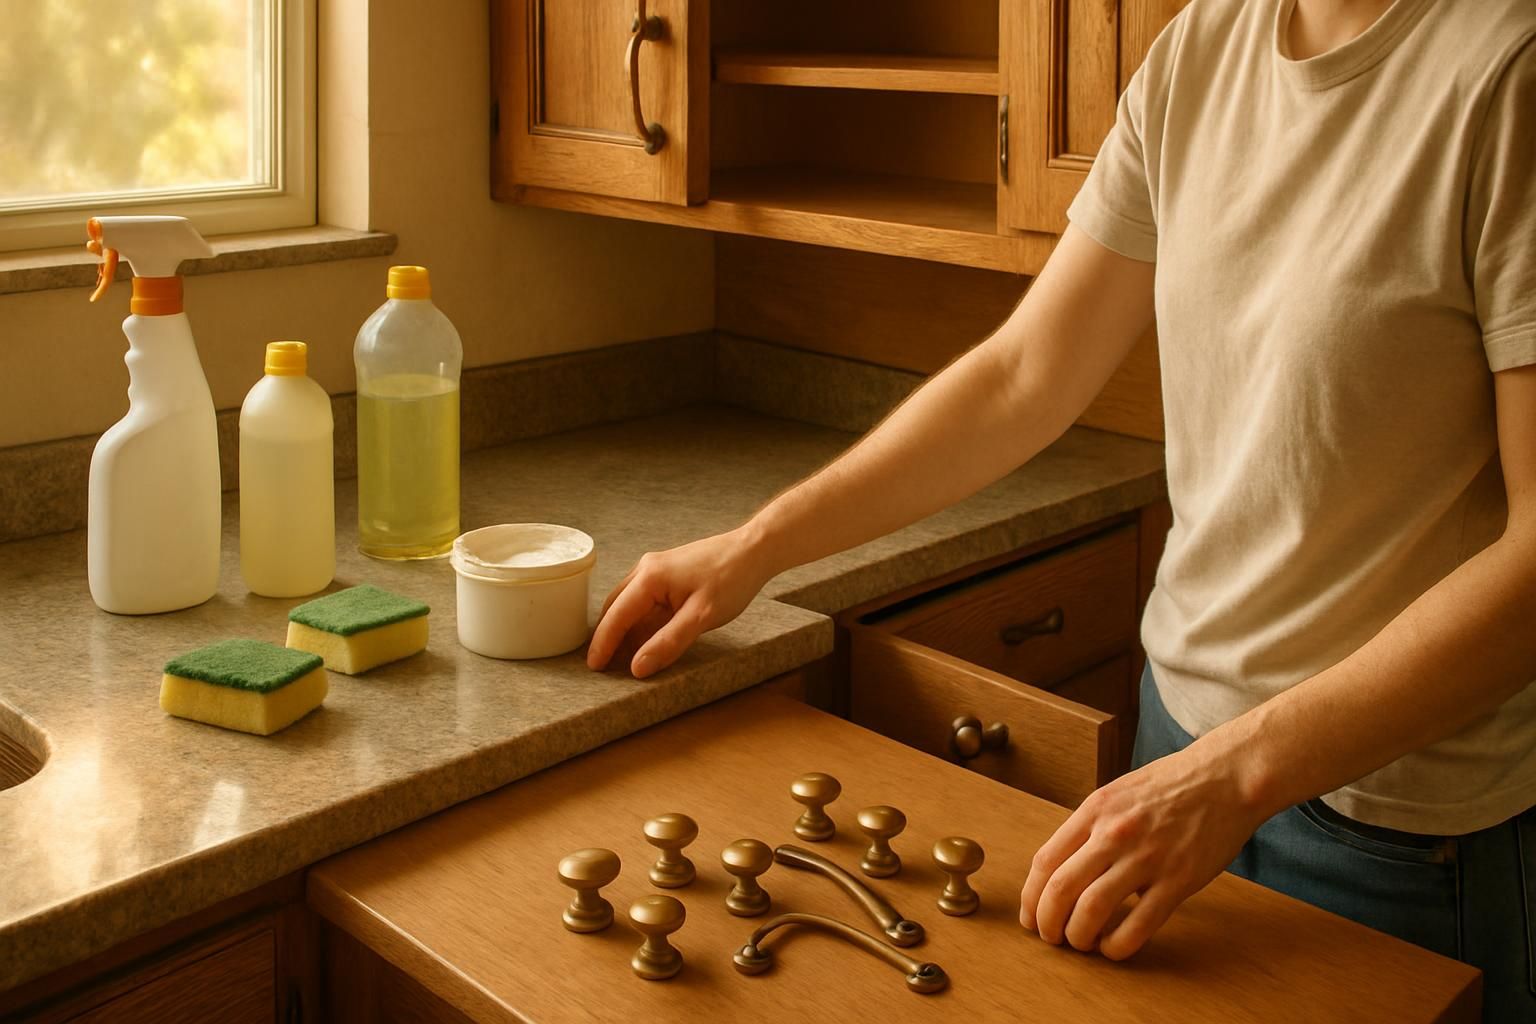
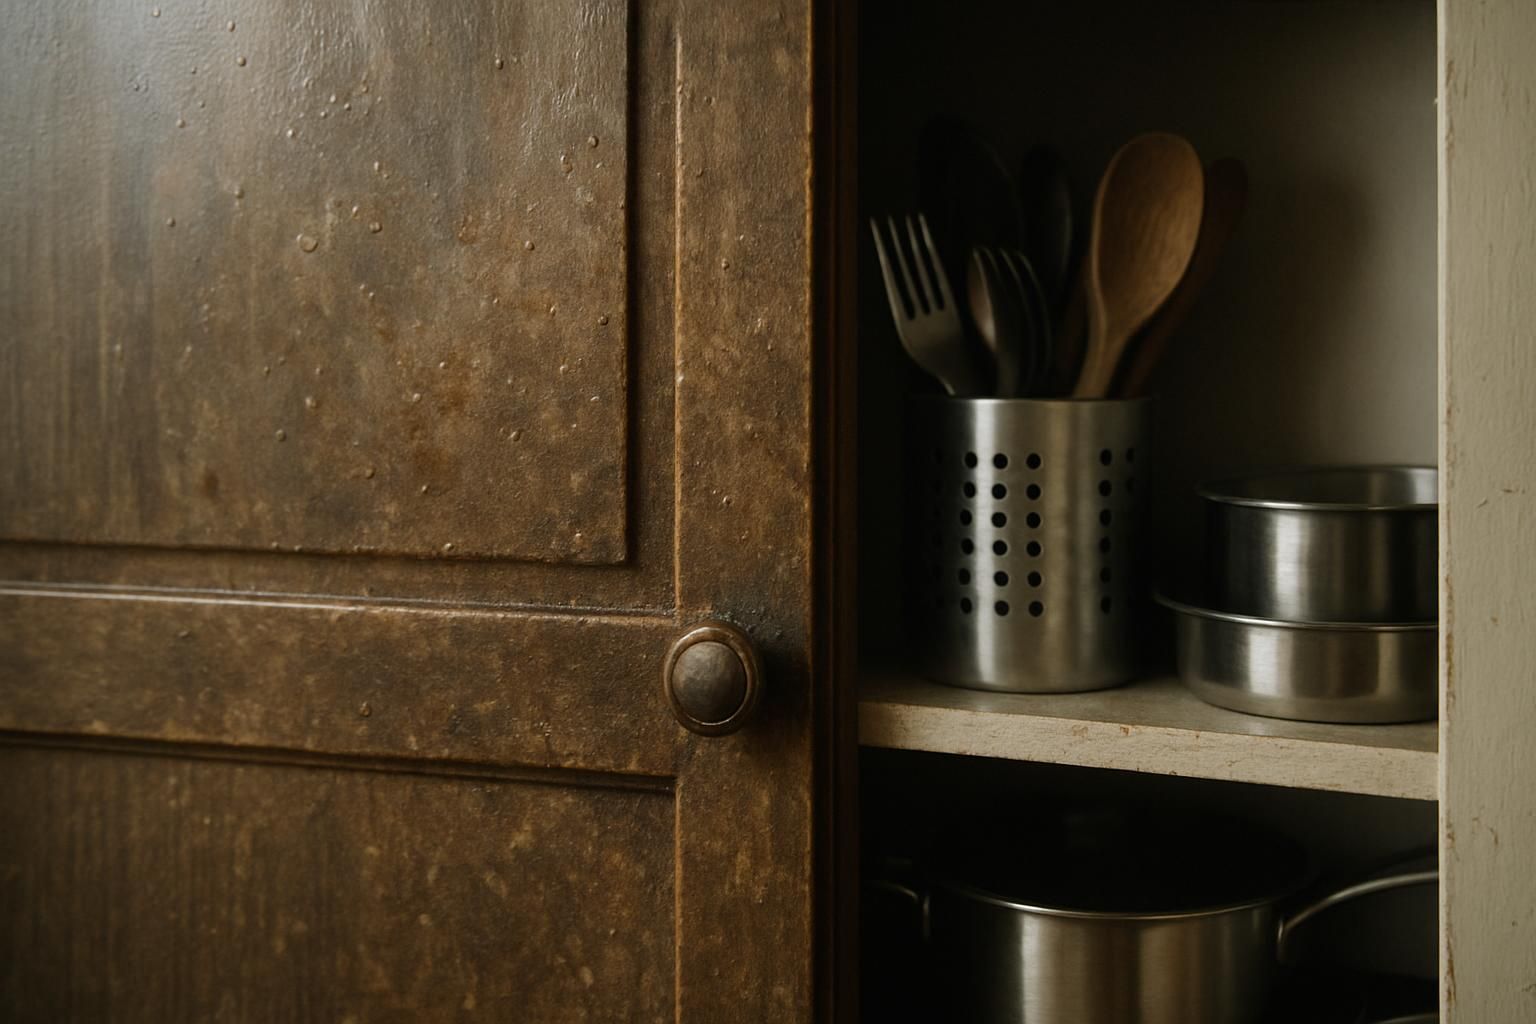
Clear out every item from your kitchen cabinets and drawers for best access. Cereal boxes, spice jars, pots, pans take them all out. This step helps reach every crumb and spill hiding in corners.
Use a sturdy table or countertop to keep things organized while cleaning.
Handles and knobs collect grease and crumbs over time. Most cabinet hardware twists off with a screwdriver in seconds. Cleaning these pieces separately tackles stubborn grime better than just wiping the surface.
Microfiber cloths make quick work of sticky spots on both metal pulls and wood finishes before you put hardware back on.
Test cleaning solution on an inconspicuous area
Pick a hidden spot inside the cabinet or behind a door hinge. Use a soft microfiber cloth dipped in your cleaning solution. Gently wipe that small area with just enough liquid to test, not soak it.
Let it dry for about 10 minutes and check for any fading, discoloration, or damage to the cabinet finish or paint.
Parents know kids have eagle eyes; they will spot trouble faster than one can shout “Who spilled juice?” Testing first helps prevent ruined wood, cloudy glass panels, or bubbling laminate from harsh sprays.
Cabinet hardware like handles can react differently too, so include them if possible. This simple step protects against sudden disasters and keeps cabinets ready for daily family life.
Regular Cleaning of Kitchen Cabinets
Wipe kitchen cabinets weekly with a damp microfiber cloth and warm water to keep grease at bay curious how easy this step can be? Read on for more cleaning tricks.
Dust with a microfiber cloth or vacuum attachment
Dust bunnies love to camp out on kitchen cabinets. Sweep them away with a dry microfiber cloth for best results. This cleaning tool grabs dust and holds onto it, so particles do not fly around the air or fall to the floor like confetti after a parade.
For corners and crevices, use a vacuum’s soft brush attachment. The bristles pick up loose debris hiding near hinges and along cabinet edges.
Families with allergies will benefit from using these tools each week. Even sticky fingerprints look less scary after regular dusting sessions. Parents can send kids on “dust patrol,” making it less of a chore and more of a gameâjust keep an eye on their technique! Next, move on to tackling stains using dish soap mixed with warm water in a spray bottle for that extra shine.
Use a mild dish soap and warm water solution
Mix a few drops of Dawn or another gentle dish soap into a bowl of warm water. This simple blend lifts grease and sticky spots without harming the cabinet finish. Moms juggling snack crumbs and dads fighting spaghetti sauce splatters will find this method fast and effective.
Dip a soft microfiber cloth in the solution, then wring out excess liquid. Wipe cabinets with gentle strokesâworking from top to bottom helps catch drips.
Warm water loosens grime that collects on kitchen cabinets after meals, homework sessions, and rowdy dinner parties. Skip harsh chemicals or abrasive cleaners since they can strip paint or scratch wood surfaces.
Keep kids safe by skipping strong fumes; no one needs tears while cleaning up cookie dough fingerprints! For extra stubborn messes, let the solution sit for a minute before wiping clean with another damp cloth followed by drying thoroughly.
Wipe down cabinets and dry thoroughly
Start by wiping both sides of cabinet doors using a microfiber cloth. Focus on knobs and pulls, since these collect the most fingerprints. Spray a little warm water mixed with mild dish soap onto your cleaning rag or use a spray bottle for easy coverage.
Scrub sticky spots but skip abrasive cleaners; harsh chemicals can ruin the cabinet finish.
Dry immediately with another clean microfiber cloth to avoid moisture damage. Water left behind seeps into wood and causes swelling or stains, so do not dawdle attack any drips! Buff each surface after drying for a streak-free shine that even Grandma would approve of.
This simple routine keeps cabinets looking new without fancy tools or expensive furniture polish.
Deep Cleaning for Stubborn Grime and Grease
Sticky messes love to hide in cabinet corners and grooves, just out of easy reach. Even experienced cleaners have faced a greasy splatter that laughs at dish soap keep reading for smart solutions using simple kitchen staples like vinegar and baking soda.
Use vinegar and warm water for grease removal
Mix equal parts white vinegar and warm water in a spray bottle. Add a few drops of dish soap for extra cleaning power. Spray the greasy kitchen cabinets, then let the solution sit for about two minutes.
This mix cuts through stubborn grease by breaking up deposits that build on wood or painted surfaces. Wipe away grime with a microfiber cloth, working along corners and handles where gunk loves to hide.
For parents cooking spaghetti night after night, this method saves time when sauce splatters try setting up camp on cabinet doors. Rinse the cloth in clean warm water and wipe again to remove any lingering residue from either the cleaning tools or the vinegar mixture itself.
Dry with another soft towel to keep your cabinet finish looking fresh without streaks or sticky patches left behind by strong chemical cleaners found under some sinks since 2022.
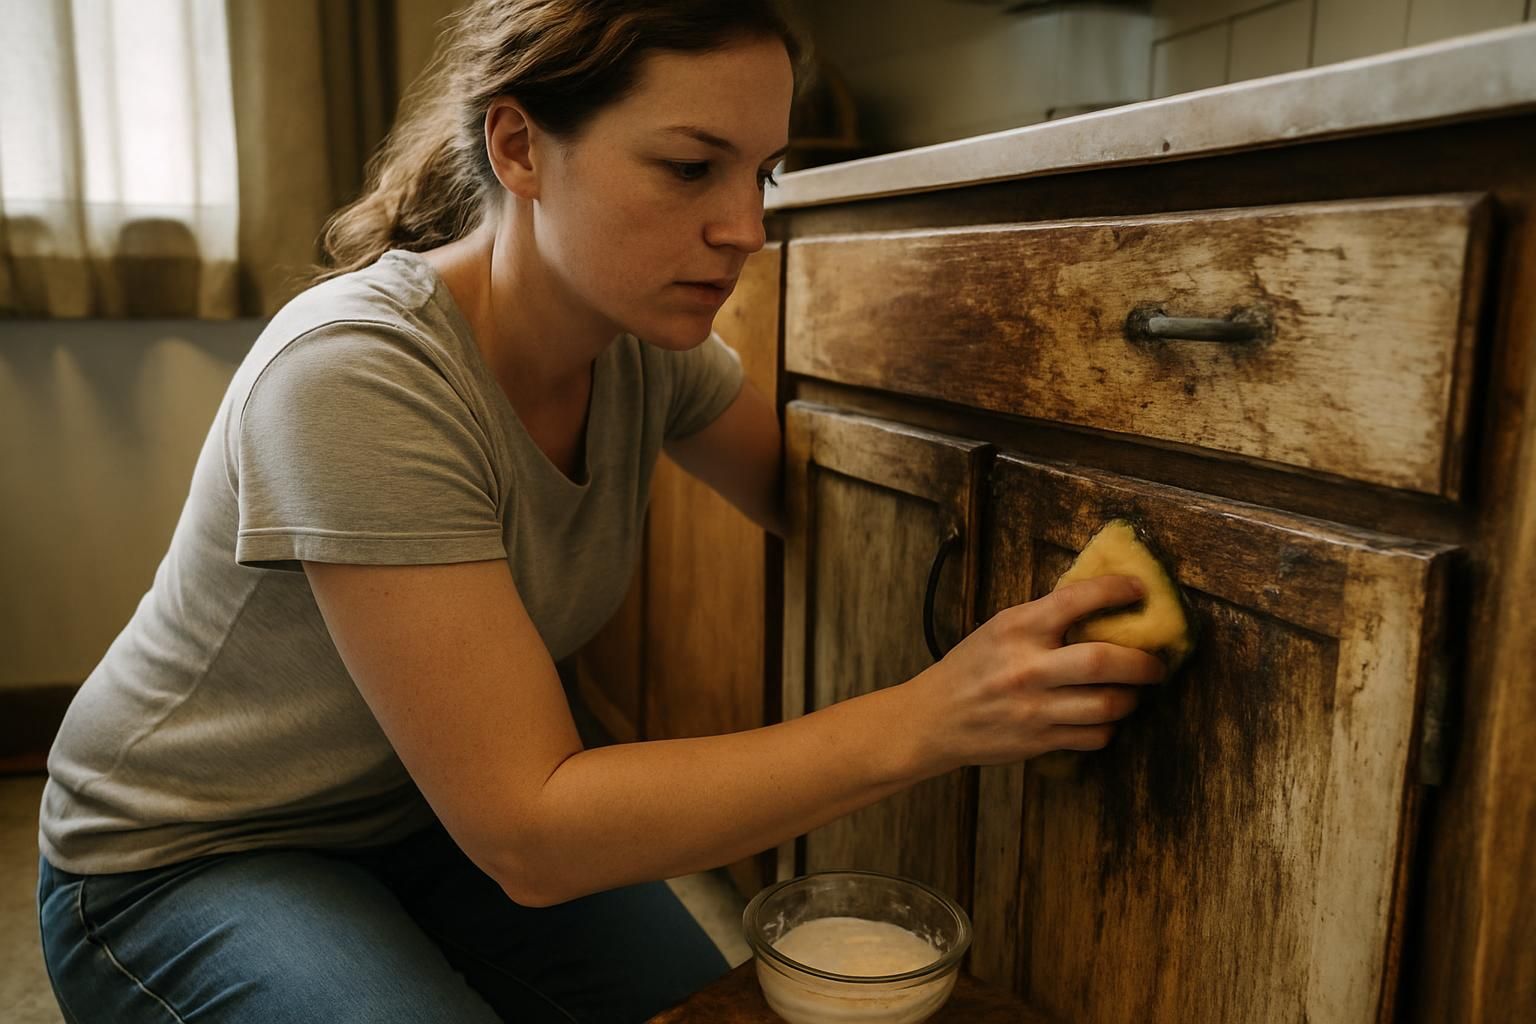
Apply a baking soda paste for stuck-on stains
Baking soda makes a gentle but powerful cleaner for tough kitchen cabinet spots. Combine baking soda with warm water to form a thick paste. Spread this paste right onto stuck-on stains using a finger or microfiber cloth.
Wait several minutes; let the mixture do its magic loosening gunk that dish soap left behind.
Wipe away the paste with a damp sponge or cleaning tool, and watch stuck-on food disappear from wood or painted cabinets. Tackle stubborn marks in rounds if extra cleaning power is needed; repeat until even the oldest spaghetti sauce splatter vanishes.
This method skips harsh chemicals while respecting your cabinet finish and keeping things safe for kids, parents, and pets alike.
Consider specialized cabinet cleaners for tough areas
For stuck-on gunk that laughs in the face of baking soda, specialized cabinet cleaners pull their weight. Parker & Bailey Kitchen Cabinet Cream often tops the charts for greasy smudges and sticky fingerprints.
On Amazon, it rings up at $12, though Walmart asks $21 while Wayfair sits at $13. Following every manufacturer’s instructions keeps your cabinet finish safe from harm.
Sometimes regular cleaning tools just cannot get into tight corners or ridges near cabinet hardware. Scotch-Brite Delicate Scrub Sponges stand ready for only about $3 on Amazon; they will not scuff surfaces but scrub away grime with gusto.
For nooks and crannies around knobs, OXO Good Grips Deep Clean Brush Set steps up to bat for less than $10 almost anywhere you shop Amazon, Macy’s, or even Walmart. A quick spray bottle rinse after scrubbing wraps things up neatly without needing abrasive cleaners that can dull your shine.
Best Cleaning Methods for Different Cabinet Materials

Every kitchen cabinet tells its own story, from shiny oak to smooth paint. Each type needs a different cleaning trick, so grab that spray bottle and microfiber cloth for an easy win next time you want spotless doors without any fuss.
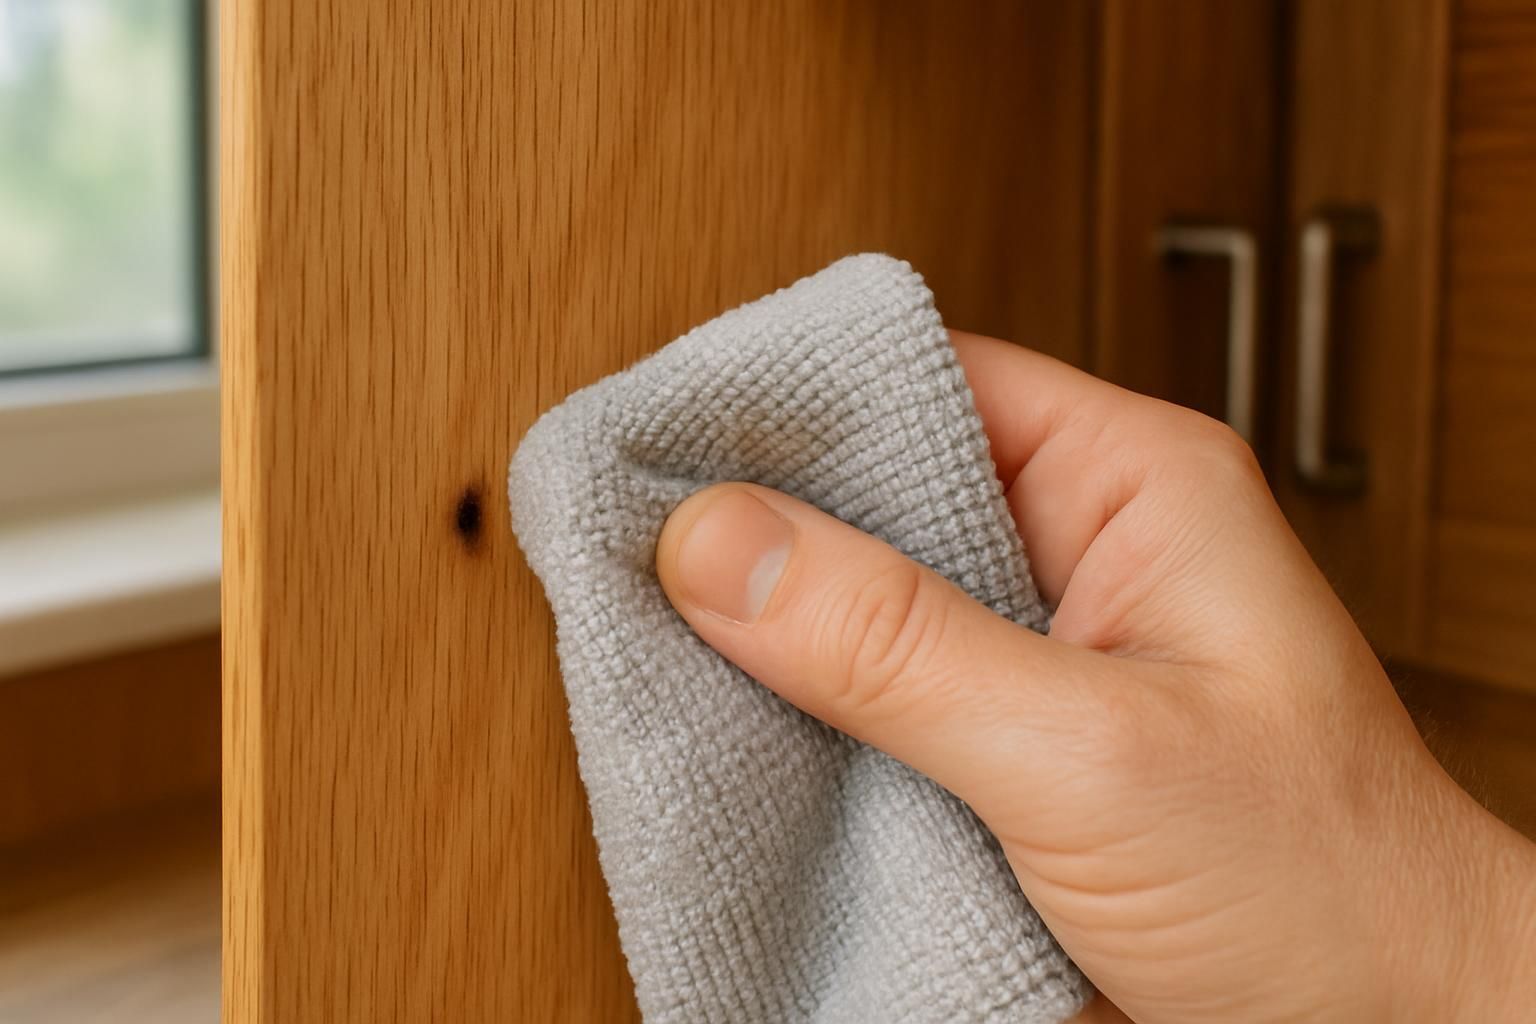
How to clean wood cabinets without damaging the finish
To wash wood cabinets safely, grab a soft microfiber cloth and mix warm water with just a drop of mild dish soap. Never let the surface stay wet long; dry each area quickly using another clean towel.
Harsh chemicals, abrasive cleaners, and rough scrubbing pads can scratch or wear away the cabinet finish faster than one might think. For heavy grease or fingerprints, dampen your wipe but avoid soaking the wood.
Once completely dry, boost shine and care for the finish with Howard Orange Oil Wood Polish. Pour it onto a microfiber or cotton cloth before use never squirt oil directly on cabinets.
The polish makes old surfaces gleam without stripping their protective coating. With these simple tools microfiber cloth, gentle soap, spray bottle you keep kitchen storage both gleaming and safe for years to come.
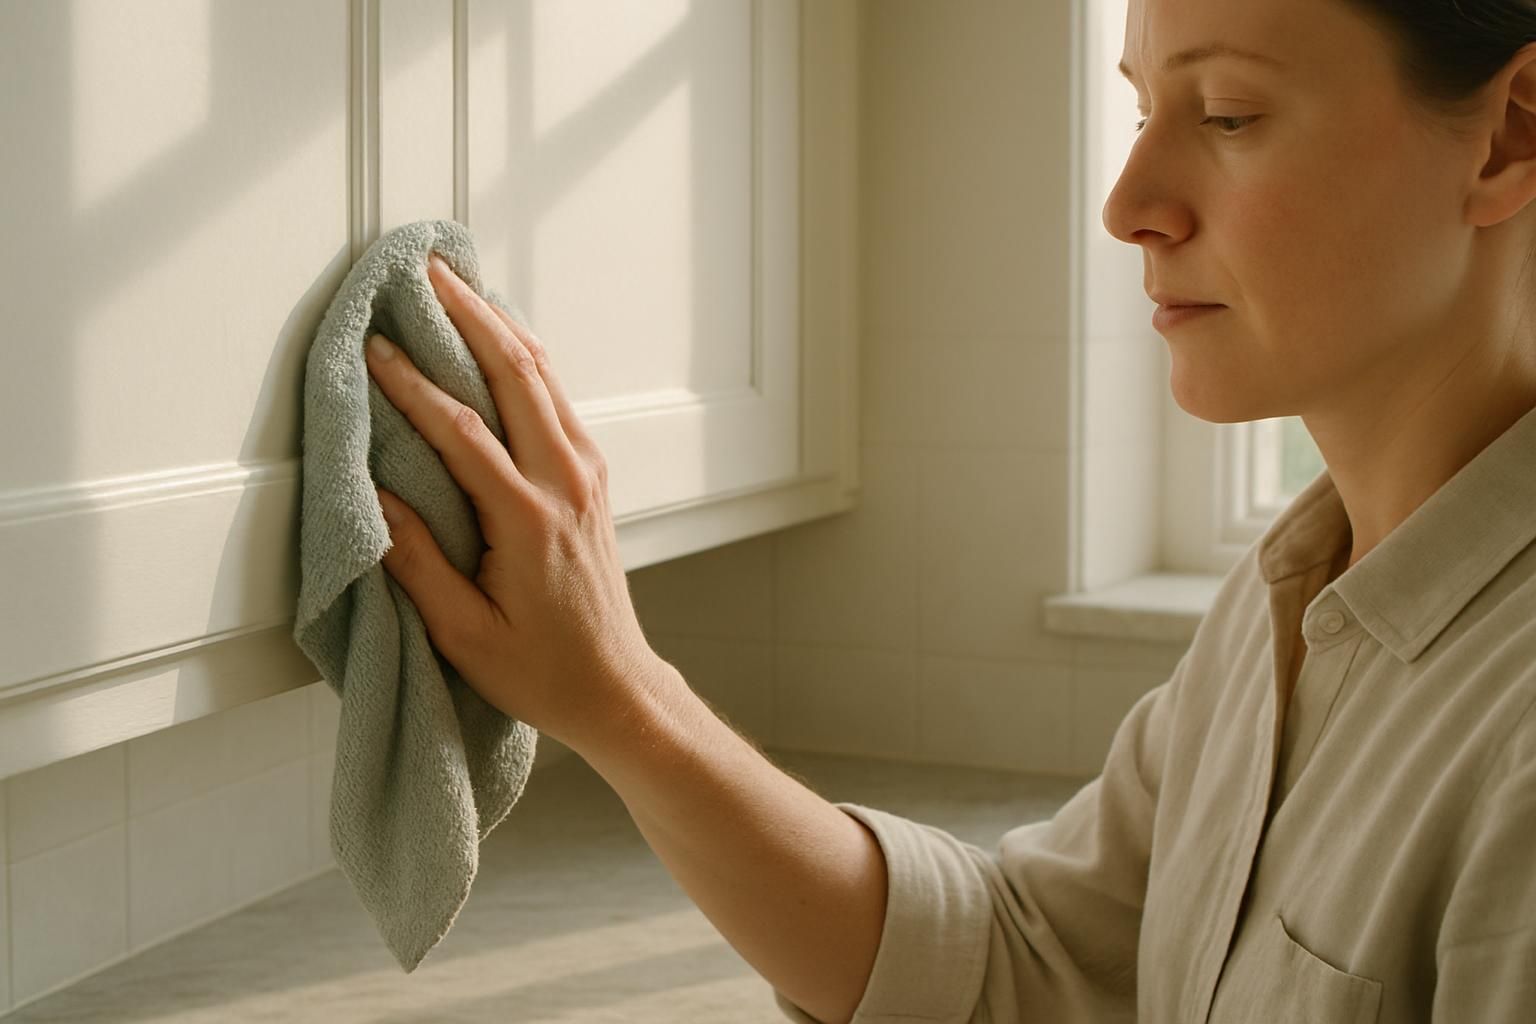
Cleaning painted cabinets
Painted cabinets need a gentle touch. Use a soft microfiber cloth and a mix of mild dish soap with warm water in a spray bottle. Avoid abrasive cleaners, rough sponges, or scrubbing pads that can scratch or dull the painted surface.
Work in small areas and apply only light pressure while cleaning.
Dry each section right away to prevent moisture damage. Spot-clean sticky fingerprints or grease using diluted vinegar on tough spots. Leave heavy-duty cleaning tools for other jobs; they can peel paint faster than hungry kids tear into pizza night.
Handle cabinet hardware separately to avoid chipped edges around hinges and pulls.
Caring for cabinets with glass doors
Glass cabinet doors need gentle care to stay streak-free. Skip spraying cleaner right on the glass. Spray an ammonia-free solution, like Sprayway or a homemade vinegar and warm water mix, onto a microfiber cloth or Magic Eraser instead.
This keeps drips off painted frames and wood. Wipe sides and corners with extra care; fingerprints love to hide there.
Avoid using abrasive cleaners that can scratch the glass surface. Polish each pane for best shine using only soft cleaning tools, not paper towels from the dishwasher area. Homeowners should wash hardware like knobs separately so grime does not transfer back onto spotless glass.
Dry surfaces right away for sparkling results without spots or streaks showing up at dinner time.
Polishing cabinets is next on the list for keeping things looking new.
Polishing and Maintaining Cabinets
A quick swipe with a microfiber cloth and a dab of wood-safe polish can make any cabinet finish gleam, so stick around to find out which cleaning tools work best.
Apply wood-safe polish for shine and protection (optional)
Apply wood-safe polish only after the cabinets are completely dry. Many parents and homeowners reach for Howard Orange Oil Wood Polish, which experts recommend for restoring shine to dull kitchen cabinet surfaces.
This type of polish can help protect your cabinet finish from daily wear and tear while also boosting that natural glow.
Spray a small amount onto a clean microfiber cloth instead of spraying directly on the surface. Gently rub along the grain, covering each section evenly. Take care not to oversaturate any area since too much product can create streaks or sticky spots.
Using this method keeps fingerprints at bay and gives wood cabinets a fresh look without harsh chemicals or abrasive cleaners. Kids often leave handprints everywhere; with proper polishing, fewer smudges stick around.
Buff cabinets with a microfiber cloth
Polishing wood cabinets with a safe product brings out their shine, but that is not the final step. Buffing with a microfiber cloth takes things up a notch. Think of it as giving your cabinet finish one last gentle hug.
Microfiber traps dust using thousands of tiny fibers, so dirt does not get dragged across the surface. This helps prevent scratches and keeps polished wood looking fresh.
Parents love this tool because it works like magic without much elbow grease or fancy cleaning tools. A quick buff removes leftover polish streaks and gives cabinets a true, streak-free shine every time.
Grandma did not have microfiber cloths in her day; now they are the secret weapon for spotless kitchen cabinets everywhere!
Preventative Maintenance Tips

For happier cabinets, skip abrasive pads, grab a soft microfiber cloth, and keep an eye out for sticky handles curious? There is more to this than meets the eye!
Avoid abrasive tools and harsh chemicals
Steel wool, scouring pads, and harsh cleaners with bleach or ammonia can scratch kitchen cabinets. These cleaning tools may strip the cabinet finish right off, leaving wood or paint dull and damaged.
Mild dish soap mixed with warm water in a spray bottle works wonders without roughing up surfaces.
Many parents try to scrub away sticky spots using more pressure or strong chemicals. Instead, use a microfiber cloth for gentle yet effective cleaning on both painted doors and cabinet hardware.
Hot tip: Preserve that shine by steering clear of products labeled as heavy-duty or industrial-strength cleaners.
Clean handles, knobs, and pulls separately
Skipping rough tools and harsh liquids, turn your attention to the small but mighty hardware. Handles, knobs, and pulls gather fingerprints like magnets. For a real deep clean, unscrew them from the cabinet doors if possible.
Drop each piece into a bowl with mild dish soap and warm water. A soft-bristled brush works wonders on crumbs stuck in tiny grooves.
Let kids help scrub using an old toothbrush or paintbrush for fun teamwork. Dry every bit with a microfiber cloth so no drip marks sneak back onto your fresh cabinets. Rinse away any lingering suds before reattaching everything tight as a drum.
This simple habit keeps metal shiny and makes sure wood around the hardware stays spotless too!
Inspect cabinets regularly for damage or buildup
Cabinets take a beating from busy hands and daily cooking. Grease, crumbs, and splatters love to hide in cracks or corners. Inspect kitchen cabinets on a set schedule, maybe once each month or more often for large families.
Use good lighting to spot issues that need fast attention. Look for worn spots, loose hinges, water rings, or sticky buildup around handles and knobs.
A quick check with a flashlight will catch hidden grease before it turns into a sticky mess. Parents with kids should pay extra attention since little fingers leave smudges everywhere.
For tough spots, try wiping with warm water on a microfiber cloth instead of something rougher that could scratch the surface. If any damage appears like peeling paint or cracked wood it is best to deal with repairs right away to prevent bigger problems later.
Speaking of hardware grime and fingerprints, cleaning those parts calls for special care too.
Common Mistakes to Avoid When Cleaning Cabinets

Too much soap may cling to cabinet surfaces and leave a tacky residue. Reaching for abrasive sponges can scratch wood or painted finishes, turning simple cleaning into an eyesore. Soaked towels or too much warm water spell trouble for wood cabinets, causing warping or peeling paint over time.
Spraying glass cleaner straight onto cabinet doors often leads to streaks on the glass and damages surrounding surfaces.
Many parents forget to test cleaning solutions in hidden spots first; this mistake sometimes leaves ugly marks or faded patches behind. Forcing soft-close hinges because of sticky drawers destroys hardware fast, which sends even calm tempers soaring at home.
Always wipe with a microfiber cloth and use gentle cleaning tools instead of harsh scouring pads; your kitchen will thank you every time.
Conclusion
Cleaning kitchen cabinets does not have to feel like a never-ending battle. Warm water, Dawn dish soap, and a trusty microfiber cloth make quick work of grease and gunk. Most households see better results with scheduled deep-cleaning sessions mixed in with regular spot cleaning.
A little upkeep prevents headaches down the road. Cabinets stay fresher, last longer, and always look ready for companyâor that sneaky midnight snack.
FAQs
1. What’s the best way to clean kitchen cabinets?
Well, it’s not rocket science! A simple mix of warm water and mild dish soap can do wonders. Just dip a soft cloth in this solution, wring it out well, then wipe your cabinets down. Don’t forget to dry them afterward!
2. Do I need special products for different cabinet materials?
Not necessarily! The good old soapy water trick works on most surfaces like wood or laminate. But if you’re dealing with stubborn grime on metal or glass cabinets, a vinegar-water mixture might be your new best friend.
3. How often should I clean my kitchen cabinets?
It depends on how much action your kitchen sees! If you’re an avid cook who loves frying up a storm, cleaning once a week is ideal to keep grease at bay. Otherwise, twice a month should suffice.
4. Any tips for those hard-to-reach areas in the corners of my cabinets?
Ah yes, every cleaner’s nemesis – corners! An old toothbrush dipped in your cleaning solution can help tackle these tricky spots without breaking a sweat.
Additional Cleaning Process Insights
To effectively clean kitchen cabinets, start by dusting them with a microfiber cloth or a vacuum with a brush attachment to remove loose debris. For regular cleaning, a solution of warm water and mild dish soap works well. For stubborn grease, a mixture of warm water, vinegar, and a few drops of dish soap can be used. Always wipe down the cabinets with a clean, damp cloth and dry them thoroughly to prevent water damage.
This video demonstrates a three-step cleaning process for kitchen cabinets, including dusting, applying a cleaning solution, and wiping with a microfiber cloth:
Here’s a more detailed breakdown:
- Preparation:
- Remove everything from the cabinets, including items from shelves and drawers.
- Use a soft brush attachment on your vacuum or a microfiber cloth to remove loose dust, crumbs, and debris.
- Before applying any cleaning solution to the entire cabinet, test it in an inconspicuous area to ensure it doesn’t damage the finish.
- Cleaning Solutions:
- For everyday cleaning, a solution of warm water and a few drops of mild dish soap (like Dawn) is often sufficient.
- For greasy areas, mix equal parts white vinegar and warm water in a spray bottle. You can add a few drops of dish soap for extra cleaning power.
- For stubborn stains or stuck-on grime, a paste of baking soda and water can be gently applied, left to sit for a few minutes, and then wiped away.
- If needed, use a cabinet cleaner specifically designed for your cabinet finish, following the manufacturer’s instructions.
- Cleaning Process:
- Spray the cleaning solution onto a soft cloth or sponge (avoid dripping the solution directly onto the cabinets).
- Wipe down the cabinet doors and frames, paying attention to areas prone to grease or grime buildup (like around handles and knobs).
- Rinse the cabinets with a clean, damp cloth to remove any soap or cleaning solution residue.
- Dry the cabinets with a clean, dry cloth to prevent water spots and damage.
- For a polished finish, buff the cabinets with a clean, dry microfiber cloth.
- Special Considerations:
- For greasy cabinets, consider using a degreasing cleaner or a solution of warm water, vinegar, and dish soap.
- For stubborn stains, a baking soda paste or a specialized stain remover (following the manufacturer’s instructions) may be helpful.
- When cleaning wood cabinets, always work with the grain of the wood and avoid excessive moisture.
- Use extra caution when cleaning painted cabinets to avoid scratching or dulling the finish.
- Clean cabinet knobs, handles, and pulls separately with a suitable cleaner.
- Don’t forget to clean the interior of your cabinets, especially if they hold food items.