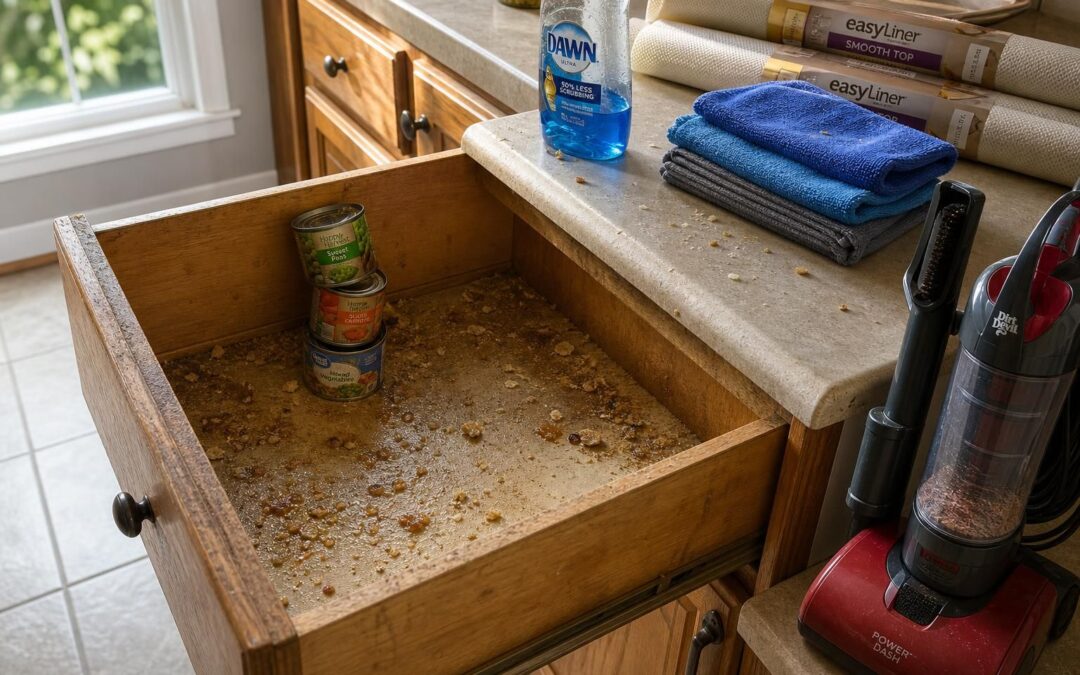
Most homeowners know the moment: a kitchen drawer slides open, and there are crumbs in the corners, a sticky spot under the syrup, and a few food items nobody meant to keep that long.
A busy kitchen pantry usually does not need harsh chemicals or an all-day project. What it needs is a repeatable routine that protects food safety, cuts food waste, and makes pantry organization easier for the whole family.
EPA guidance on household pests is a helpful reality check: crumbs, moisture, and clutter are exactly what pantry pests need to settle in. That is why a deep clean every few months works best when it is paired with short weekly touch-ups.
Ready to start?
Key Takeaways
- Plan a full deep clean at least twice a year, then do a five-minute weekly reset to catch crumbs, spills, and expired food before they pile up.
- Use a handheld vacuum with a soft brush, clean microfiber cloths, warm water, and mild dish soap for most shelves and drawer interiors.
- Sort everything into KEEP, TOSS, and DONATE zones so the pantry clean out feels manageable from the first minute.
- Check expiration dates carefully, but do not assume every printed date means unsafe. For most packaged foods, date labels are about peak quality, while infant formula is the main item with a federally required safety date.
- Dry shelves, drawers, jars, and lids completely before restocking. EPA mold guidance says damp materials should be cleaned and dried within 24 to 48 hours.
- Finish with shelf liners, storage bins, and airtight containers so future spills stay easier to spot and faster to clean.
For most families, the biggest win is not a perfect pantry. It is a kitchen organization system that makes daily cleanup easier and keeps canned goods, snacks, and baking supplies easy to find.
Tools and Supplies Needed for a Clean Pantry
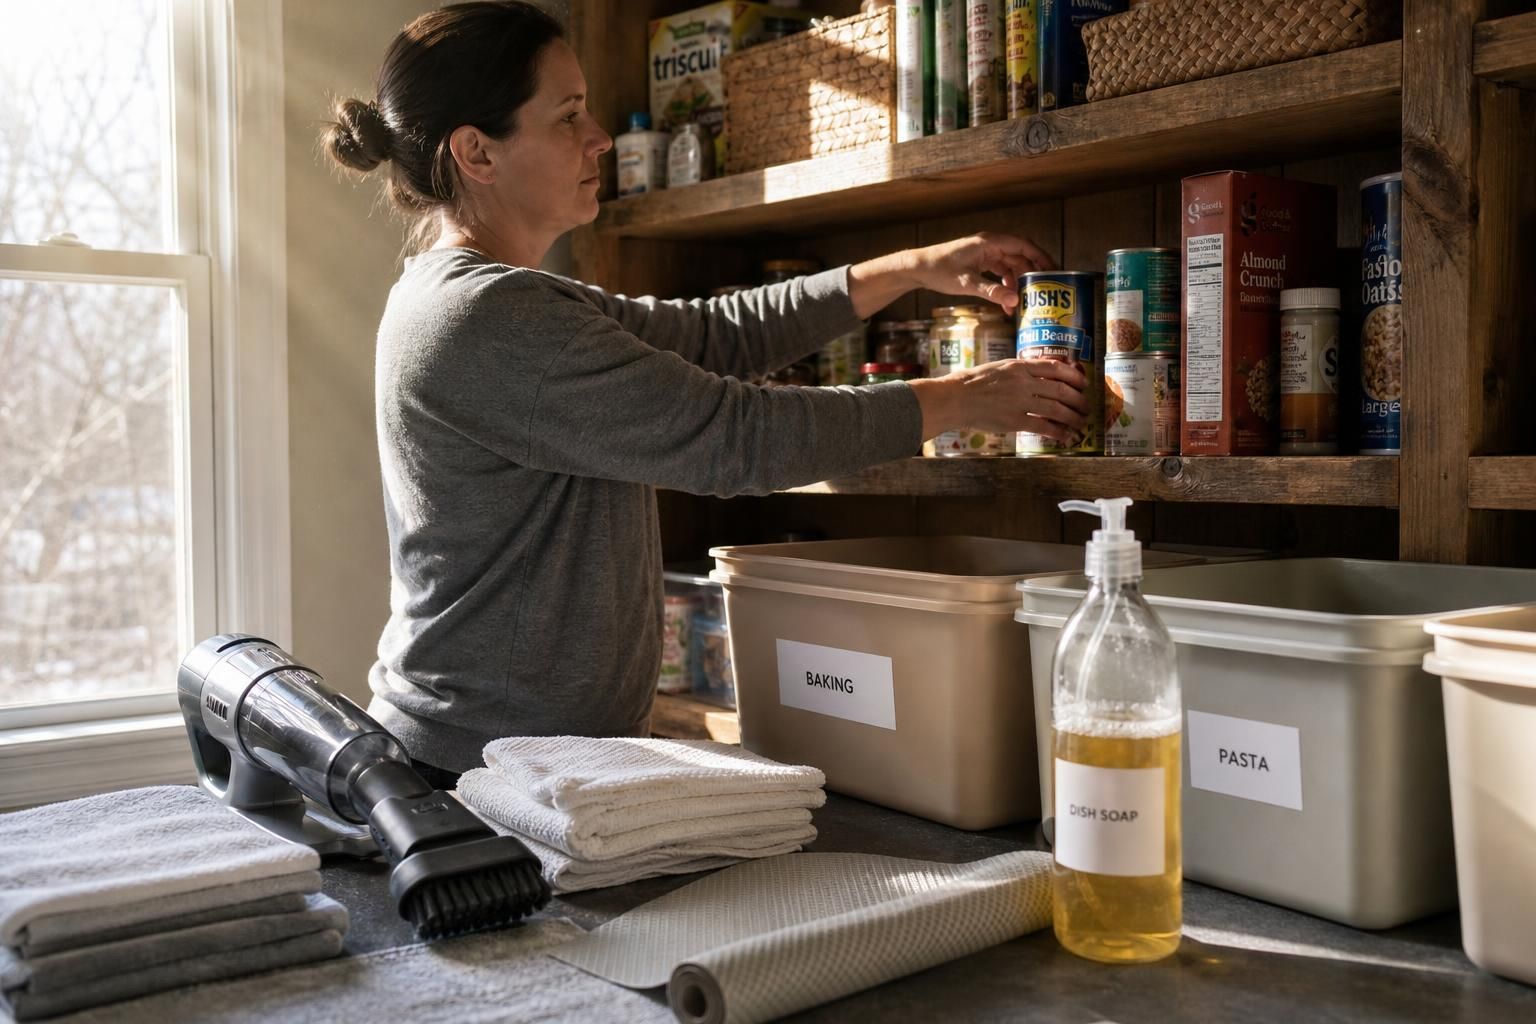
A few basic tools make this job much faster: clean microfiber cloths, a handheld vacuum with a brush attachment, mild dish soap, and a simple way to keep items grouped as they go back in. A good set of washable non-slip liners also protects shelving and cuts down the next cleanup.
Tool
Best use
Why it matters
Microfiber cloths
Wiping shelves, jars, and drawer interiors
They trap dust and sticky residue without leaving lint behind.
Vacuum with brush attachment
Crumbs, corners, brackets, and drawer seams
Vacuuming first keeps crumbs from turning into a muddy paste during wiping.
Mild dish soap
Grease and everyday pantry spills
Soap and water are still the best first step for most hard surfaces.
Shelf liners and storage bins
Protection and pantry organization
They catch small spills, make categories clearer, and speed up weekly touch-ups.
Microfiber cloths
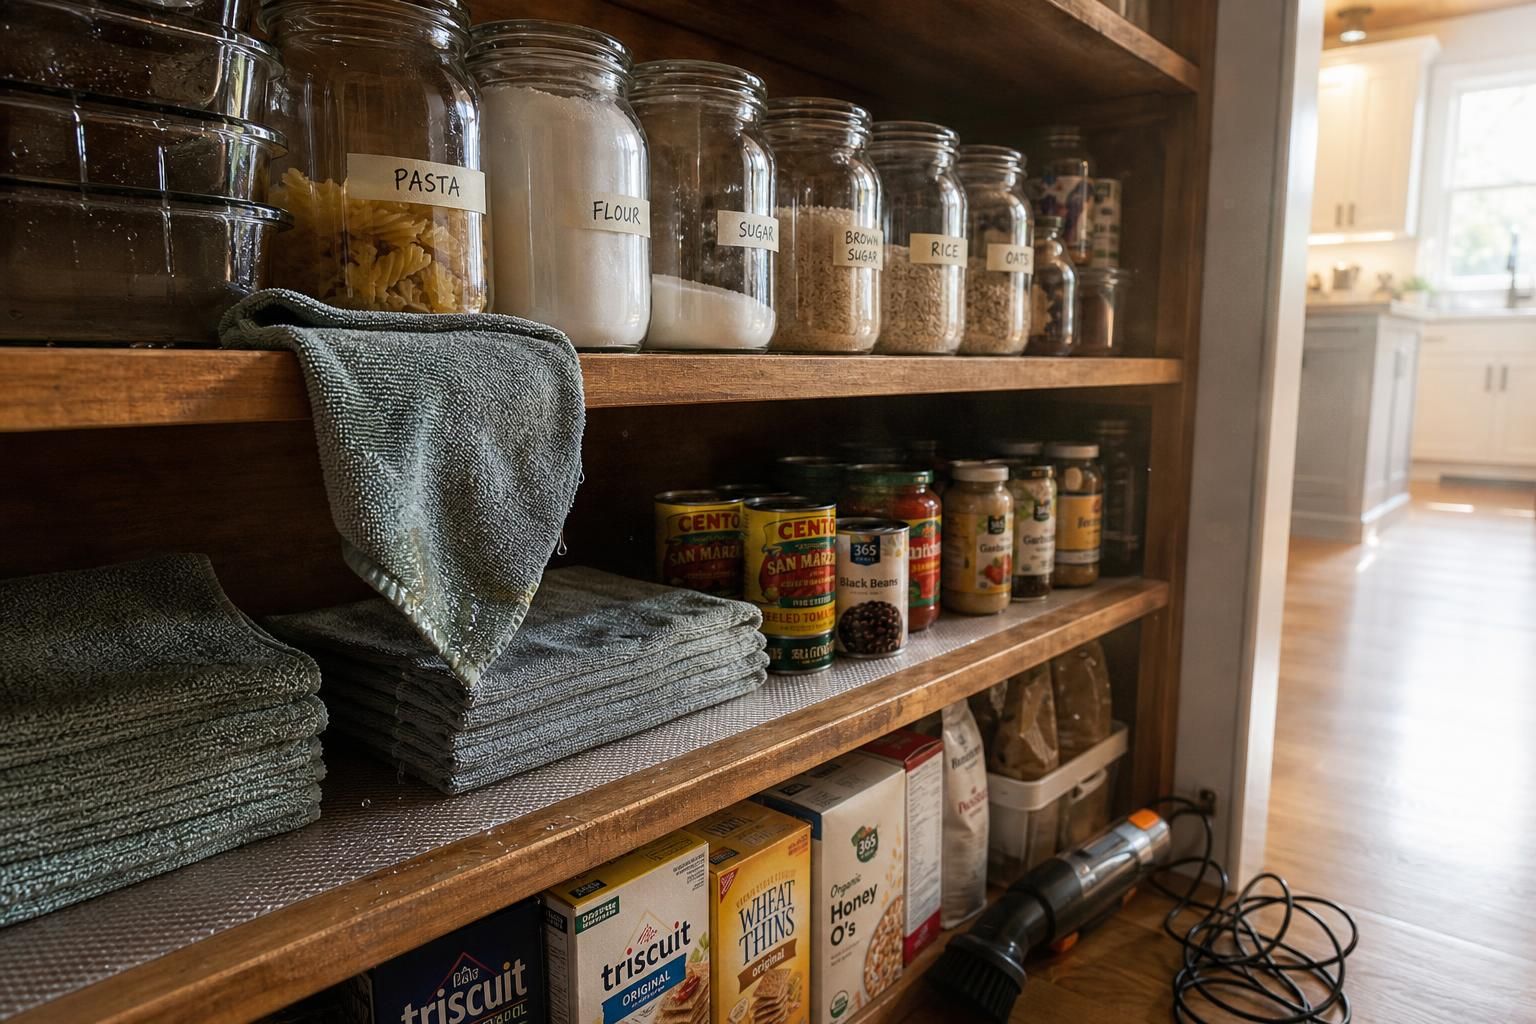
Clean microfiber cloths do most of the work in a kitchen pantry. One cloth handles the soapy wipe-down, and a second dry cloth pulls away moisture before it can sit in corners or on wood shelving.
CDC home cleaning guidance supports a simple first move for routine soil: clean with soap and water before reaching for stronger products. That is why a damp microfiber cloth and mild dish soap are enough for most shelves, interior walls, and drawer bottoms.
- Use one cloth for washing and one for drying.
- Rinse the washing cloth often so grime does not get pushed around.
- Skip the old dish rag, because cabinet care guides warn that it can hold grease or detergent residue.
For stubborn marks, a melamine foam eraser can help after the first wipe. It works best as a spot tool, not as the main cleaner for every surface.
Vacuum with brush attachment
A handheld vacuum with a soft brush attachment is one of the most useful tools in this whole process. It pulls up loose crumbs, pet food dust, rice grains, and spice flakes before a damp cloth ever touches the shelf.
Start at the top and work down. That keeps falling debris from landing on shelves that are already clean.
The brush head matters because it reaches into corners, shelf brackets, drawer tracks, and the seam where the back panel meets the shelf. Those are the spots a cloth usually misses.
Mild dish soap or natural cleaning solution

For routine drawer and pantry shelf cleaning, warm water with a few drops of mild dish soap is usually the safest choice. Cabinet care guides from major manufacturers repeat the same advice: use a damp cloth, not a soaking wet one, and dry the surface right away.
A diluted vinegar solution can help with sticky residue on laminate, painted surfaces, or metal shelving, but it is smart to spot test first, especially near contact paper or finished wood. On greasy spots, let the damp cloth sit for about a minute, then wipe and rinse with clean water.
That short dwell time often does more than harder scrubbing. It loosens the mess before the finish takes a beating.
Shelf liners
Shelf liners are a small upgrade with a big payoff. They catch crumbs, protect wood from scratches, and make it much easier to pull everything out for a quick wash instead of scrubbing the shelf itself.
Square and rectangular storage containers also tend to use shelf space better than round ones, so families can fit more food storage into the same footprint.
- Choose washable liners for shelves that hold baking goods, cereal, and snacks.
- Use non-slip liners in drawers so jars and utensils do not slide.
- Replace torn or permanently stained liners instead of cleaning around them forever.
Step 1: Empty the Drawers and Shelves
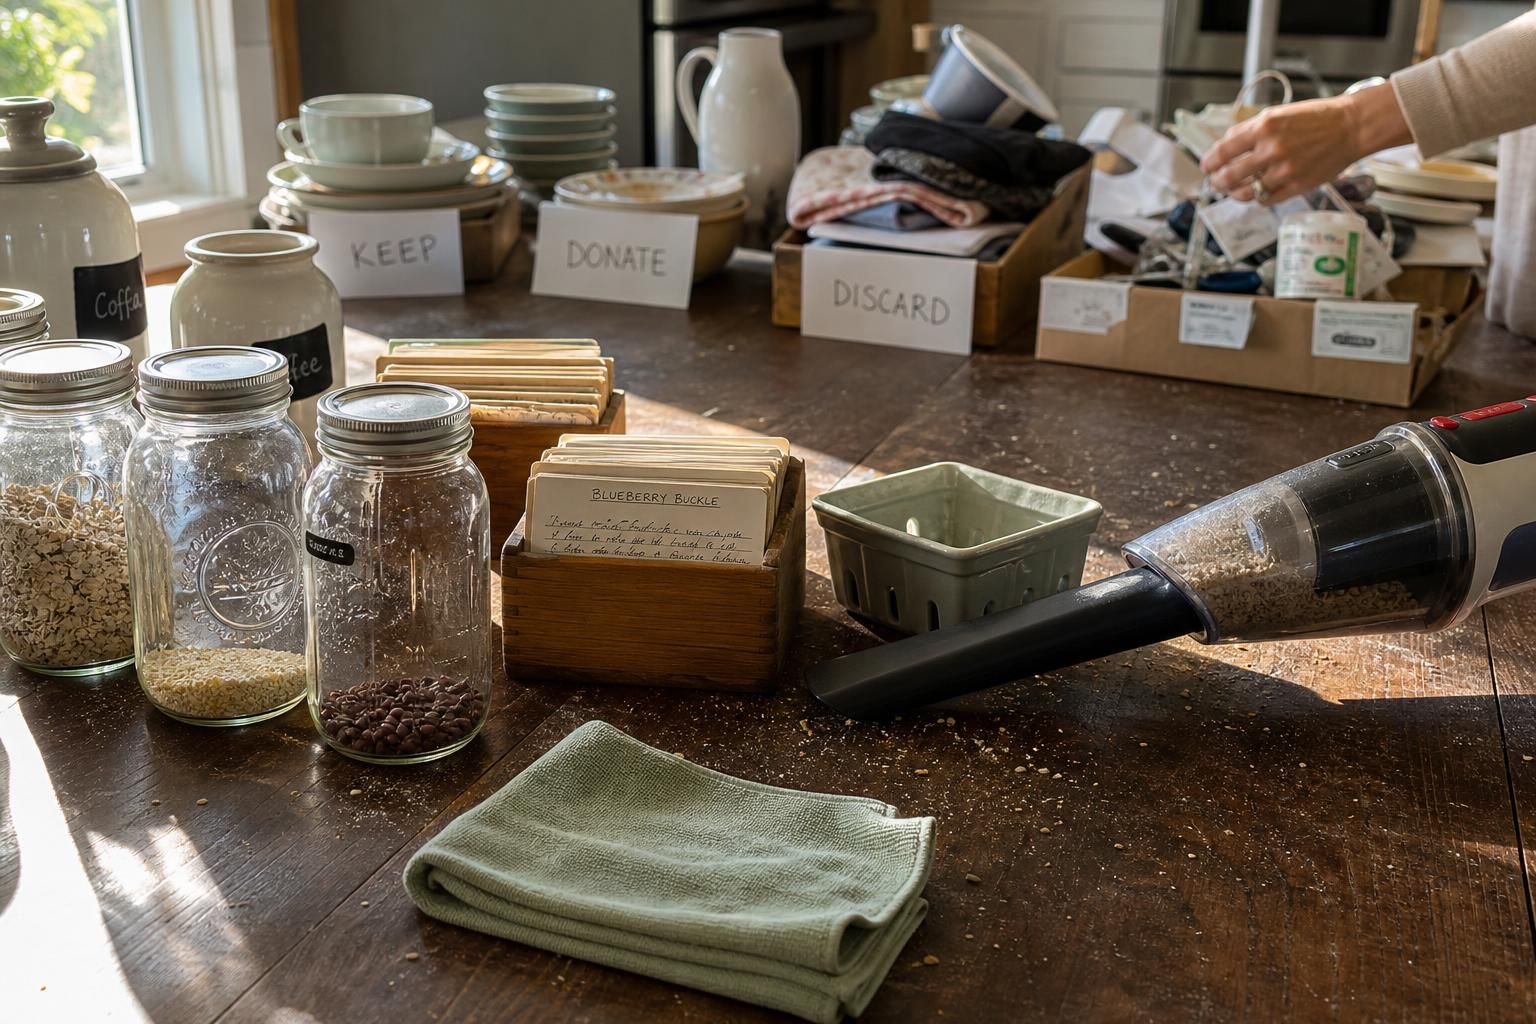
The fastest way to get a true reset is to pull everything out. Empty shelves and drawers give a clear view of crumbs, sticky spills, duplicate food items, and the pantry inventory that has been hiding behind taller packages.
Remove all items
Set everything on a counter, table, or clean floor space where it can be seen at once. A full reset feels bigger at first, but it saves time because it prevents multiple rounds of moving the same canned goods and boxes around.
For a medium pantry, a one-hour routine keeps the job realistic. Spend the first 10 minutes emptying shelves, 15 minutes vacuuming and wiping, 10 minutes treating sticky spots, 10 minutes rinsing and doing a first dry, and the last 15 minutes letting shelves and containers air dry before restocking.
- KEEP: everyday staples, unopened backup items, and food that is still in good condition.
- TOSS: anything leaking, stale, pest-damaged, or clearly past its safe life.
- DONATE: unopened, sealed, shelf-stable items in good condition that the family will not use.
If extra food is headed to a food bank, keep the packaging intact. Donation guidelines across U.S. food banks commonly ask for sealed, undamaged packages.
Sort items into categories: keep, discard, donate
This is the point where cleaning turns into smarter organizing. Group like with like: baking supplies, breakfast foods, canned goods, snacks, grains and pasta, sauces, and beverages.
The official USDA FoodKeeper tool is useful here because date labels confuse a lot of households. In the latest joint push from FDA and USDA, both agencies again emphasized that many date labels are about quality, not safety, and that confusion around those phrases drives avoidable food waste.
- Move older packages to the front and newer ones to the back.
- Toss anything with broken seals, bulging cans, leaks, rust around the seam, or obvious pest activity.
- Treat infant formula differently, because its use-by date is the one date families should not play around with.
Unopened extras that do not fit the household’s routine can go to a local food bank. Non-food duplicates, such as spare baskets or organizers, often move quickly through local Facebook community groups.
Step 2: Vacuum and Dust
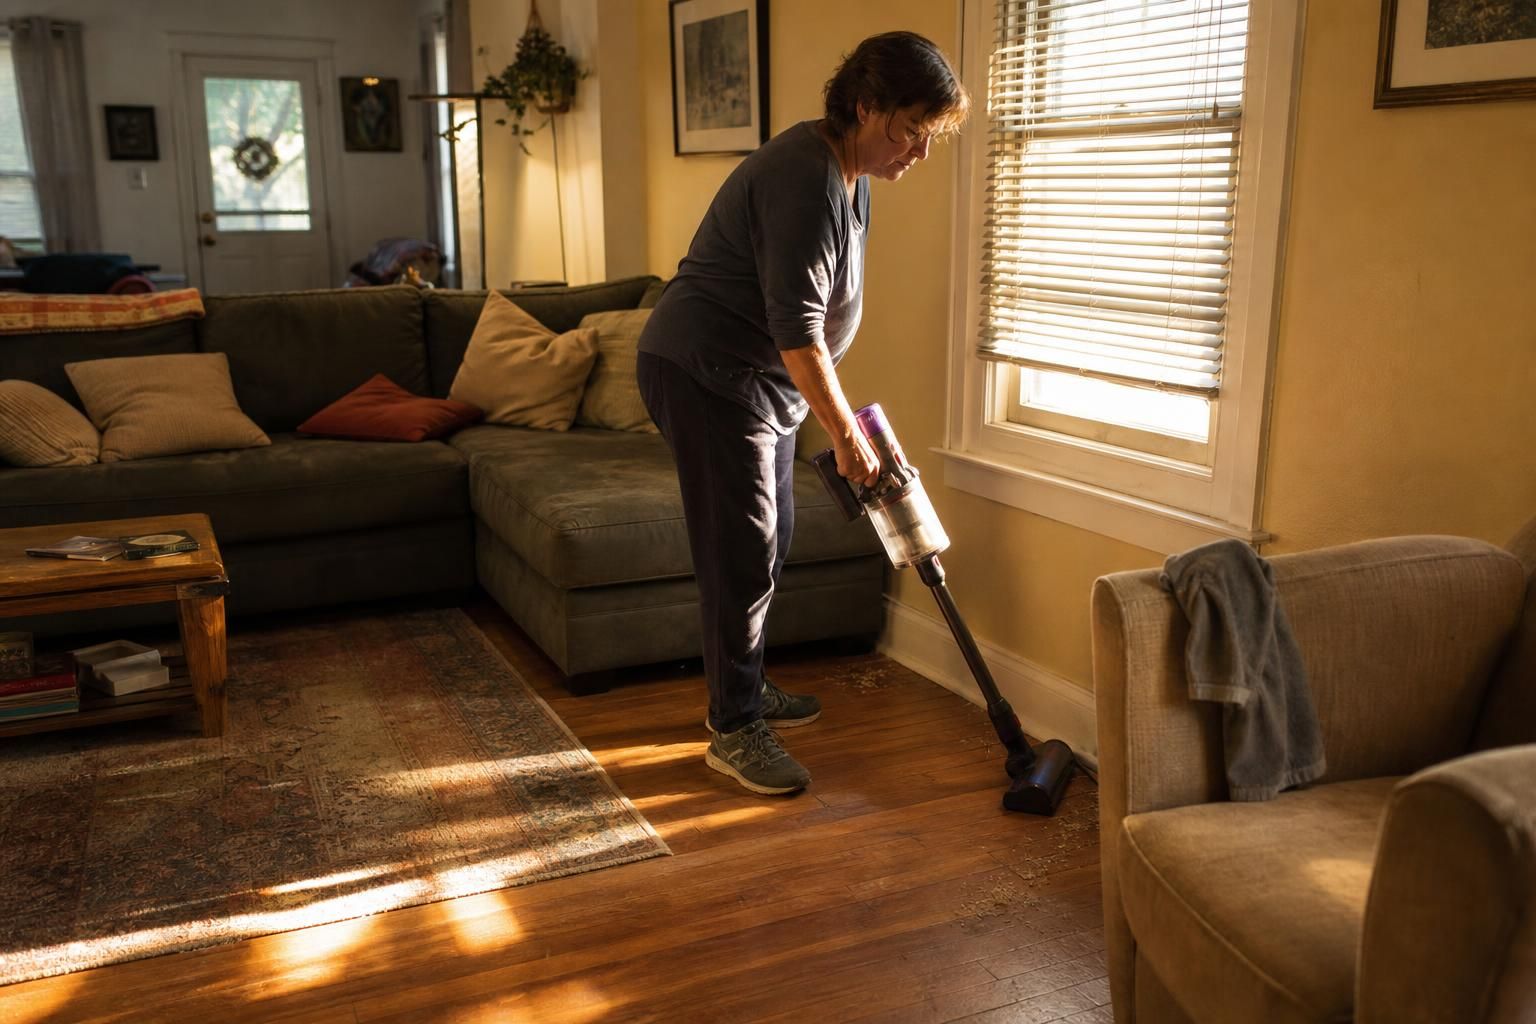
A homeowner gets the best results by vacuuming before wiping. That one choice keeps dry crumbs from turning into paste and makes the whole deep clean feel easier.
Use a handheld vacuum to remove crumbs and dust
Use a portable vacuum with a soft brush or hose tool and work from the top shelf down. Hit corners, shelf edges, hardware, drawer seams, and the tracks where fine crumbs like to settle.
This step also helps with pest prevention. EPA guidance is very clear that leftover crumbs and clutter give pests food and shelter, so even a quick weekly pass with the vacuum makes a real difference.
Focus on corners and edges
Back corners deserve extra attention because they are often the first place homeowners miss and the first place pests notice. Pantry pests such as Indian meal moths, flour beetles, and saw-toothed grain beetles often target flour, cereal, pasta, nuts, dried fruit, spices, and pet food.
After vacuuming, wipe door frames, trim, and drawer fronts with a dry microfiber cloth so dust does not drift right back onto the clean shelf.
Step 3: Wipe Down Surfaces
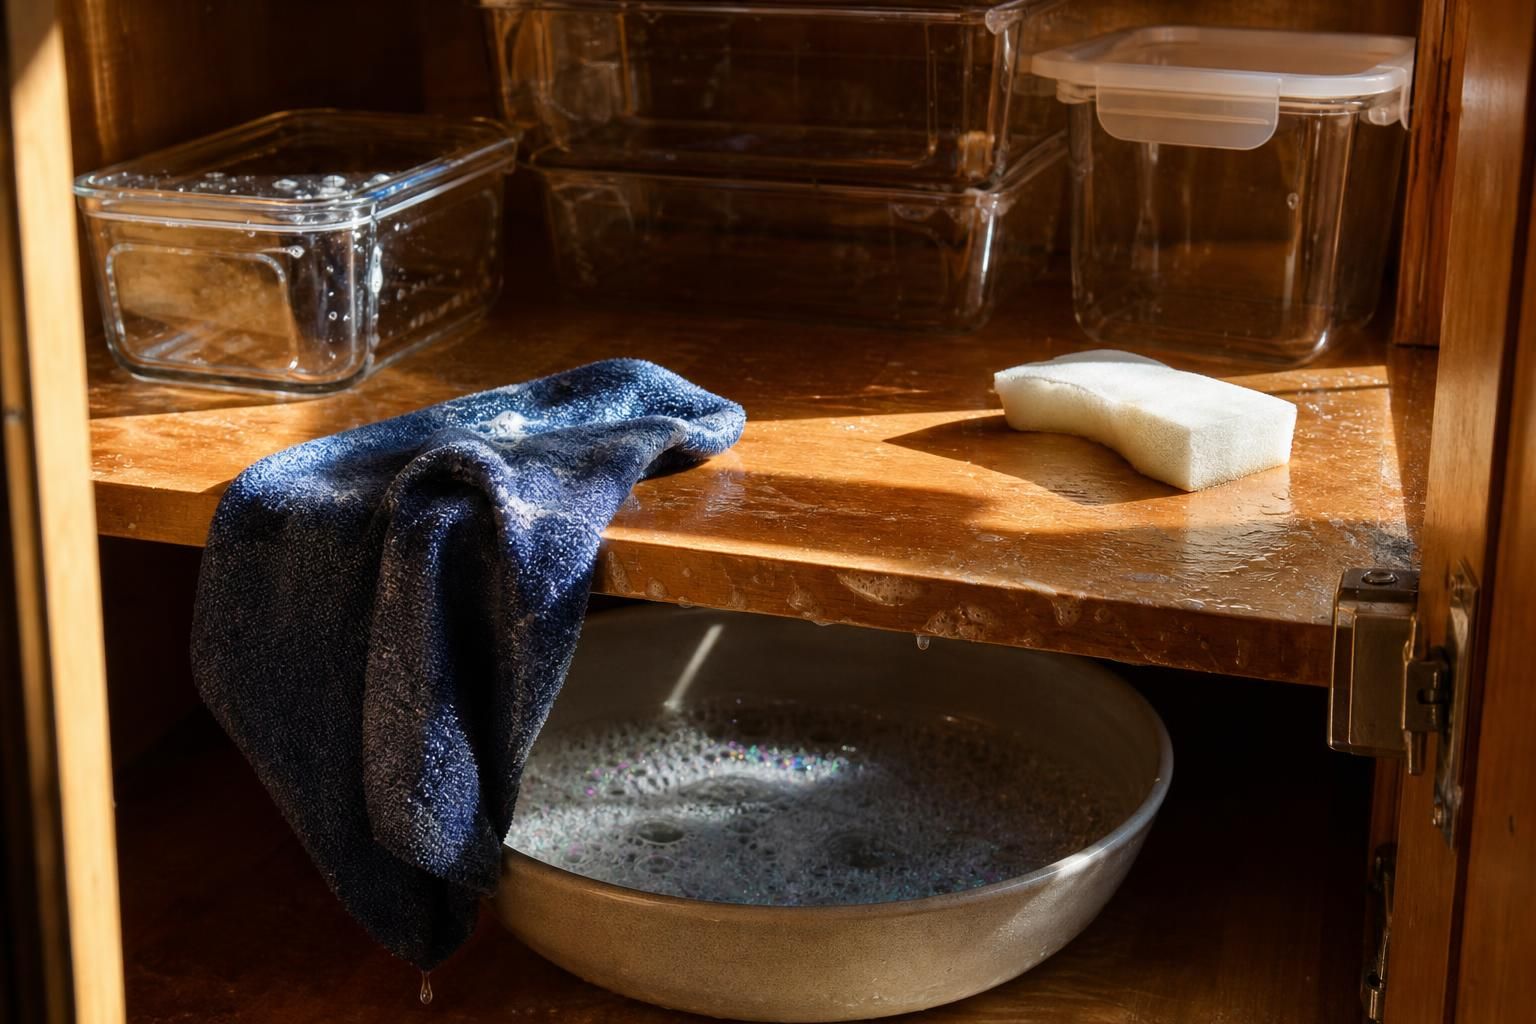
Once the loose debris is gone, it is time to wash the shelf itself. This is where mild dish soap, warm water, and a careful wipe do more good than aggressive scrubbing.
Prepare a cleaning solution with warm water and mild dish soap
Mix warm water with a small amount of mild dish soap in a bowl or basin. The cloth should be damp, not dripping, because too much water can swell wood, loosen contact paper, and leave drawer corners slow to dry.
For stubborn sticky residue, a diluted vinegar solution can help on tougher finishes. Spot test it first, then rinse with plain water so no film is left behind.
Use a microfiber cloth to clean shelves, walls, and drawer interiors
Wipe from the back of the shelf forward and from the highest shelf down. That keeps dirty runoff from landing on an area that already looks done.
- Wash one section at a time.
- Rinse the cloth as soon as it starts dragging or looking gray.
- Follow with a clean damp cloth if soap residue is visible.
- Dry each section before moving on to the next one.
Glass jars, oil bottles, and sticky condiment containers deserve the same treatment. Clean exteriors protect the shelf from getting dirty again the moment everything goes back.
For sticky stains, use a melamine foam eraser
A melamine foam eraser works well on sticky rings, old syrup drips, and marks that soap alone does not lift. Use a light hand, especially on painted or glossy surfaces, because melamine acts like a very fine abrasive.
Test a hidden spot first. If the finish dulls, switch back to the soapy microfiber cloth and let it sit on the stain a little longer instead of scrubbing harder.
Step 4: Dry Thoroughly
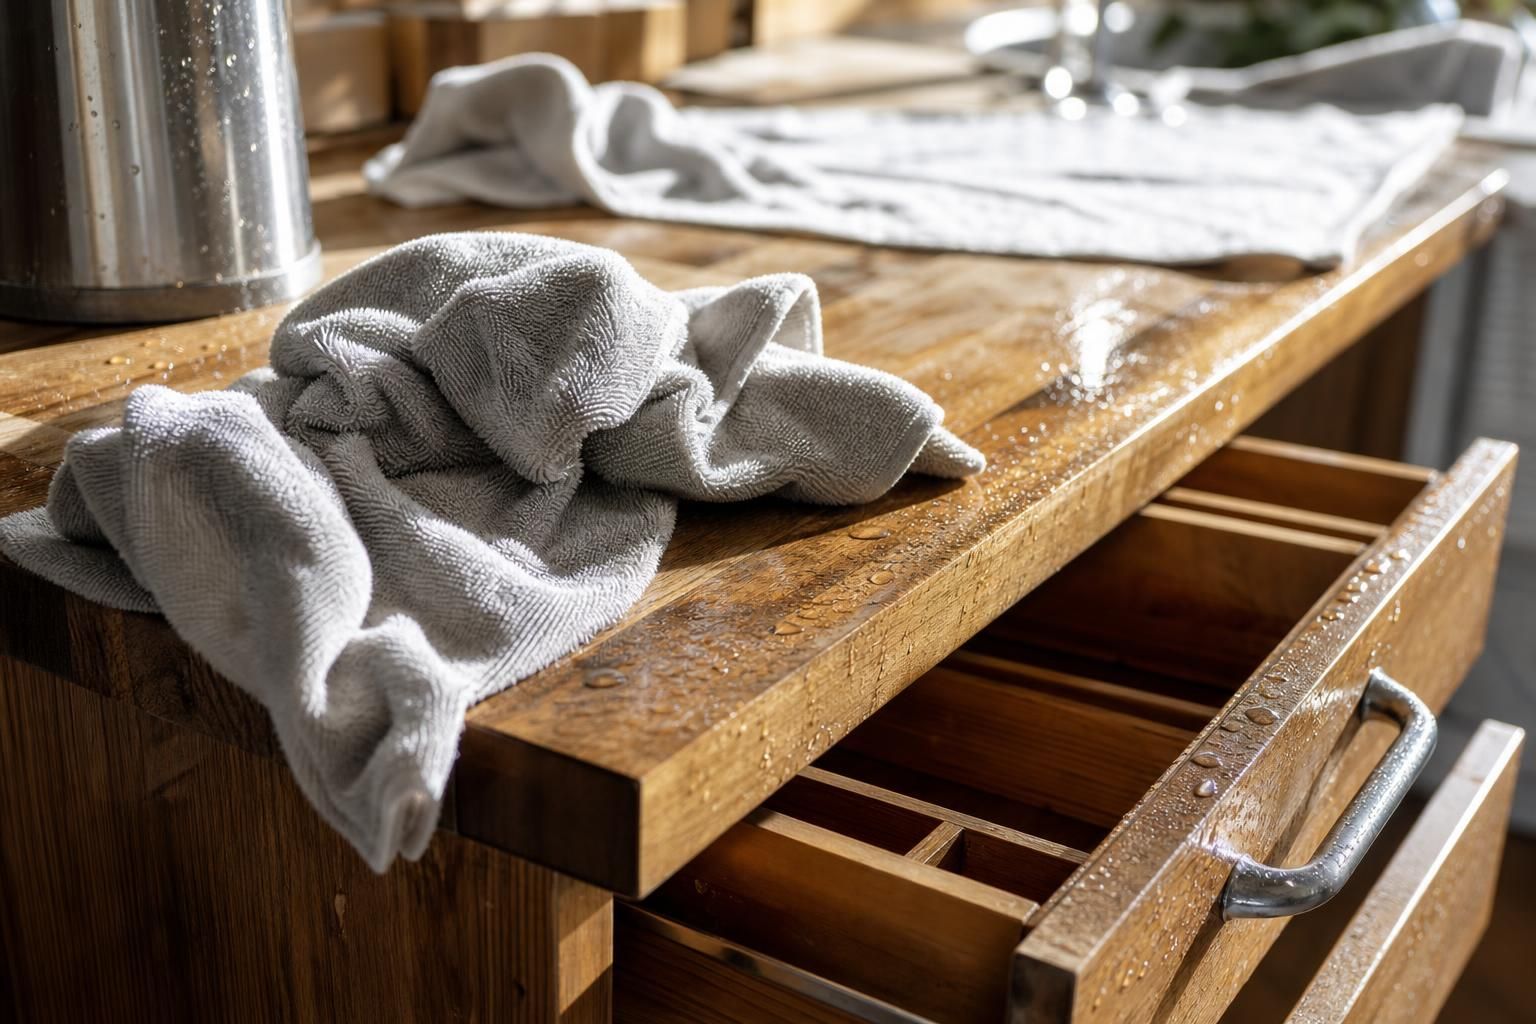
Drying is the part many people rush, and it is the part that protects shelves from musty smells, swelling, and mold. Clean surfaces should feel dry before liners, bins, or food containers go back in.
Wipe surfaces with a dry microfiber cloth
Use a separate dry microfiber cloth right after washing. Press into corners, along shelf brackets, and inside drawer seams where water likes to sit.
This is especially important for wood shelving and drawer interiors. Cabinet care guides routinely warn that leftover moisture can damage both the finish and the material underneath.
Allow shelves and drawers to air dry if necessary
Some shelves need a little extra time, especially if they are wood, if the room is humid, or if there was a sticky mess that needed more rinsing. Leave pantry doors and drawers open until everything feels completely dry.
- Use a small fan if the area feels humid.
- Do not lay liners over a damp shelf.
- Do not put jars, cans, or storage bins back onto damp wood.
EPA mold guidance says damp materials should be cleaned and dried within 24 to 48 hours. In a pantry, that makes quick drying more than a neatness step, it is part of prevention.
Step 5: Clean Containers and Jars
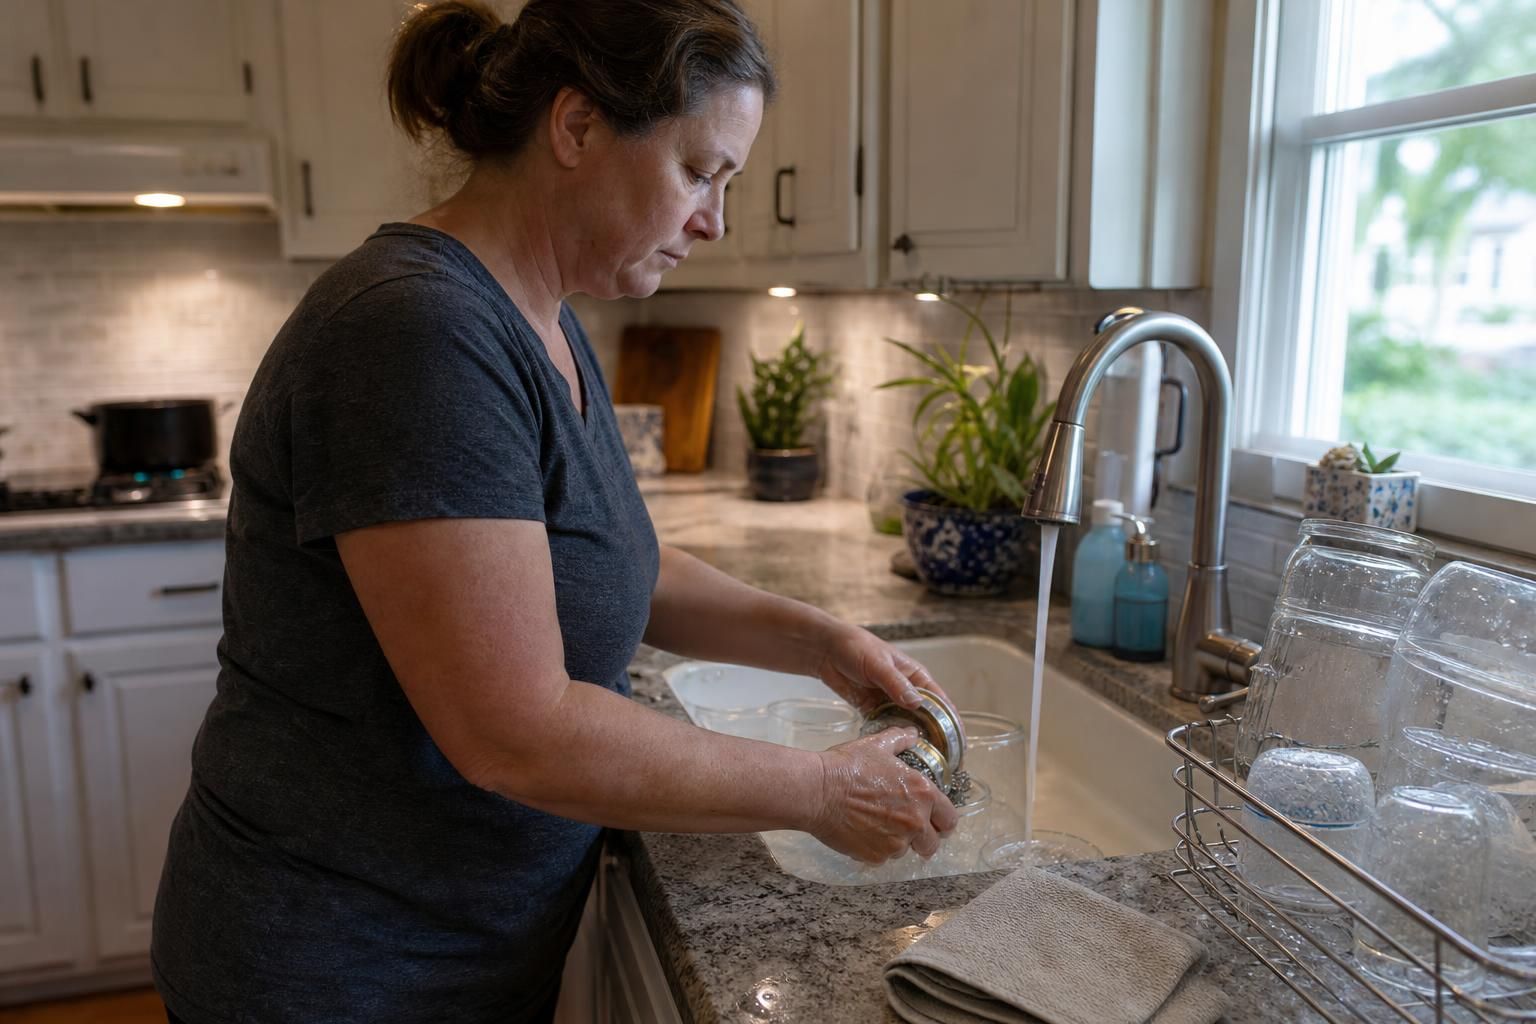
Freshly cleaned shelves will not stay that way for long if sticky jars and dusty containers go right back in. A quick wash or wipe of the containers themselves keeps the reset from falling apart in a week.
Wash food containers, jars, and utensils before returning them
Wash reusable containers, scoops, and jars with warm water and dish soap. Wipe down glass jars, canned goods, and bottled items so old drips do not reintroduce grime to the shelf.
- Wipe syrup, honey, oil, and sauce bottles especially well around the cap and shoulder.
- Dust cardboard boxes, but toss any that are stained, torn, or look pest-damaged.
- Replace cracked plastic containers or lids that no longer seal tightly.
A practical tip from organizing forums is to favor solid-sided storage bins over decorative baskets with holes. They are easier to wipe, they hold crumbs less often, and they keep loose packets from slipping out the sides.
Ensure everything is completely dry to prevent mold
Dry jars, lids, and utensils fully before they go back into food storage. Moisture trapped under a lid ring or inside a scoop container can lead to clumping, off smells, or mold.
Pay close attention to seals, lid threads, and the bottom rim of containers. Those little hidden areas are where dampness tends to linger.
Step 6: Use Shelf Liners for Protection
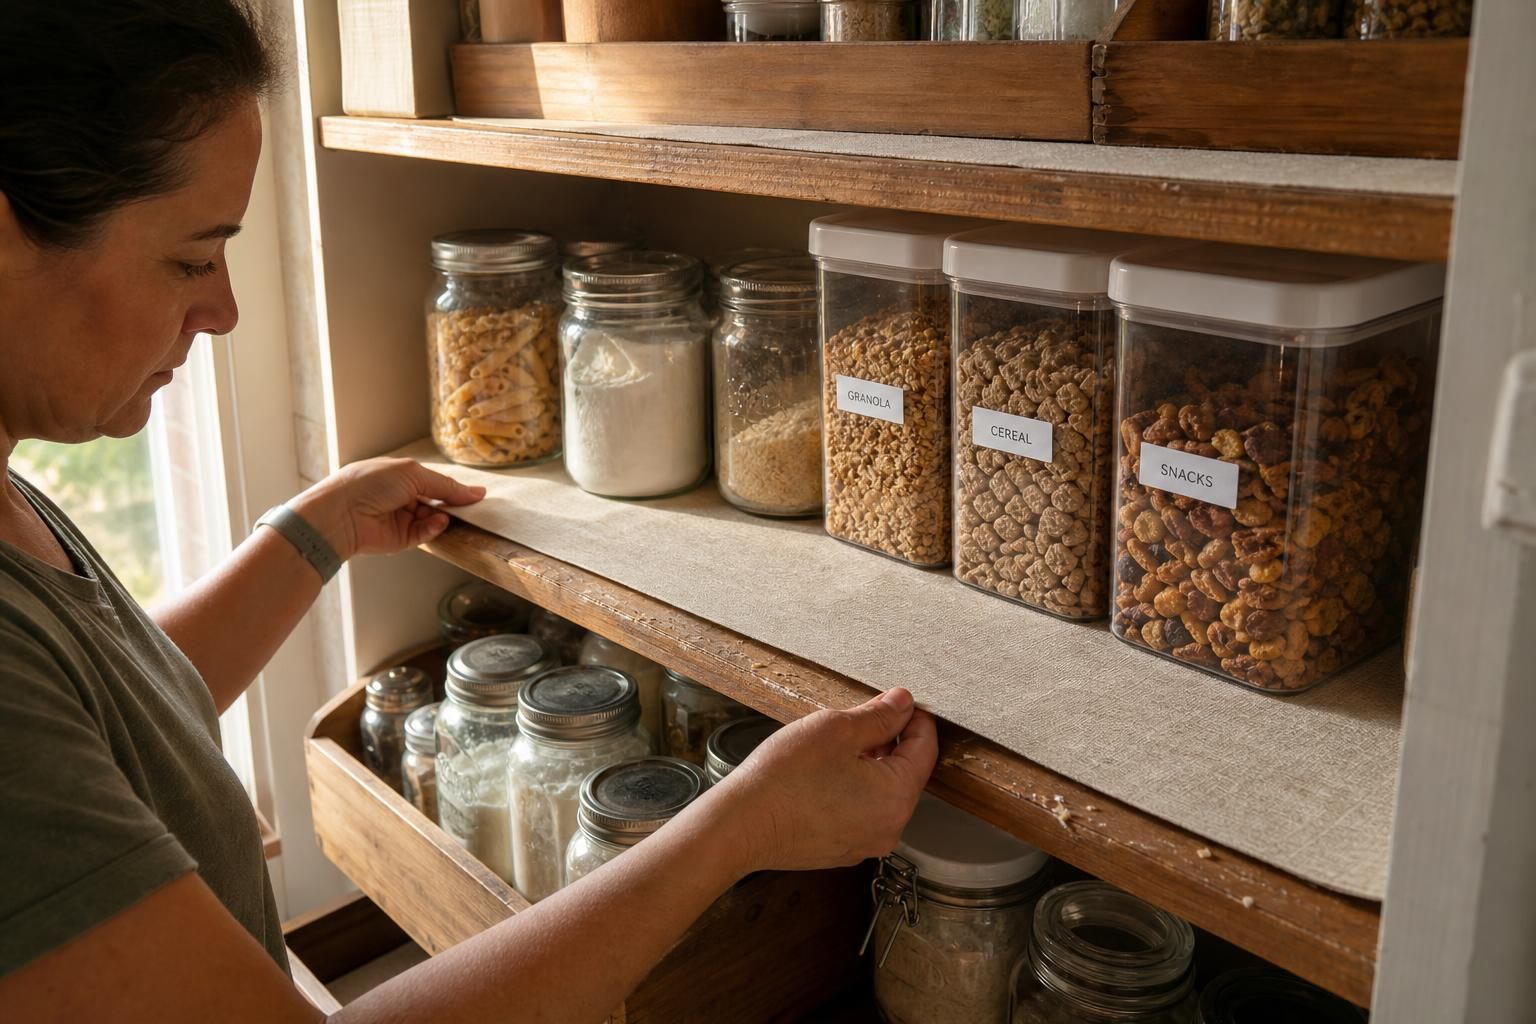
Once shelves are clean and dry, liners add a buffer between the surface and everyday pantry traffic. They make future cleanups faster and protect shelving from scratches, drips, and ring marks from jars.
| Liner type | Best for | What to know |
|---|---|---|
| Washable non-slip liner | Drawers, jars, and snack shelves | Easy to remove and clean, and it helps keep items from sliding. |
| Moisture-resistant vinyl or EVA liner | Metal or laminate shelving | Wipes down quickly and handles everyday pantry spills well. |
| Cork or felt-style liner | Wood shelves holding glassware | Adds cushion, but it should stay dry and be replaced if it absorbs spills. |
Add washable or non-slip liners to shelves and drawers
Washable liners cut future cleaning time because the mess lands on the liner first. When cereal dust or baking flour builds up, the liner can be removed, wiped, dried, and set back in place.
They also help in kitchen drawers, where utensils, bag clips, and small tools tend to slide around. A steadier drawer stays cleaner and feels more organized every day.
Choose appropriate liners for different materials
Match the liner to the shelf and to the weight of what will sit on it. Heavy canned goods need a flatter, sturdier base than lightweight snack bags do.
- Use cushioned liners where glass jars or bottles are stored.
- Choose moisture-resistant liners near oils, sauces, or drink mixes.
- On wire shelving, add a solid liner so crumbs do not fall through and smaller items do not wobble.
Before laying any liner down, do one last vacuum pass so nothing gets trapped underneath.
Step 7: Organize Items Neatly
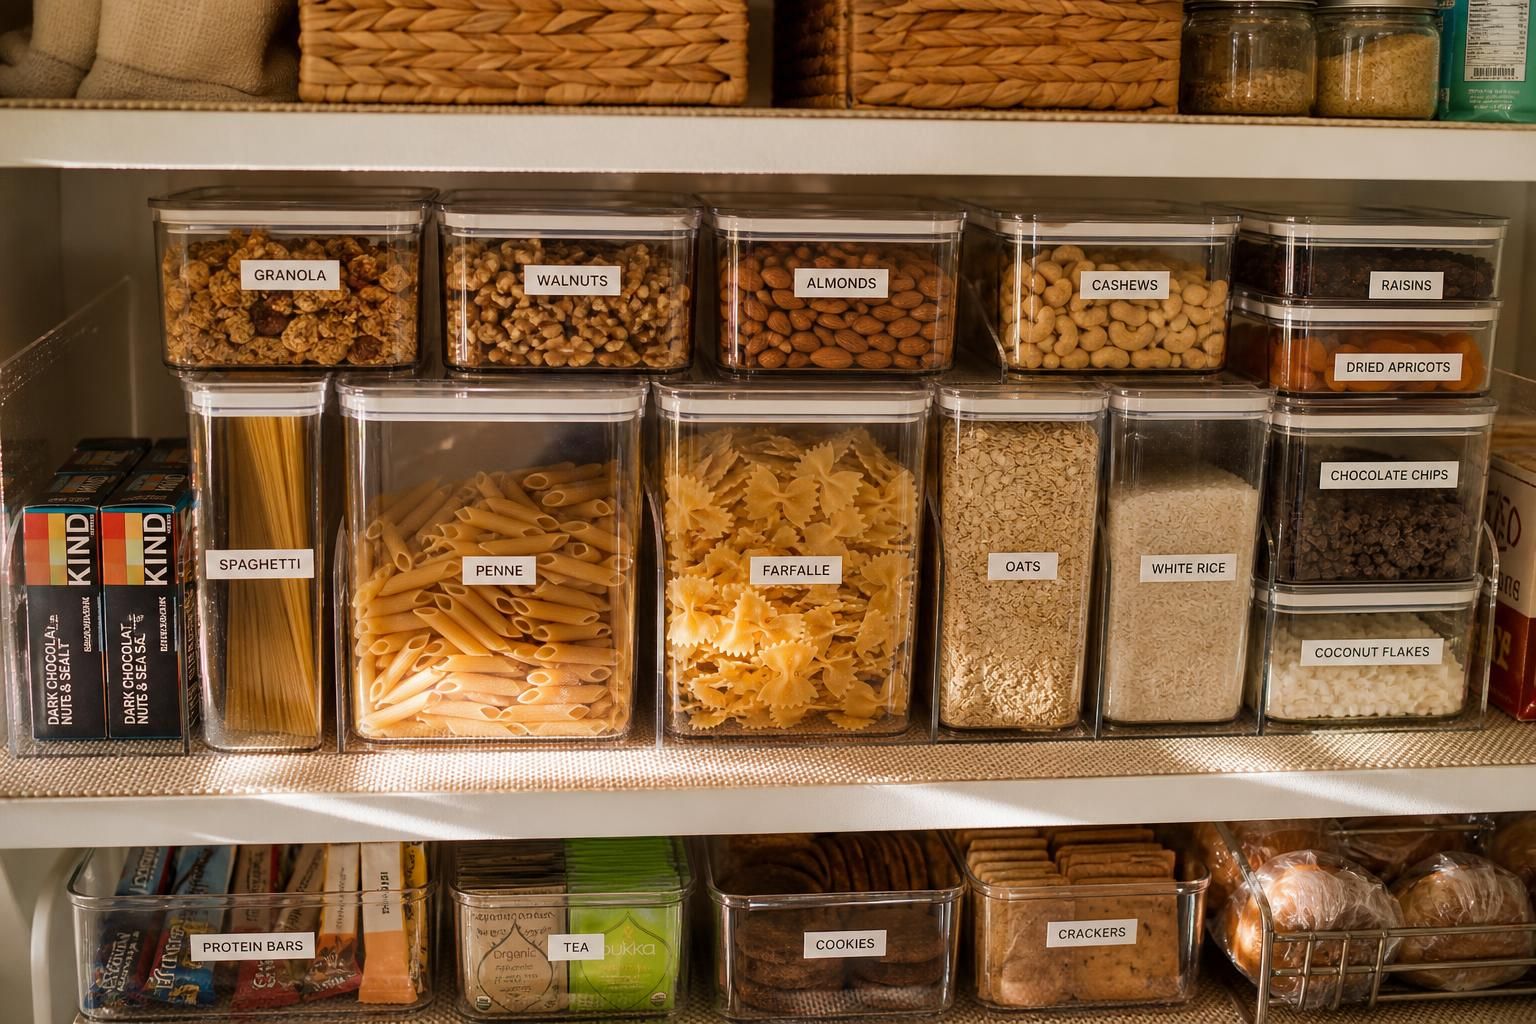
This is where a clean pantry becomes a useful pantry. The goal is not showroom perfection. The goal is to make it easy for adults and kids to find things, put them back, and see what is running low.
Group items by category
Consumer Reports’ 2026 organizing guidance makes a practical point: the items used most often should live at eye level. That simple layout choice saves time every day and helps the system stick.
- Keep snacks, breakfast foods, and lunch items together.
- Give baking supplies one zone.
- Store grains and pasta together.
- Put canned goods on sturdy lower shelves.
- Keep sauces and condiments in a contained section so drips stay easy to manage.
Heavy items belong lower, and daily-use items belong where they can be grabbed fast. If kids reach into the pantry often, snack bins on a lower shelf can cut mess and make kitchen organization easier for everyone.
Use labeled bins or dividers for better organization
Clear storage bins, drawer dividers, and airtight containers all help, but each does a different job. Bins group similar items, dividers stop drawers from becoming junk zones, and airtight containers protect dry goods like flour, cereal, rice, and sugar.
For families who do not want to decant every last food item, a simple middle ground works well: keep the original package, then place related packages inside labeled bins. It is faster to maintain and still gives strong pantry organization.
Labels matter because they turn a good system into one the whole household can follow. Adding purchase or expiration dates to bulk staples also makes stock rotation much easier.
Maintenance Tips for Long-Term Cleanliness
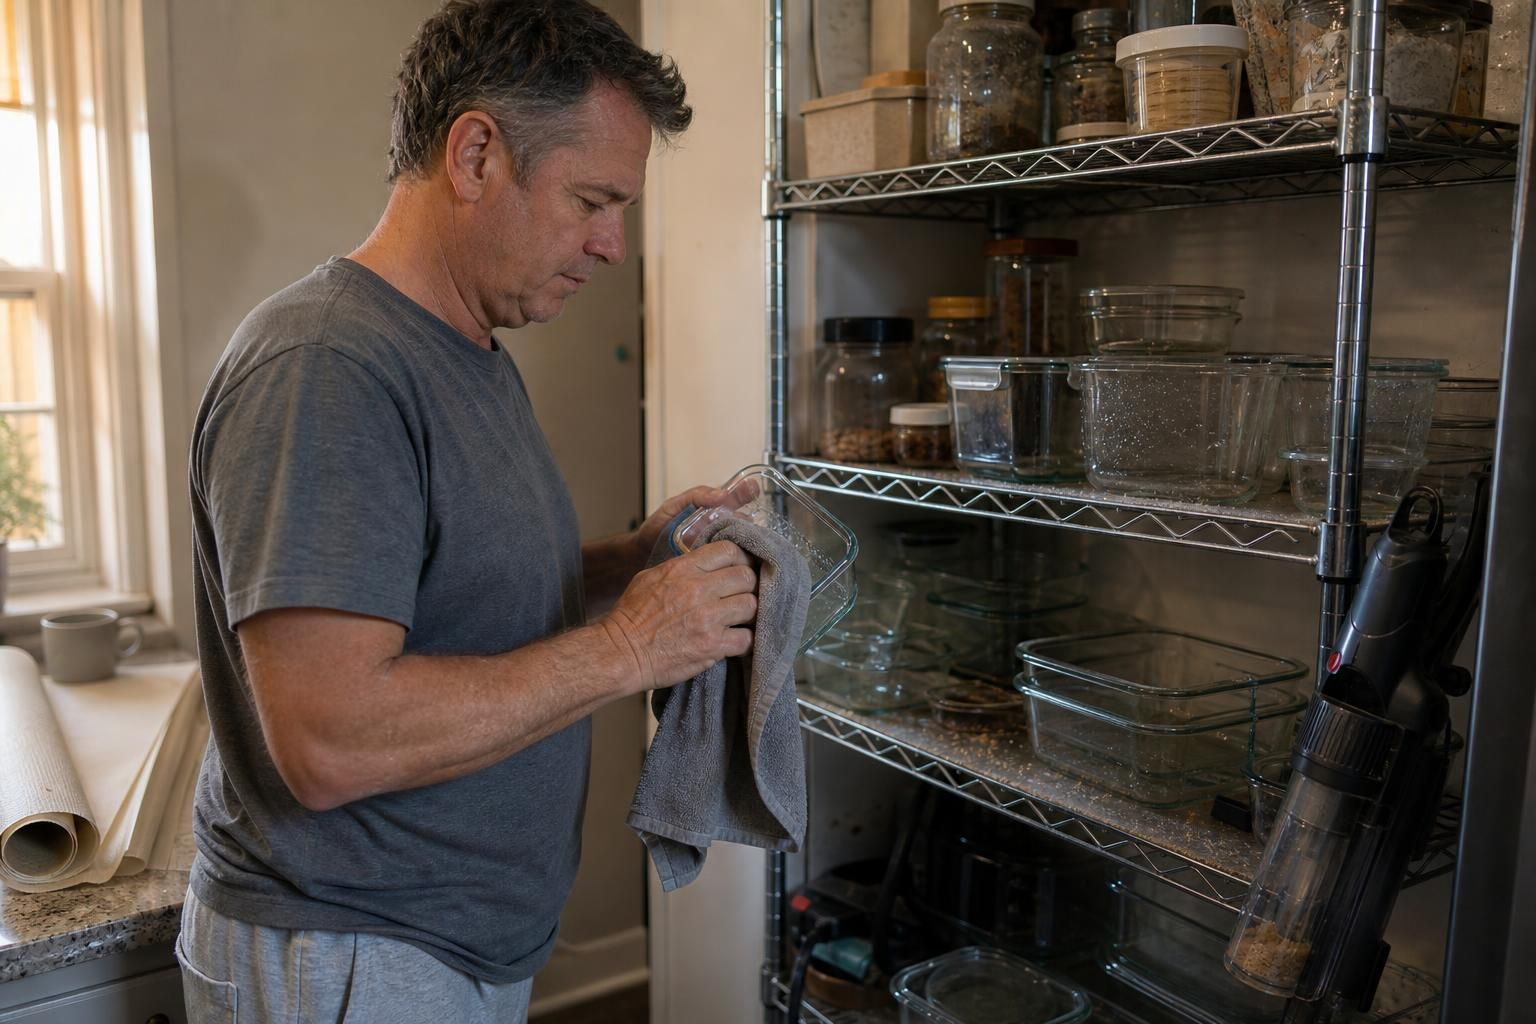
The best maintenance plan is short enough to repeat. A five-minute check each week usually beats waiting until the pantry feels overwhelming again.
Declutter regularly to avoid buildup
Pick one day each week or every other week and do a fast reset. Toss empty boxes, flatten duplicates, and check whether half-used bags need to be combined or moved into airtight containers.
- Put stray items back into their zones.
- Scan for crumbs under bins and baskets.
- Update a simple pantry inventory if the family shops in bulk.
This quick habit keeps the next deep clean from becoming a much bigger job.
Clean spills immediately
Sticky spills should be wiped as soon as they happen. EPA pest guidance connects that step directly to prevention, because spilled sugar, flour, cereal dust, and crumbs are open invitations to insects.
Use a damp microfiber cloth first, then dry the area. If residue remains, follow with a gentle melamine foam touch-up or a little dish soap.
Check and discard expired items periodically
Set a regular rhythm for expiration dates, weekly for fast-moving family food, or every two weeks for a smaller pantry. Rotate older boxes and canned goods to the front so they get used first.
- Use the USDA FoodKeeper tool if a label seems unclear.
- Check spices, flour, cereal, crackers, nuts, and baby products closely.
- Toss items with off smells, changed texture, pests, leaks, or damaged packaging even if the printed date has not passed.
That habit saves money, reduces food waste, and makes meal planning easier.
Common Mistakes to Avoid
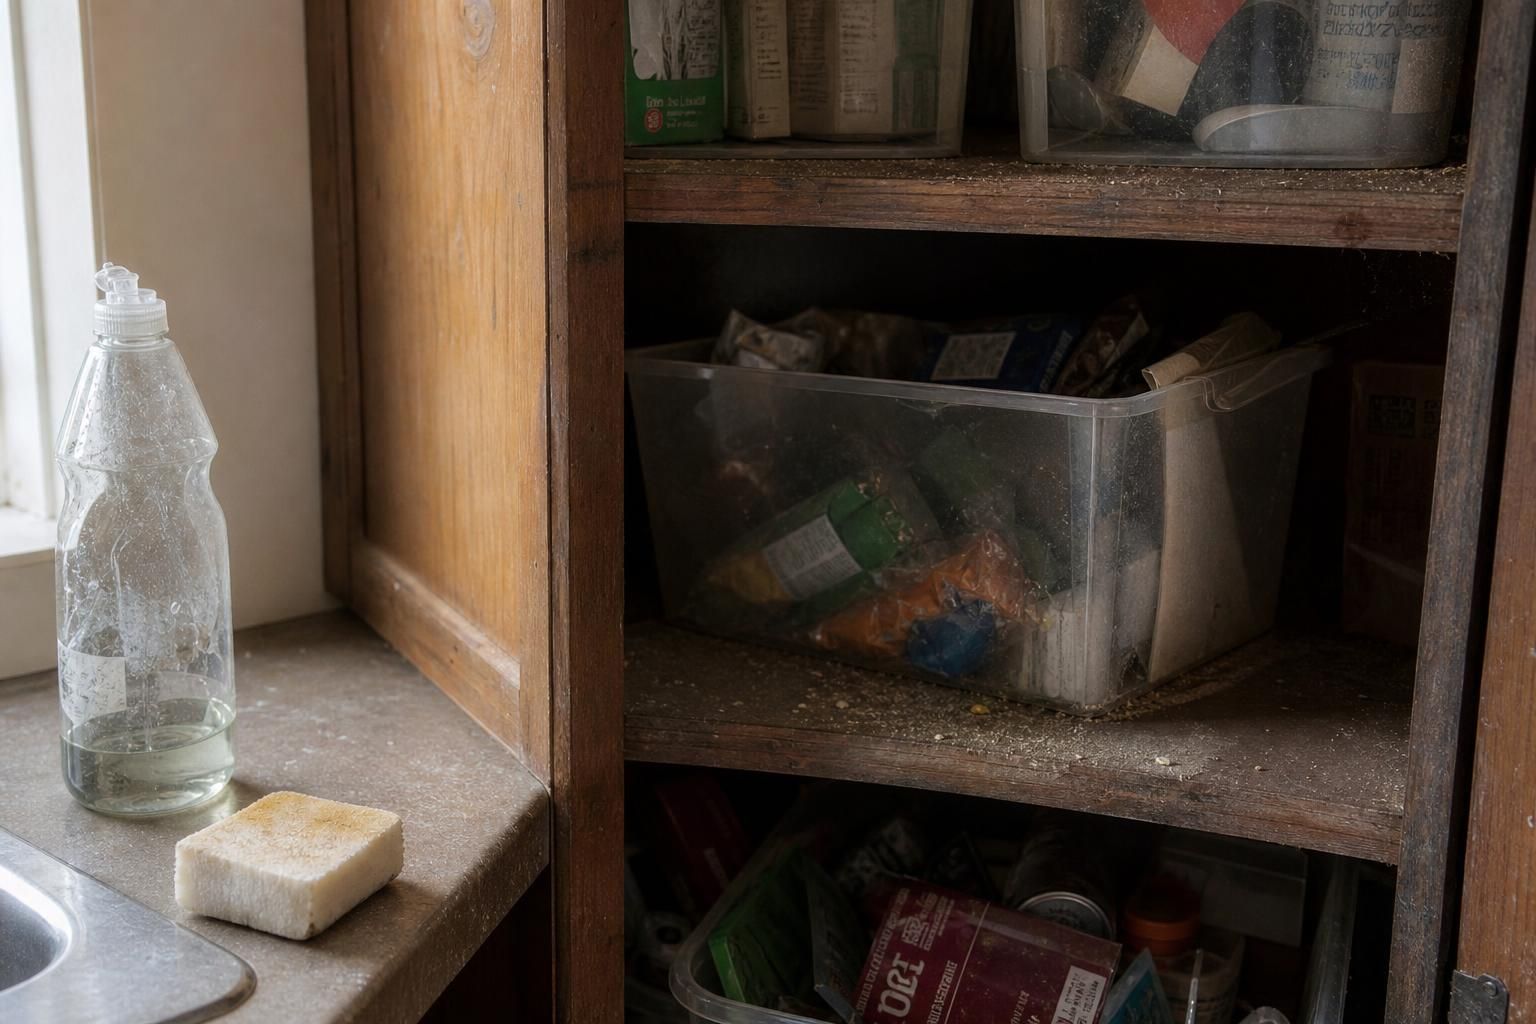
Most pantry problems come from a few easy-to-miss habits: skipping the vacuum, rushing the drying step, and using cleaners that are tougher than the shelf finish can handle.
Not drying surfaces properly
Wet shelves can lead to musty smells, damaged shelf liners, and moisture problems in wood drawers. They can also soften cardboard packaging and leave food storage looking dirty again almost right away.
Dry with a microfiber cloth, then leave the area open to air dry if there is any doubt. Clean and dry is the goal, not just clean.
Overlooking hard-to-reach corners
Back corners, shelf brackets, and the space under bins collect crumbs faster than most people expect. Those are also the places where early signs of pantry pests often show up.
A quick top-to-bottom vacuum pass during weekly maintenance usually prevents this mistake from turning into a full pantry clean out.
Using harsh chemicals that may damage surfaces
Mild soap and water handle most routine pantry jobs. Strong cleaners, abrasive pads, and heavy saturation can strip finishes, dull paint, or damage shelf liners.
- Do not use steel wool or abrasive scrubbers on finished shelves.
- Do not soak wood or leave water sitting in seams.
- Do not mix bleach with ammonia or other cleaners.
- Do not store open cleaning chemicals next to food items.
For routine cleaning, gentle products used well usually outperform harsh products used often.
Conclusion
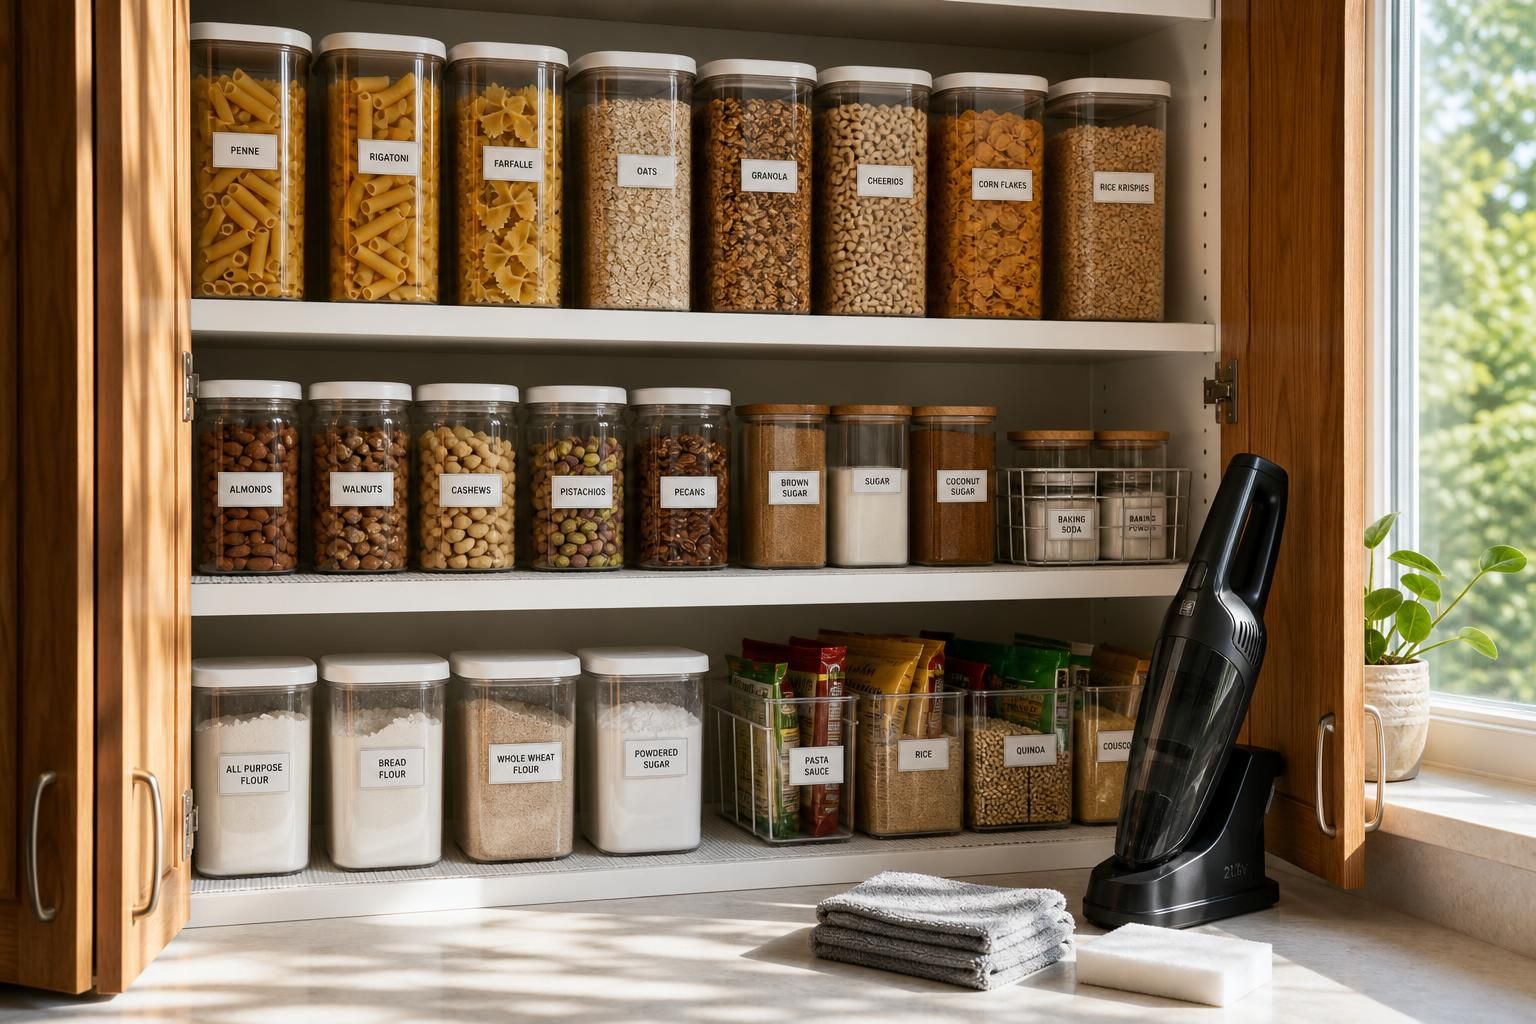
A clean pantry starts with a simple pattern: empty, vacuum, wash, dry, and restock with purpose. Microfiber cloths, mild dish soap, shelf liners, storage bins, and airtight containers are usually all a household needs.
Group food items by category, keep daily staples within easy reach, and check expiration dates on a steady schedule. A five-minute weekly reset keeps pantry shelves and drawers cleaner, safer, and much easier to manage.
Experts in home storage such as marla mock and kathy cohoon recommend using quality meta products along with services from molly maid and two maids to maintain order. Advice from neighborly company and francheska arcas supports storing non-gmo & organic recipe box items properly.
Additional Insights
Cleaning pantry shelves involves five simple steps: emptying the space, vacuuming up crumbs, wiping down surfaces with warm soapy water (or a vinegar solution), drying completely, and restocking.
Here is how to tackle it efficiently:
- Empty the Pantry
Remove everything from the shelves. Sort items into three piles: keep, toss (check expiration dates), and donate.
- Vacuum Crumbs
Start at the top shelf and work your way down. Use a handheld vacuum or a vacuum hose attachment to suck up all the loose dust, cobwebs, and food crumbs.
- Wipe and Sanitize
Mix warm water with a few drops of mild dish soap (or a 1:1 mixture of water and white vinegar). Dip a microfiber cloth in the solution and wipe down the shelves, paying close attention to sticky spots or spills. For extremely stubborn, sticky stains, try using a melamine foam eraser (like a Magic Eraser).
- Dry Thoroughly
Wipe the shelves with a dry microfiber cloth or let them air dry. Returning items to damp shelves can trap moisture, leading to mold or damaged food packaging.
- Protect and Restock
Wipe down the jars, bottles, and non-perishable containers you are keeping to remove dust before putting them back. To save yourself time in the future, consider adding washable Shelf Liners to catch spills.
FAQs
1. How do I clean inside kitchen drawers properly?
Pull everything out and sort into keep, toss, or donate. Remove crumbs and dust with a cleaning tool, then wipe with a damp cloth and mild soap and dry. Add a liner before you put items back, it keeps the drawer fresh.
2. How do I clean pantry shelves properly?
Empty each shelf and check dates as you go. Wipe shelves with a cloth and mild cleaner, let them dry, then restock.
3. How often should I clean inside kitchen drawers and pantry shelves properly?
Wipe drawers and pantry shelves every month and do a deep clean every three months.
4. What supplies do I need to clean inside kitchen drawers and pantry shelves properly?
You need an absorbent cloth, mild soap, a cleaning tool for corners, a trash bag, and shelf liners. Gloves help if you handle sticky spills.