Moving into a new home is an exciting experience. It is a time of possibilities and a promise of a fresh start. But before you begin packing or get moving, you may be thinking if you should clean the house first. Indeed, it is a resounding yes!
In this blog, we’ll discuss the advantages of cleaning your new house before moving in, as well as providing a handy move-in cleaning checklist to ensure you’ve covered every nook and corner.
Should you clean a House before Moving in?
But why should you clean a house before moving in? There are several answers to this question, the most important ones include: to move into a fresh and sanitized environment, reduce the risk of allergies and make sure you clean before moving in, free of dirt or grime.
Let’s go into detail about the importance of move-in cleaning and the best ways to clean a house before moving in to make your cleaning process through and hassle-free.
Health and Safety
When you’re moving into a new home, it’s natural to expect a fresh start and a clean slate. However, even if your new place appears pristine, it’s essential to recognize that there may be hidden dirt and grime lurking in unexpected places. It’s not uncommon for previous occupants to leave behind unwanted allergens that could affect your health and wellbeing.
This typically refers to things such as pet hair, dander and dust mites, which are invisible to the naked eye. These become a problem for people who are suffering from asthma or other breathing issues.
Moreover, damp areas like bathrooms and basements are a breeding ground for mold and mildew. These pesky fungi can cause serious health issues if left untreated, including allergic reactions, respiratory problems, and even neurological issues. Therefore, it’s critical to give your new home a thorough cleaning to prevent these hidden threats from taking root and affecting your and your family’s health.
Try removing any potential allergens or harmful substances, you can breathe easier and enjoy your new space with peace of mind. So, roll up your sleeves and get ready to scrub those hidden corners – your health will thank you for it!
Peace of Mind
When moving into a new home, it’s easy to get swept up in the excitement of settling in and decorating your place to show your personal style. However, you should clean a house before moving in as it can make a world of difference in the overall experience and hygiene. Cleaning and sanitizing your new home will help eliminate any potential allergens or harmful substances and create a more welcoming and comfortable environment for you and your family.
A thorough cleaning of your new home can help to rid it of any lingering germs or bacteria. Because of the COVID-19 pandemic, it’s more important than ever to ensure that your living space is clean and safe.
So, unpacking in a healthy environment and a clean, new home makes you feel more at ease and in control. A clean and organized environment also makes it easier to set up and store everything, making your home feel less cluttered. This makes the entire moving process less stressful.
Easier and More Efficient
A clean house means a more efficient moving process. You won’t have to navigate around boxes and furniture to get to everything. A clean house will also reveal any areas that require special attention, such as hidden corners or difficult-to-reach areas.
Moving can be exhausting, so the last thing you want to do is spend even more time cleaning out the rooms you intend to use before relocating your furniture. A clean home before a move will do half the work for you, so all you have to do is unpack and relax.
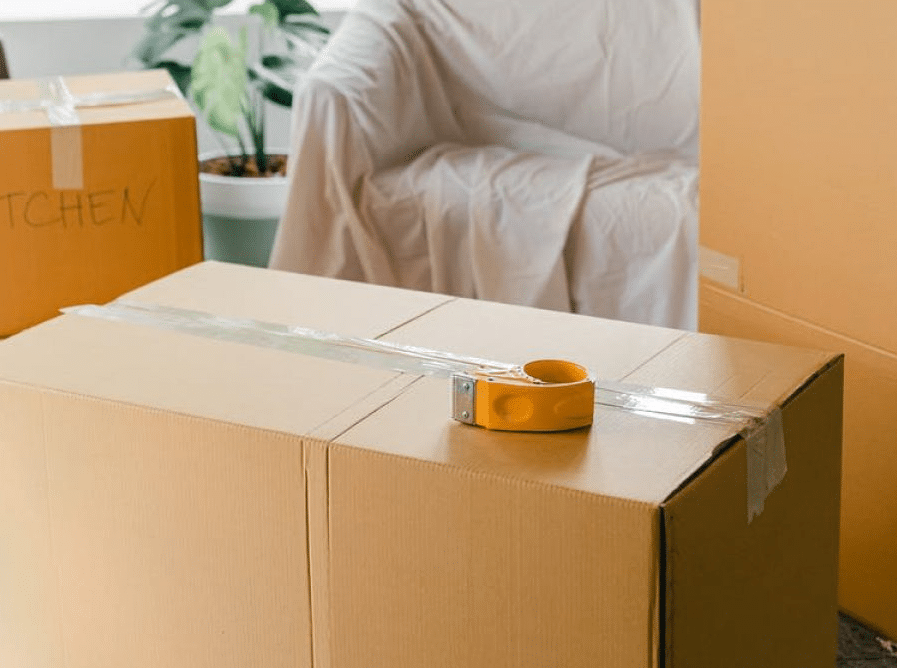
Clean a House before Moving in – Checklist
One of the best ways to clean a house before moving in is making a checklist. Following this handy checklist can help you clean every corner of your new living space spotless and free of dirt, dust, and allergens.
1. Walls and Ceilings
Dust Cobwebs
- Use a long-handled duster or a broom with a soft cloth attached to reach high corners and ceiling areas.
- Pay special attention to corners, crown molding, and around light fixtures.
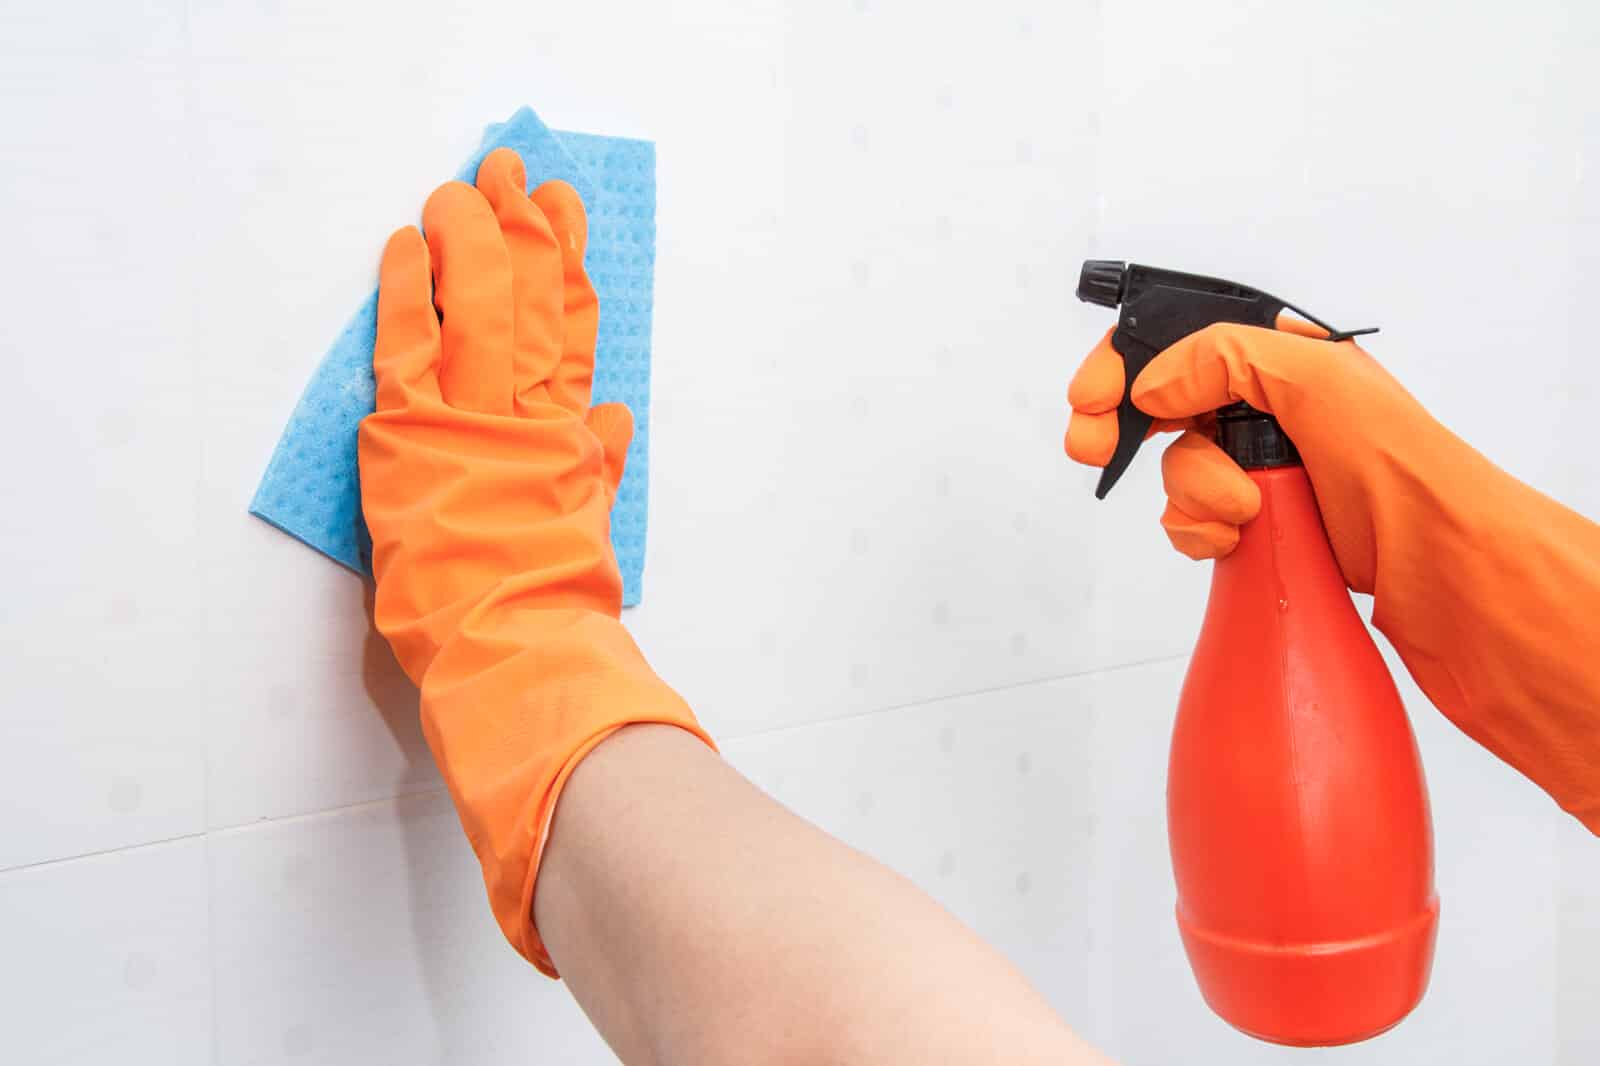
Wipe Down Walls with a Mild Detergent
- Mix a gentle cleaning solution, warm water, and a few drops of mild dish soap.
- Use a soft cloth or sponge to gently clean the walls, working in small sections.
- Be cautious around wallpaper or delicate surfaces to avoid damage.
- Consider using a magic eraser for stubborn stains or marks.
Clean Light Fixtures and Ceiling Fans
- Turn off the power to avoid any electrical hazards.
- Carefully remove any glass or plastic covers, and clean them with warm soapy water.
- Wipe down the bulbs, taking care not to touch them with your bare hands.
- Clean the fan blades using a damp cloth or a vacuum with a brush attachment.
Clean Air Vents and Grills
- Remove the vent covers and vacuum the inside of the ducts using a hose attachment.
- Clean the vent covers with warm soapy water, ensuring they are completely dry before reattaching them.
- Replace air filters as required.
Check for and Remove any Mold or Mildew
- Inspect walls and ceilings for any signs of mold or mildew, paying special attention to damp areas such as bathrooms and basements.
- If you discover mold or mildew, use a store-bought mold remover or create your own solution by mixing one part bleach with three parts water.
- Scrub affected areas with a stiff brush, and rinse with clean water.
- Dry the area thoroughly and consider using a dehumidifier to prevent future mold growth.
2. Floors
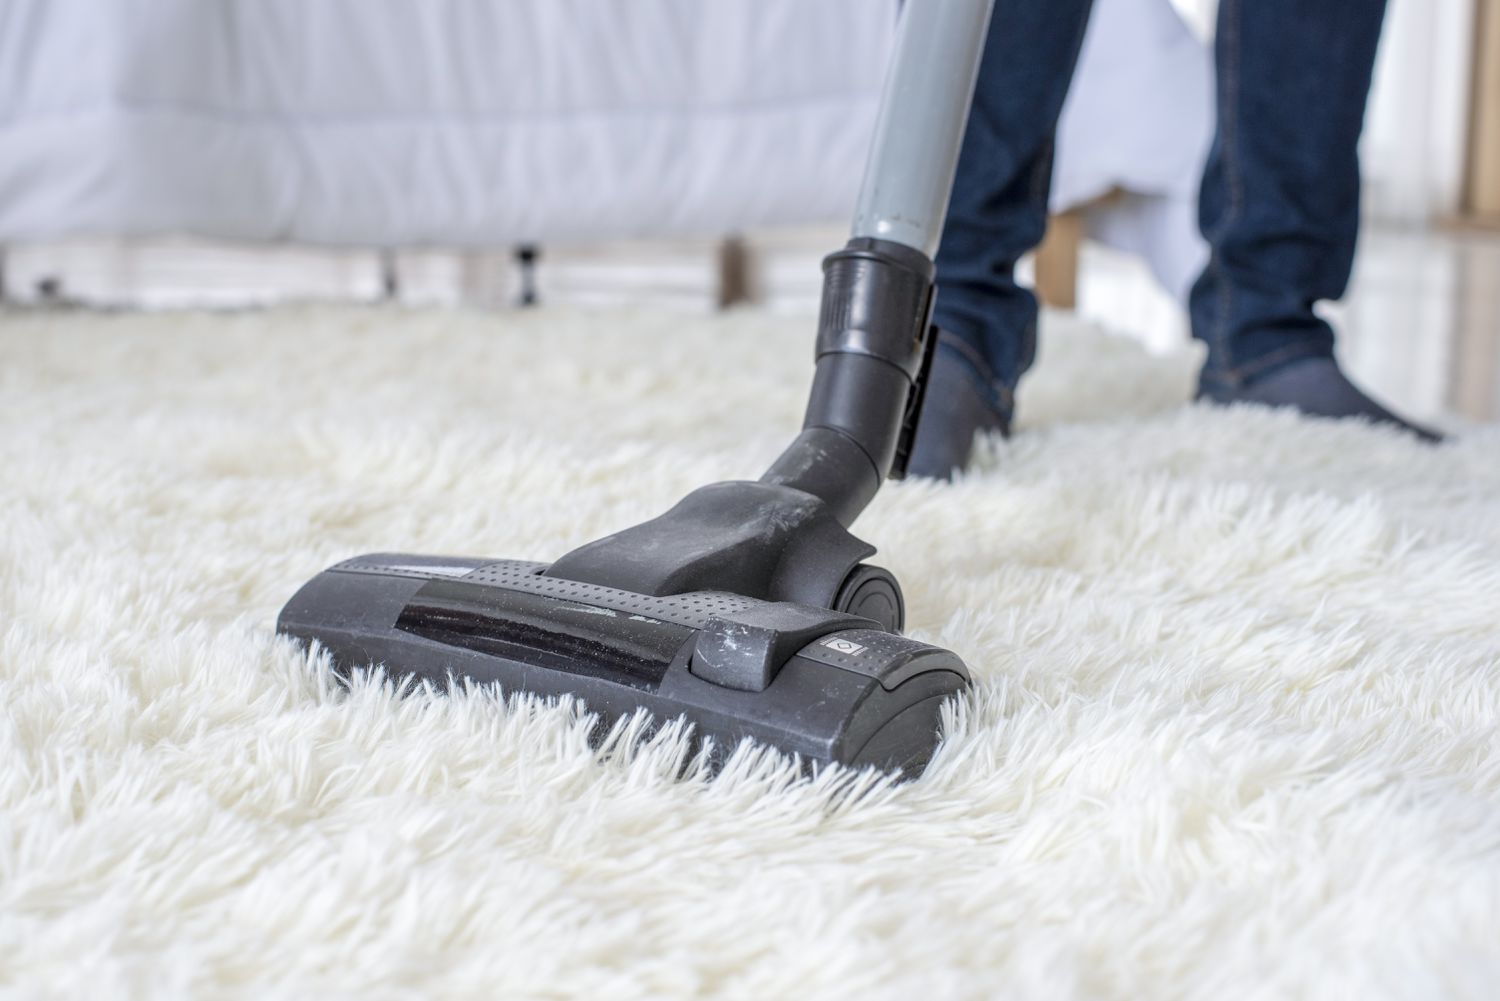
Vacuum Carpets
- Remove any furniture or obstacles from the carpeted area.
- Vacuum the entire carpet thoroughly, paying special attention to high-traffic areas and corners.
- Use the hose attachment to clean edges and any hard-to-reach spots.
Steam Clean Carpets if Necessary
- Assess the condition of the carpets to determine if a deeper cleaning is needed. Look for stains, embedded dirt, or odors.
- Rent or purchase a steam cleaner designed for home use, or hire a professional carpet cleaning service.
- Follow the manufacturer’s instructions or guidelines provided by the cleaning service to ensure optimal results.
Sweep and Mop Hardwood, Tile, or Linoleum Floors
- Sweep the entire floor surface with a broom or a dry microfiber mop to remove dust and debris.
- Mix a cleaning solution appropriate for the type of flooring: for hardwood, use a cleaner specifically designed for wood floors; for tile or linoleum, mix a few drops of mild dish soap with warm water.
- Mop the floor using a microfiber mop or a traditional mop wrung out well, working in small sections to avoid streaks.
- Allow the floors to air dry or use a dry mop to speed up the process.
Clean Baseboards and Remove Scuff Marks
- Dust the baseboards with a microfiber cloth or vacuum them using a brush attachment.
- Wipe down the baseboards with a damp cloth and a mild cleaning solution.
- For stubborn scuff marks, use a magic eraser or a mixture of baking soda and water to gently scrub the affected areas.
3. Windows
Clean the Interior and Exterior of All Windows
- Remove any obstacles, such as furniture or decor items, to access the windows easily.
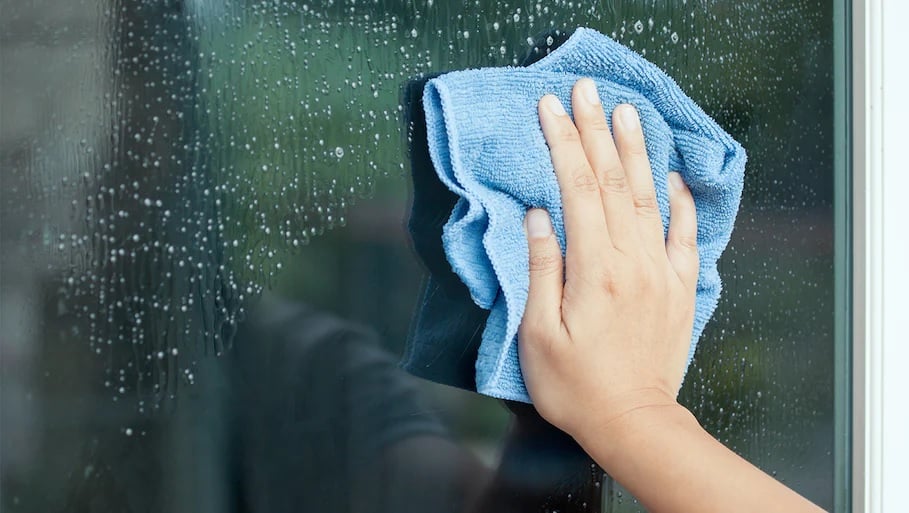
- Mix a window cleaning solution using a few drops of mild dish soap and water, or you can use a good-quality store-bought glass cleaner.
- Use a microfiber cloth or a squeegee to clean the interior and exterior surfaces of each window, working from top to bottom.
- For hard-to-reach exterior windows, consider using an extendable squeegee or hiring a professional cleaning service like My Cleaning Angel.
- Buff the windows with a dry cloth or a crumpled newspaper to remove any streaks and achieve a streak-free shine.
Wipe Down Window Sills, Frames, and Tracks
- Use a dry cloth or a vacuum with a brush attachment to remove dust and debris from the window sills, frames, and tracks.
- Apply a mild cleaning solution to a damp cloth, and wipe down the sills, frames, and tracks thoroughly.
- Use a toothbrush or a small brush to clean hard-to-reach areas and crevices within the tracks.
- Dry the surfaces completely to prevent moisture buildup and potential mold growth.
Clean Blinds and Curtains
- For blinds, dust them using a microfiber cloth, a duster, or a vacuum with a brush attachment. Be gentle to avoid damaging the slats.
- If the blinds are heavily soiled, remove them from the window and clean them with warm soapy water or a suitable cleaner, depending on the material. Rinse and let them dry completely before rehanging.
- For curtains, check the care label for specific cleaning instructions. Some curtains can be machine washed, while others may require professional dry cleaning or spot cleaning.
- If machine washing is allowed, remove the curtains from the rods and wash them on a gentle cycle with a mild detergent. Hang them to air dry, or follow the care label’s drying instructions.
4. Bathrooms
Scrub and Sanitize Toilets, Sinks, and Showers
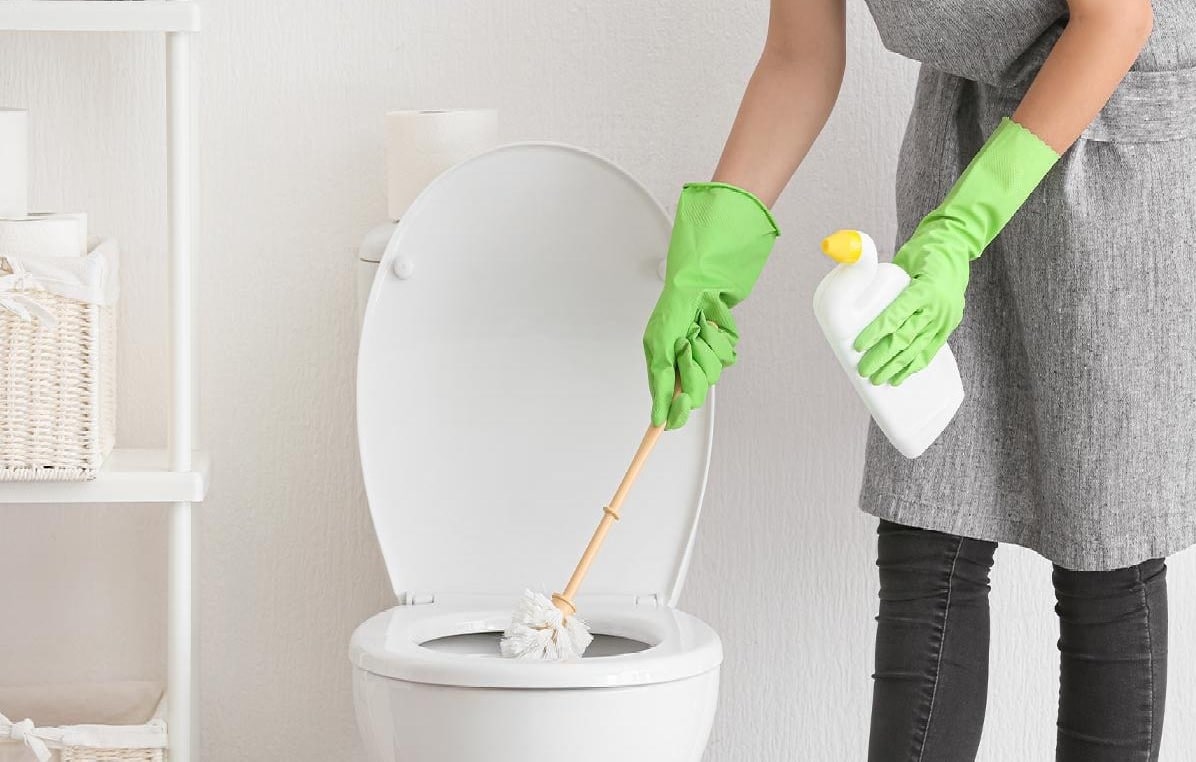
- Clean the toilet bowl, sink, and shower surfaces with a disinfectant cleaner.
- Scrub the toilet bowl with a toilet brush and clean the sink and shower with a sponge or brush.
- Wipe down the surfaces with a clean cloth after rinsing them with clean water.
- For thorough sanitization, clean the toilet seat, lid, and handle.
Check for and Remove any Mold or Mildew
- Look for mold or mildew in the bathroom, especially in damp areas like grout lines, shower curtains, and around the sink.
- To remove mold or mildew, use a store-bought mold remover or make a solution by combining one part bleach and three parts water.
- Scrub the affected areas with a stiff brush, then rinse with clean water and thoroughly dry them.
Clean Mirrors, Cabinets, and Countertops
- For a streak-free finish, spray mirrors with glass cleaner and wipe them down with a microfiber cloth or crumpled newspaper.
- Wipe down the interior and exterior surfaces with a mild cleaning solution after emptying cabinets and drawers.
- Use a disinfectant cleaner or a mixture of warm water and mild dish soap to clean and sanitize countertops.
5. Kitchen
Clean and Sanitize Countertops, Sinks, and Faucets
- Remove any items from the countertops and disinfect or clean them with a mild cleaning solution.
- Scrub the sink with a sponge or brush, and clean around the faucet and drain with an old toothbrush.
- Clean the sink with clean water and a clean cloth.
Wipe down Cabinets, inside and out
- Wipe down the interior and exterior surfaces with a mild cleaning solution after emptying cabinets and drawers.
- Pay close attention to handles and knobs, which can collect dirt and bacteria.
Clean Appliances, including the Refrigerator, Oven, and Stovetop
- For the refrigerator, remove all shelves and drawers and clean them with warm soapy water. Wipe down the interior and exterior surfaces, as well as the door seals.
- Clean the oven according to the manufacturer’s instructions, using a store-bought oven cleaner or a mixture of baking soda and water.
- Wipe down the stovetop with a suitable cleaner, removing and cleaning any removable parts such as burners and knobs.
Should you clean a House before Moving in?
The Final Verdict
Move-in cleaning can make a world of difference in your overall experience. It not only ensures a healthier and safer environment, but it also provides peace of mind and streamlines the entire moving process. So gather your cleaning supplies and relish the chance to start over in your new home. Happy cleaning and best wishes on your upcoming move!

