Ever wonder why a foundation looked fine on Monday, then skin started acting up by the weekend?
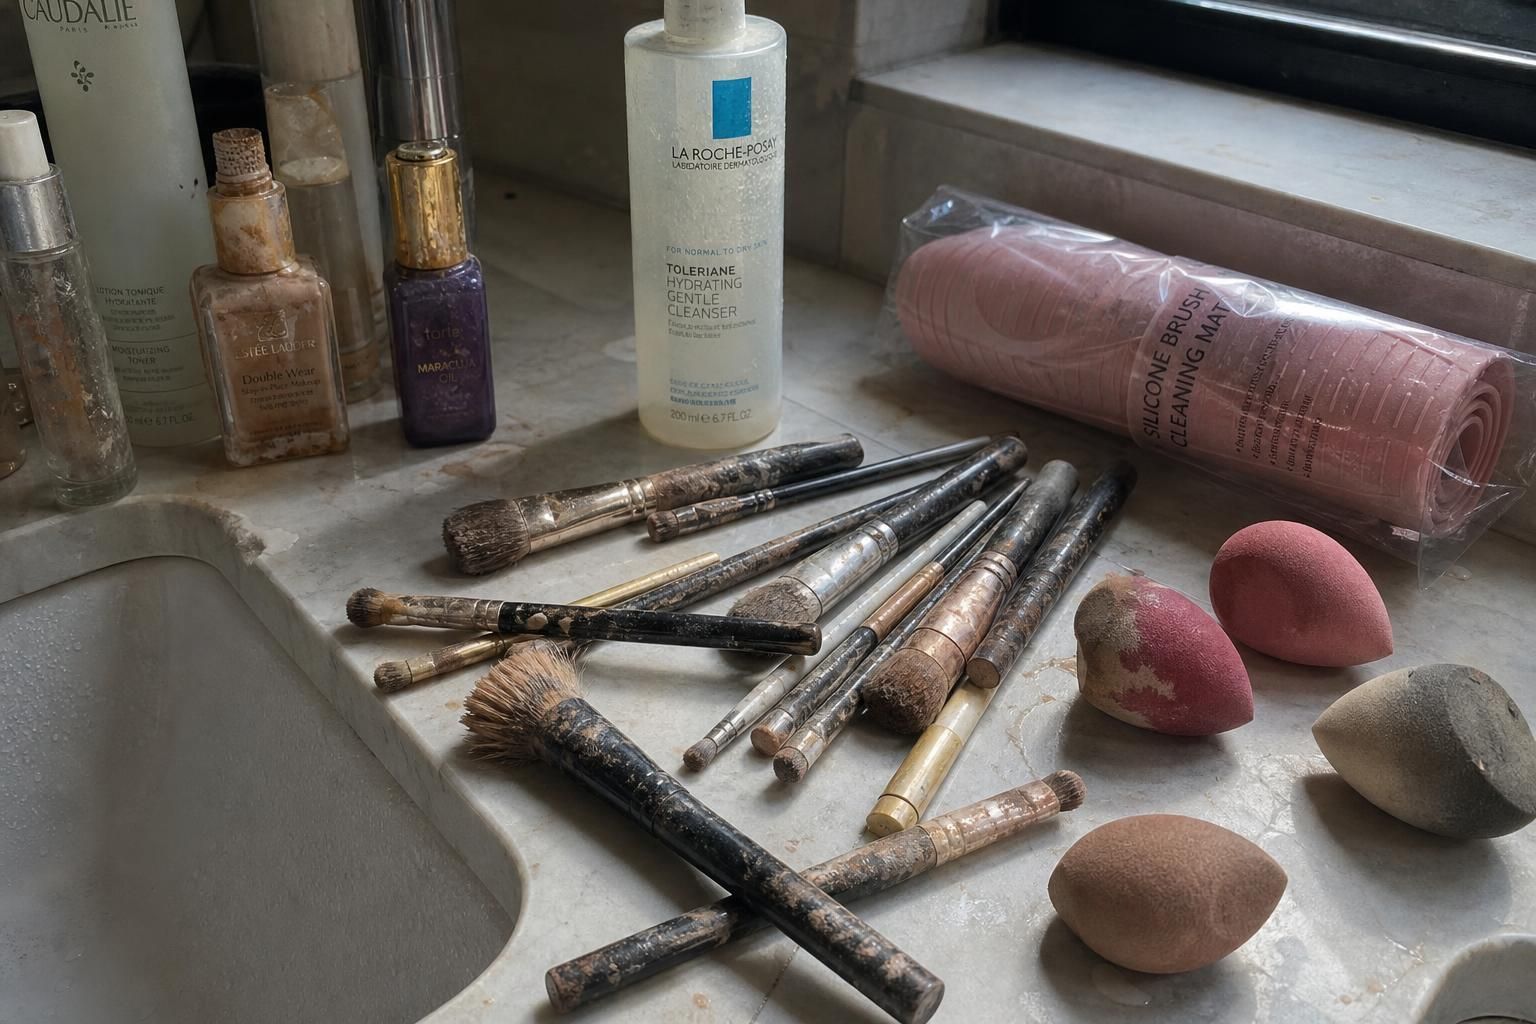
For many parents and homeowners, the missing step is simple: makeup brushes and beauty sponges are not cleaned often enough. Oil, old makeup, and damp residue stay on the tool, then go right back onto the face.
A note from our house cleaning team: After more than 15 years helping families keep bathrooms, vanities, and bedrooms cleaner, we’ve noticed one small habit that makes a big difference: do not leave damp makeup sponges inside closed drawers, toiletry bags, or humid bathroom cabinets. In Florida homes, especially in areas like Westchase, Tampa, Miami, and Orlando, humidity can make brushes and sponges take longer to dry. We recommend placing freshly washed tools on a clean towel in an open, ventilated spot before storing them away.
The American Academy of Dermatology recommends washing makeup brushes every 7 to 10 days, and dermatologists quoted by the same group say sponges should be cleaned after every use.
Key Takeaways
- Wash daily-use makeup brushes every 7 to 10 days with lukewarm water and a gentle cleanser.
- Clean beauty sponges after every use, then let them dry fully in open air before storing them.
- Keep water away from the ferrule, the metal part that holds the bristles, so glue does not loosen and bristles do not shed.
- Choose mild cleansers for regular brush cleaning, especially in homes dealing with eczema, rosacea, or easily irritated skin.
- Replace a makeup sponge about every three months, or sooner if it tears, smells bad, stays stained, or shows mold.
Why It’s Important to Clean Makeup Brushes and Sponges
Dirty makeup brushes and blending sponges breed bacteria, trap oil, and collect leftover makeup. In a busy home, that buildup can move from face to tool to countertop and right back to the skin during the next makeup application.
Clean tools also work better. Foundation brushes blend more evenly, powder brushes stay fluffier, and sponges stop dragging old product over fresh skin.
Preventing bacterial buildup
Brushes and sponges pick up skin oil, dead skin cells, and product residue every time they touch the face. Add a damp bathroom and a closed drawer, and that is a perfect setup for bacteria and odor.
A 2025 study in the International Journal of Microbiology looked at 57 used cosmetic brushes and found a heavy presence of bacteria, with Staphylococcus, Micrococcus, and Pseudomonas among the organisms identified. That is why a simple weekly wash matters more than most families realize.
- Use lukewarm water, not hot water, so bristles and sponge foam do not break down faster.
- Wash until the rinse runs clear, because leftover residue feeds more buildup.
- Let every tool dry completely before it goes back into a cup, drawer, or travel bag.
Reducing the risk of breakouts

Dirty tools can keep pressing yesterday’s oil and makeup back into freshly cleansed skin. The American Academy of Dermatology also advises cleaning brushes weekly and never sharing them, because shared oil, dead skin cells, and acne-related bacteria can transfer between people.
This matters even more in homes where someone already deals with acne, rosacea, or eczema. A gentle, fully rinsed tool is less likely to leave behind residue that can irritate sensitive skin.
- Wash sponges after each use if they touch foundation, concealer, or tinted moisturizer natural dewy spf 30.
- Choose fragrance-free cleansers whenever a family member has reactive skin.
- Stop using a tool right away if it smells musty, feels slimy, or leaves streaky patches on the face.
If breakouts keep returning in the same spots, or the skin starts burning, swelling, crusting, or blistering, it is smart to see a board-certified dermatologist right away.

Prolonging the lifespan of tools

Good cleaning does more than protect skin. It also saves money, because brushes last longer when the glue, handle, and bristles stay dry where they need to stay dry.
The ferrule is the metal sleeve between the handle and the bristles. If water seeps into that area too often, the glue softens, the bristles loosen, and even a favorite cheek color brush or eye crease brush can start shedding.
- Only wet the brush head, never the whole brush.
- Reshape bristles after rinsing so the brush dries in its original form.
- Lay brushes flat or angle them downward while they dry.
How Often Should You Clean Your Brushes and Sponges?
For most households, the easiest routine is also the safest one: clean makeup brushes every 7 to 10 days, and clean sponges after every use. As of 2026, Beautyblender also says its sponge should be replaced every three months for the best bounce and application.
| Tool | Best cleaning schedule | Why it matters |
|---|---|---|
| Dense foundation brushes, including a real flawless foundation brush | Every 7 to 10 days | Liquid and cream product builds up quickly and can turn patchy fast. |
| Powder, blush, and eye brushes, such as an all over eye color brush or glow powder brush | Every 7 to 10 days if used often | Powder looks cleaner than cream, but oil and skin debris still collect on the bristles. |
| Beauty sponge or flawless finish makeup sponge | After every use | Sponges stay damp longer, which gives residue and bacteria more time to hang around. |
| Makeup sponge replacement | About every 3 months | Tears, odor, staining, and loss of bounce make cleaning less effective. |
A weekly schedule also keeps the routine realistic. Parents can tie brush maintenance to one repeat task, such as Sunday laundry, sheet changes, or bathroom wipe-down day.
Dirty tools can worsen acne, irritate psoriasis, and complicate cosmetic treatments, especially when product residue keeps rubbing against already stressed skin.
How to Clean Makeup Brushes, Step by Step

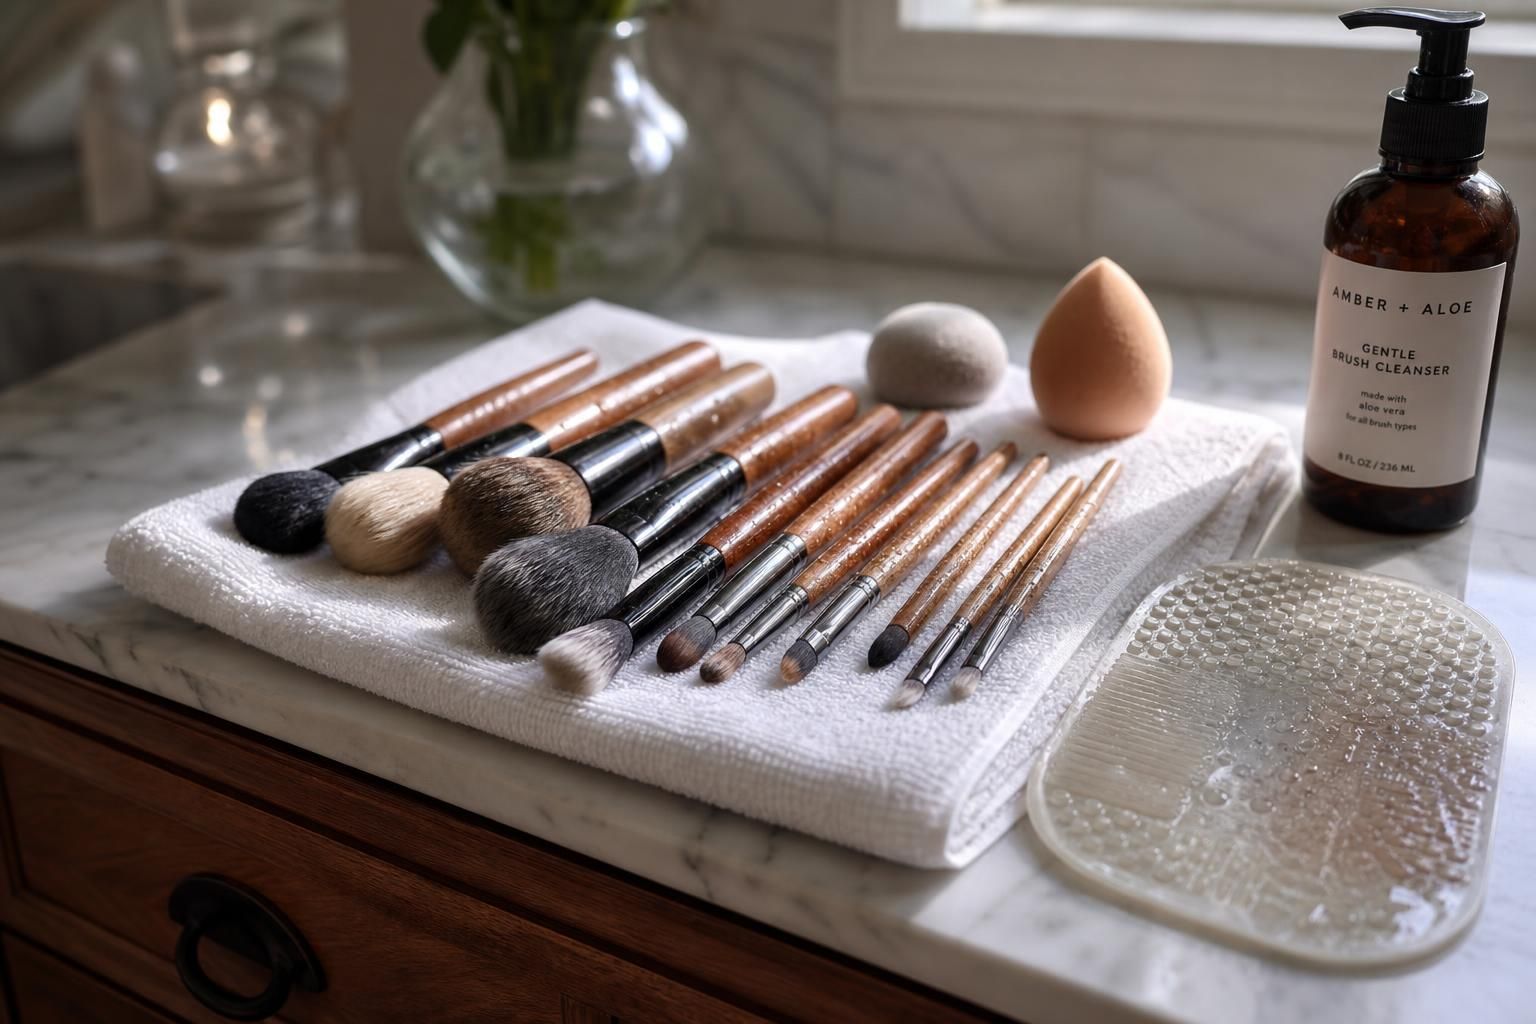
It does not take a complicated kit to clean makeup brushes well. Dermatologists recommend lukewarm water, a gentle shampoo or brush cleanser, careful rinsing, and flat drying with the bristles hanging off the counter edge.
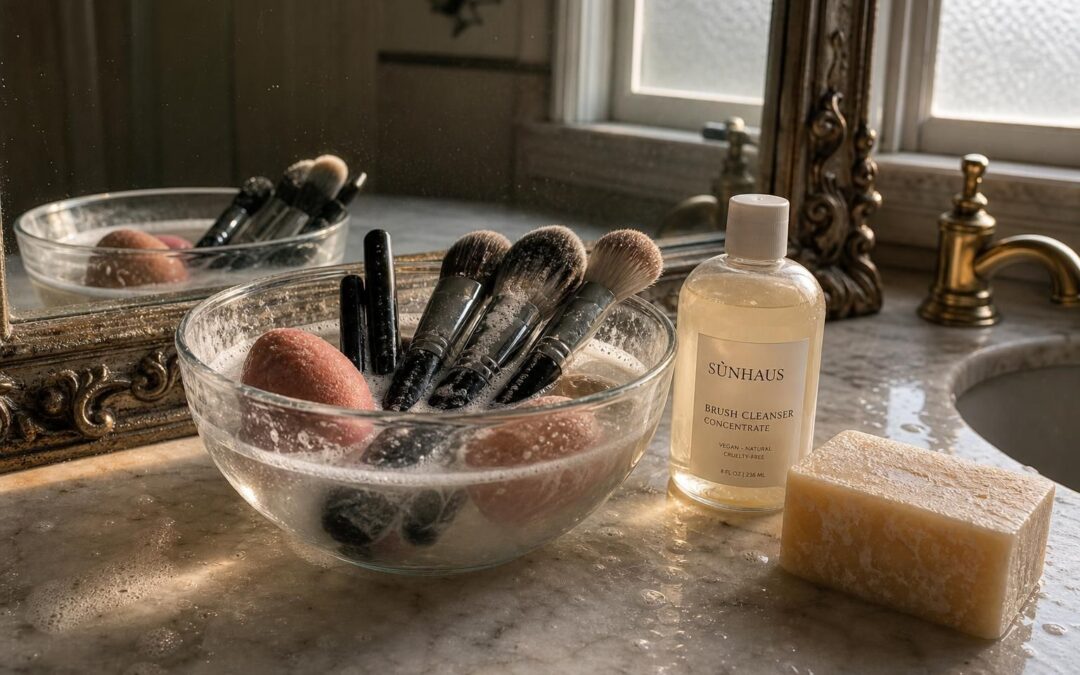
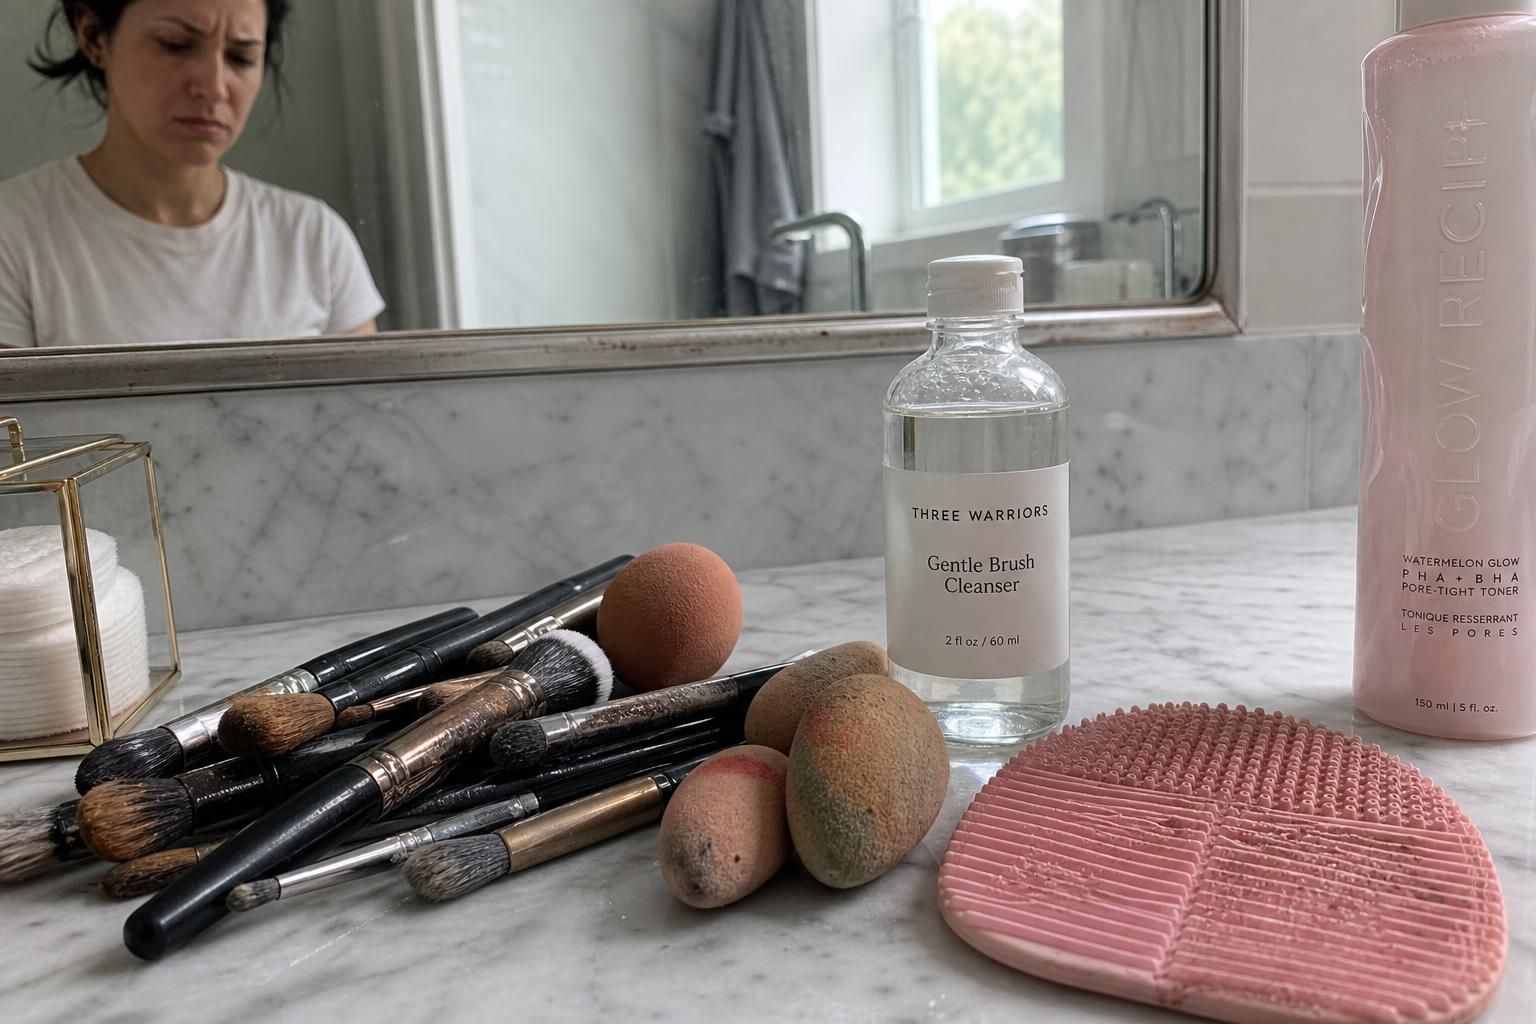
Gather your supplies
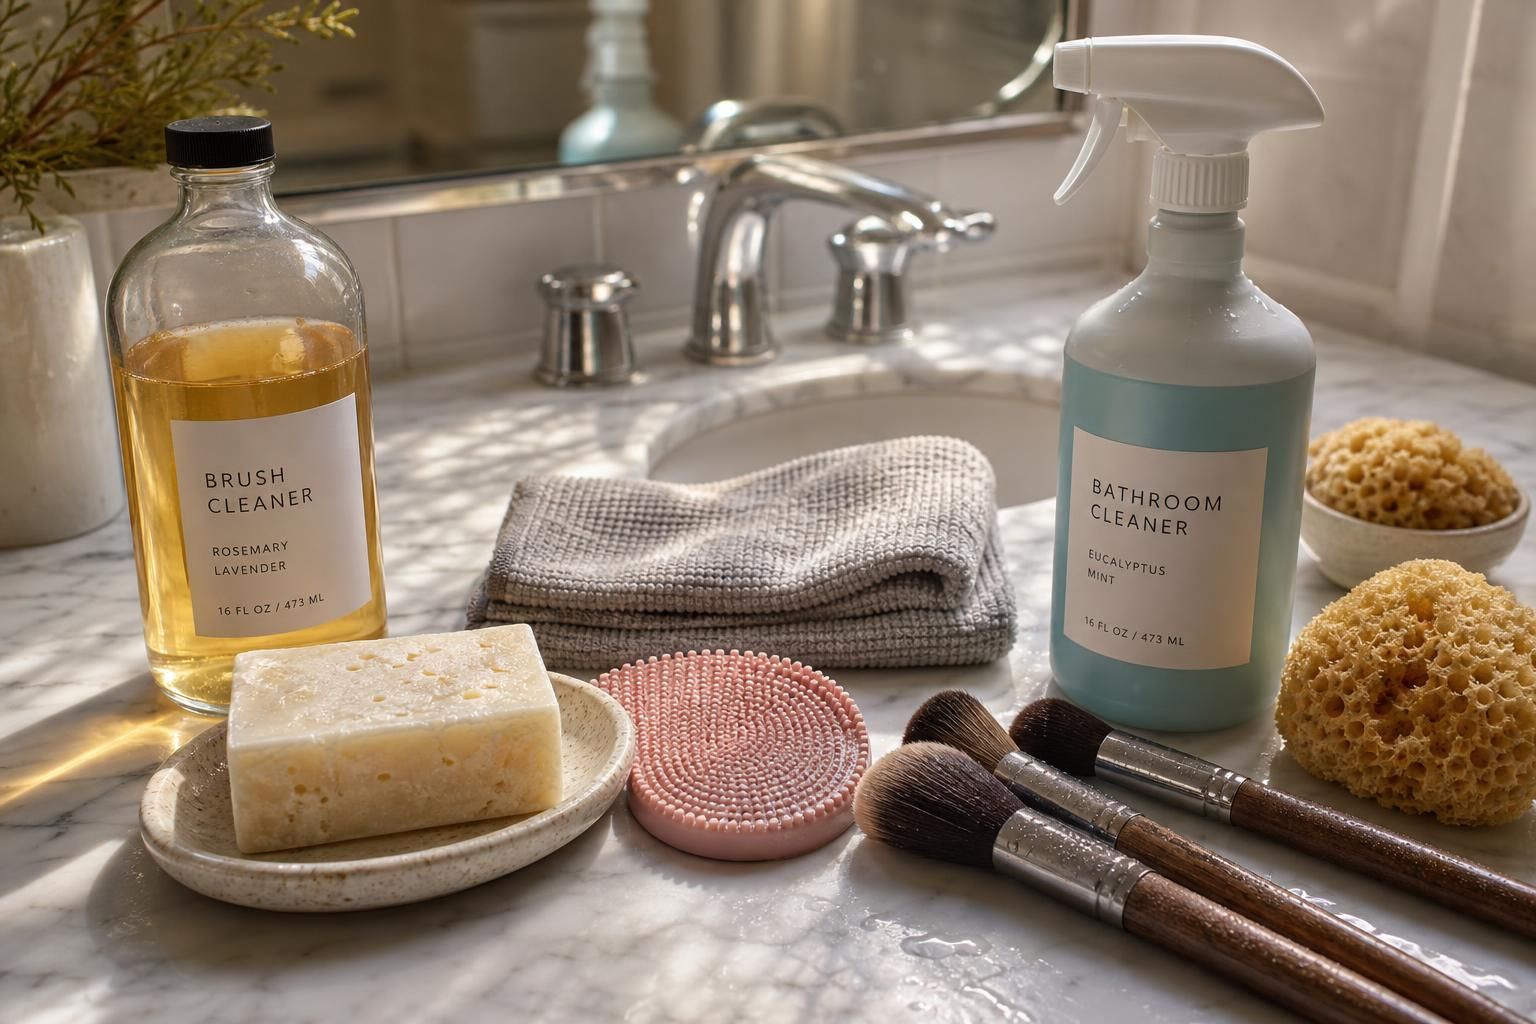
A good setup keeps brush cleaning fast enough that families actually stick with it. The essentials are simple: cleanser, water, a textured surface, and a clean towel.
| Supply | Why it helps | Named examples |
|---|---|---|
| Dedicated brush cleanser | Made to lift makeup, dirt, and oil without roughing up bristles | EcoTools Makeup Brush + Sponge Shampoo is fragrance-free, hypoallergenic, and dermatologist tested |
| Backup household cleanser | Useful when a family needs a quick wash with what is already at the sink | Johnson’s Baby Shampoo is hypoallergenic and pH balanced |
| Textured silicone mat or pad | Reaches between dense bristles better than fingers alone | EcoTools Cleansing Pad and Real Techniques Brush Cleansing Palette |
| Absorbent towel or paper towel | Helps remove excess water and hold the brush shape while drying | Any clean cotton towel kept away from hair care and bathroom overspray |
Dense cream brushes often need two passes. Makeup users in beauty forums mention this often, especially with long-wear foundation and concealer, and it is usually faster than trying to scrub harder in one wash.
Use a gentle cleanser or brush soap
A gentle brush cleanser is the best all-purpose pick for regular use. It removes residue without leaving the bristles stiff or stripped.
Baby shampoo can work as a backup, but fragrance-free options are often the better choice in homes dealing with eczema or reactive skin. Dermatologists consistently advise fragrance-free cleansers over products labeled only as unscented.
- Use a small amount of cleanser, not a sink full of suds.
- Reserve strong degreasers for rare rescue washes on synthetic brushes with heavy buildup.
- Keep quick-dry spot cleaners for between-use touchups, not as a full replacement for washing.
Cinema Secrets is a good example of a quick, rinse-free cleaner. Its quick-drying formula is handy for a fast refresh, but weekly deep washing still matters.
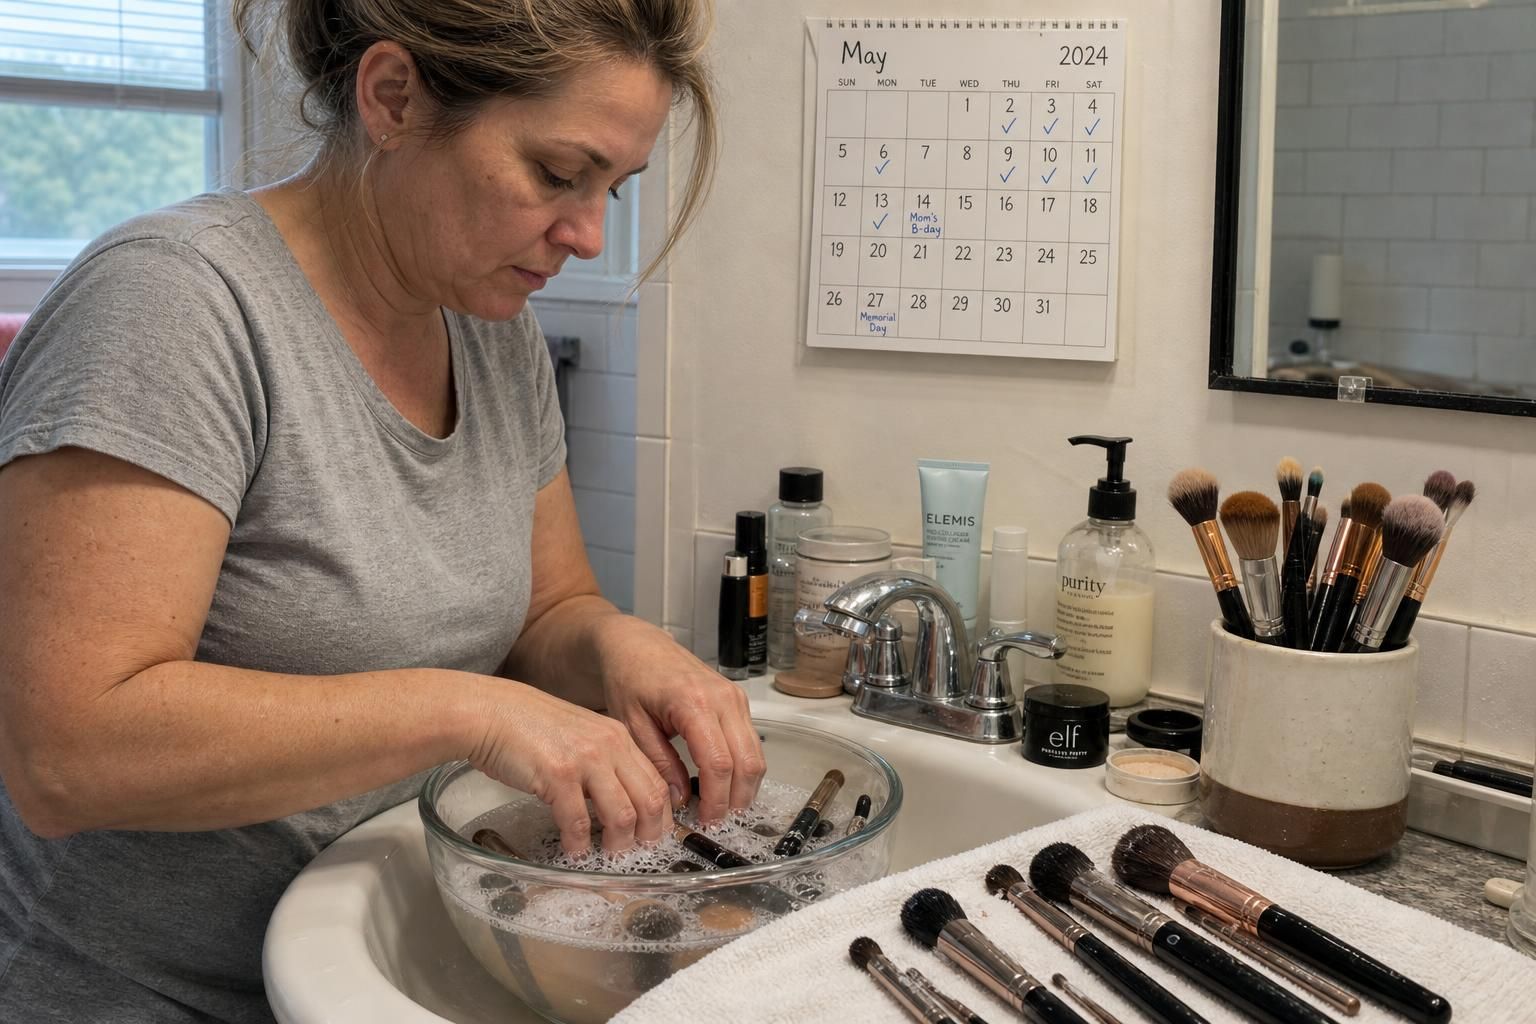
Swirl brushes in lukewarm water
Run only the bristle tips under lukewarm water first. Then add cleanser and swirl the brush in the palm or on a silicone pad until the lather starts to pull makeup out.
Keep the handle tilted slightly downward the whole time. That small angle helps stop water from sneaking into the ferrule, where most brush damage starts.
Rinse thoroughly and reshape bristles
Rinse under running water until the brush stops releasing pigment, foam, and cloudy residue. If the rinse still looks beige, tan, or gray, the brush is not clean yet.
After rinsing, gently squeeze out the extra water and reshape the brush head with clean fingers. This step helps a cheek color brush, glow powder brush, flat eye liner brush, secret camouflage brush, or all over eye color brush dry back into a usable shape.
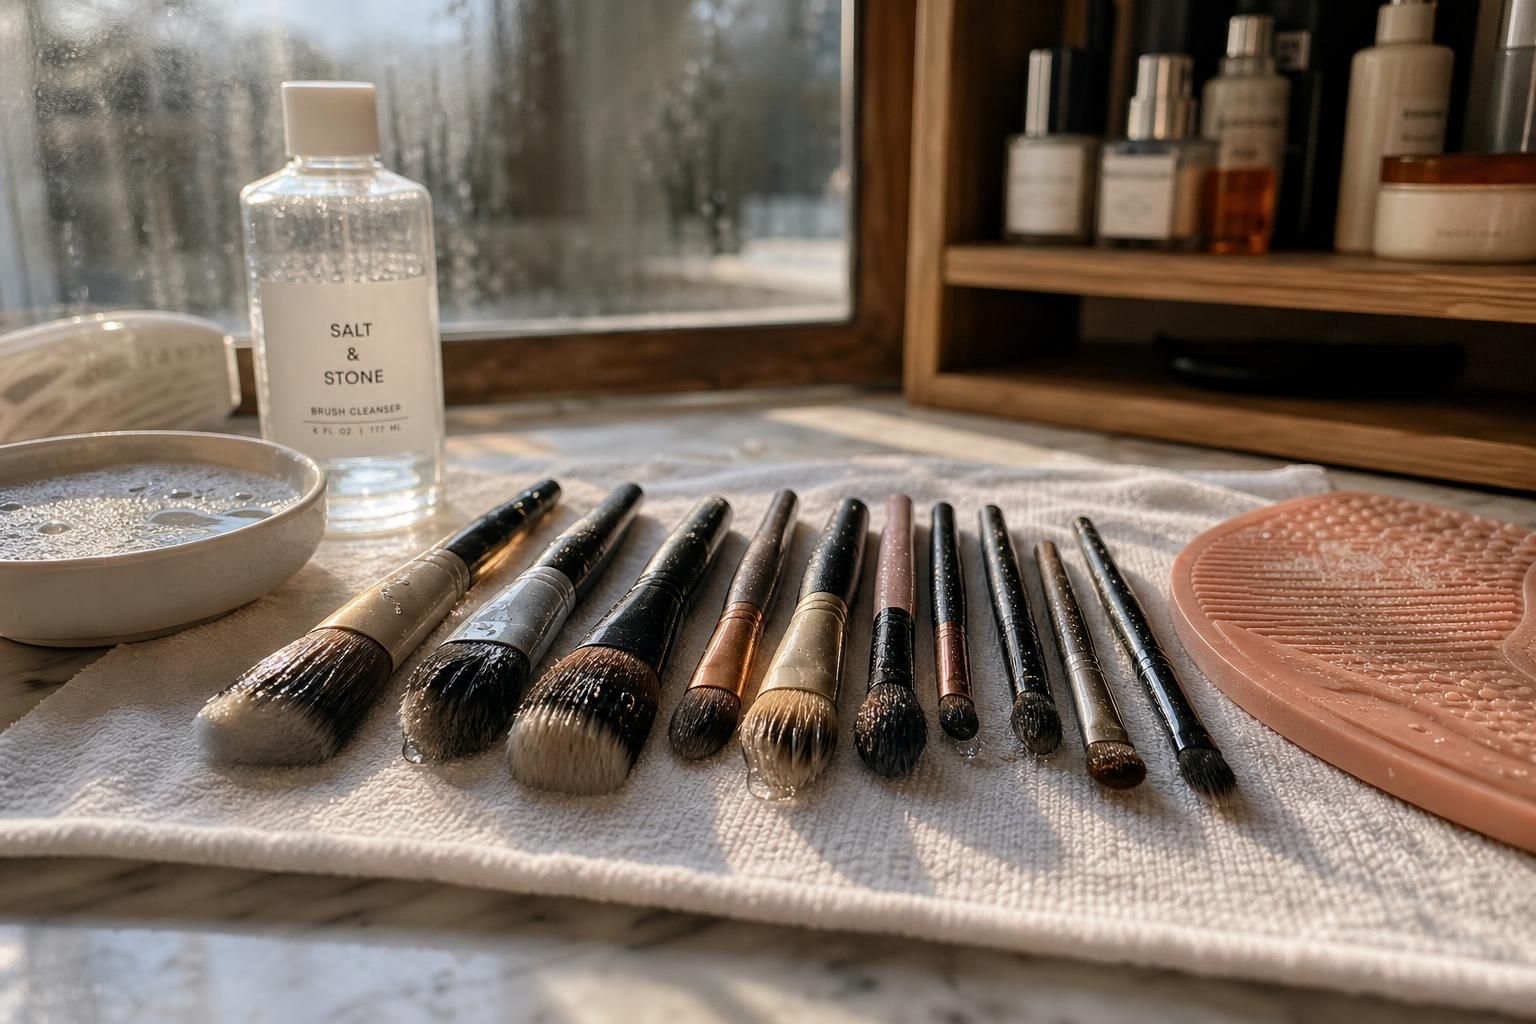
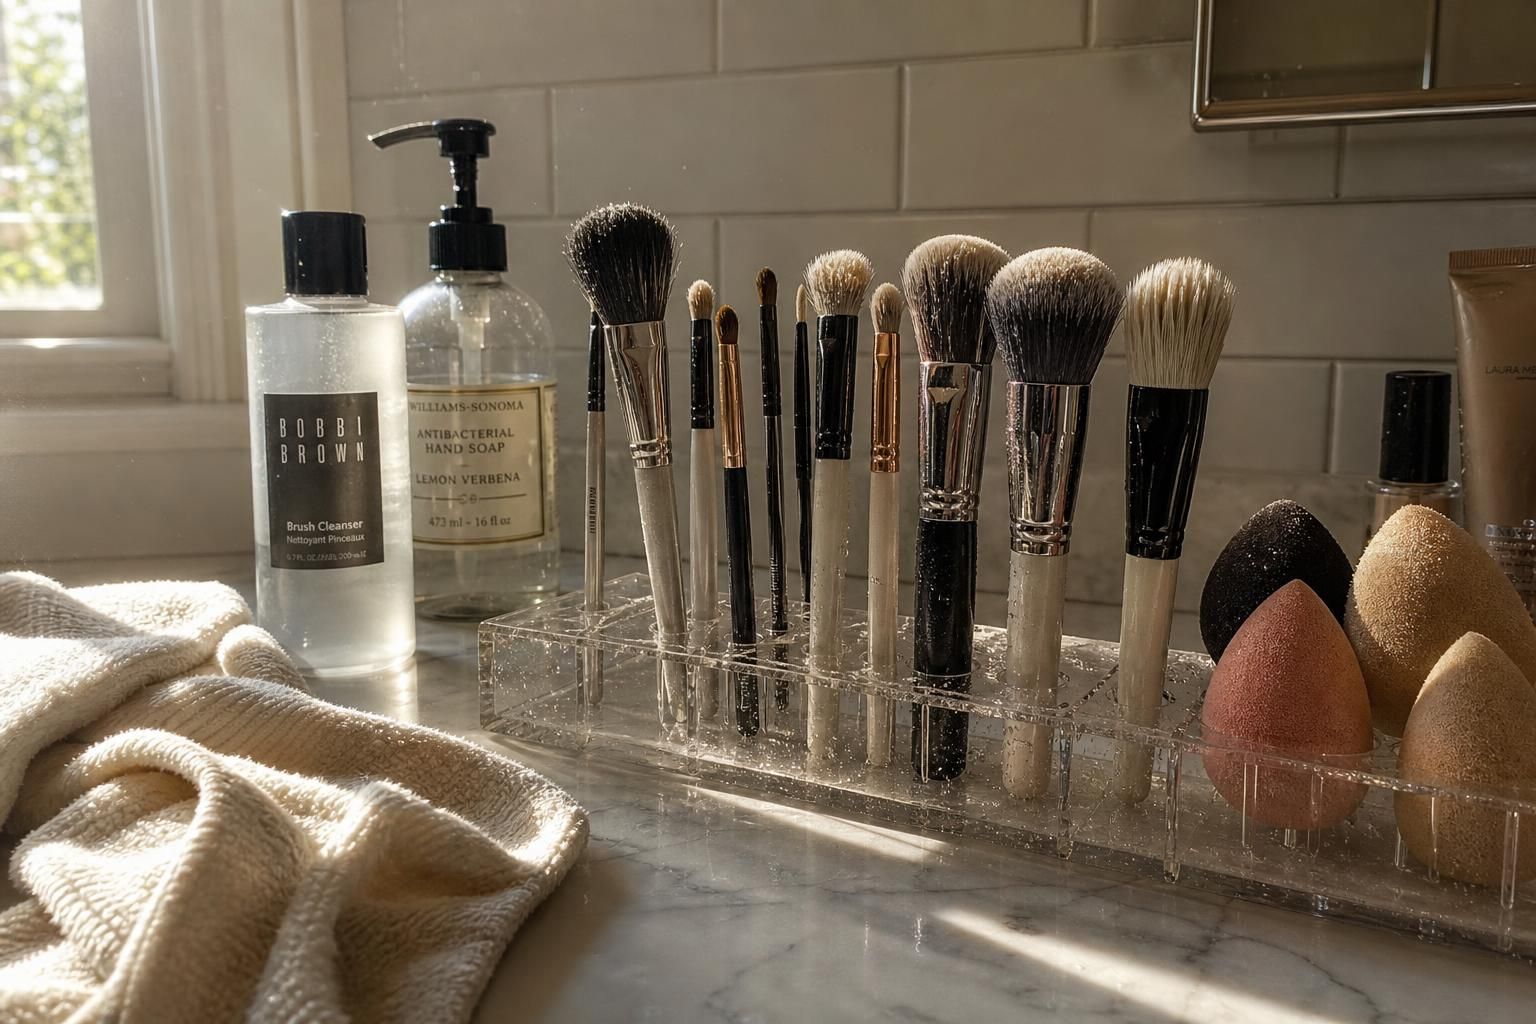
Let brushes air dry
Lay the brushes flat on a clean towel, or place the handles slightly raised so the brush heads angle down. Drying upright in a cup sounds neat, but it lets water run deeper into the brush.
- Do not use a hairdryer, because heat can warp bristles and dry them out.
- Do not pack damp brushes into a drawer or makeup bag.
- Wait until the brush feels dry all the way through before the next makeup application.
Step-by-Step Guide to Cleaning Beauty Sponges

Beauty sponges need a different rhythm from brushes. They stay wet longer, absorb more product, and touch larger areas of skin, so cleaning them after every use is the safer habit.
Soak sponges in lukewarm water
Start by fully wetting the sponge with lukewarm water. A sponge that expands first is easier to clean because the pores open up and release trapped makeup more easily.
Skip hot water. It can weaken the foam and shorten the life of the sponge.
Use a gentle cleanser to remove buildup
Work cleanser into the sponge while it is still wet. EcoTools shampoo works well for brushes and sponges, and Beautyblender’s Blendercleanser Solid Unscented is useful for travel because it pairs a solid soap with a scrub surface.
- Apply cleanser directly to the sponge or swirl it on a cleansing bar.
- Press and release repeatedly so soap reaches the center.
- Keep going until the stained water starts looking much lighter.
If a sponge is used with full-coverage base every day, a second wash is often faster than using more product to hide streaks later.
Massage and squeeze out excess product
Press, bounce, and squeeze the sponge several times in the hand. That repeated motion pulls foundation and concealer out of the center, which is where the grime likes to hide.
This matters for every sponge shape, including rounded blenders, wedges, and a velour puff that gets pressed into liquid product more often than it should.
Rinse thoroughly and let dry
Rinse until the water runs clear and the sponge no longer feels slippery. Then squeeze out as much water as possible with a clean towel.
Set the sponge in a clean, ventilated spot and do not store it until it is fully dry.
Common Mistakes to Avoid When Cleaning Brushes and Sponges
Most cleaning mistakes happen after good intentions. A parent starts washing tools, then grabs the wrong soap, rushes the drying step, or leaves a damp sponge in a closed case.
Using harsh chemicals
Harsh cleaners can make synthetic bristles feel rough and can break down sponge foam faster. They may also leave residue that bothers sensitive skin during the next use.
- Choose mild cleansers for regular washing.
- Favor fragrance-free options for households managing eczema or rosacea.
- Rinse thoroughly so no soap film stays behind in the tool.
Not drying tools properly
Wet brushes left upright in a cup let water slide into the ferrule. Wet sponges sealed inside a bag trap moisture and start smelling stale fast.
A practical tip from makeup communities is to travel with two sponges instead of one. That way one can dry fully while the other is in use.
- Dry brushes flat or angled downward.
- Dry sponges in an open, ventilated spot.
- Do not store anything damp in a closed container.
Over-soaking brushes or sponges
Soaking a brush above the ferrule weakens the glue that holds the brush together. Long soaking can also make wooden handles swell or crack.
Sponges do not need to sit in water for long stretches either. A full wetting, a good cleanse, and a thorough squeeze-out work better than letting them sit and stew.
Recommended Products for Cleaning Brushes and Sponges
The best product is the one a household will actually use every week. A small, simple kit usually works better than a big collection of half-used cleaners.
| Product type | Best use | Why it stands out |
|---|---|---|
| EcoTools Makeup Brush + Sponge Shampoo | Weekly deep cleaning | Fragrance-free, hypoallergenic, dermatologist tested, and made for brushes and sponges |
| Cinema Secrets Brush Cleaner | Fast spot cleaning | Quick-drying and rinse-free, which helps between full washes |
| Beautyblender Blendercleanser Solid Unscented | Travel and sponge-heavy routines | Unscented solid cleanser with a textured scrub surface |
| EcoTools Cleansing Pad or Real Techniques Brush Cleansing Palette | Dense bristle cleaning | Textured silicone helps work soap between packed bristles |
| Dove Sensitive Skin Beauty Bar or baby shampoo | Backup option at home | Mild choices when a dedicated brush cleanser is not nearby |
Brush cleansers
Dedicated brush cleansers are usually the easiest place to start. They are built to remove makeup, oil, and residue without the trial and error that often comes with improvised soaps.
EcoTools makes a strong family-use option because one bottle works for both makeup brushes and sponges. Cinema Secrets is better for quick refreshes between uses, especially when there is no time for a full sink wash.
Gentle shampoos
Gentle shampoos are a practical backup, especially for synthetic brushes. Johnson’s Baby Shampoo is hypoallergenic and pH balanced, which makes it a reasonable emergency choice for brush cleaning.
For households focused on fragrance-free skin care, Dove Sensitive Skin Beauty Bar is a smart alternative. Dove lists it as fragrance-free, hypoallergenic, pH balanced, and free of sulfate cleansers, which makes it a better fit for homes managing sensitive skin.
Cleaning mats and pads
A cleaning mat turns a slow hand wash into a quicker deep clean. That is especially helpful for dense foundation brushes, cheek brushes, and contour brushes that hold product close to the base.
- EcoTools Cleansing Pad uses a suction cup and textured silicone surface.
- Real Techniques Brush Cleansing Palette is made from silicone and is dishwasher safe.
- Both options help parents finish brush maintenance faster without scrubbing bristles too hard.
The Risks of Not Cleaning Your Tools

Dirty tools do more than look messy on the vanity. They can affect skin health, tool lifespan, and the final makeup application in ways that are hard to ignore once they start.
Bacterial contamination
Damp, dirty tools can carry bacteria and fungus. The American Academy of Dermatology warns that unwashed brushes may contribute to infections including fungal infection, E. coli, and staph.
- Never share brushes or sponges between family members.
- Wash tools more often during active breakouts.
- Toss a sponge right away if mold appears.
Skin irritation and infections
Residue left inside a sponge or brush can keep rubbing against the same skin barrier day after day. That is a big problem for people already managing acne, eczema, rosacea, or post-treatment sensitivity.
Research on Staphylococcus aureus and Pseudomonas aeruginosa helps explain why damp, contaminated tools deserve more respect than they usually get. If skin starts weeping, crusting, or forming painful bumps, it is time for medical advice, not another round of makeup.
Reduced makeup application quality
Old residue changes how a brush or sponge performs. Foundation starts going on streaky, powder grabs in patches, and edges stop blending cleanly.
- A dirty sponge can make base look heavier than it is.
- A clogged brush can leave lines instead of a soft finish.
- A frayed brush can make even good makeup look uneven.
Tips for Maintaining Clean Brushes and Sponges
Keeping tools clean is easier when the routine is light. Small habits beat occasional marathon cleaning sessions every time.
- Wash brushes on the same day each week.
- Clean sponges right after use, before product dries deep inside.
- Keep one towel or paper towel just for brush cleaning and drying.
- Replace worn tools before they start affecting skin and makeup results.
Store tools in a clean, dry environment
Once tools are clean, storage matters. A ventilated cup, open tray, or dry drawer keeps them safer than a sealed pouch or damp bathroom shelf.
Brushes should go back into storage only after they are fully dry. The same rule applies to a velour puff or sponge, because trapped moisture is where musty odors and mold problems begin.
Use a daily brush cleaner for quick maintenance
A daily spray cleaner can help between full washes, especially for eye brushes or a flat eye liner brush used with dark pigment several days in a row. It is a time-saver, not a full replacement for soap and water.
Quick maintenance works best when it is paired with a real weekly wash. That balance keeps dry brushes ready for the next morning without letting buildup take over.
Replace old or damaged tools regularly
Some tools simply reach the end of their safe life. Beautyblender recommends replacing a sponge every three months, and that schedule is easy for families to track by season.
- Replace sponges that tear, lose bounce, or hold a bad smell.
- Replace brushes that shed heavily, feel scratchy, or have a split ferrule.
- Retire any tool that still looks dirty after a proper wash.
Conclusion
Parents and house owners do not need a complicated system to clean makeup brushes and beauty sponges well.
A gentle brush cleanser or baby shampoo, lukewarm water, and full air drying do most of the work. Weekly brush cleaning, after-use sponge washing, and replacing a worn sponge every three months can cut down on buildup, protect skin care, and keep makeup application looking smoother.
If a tool or product keeps causing irritation, stop using it and book a board-certified dermatologist.
FAQs
1. How often should I clean makeup brushes and beauty sponges to prevent breakouts?
Wash makeup brushes at least once a week. Clean beauty sponges after each use to prevent breakouts.
2. What is the best way to clean them?
Use warm water and a gentle soap or brush cleanser. Swirl the brush on your palm or a silicone pad, and squeeze sponges until the water runs clear. Lay tools flat to air dry so water does not loosen the ferrule.
3. Can cleaning my makeup tools stop acne?
Regular cleaning cuts bacteria and oil that cause breakouts.
4. Any quick tips or mistakes to avoid when cleaning brushes and sponges?
Avoid hot water and harsh detergents, they can fray bristles or ruin sponge material. Never stash damp tools in a closed bag, I once left a sponge in a gym bag and woke to new pimples. Replace sponges every one to three months and toss brushes that shed or smell.
Troubleshooting Common Issues
If residue persists after cleaning, try a second wash or use a different gentle cleanser. Check that excess water is thoroughly squeezed out to speed up drying. If brushes begin shedding bristles or show a loose ferrule, consider replacing them to avoid skin irritation.
Adapting Cleaning Routines for Sensitive Skin
People with sensitive skin, including those managing eczema or rosacea, may benefit from extra gentle methods. Individuals with conditions like vitiligo, lupus, hidradenitis suppurativa, or acanthosis nigricans should use fragrance-free cleansers and rinse meticulously to reduce irritation.
Those with darker skin tones or users of products such as laura mercier items and tinted moisturizer natural dewy spf 30 find that well-cleaned tools help maintain an even makeup application.