
Planning a relocation to your dream home in another state? Or maybe you’re making the big move as a sacrifice for better career opportunities. No matter what your reason for moving may be, the entire process is very taxing and stressful for any homeowner. But most of the time, when we are planning to move out, we forget that our own property will be someone else’s dream home too. We have to make sure to leave it in a spic and span condition.
So, what exactly should you clean before moving out? Let’s dive into some essential tips for a smooth transition and leave your old home sparkling for its new inhabitants with a move out cleaning.
Key Takeaways
- Clean before moving out helps in a smooth transition and leaving your old home in good condition for the next occupants.
- Focus on high-traffic areas like kitchens and bathrooms, and don’t forget about appliances, walls, and baseboards.
- Clean before moving out is necessary for security deposit return, leaving a positive impression, fulfilling legal obligations, facilitating a smooth transition, and maintaining hygiene.
- Plan and prepare for move-out cleaning by assembling your cleaning supplies, creating a cleaning schedule, decluttering, and taking photos of the pre-cleaning condition.

Why Clean before Moving out Is Necessary?
Before we move on to the ‘what’ of move-out cleaning, let’s find out the main reasons behind conducting this cleaning in the first place:
Security Deposit Return
One of the primary motivations for conducting move-out cleaning is to secure the return of your security deposit. Landlords typically expect tenants to leave the property in the same condition as when they moved in. A thorough cleaning guarantees that you meet this requirement and increases the likelihood of receiving your full deposit back.
Positive Impression
Beyond financial considerations, move-out cleaning is about leaving a positive impression. A clean and well-maintained home not only reflects positively on the outgoing tenants but also sets the stage for a positive experience for the next occupants. It shows respect for the property and demonstrates responsible tenancy.
Legal Obligations
Many rental agreements include clauses that mandate tenants to leave the property in a clean condition upon moving out. By adhering to these terms, tenants fulfill their legal obligations and avoid potential disputes with landlords. Failure to meet these requirements could result in deductions from the security deposit or legal repercussions.
Smooth Transition
Move-out cleaning facilitates a smooth transition for both outgoing and incoming tenants. By leaving the property clean and organized, outgoing tenants make it easier for the next occupants to settle in quickly and comfortably. This contributes to a positive rental experience for all parties involved.
Hygiene and Health
Lastly, move-out cleaning is essential for the hygiene and health of future occupants. A thorough cleaning removes accumulated dirt, dust, and germs, creating a healthier living environment. This is particularly important given the current focus on cleanliness and sanitation in shared living spaces.

What is Included in Move-Out Cleaning?
Move-out cleaning is an important aspect of the moving process, guaranteeing that your former residence is left in pristine condition for the next occupants. Whether you’re a tenant preparing to hand over the keys to your landlord or a homeowner getting ready to sell your property, move-out cleaning involves a thorough cleaning of every nook and cranny to restore the space to its original state.
In this guide, we’ll go into the specifics of what’s included in move-out cleaning and provide tips for a successful and stress-free cleaning process.
Planning and Prep Work
Planning and preparation are key to executing a successful move-out cleaning. Before diving into the cleaning process, it’s essential to assemble your cleaning arsenal. Make sure you have all the necessary supplies and tools on hand, including surface cleaners, disinfectants, microfiber cloths, sponges, scrub brushes, and vacuum cleaners.
Before you begin cleaning, take photos of the space to document its pre-cleaning condition. This step is especially important if you’re renting a property and may need to dispute any claims of damage or cleanliness with your landlord. Having photographic evidence can help protect you against unwarranted deductions from your security deposit and guarantee a smooth transition out of the property.

3 Days before Moving Out
Five days before moving out, it’s time to kickstart your move-out cleaning. Here’s a detailed breakdown of what to clean:
Decluttering
Begin by systematically going through each room in your home and sorting through your belongings. Identify items that you no longer need, use, or want, and make decisions about whether to donate, sell, or discard them. Start with larger items such as furniture, electronics, and appliances, and then move on to smaller items like clothing, books, and knick-knacks.
Packing
Once you’ve decluttered each room, it’s time to start packing items that you won’t need in the immediate days leading up to your move. Focus on packing off-season clothing, decorative items, and non-essential kitchenware that you can live without until moving day. Use sturdy boxes or plastic bins to pack your belongings securely, and label each box with its contents and the room it belongs to for easy unpacking at your new home.
Appliance Cleaning
With decluttering and packing underway, it’s also important to begin cleaning your appliances to make sure that they’re ready for transport to your new home. Start by tackling the refrigerator, oven, microwave, and dishwasher. Remove all food items from the refrigerator and freezer, and then thoroughly clean and disinfect the interior compartments using a mild detergent and warm water. For the oven and microwave, use specialized oven cleaner or microwave-safe cleaning products to remove built-up grease and grime. Finally, wipe down the exterior surfaces of each appliance with a damp cloth to remove any dust or dirt.
2 Days before Moving Out
Here’s what to prioritize four days before moving out, and what to clean before moving out:
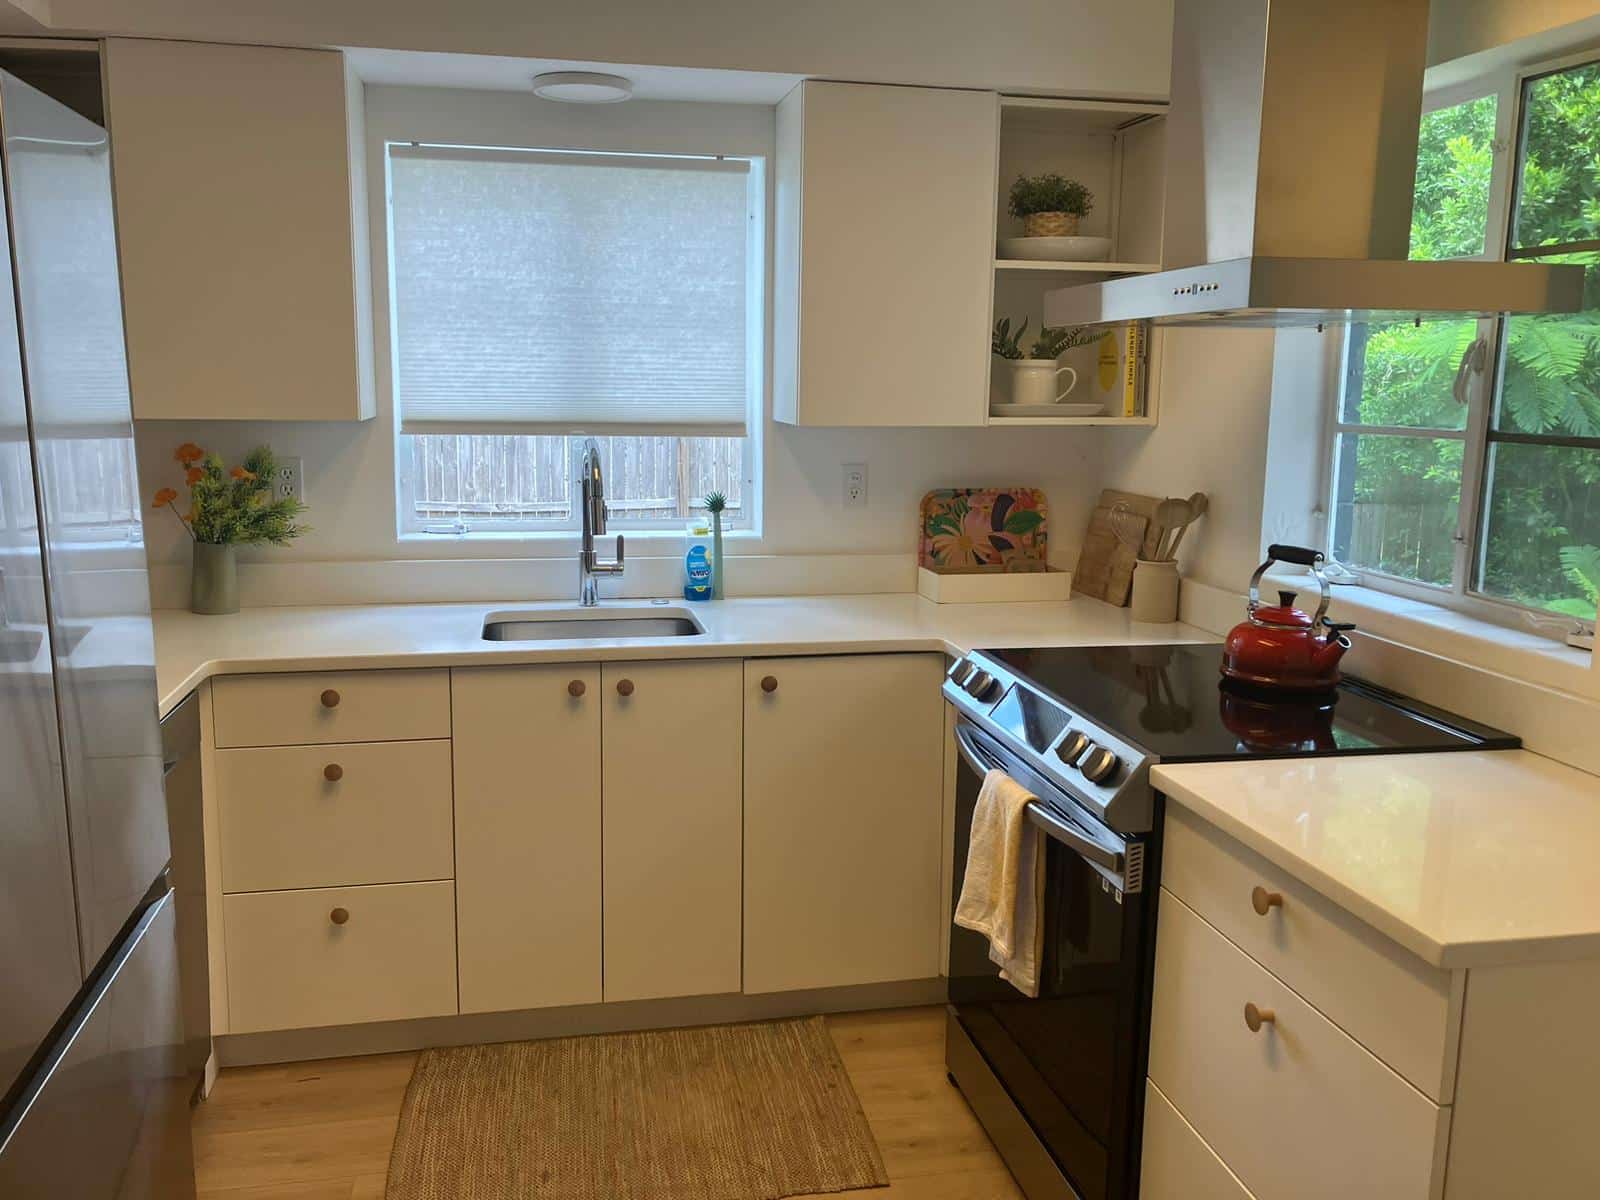
1. Deep Clean the Kitchen
Start by giving your kitchen a thorough deep clean.
Cabinets and Drawers
- Empty all cabinets and drawers, removing any items stored inside.
- Wipe down the interior and exterior of cabinets and drawers with a multi-purpose cleaner or a solution of warm water and mild detergent.
- Use a degreaser or vinegar solution to remove any grease or grime buildup.
- Allow surfaces to dry completely before restocking cabinets and drawers.
Countertops and Backsplash
- Clear countertops of any appliances, utensils, or decorative items.
- Wipe down countertops with a disinfectant cleaner, paying special attention to seams and edges.
- Use a scrub brush or sponge to clean grout lines in tiled countertops.
- Clean the backsplash using the appropriate cleaner for the material (e.g., tile cleaner, stainless steel cleaner).
- Remove any grease splatters or food residue from the backsplash surface.
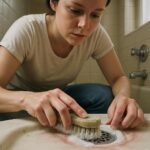
Sink Area
- Clean and disinfect the sink basin using a sink cleaner or a mixture of baking soda and vinegar.
- Use a toothbrush or scrub brush to clean around the faucet and drain.
- Remove any mineral deposits or soap scum buildup with a limescale remover.
- Polish the faucet and handles with a stainless steel cleaner for a shiny finish.
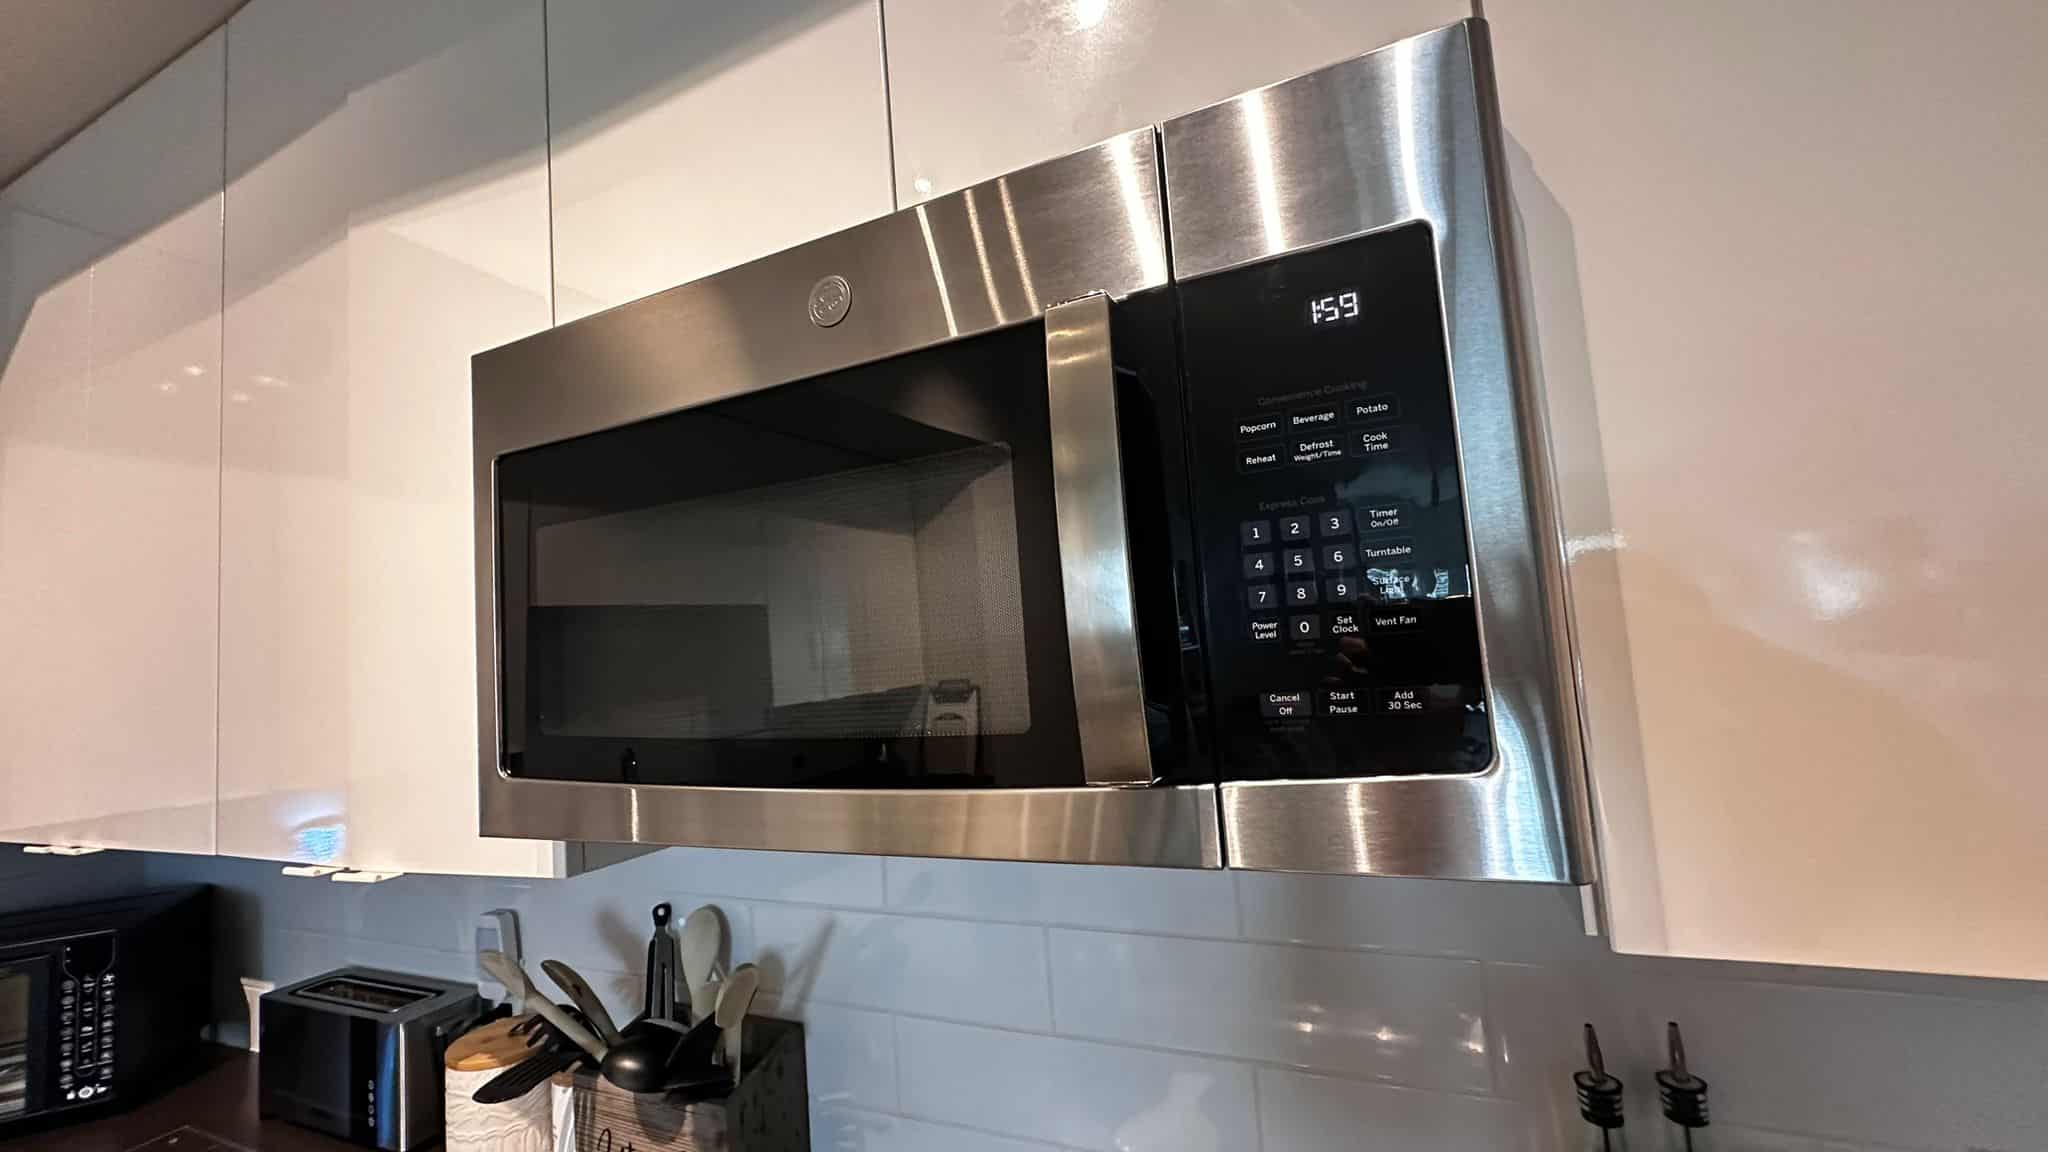
Appliances
- Clean the exterior of all appliances, including the refrigerator, dishwasher, microwave, and toaster oven, with a damp cloth and mild detergent.
- Remove and clean stove burner grates and drip pans using hot, soapy water or a degreaser.
- Wipe down the stove surface with a cleaner specifically formulated for stove tops, removing any burnt-on food residue.
- Clean the range hood and vent filter, removing grease buildup and dust with a degreaser or hot, soapy water.
Floor
- Sweep or vacuum the kitchen floor to remove any loose dirt, crumbs, or debris.
- Mop the floor using a cleaning solution appropriate for the flooring material (e.g., hardwood cleaner, tile cleaner).
- Pay attention to corners and edges, ensuring they are thoroughly cleaned.
- Allow the floor to air dry or dry it with a clean, dry mop or towel.
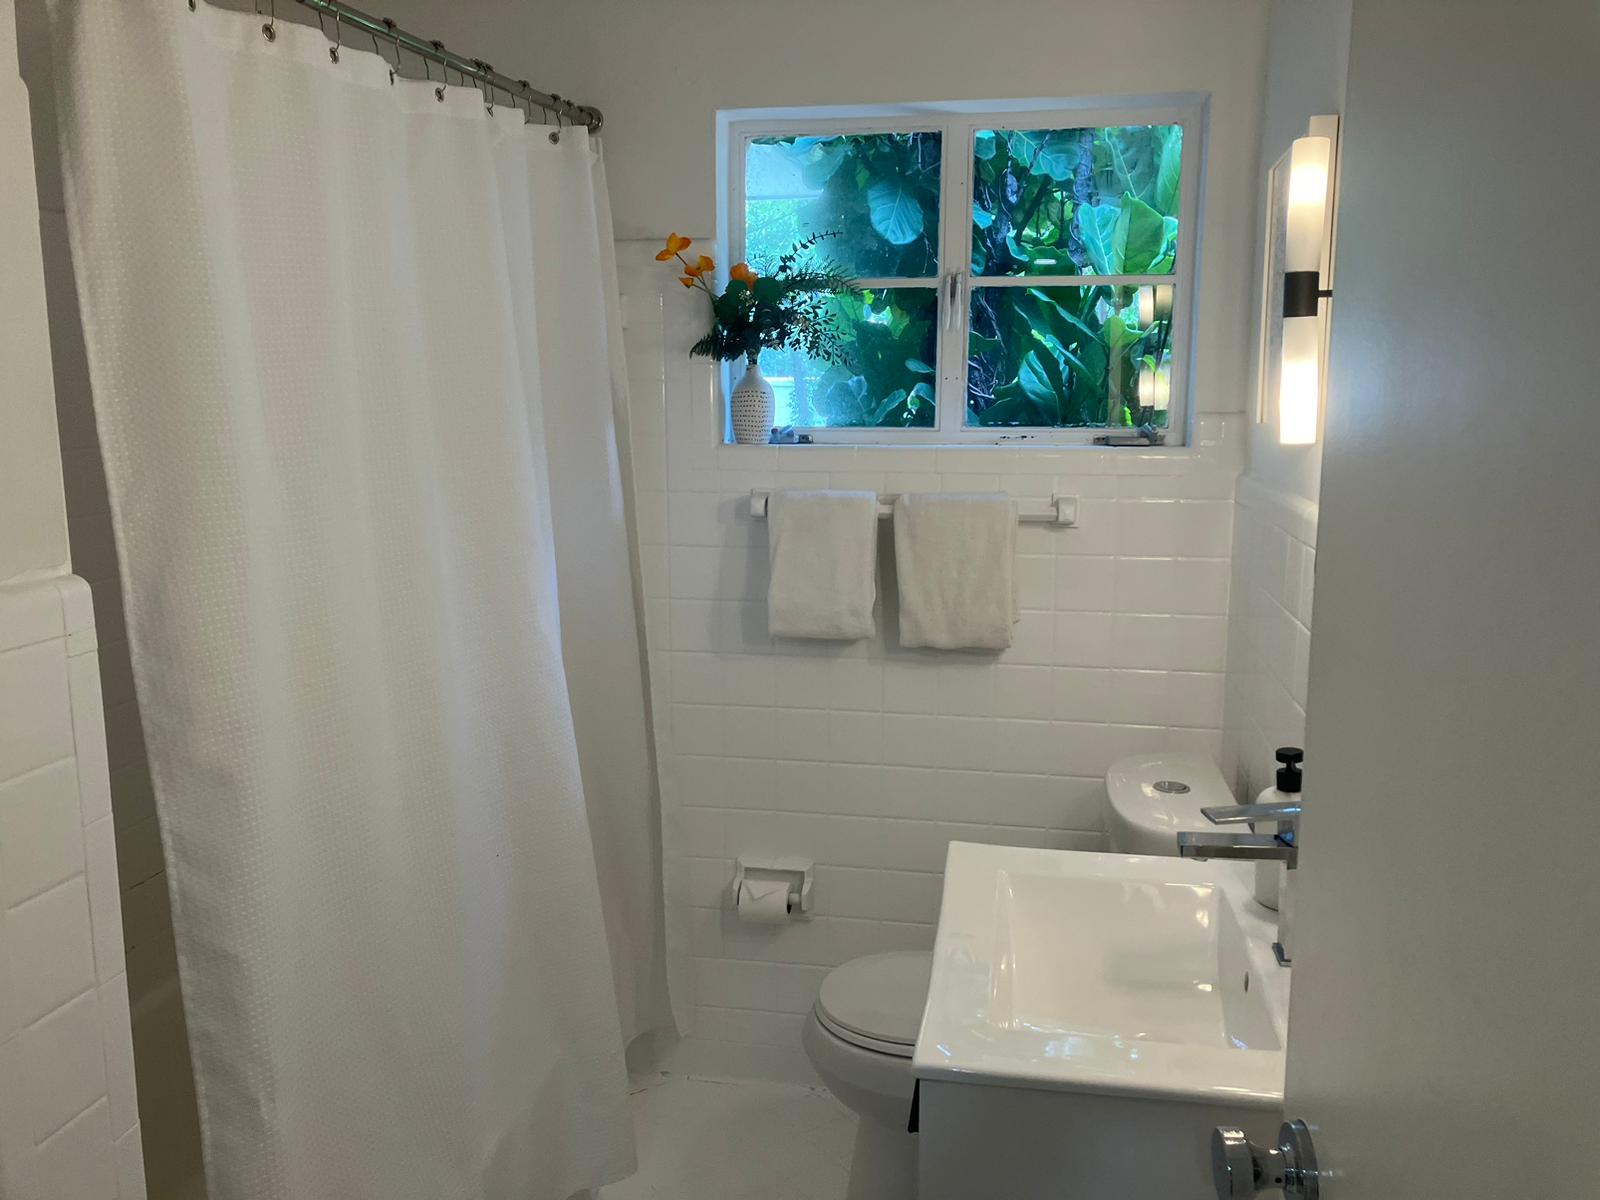
2. Clean and Disinfect Bathrooms
Next, focus on cleaning and disinfecting the bathrooms in your home.
Toilet
- Apply toilet bowl cleaner or disinfectant to the inside of the toilet bowl, allowing it to sit for several minutes to dissolve stains and kill germs.
- Scrub the inside of the toilet bowl with a toilet brush, paying attention to areas under the rim and around the waterline.
- Wipe down the exterior of the toilet, including the tank, seat, and base, with a disinfectant cleaner or wipes.
- Use a clean cloth or paper towels to dry and polish the surfaces for a sparkling finish.
Sink and Countertop
- Remove any items from the sink and countertop, such as toothbrushes, soap dishes, or toiletries.
- Spray disinfectant cleaner or a mixture of vinegar and water onto the sink and countertop surfaces.
- Use a sponge or scrub brush to scrub the sink basin and countertop, removing any soap scum, toothpaste residue, or water spots.
- Wipe down the faucet, handles, and fixtures with a disinfectant wipe or cloth.
- Rinse the sink and countertop with clean water and dry them with a towel or paper towels.
Shower and Bathtub
- Remove any items from the shower and bathtub, such as shampoo bottles, soap dishes, or bath toys.
- Spray the shower walls, bathtub, and shower door or curtain with a shower cleaner or a mixture of vinegar and water.
- Use a scrub brush or sponge to scrub the surfaces, focusing on areas with soap scum, mildew, or stains.
- Rinse the shower walls and bathtub thoroughly with water to remove any cleaner residue.
- Replace any old or worn-out shower curtains or liners with new ones for a fresh look.
3. Dust and Wipe Down Furniture and Surfaces
Take the time to dust and wipe down all furniture and surfaces throughout your home. Use a microfiber cloth or dusting wand to remove dust from shelves, tables, and other surfaces. Wipe down furniture, including chairs, sofas, and coffee tables, with a damp cloth to remove any dirt or stains. Pay special attention to high-touch areas like light switches, door handles, and handrails, and disinfect them with a disinfectant spray or wipe.
4. Clean Windows and Window Treatments
Clean windows inside and out to make sure they’re sparkling clean. Use a glass cleaner and a microfiber cloth to clean the windows, wiping them down in a circular motion to avoid streaking and remove smudges. Don’t forget to clean window sills and tracks, as well as any blinds or curtains. If your window treatments are machine washable, remove them and launder them according to the manufacturer’s instructions.
5. Touch Up Walls and Baseboards
Finally, take the time to touch up walls and baseboards to remove any scuff marks or stains. Use a Magic Eraser or a mild detergent solution to spot clean walls, paying attention to areas around light switches and door frames. Wipe down baseboards with a damp cloth to remove any dust or dirt buildup.
Take this opportunity to touch up any paint chips or scuff marks on walls and baseboards. Use a matching paint color and a small brush or roller to cover any imperfections. Make any necessary minor repairs, such as fixing loose doorknobs or tightening cabinet handles. Addressing these issues now will ensure that your home is in pristine condition for the next occupants.
1 Day before Moving Out
On the day before your move, focus on outdoor cleaning and final preparations to guarantee a smooth transition. Here’s a detailed plan for outdoor tasks and what to clean before moving out:
Lawn Maintenance
Trim the grass and edges of your lawn for a tidy appearance. Use a lawn mower to cut the grass to an appropriate height, and use a string trimmer or edger to clean up the edges along sidewalks, driveways, and landscaping beds.
Garden and Flower Beds
Weed garden and flower beds to remove any unwanted vegetation. Pull out weeds by hand or use a garden hoe or weeding tool to loosen and remove them. This will help maintain the appearance of your outdoor spaces and prevent weeds from spreading.
Outdoor Furniture
Clean and organize outdoor furniture, such as patio tables, chairs, and umbrellas. Wipe down surfaces to remove any dirt, dust, or debris, and arrange furniture in an orderly manner. If necessary, cover or store furniture to protect it from the elements during the move.
Sidewalks and Driveways
Sweep and clean sidewalks, pathways, and driveways to remove leaves, debris, and dirt. Use a broom or leaf blower to clear away any loose debris, and consider pressure washing surfaces for a thorough clean if needed. This will enhance the curb appeal of your home and create a welcoming entryway for the next occupants.

Moving Day
On the moving day, it’s crucial to complete final checks and preparations before leaving your old home and embarking on your new journey. So don’t worry about moving your stuff, get long distance moving quotes. Here’s what to prioritize:
Final Checks
Conduct a thorough walkthrough of each room to ensure nothing is left behind. Check closets, cabinets, and drawers to make sure they’re empty. Turn off all lights, lock doors and windows securely, and adjust thermostats to appropriate levels.
Retrieve Your Deposit
If you’re renting your old home, don’t forget to retrieve your security deposit. Coordinate with your landlord or property management company to schedule a walkthrough and finalize any necessary paperwork. Let all the hard work and cleaning you’ve done up till now pay back!
Final Thoughts
As you prepare to move out, taking the time to clean before moving out thoroughly is key to leaving on a positive note. It’s not just about getting your security deposit back; it’s also about showing respect for the next occupants. By decluttering, scrubbing, and fixing up any minor issues, you’re ensuring they’ll step into a fresh, welcoming space. Plus, a clean home makes for a smoother moving process for you as well. Book cleaning services online, it’s fast and easy. Get a quote, see the price and book it now.
But moving out is a stressful process especially when you’re leaving a property where you made tons of memories. And between all the packing chaos, cleaning can take a back seat. That’s where My Cleaning Angel steps in to save the day. With our professional move-out cleaning services, you can trust us to handle the dirty work while you focus on the excitement of your upcoming move!
FAQs
What areas should I focus on cleaning before moving out if I don’t have much time?
Focus on cleaning high-traffic areas like kitchens, bathrooms, and living spaces. Pay attention to surfaces, floors, walls, and fixtures.
Do I need to clean appliances like the refrigerator and oven before moving out?
Yes, it’s essential to clean appliances thoroughly, including removing food remnants, wiping down surfaces, and cleaning both the interior and exterior.
Should I hire professional cleaners for move-out cleaning, or can I do it myself?
It depends on your preference and the condition of the property. While some people prefer to do it themselves, others opt for professional cleaners for a thorough and stress-free cleaning experience.