
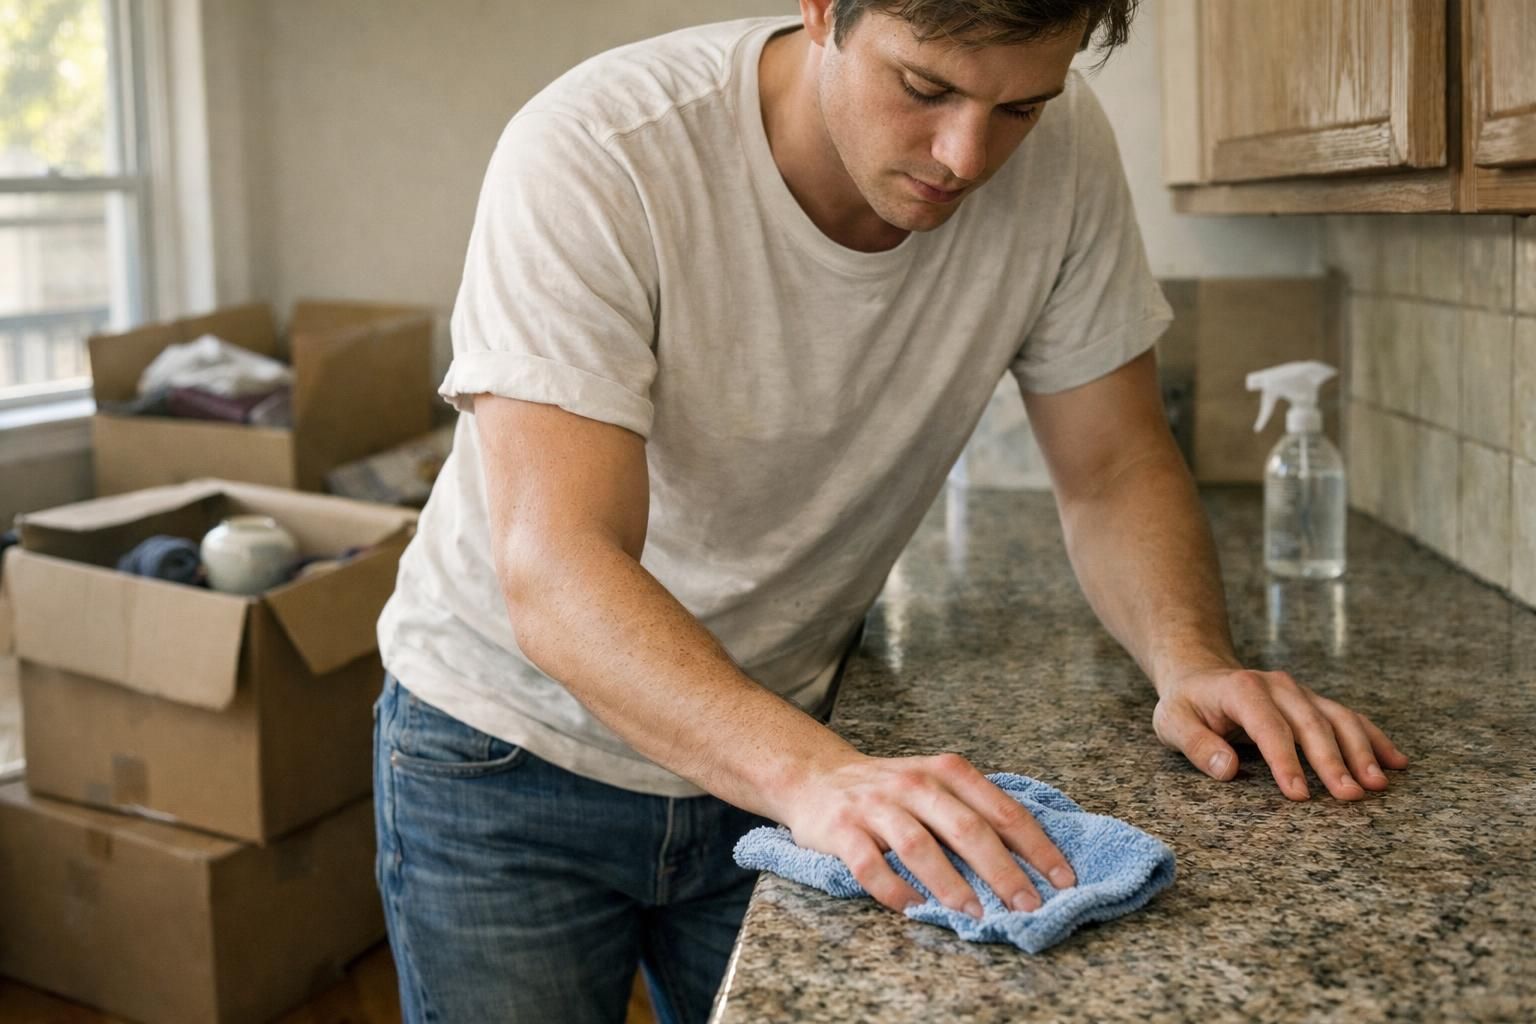
Moving out can feel like herding cats. Boxes, tape, and lost socks steal attention, then cleaning shows up late to the party. For many families, move-out cleaning decides how much of the security deposit returns.
There is also that quiet worry: did the place get clean enough for the next person to love it? That feeling is normal. A smart move-out cleaning plan calms nerves and saves money.
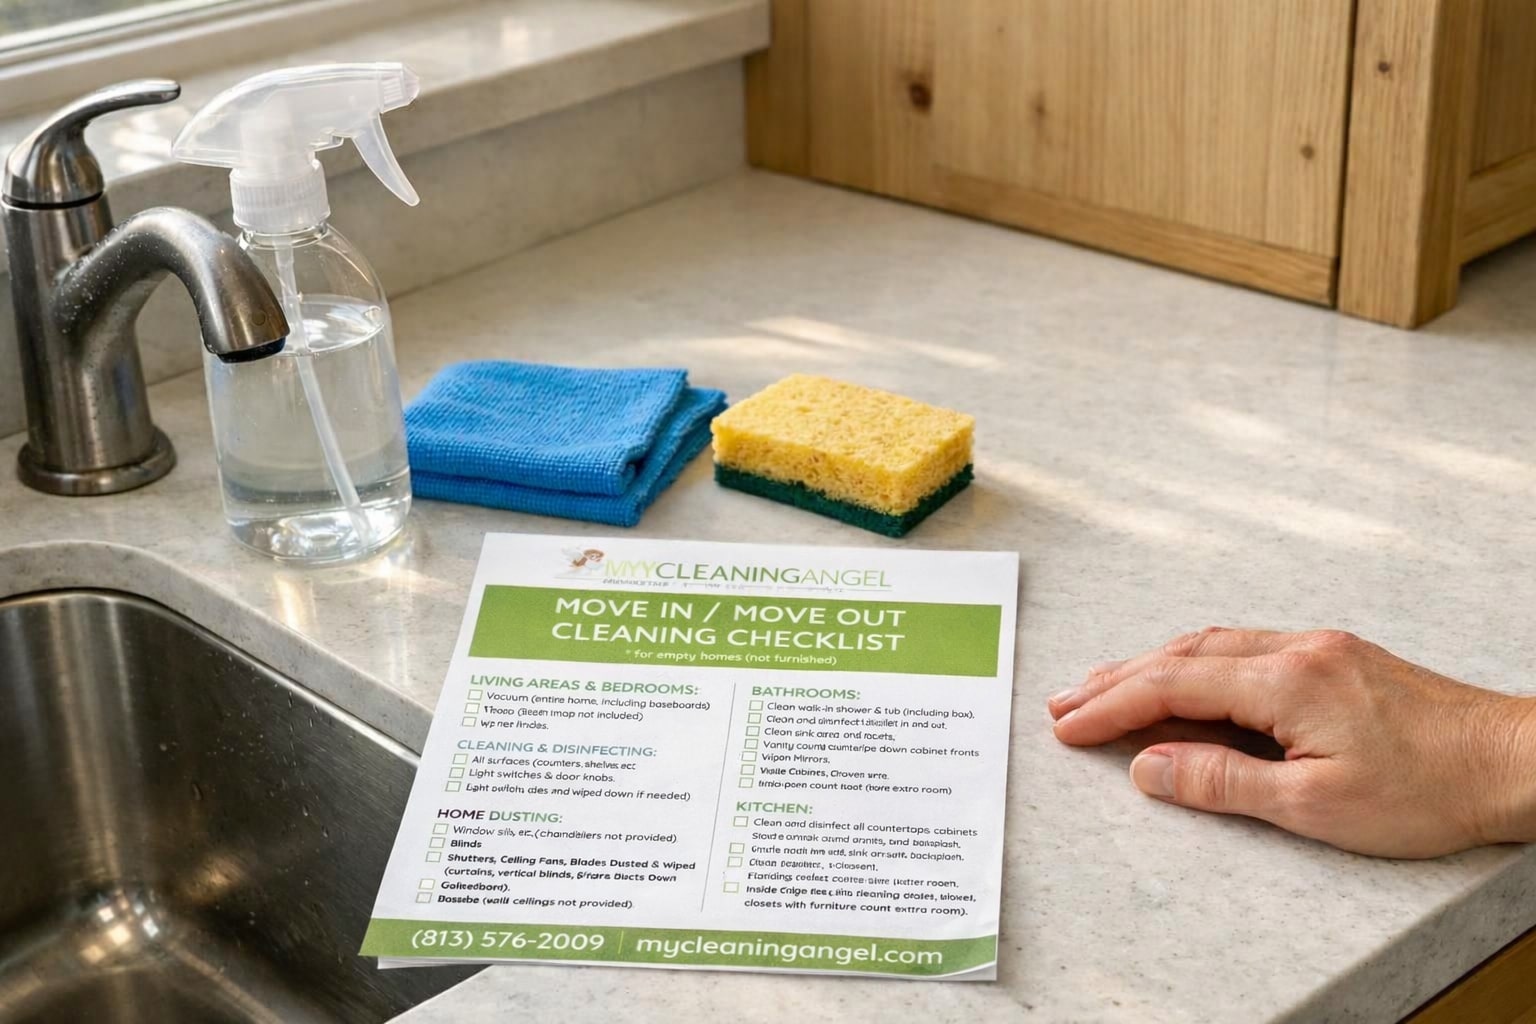
Here is the simple truth. A solid Move Out Cleaning DIY routine protects the security deposit, keeps property managers calm, and turns the final walkthrough into a quick nod. This guide goes room by room with basic cleaning supplies like an all-purpose cleaner, glass cleaner, a microfiber cloth, and easy natural cleaning products such as vinegar and baking soda.
Expect quick checklists, clear steps, and helpful tips for tough jobs. Ovens, window tracks, and carpet cleaning will not stand a chance. Ready to make it easier? Let’s go.
Key Takeaways
- Thorough move-out cleaning protects the security deposit. Missed spots like oven grime or dusty baseboards often lead to deductions of hundreds of dollars.
- A room-by-room cleaning checklist, plus microfiber cloths and simple natural cleaning products, helps avoid extra property manager charges that can top $200.
- Declutter first, remove all personal items, and take date-stamped photos of each room. Save copies in two places to help with any disputes.
- DIY cleaning saves money if time and energy are available. Hire professional cleaning services, such as Molly Maid, for tough stains or strict lease agreement standards.
- A careful final inspection of appliances, floors, fixtures, and windows improves the odds of a full refund and leaves a good impression.
Time Management Tips:
- Kitchen Cleaning: approximately 45 minutes
- Bathroom Cleaning: around 30 minutes
- Living Areas Cleaning: about 40 minutes
- Pre-Cleaning & Decluttering: roughly 15 minutes
- Deep Cleaning Tasks: 30-60 minutes per area
Why Move-Out Cleaning Is Essential
Move-out cleaning protects the security deposit and lowers stress for both renters and owners. It also prevents awkward talks with leasing agents over missed spots on the move-out cleaning checklist. Lease rules vary by state, so families should check the lease agreement and any local regulations for cleaning standards.
Summary: Move-out cleaning protects the security deposit, reduces stress, and meets lease agreement requirements. Use estimated times to plan each task.
Protect Your Security Deposit
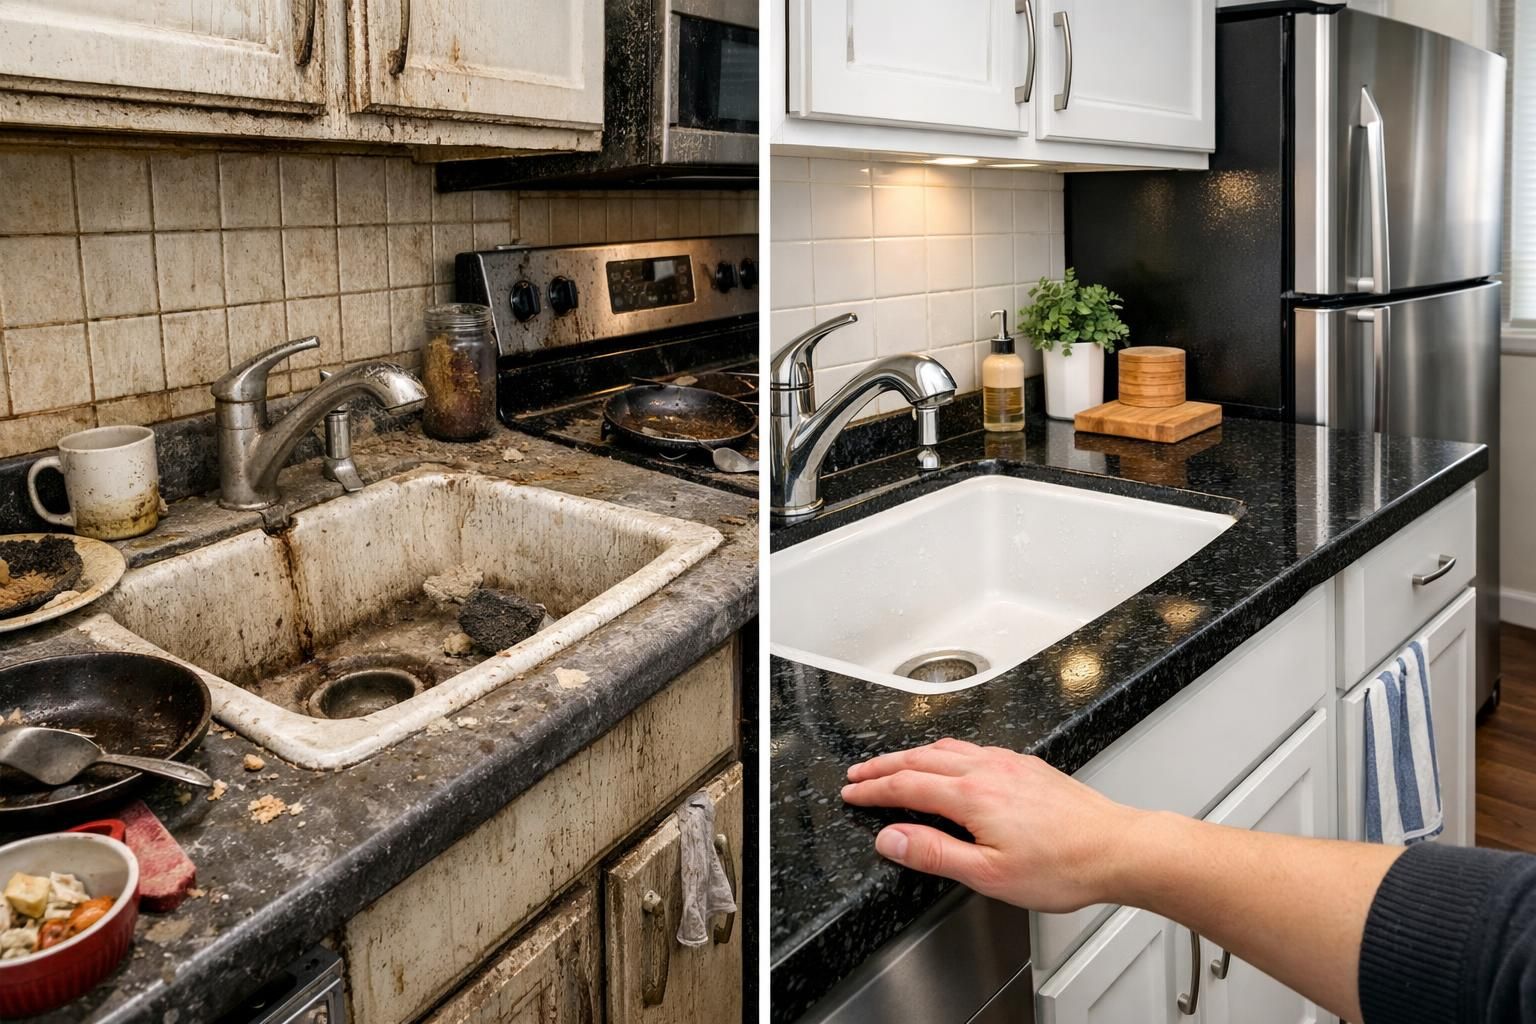
Landlords check every corner before returning any money. A greasy refrigerator, stained carpet, or scuffed wall can trigger cleaning fees or repairs. Those charges cut deep into the security deposit.
Many tenants get hit for hidden dust behind the oven or stains in bathroom grout. A big share of security deposit deductions comes from skipped spots like countertops, carpets, windowsills, high shelves, and baseboards.
Good tools make a real difference. Microfiber cloths grab dust. A carpet cleaner lifts old spills. Deep clean appliances and add touch-up paint where needed. Small fixes today mean fewer deductions later, and the deposit can go toward the next place.
Avoid Extra Charges from Property Managers
Skipping deep cleaning can bruise the wallet. Many property managers hire a professional cleaning company and bill tenants for anything left dirty. Even one missed bathroom or kitchen task may cost $200 or more.
A simple checklist keeps things on track. Vacuum carpets, wash windows, wipe ceiling fans, and scrub baseboards. Tools like microfiber cloths, sponges, glass cleaner, scouring powder, and a solid vacuum cleaner help stop surprise charges caused by dust bunnies or sink stains.
Leasing teams often hold back deposits when they see leftover grime or trash. Following practical move-out cleaning tips saves time and money, no need to pay extra for simple jobs that common cleaning supplies can handle.
Leave a Positive Impression

Clean homes reflect well on renters. Landlords notice when every room shines after deep cleaning with solid cleaning products like glass cleaner and scouring powder.
A thorough move-out often leads to a smooth, full deposit return. Many owners appreciate natural cleaning products on living areas, counters, and bathrooms. It shows care for the property.
Fresh, odor-free rooms help new tenants settle in. Families want their kids to start off in a clean space. Leaving the place organized also supports the lease agreement and sets a friendly tone for everyone.
Pre-Cleaning Preparation
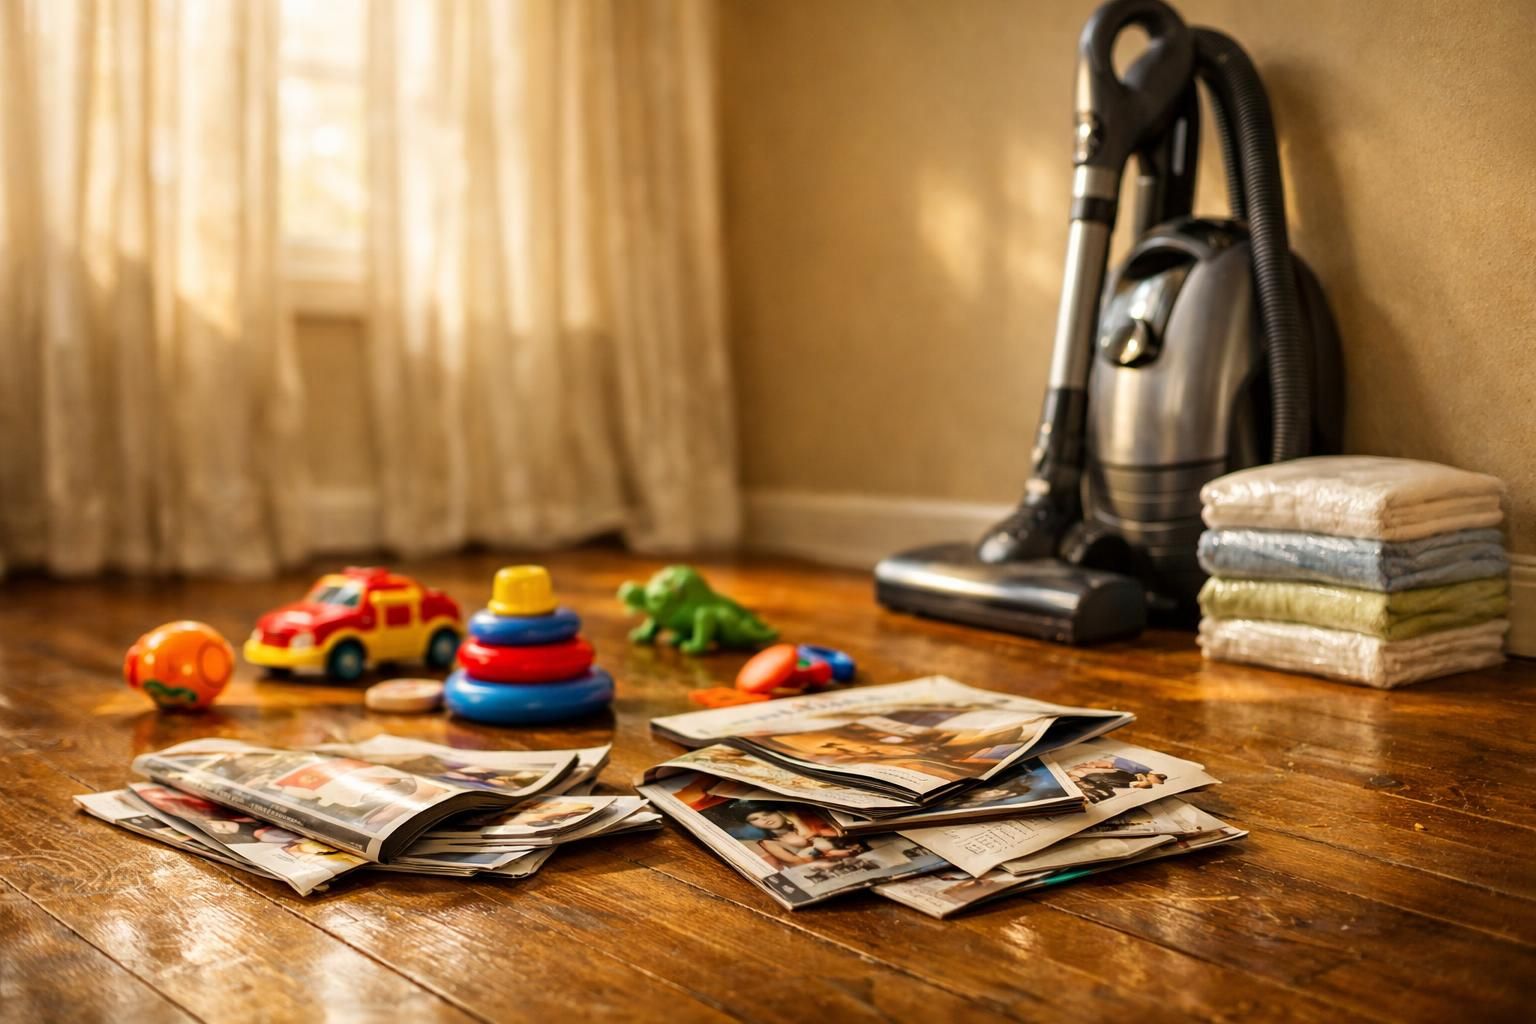
Strong starts are simple. Gather cleaning supplies early and clear clutter before any deep cleaning. A good vacuum, a few microfiber towels, and a small bucket go a long way.
Preparation Note: Clearing clutter effectively takes about 15 minutes. Gather cleaning supplies and plan tasks based on room size.
Gather Cleaning Supplies
Collect every tool before moving a single box. Pull the vacuum, broom, and mop with their attachments. Add a stack of microfiber cloths and a few damp towels. These remove grime fast from floors and counters.
Choose natural cleaning products when possible. Concentrated cleaners cover big jobs without streaks. Keep scouring powder handy, but avoid it on glass cooktops or other delicate surfaces.
Fill a carry caddy with glass cleaner, oven cleaner, bathroom disinfectant, scrub pads, sponges, paper towels, and rubber gloves. Keep trash bags nearby for easy toss-outs as each room gets cleared. Swap dirty mop water often so floors do not get sticky. This simple move-out cleaning checklist keeps supplies organized and prevents missed steps.
Declutter and Remove Personal Belongings
Clearing the home first saves energy later and protects the security deposit. It also reduces stress during packing day.
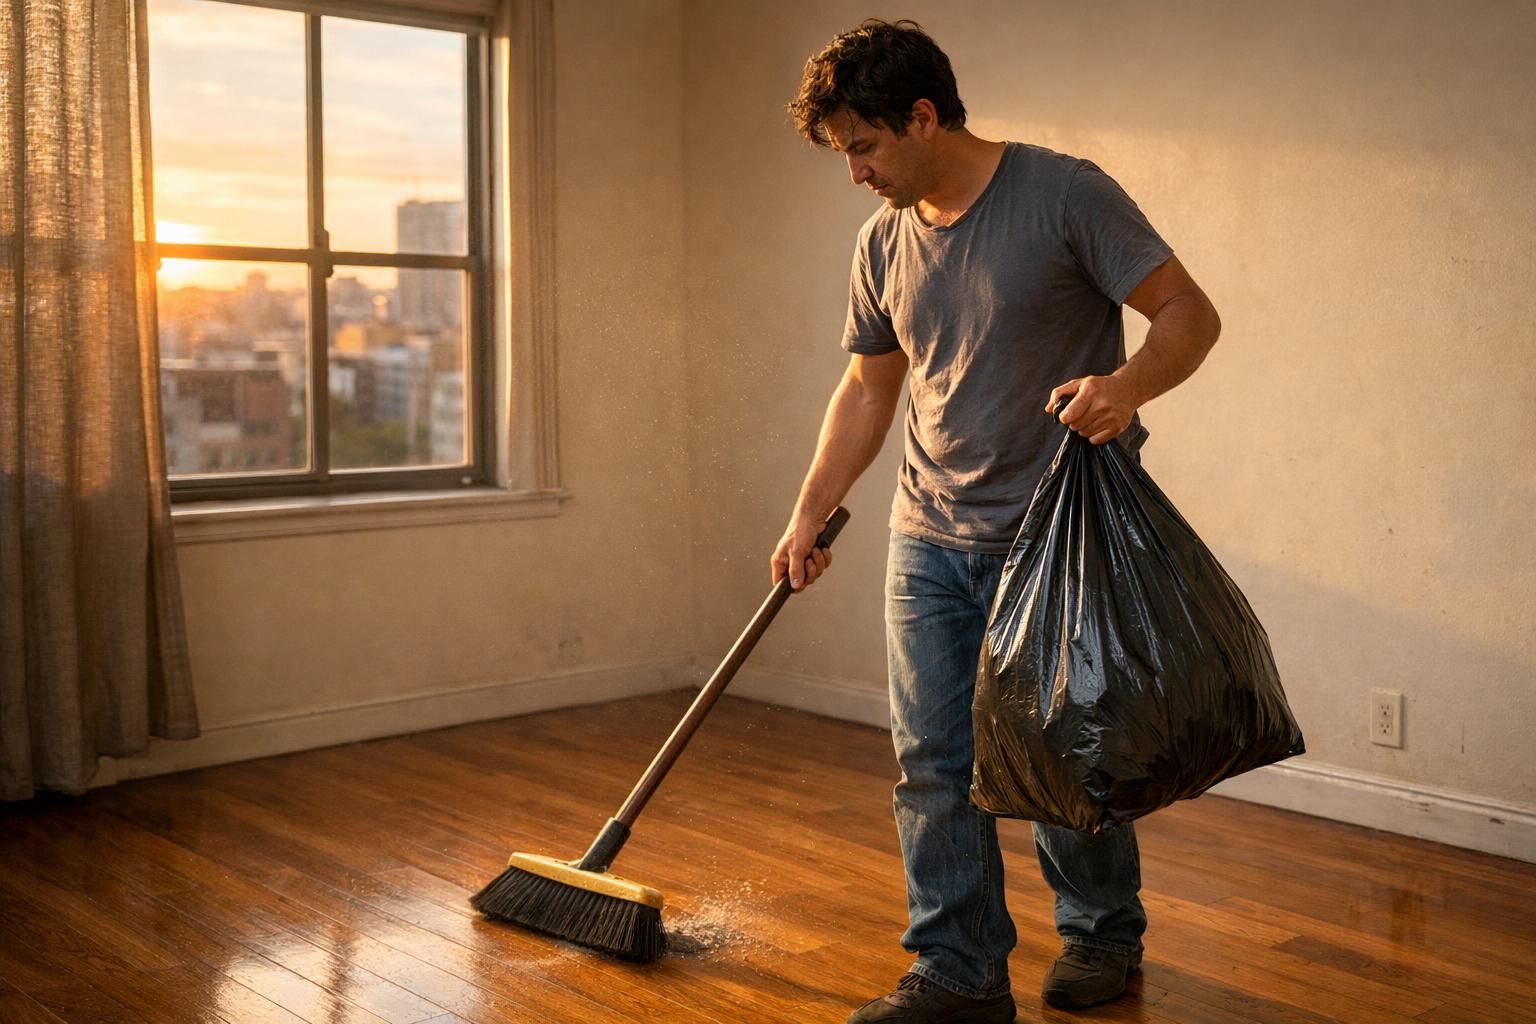
- Pull every personal item from each room before deep cleaning. Check closets, under beds, and behind furniture.
- Bag all trash in sturdy garbage bags. Set bags near the door for quick removal and to avoid extra charges.
- Pack remaining items in labeled boxes or bins. Labels speed up both moving and cleaning.
- Donate unused clothes, books, and gadgets to a nearby charity such as Goodwill or The Salvation Army.
- Empty storage spaces in garages and attics. Sweep corners where dust bunnies sit.
- Inspect kitchen cabinets and the refrigerator for old food. Wipe shelves with vinegar spray and a microfiber cloth.
- Move large furniture out with help from friends or a local mover before carpet cleaning begins.
- Take photos of emptied rooms to show their condition for lease agreement records.
- Toss dried spackling paste, spent oven cleaner, and broken tools found during the purge.
- Box stray shoes, backpacks, and umbrellas in hallways so living areas are ready for cleaning.
Move-Out Cleaning Checklist (Room-by-Room Guide)

A room-by-room plan keeps chaos in check. Work one space at a time for steady progress, using the right cleaning tools for each job.
Checklist Overview: Use the move-out cleaning checklist to cover each room methodically. Adjust estimated times as needed based on space size.
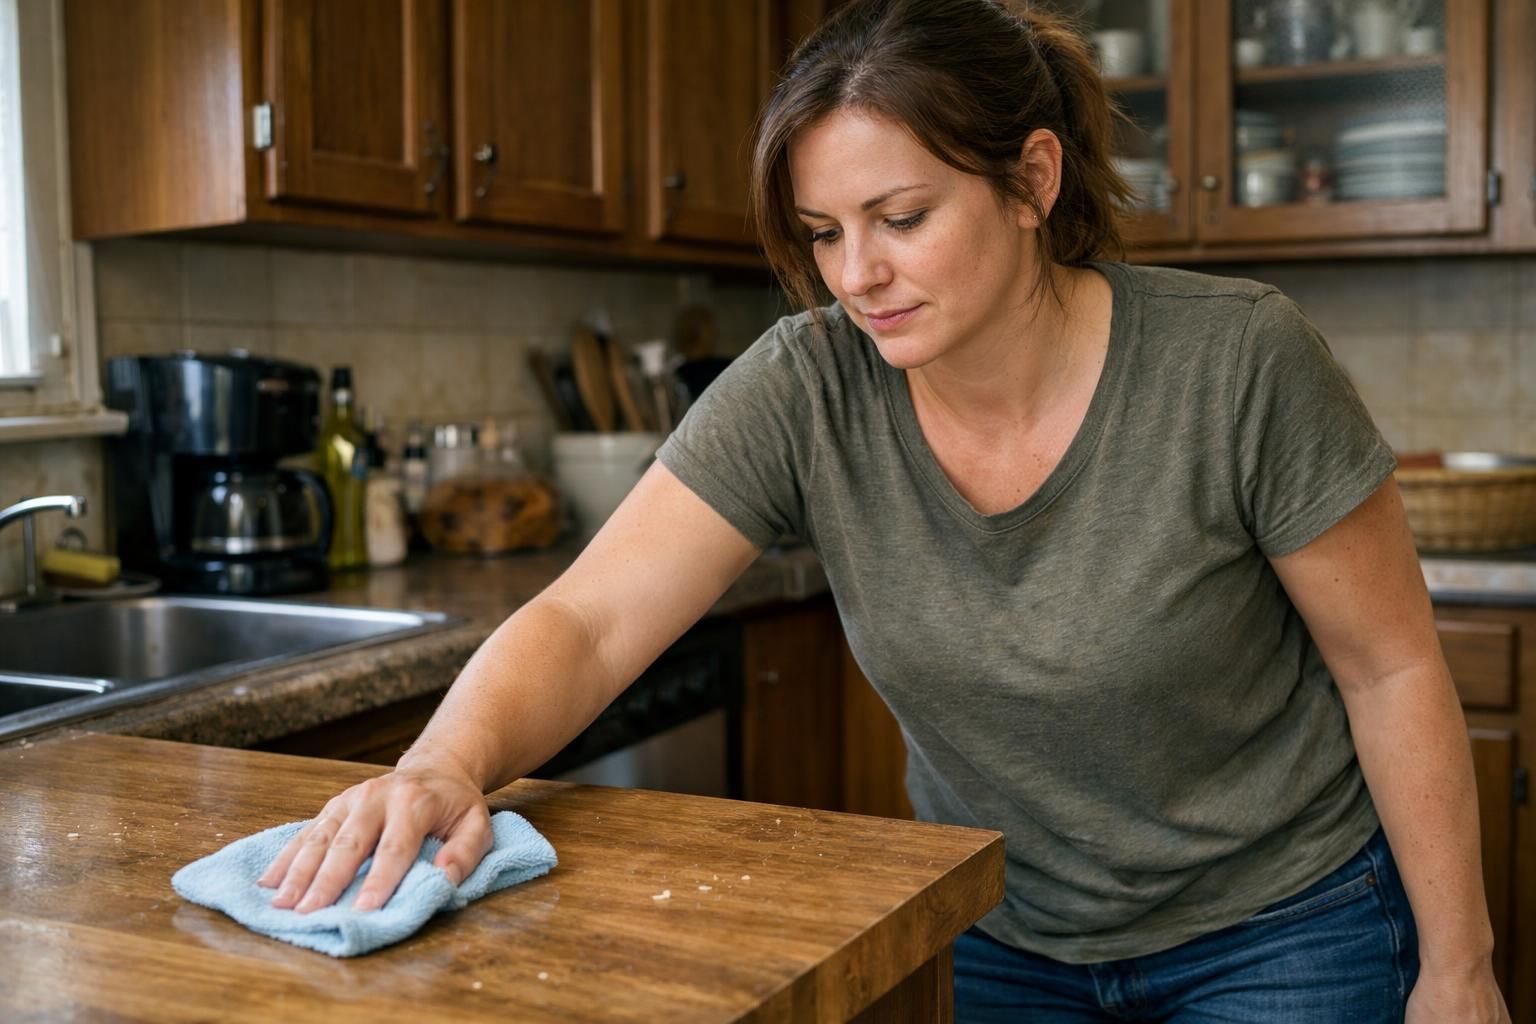
Kitchen Cleaning Tasks
Kitchens gather mess faster than a summer picnic draws ants. Landlords will inspect every inch, so a simple plan pays off.
- Start with the refrigerator. Empty it, toss spoiled food, remove shelves and bins for hand washing, then wipe interior walls with vinegar water or another natural cleaner.
- Scrub the oven with oven cleaner on baked-on food. Follow the manufacturer’s instructions to protect both skin and the appliance.
- Clean the range hood and stovetop. Degrease with hot soapy water or a safe degreaser. Use stainless steel cleaner on fingerprint-prone surfaces.
- Wipe all cabinets and drawers with a microfiber cloth. Vacuum crumbs inside before closing them up.
- Sweep tile carefully, then mop. Hit corners where dust likes to hide.
- Wash sinks with dish soap and warm water. Polish fixtures for shine. Freshen the disposal with hot water and baking soda.
- Open each drawer and cabinet for a final check. Close only after confirming it looks clean from every angle.
- Use glass cleaner on windows and wipe the tracks so they look clean during inspection.
These steps reduce stress and cover every point on a kitchen cleaning checklist.
Bathroom Cleaning Tasks
A spotless bathroom protects the deposit and avoids manager complaints. Deep cleaning here matters more than most rooms.
- Spray a bleach-based cleaner on sinks, counters, and tubs. Let it sit five minutes, then scrub with a stiff brush. Keep airflow strong.
- Scrub shower walls and bathtubs with scouring powder, then rinse until surfaces feel smooth.
- Use a mineral remover such as CLR on faucets and glass doors to clear hard water spots. Keep the fan on or a window open.
- Shine mirrors with glass cleaner and a microfiber cloth. Skip paper towels to avoid lint.
- Wipe shelves and toilet tanks with a bleach solution for disinfection.
- Apply toilet bowl cleaner under the rim. Scrub the bowl and seat thoroughly, then mop nearby floors with diluted bleach.
- Vacuum floors and vents to catch hair and dust. Finish by mopping tile with a fresh, light scent.
- Spray caulk lines to remove mildew stains quickly. Never mix bleach and ammonia.
Follow these deep cleaning steps, then move to the next room with confidence.
Living Room and Bedroom Cleaning Tasks
Living spaces collect dust and crumbs from daily life. Efficient cleaning here leaves a strong final impression.
- Dust ceiling fans, light fixtures, vents, and blinds with a microfiber cloth or duster.
- Vacuum carpets and rugs slowly with a strong vacuum cleaner. Pet areas may need extra passes.
- Sweep and mop hard floors to remove grit and sticky spots.
- Wipe baseboards, door frames, knobs, and light switches. Test scouring powder on marks in a hidden area first.
- Pull furniture from walls and vacuum behind and underneath it.
- Clean inside windows with glass cleaner. Clear gunk from the tracks.
- Empty closets and wipe shelves. Do a final sweep for personal items.
- Spot clean outlets and wall plates. Small touches add up at the walkthrough.
Once these areas are clean, the home already feels close to ready.
Cleaning Other Areas (Hallways, Closets, Storage Spaces)
These spots hide dust, cobwebs, and missing odds and ends. A quick pass here prevents deposit deductions later.
- Wipe doors, frames, and knobs with a microfiber cloth and a gentle cleaner.
- Dust baseboards in hallways and closets. Use a damp sponge on stubborn grime.
- Clean light fixtures and switch plates with glass cleaner or soapy water.
- Sweep or vacuum closet floors, storage rooms, garages, and entryways before mopping.
- Knock down cobwebs with an extendable duster.
- Sort stored items. Toss trash and donate unused goods to a local charity.
- Clean window tracks with a damp sponge and use glass cleaner on the panes.
- Empty shelves before wiping them. Dust closet rods too.
- Wipe stair handrails. Rinse if any product leaves residue.
- Remove leftover boxes or bags from behind doors and in garage corners.
With these areas done, only a few deep cleaning tasks remain.
Deep Cleaning Tips for Key Areas
Deep cleaning can feel big, but the right tools make it simple. A microfiber cloth, scouring powder, and a few natural cleaning products handle most tough stains.
Cleaning Appliances (Ovens, Refrigerators, Microwaves)
Clean appliances are inspection magnets. Use this quick plan for fridges, ovens, and microwaves.
- Unplug the refrigerator and empty it. Wipe surfaces with vinegar water or another natural cleaner. Handwash bins and shelves, then dry and replace.
- Defrost the freezer 24 hours ahead if ice is thick. Lay towels to catch drips. Scrub inside walls with a microfiber cloth.
- Degrease the range hood with hot soapy water or a kitchen-safe spray.
- Apply oven cleaner to baked-on food, and follow the manufacturer’s safety guidance. Some newer models prefer mild dish soap.
- Remove oven racks. Soak in hot, soapy water for 30 minutes. Scrub with a non-scratch pad and dry.
- Wipe microwave interiors with warm water and baking soda. For stuck messes, heat a bowl with lemon and water for two minutes, then wipe clean.
- Service the dishwasher. Clear food traps, remove and rinse filters, check spray arms, then run an empty cycle with a dishwasher cleaner or white vinegar.
- Polish exteriors with glass cleaner or mild soapy water. Clean handles and buttons where fingerprints build up.
- Look behind appliances for dust, pet hair, or toys before moving on. It helps during the final inspection.
Next up, sinks, tubs, and toilets, the places managers often check twice.
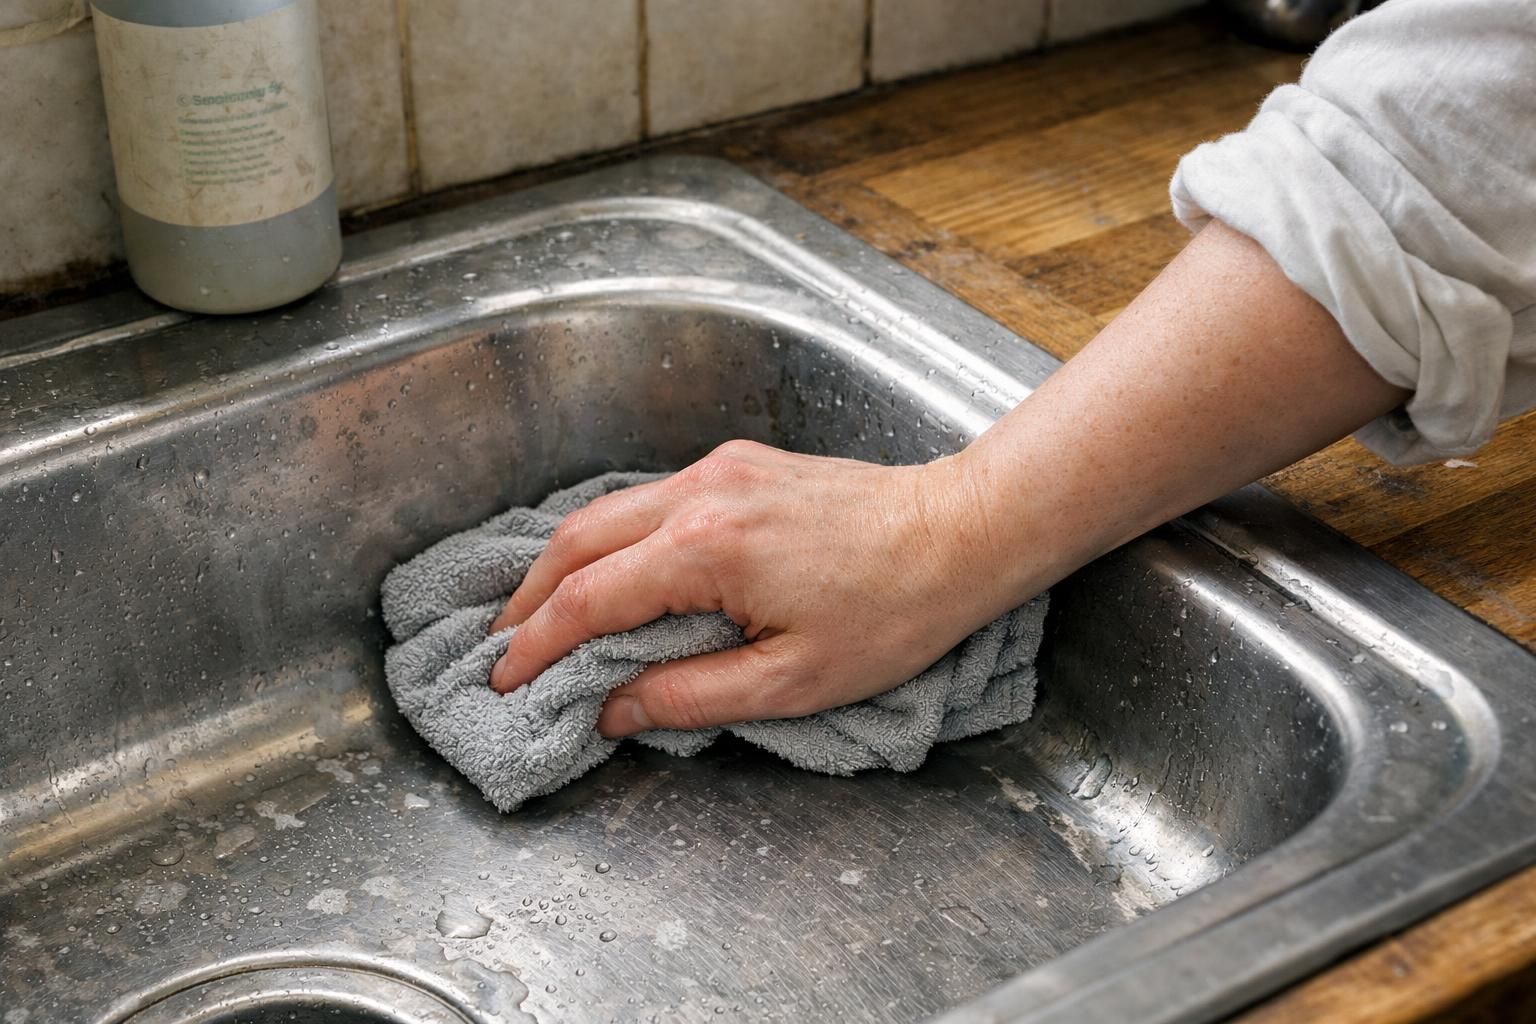
Scrubbing Sinks, Tubs, and Toilets
Scrub kitchen and bathroom sinks with a stiff brush to remove grime and toothpaste. Gunk hides behind faucet handles and around drains, so give those areas extra time. Hot water helps freshen drains once the scrubbing is done.
Tubs need steady pressure to erase soap rings and hard water stains. Target mildew with bleach-based cleaners along caulk lines and corners. For toilets, disinfect the bowl and wipe the exterior, including the base. Always keep air flowing and wear gloves during bleach use.
Dusting and Wiping Baseboards, Walls, and Ceilings
Dust loves baseboards, walls, and ceilings. Use a microfiber duster along every edge and corner. Include light switches, door handles, vents, and frames in the pass.
Warm water and a gentle cleaner remove scuffs on trim. Do not forget ceiling fans and blinds. They build up more dust than expected and can trigger complaints during the walkthrough.
Cleaning Fixtures and Windows
Light fixtures, ceiling fans, and windows hold fingerprints and dust. A microfiber cloth and glass cleaner make fast work of them.
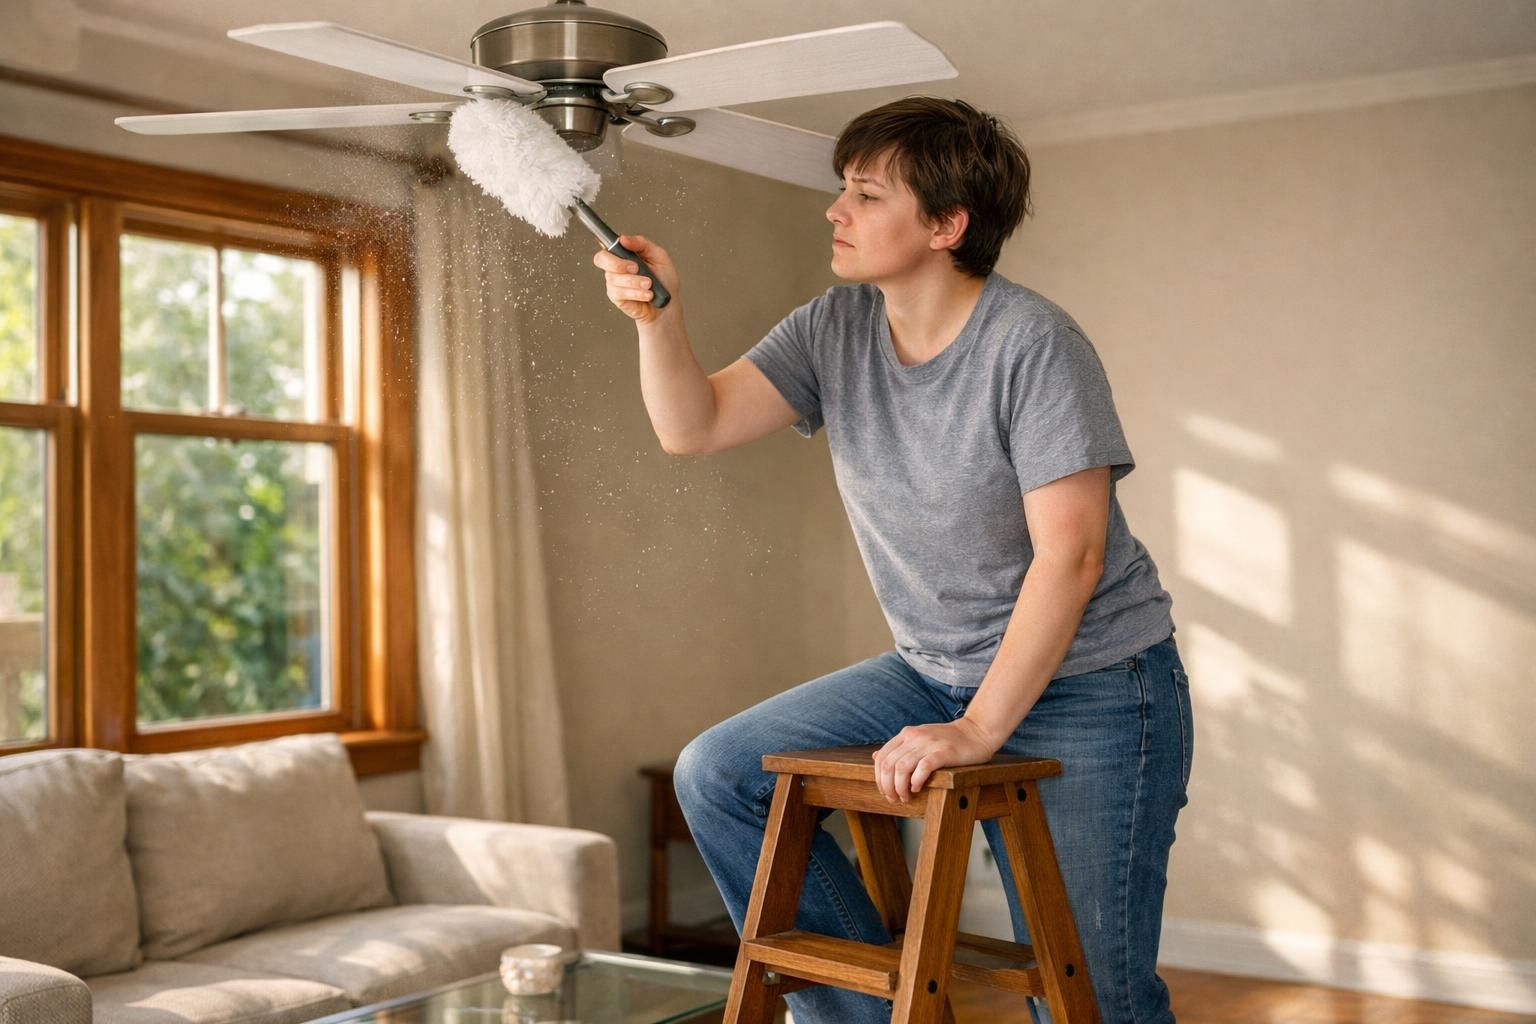
Wiping Down Light Fixtures and Ceiling Fans
Ceiling fans collect surprising amounts of dust. Use a stable step stool, and switch the fan off at the wall. Wipe each blade with a damp microfiber cloth to trap debris.
For light fixtures, remove covers or bulbs if safe, then clean with glass cleaner. Tackle any cobwebs around the mount. A few focused minutes brighten the whole room and help protect the security deposit.
Cleaning Windows and Window Tracks
After fans and fixtures, give windows attention. Spray glass cleaner and polish with a microfiber cloth for a streak-free finish. Wipe sills and frames where dust gathers.
Window tracks often hold crumbs and grit. Run a damp sponge along the grooves, and repeat until clean. A vacuum hose helps lift loose dirt before wiping. Clear panes and tidy tracks impress during inspections.
Final Cleaning Touches
Trash piles up fast during a move. Toss leftovers and do a final sweep so the place looks fresh for handoff.
Vacuuming, Sweeping, and Mopping Floors
Vacuum all carpeted areas slowly. A powerful vacuum cleaner leaves fibers standing straight and removes hidden dust. Sweep hard floors first so grit does not scratch.
Mop kitchen and bathroom floors with a floor-safe cleaner. Slide furniture to catch stray debris. Use a barely damp microfiber pad on hardwood to avoid streaks. For surface safety, follow guidance from brands like Armstrong Flooring.
Check edges and corners under bright light. That quick look can protect the security deposit.
Removing Trash and Leftover Items
Bag every piece of trash before the final pass. Empty closets, drawers, and bins so nothing gets left behind. Clear food from the fridge, pantry, and cabinets.
Do not forget garages and patios. Sweep up loose scraps and move bulk items early if pickup is scheduled. Even one forgotten box can invite fees. With clutter gone, floor care is faster and the space looks move-in ready.
DIY vs. Hiring Professional Move-Out Cleaning Services
Some folks grab a playlist and do the cleaning themselves. Others call a cleaning company to save time and energy on deep tasks like window cleaning or carpet cleaning.
When to Choose DIY Cleaning
DIY fits families looking to save money with basic cleaning supplies. Microfiber cloths, scouring powder, glass cleaner, and simple natural cleaning products cover most jobs.
If the schedule allows several days before the keys are due, spread tasks out. Tackle kitchen cleaning one day and bathroom cleaning the next. Properties that need only standard carpet cleaning and a bit of touch-up paint are perfect DIY candidates.
Use a clear move-out cleaning checklist, then work through it steadily. Professional services can wait unless stains or odors refuse to budge.
Benefits of Hiring Professionals
- Professional cleaners save hours of scrubbing and vacuuming. They bring high-grade cleaning supplies and tools.
- Companies like Molly Maid or The Maids follow methods that satisfy property managers and strict landlords.
- Experienced teams find dirt in corners and grout lines that DIY cleaning often misses.
- Use Google and BBB ratings to pick reliable cleaners. Check recent reviews before booking.
- Pro equipment, including steamers, cleans fridges, ovens, and microwaves better than basic sponges.
- Many landlords expect deep cleaning for full deposit returns. Trained crews know common lease agreement requirements.
- Crews handle big tasks, window cleaning, baseboard dusting, and floor buffing that wear people out quickly.
- Many services offer satisfaction guarantees or before-and-after photos to support final inspections.
- Hiring a pro helps prevent surprise fees from missed spots discovered after move-out day.
- Some cleaners remove leftover trash, fridge food, and clutter so new tenants enter a spotless space.
- Scheduling is flexible, which helps families time cleaning with moving day.
Tip: Evaluate potential benefits of professional cleaning services when deep cleaning and carpet cleaning tasks become overwhelming.
Final Inspection and Documentation
Walk the home with a checklist and a calm eye. Good documentation can settle questions fast if the property manager challenges the condition later.
Conducting a Thorough Walkthrough
Move room to room with the move-out cleaning checklist in hand. Mark off tasks as they are finished. Look in high shelves, drawers, and inside the oven’s warming drawer for missed items.
Test appliances for hidden messes and wipe if needed. Clean light fixtures and ceiling fans with safe, natural cleaning products. Scan hallways, storage spaces, and corners near baseboards for stray trash. When everything shines, do a last floor sweep or mop before locking up.
Note, this is general guidance, not legal advice. Lease rules and local laws can vary, so follow the lease agreement first.
Taking Photos for Records
Take date-stamped photos of every cleaned space before handing over the keys. Capture each room from several angles. Include ovens, bathroom sinks, and carpet corners.
Use a phone or camera with timestamps turned on. Store photos in two places, like cloud storage and a hard drive. These images help if questions arise about deep cleaning or damage.
Clear shots of counters, tiles, closets, windows, and living areas prevent extra charges. Proof beats memory every time.
Conclusion

Move-out cleaning does not have to be a headache. With a simple move-out cleaning checklist and the right cleaning supplies, families can handle each room without panic. Ovens, ceiling fans, and window tracks are manageable with a steady plan.
Scrub sinks, vacuum carefully, and hit small details like baseboards and switches. Handle carpet cleaning if spills remain. Every small step protects the security deposit and helps the next family start fresh.
Use natural cleaning products when they work, and call professional cleaning services only when needed. Take photos before turning in keys, then save them in two places. Clean space, clear mind. That is a move worth making.
FAQs
1. What should I include in my move-out cleaning checklist to get my security deposit back?
Start with deep cleaning the kitchen, bathroom, and living areas. Use microfiber cloths for dusting ceiling fans and windows. Clean countertops, floors, and appliances. Patch holes with spackling paste or touch-up paint if needed. Review your lease agreement so you do not miss anything.
2. Can I use natural cleaning products instead of harsh chemicals for DIY cleaning?
Yes, natural cleaning products work well on most surfaces like glass or counters. Scouring powder can help scrub tough spots without damaging finishes.
3. How do I handle carpet cleaning without hiring a professional service?
Vacuum first; then spot clean stains using store-bought carpet cleaners or homemade solutions if allowed by your landlord’s rules.
4. Are there any tips for window cleaning that make it easier during move-out?
Use glass cleaner and a microfiber cloth for streak-free results on windows and mirrors. Do not forget window sills; dirt hides there too.
5. When should I call a professional cleaning company instead of doing it myself?
If time is tight or the job feels overwhelming, consider hiring professional services especially when carpets need steam treatment or heavy-duty tasks exceed basic DIY skills.