
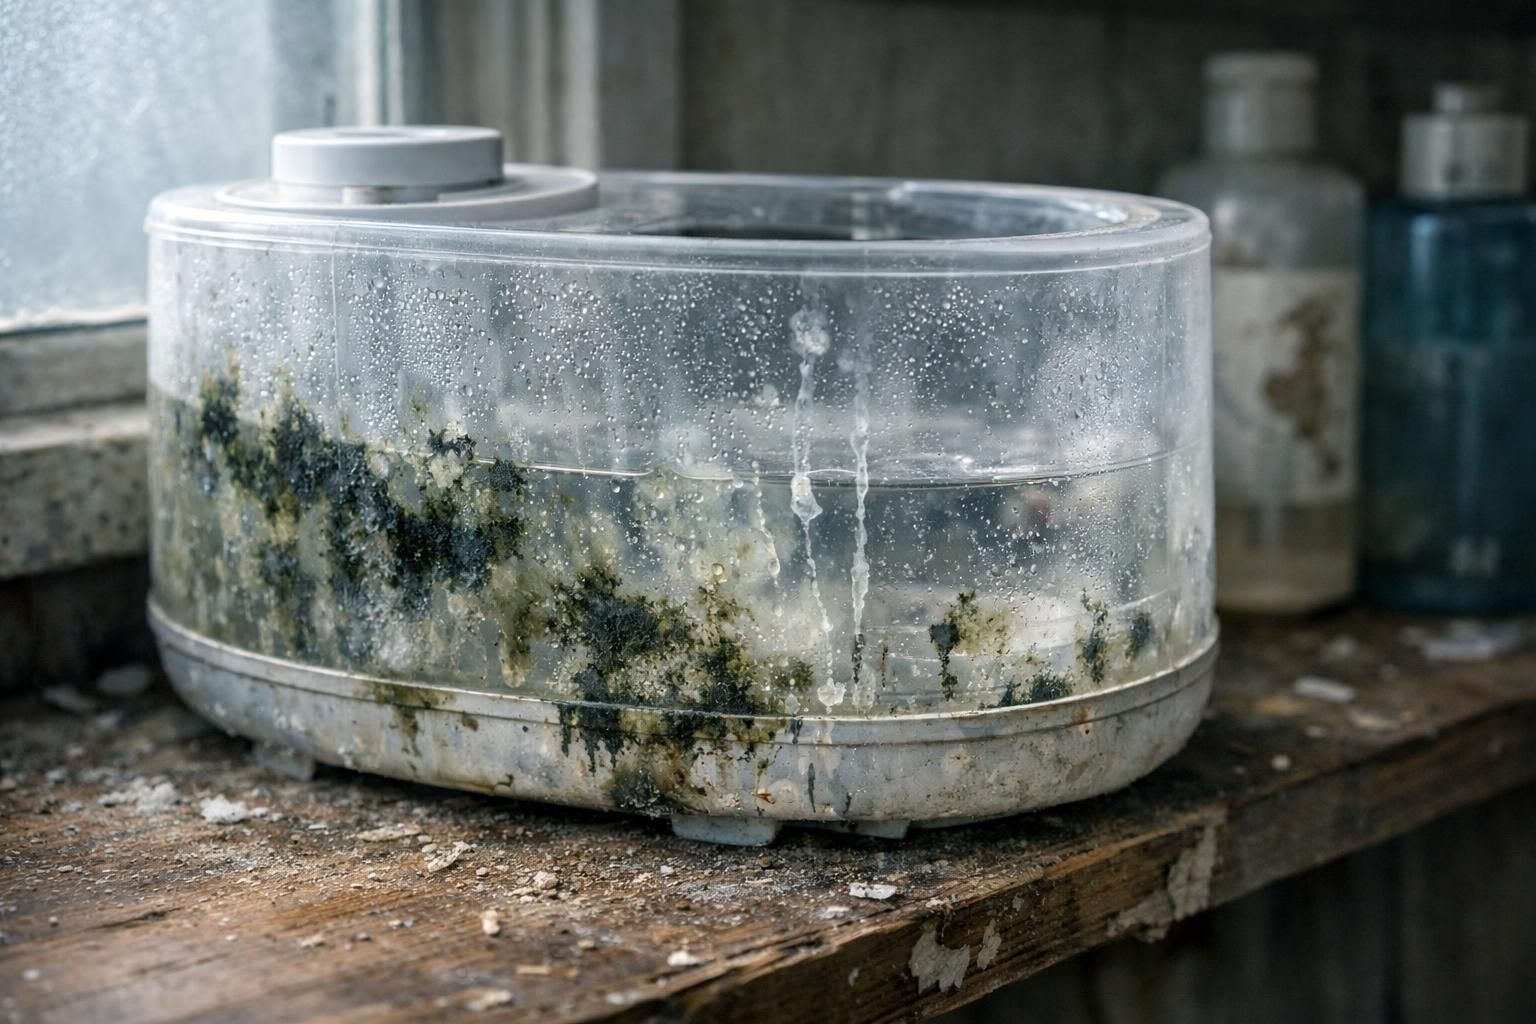
Waking up to a slimy humidifier or a musty smell is a rough start. Many families see cloudy water and gunk inside a cool mist humidifier after only a few days. If an ultrasonic humidifier looks like a science project by morning, that is common.
Here is the fix that works: weekly cleaning. It keeps slime, bacteria, and mineral buildup under control. With simple tools like white vinegar or hydrogen peroxide, anyone can refresh their humidification devices at home and help your house cleaning.
This guide breaks the process into clear steps. It shows how to clean a humidifier so it lasts longer and gives cleaner air. Stick around for simple methods that actually deliver.
Key Takeaways
- Clean your humidifier weekly with white vinegar or hydrogen peroxide to prevent bacterial growth and slime, as supported by CDC recommendations since 2021.
- Always use distilled or demineralized water to reduce mineral buildup, which lowers mold risk and can extend filter life by up to 50%.
- Disinfect the tank monthly using 1 teaspoon of bleach per gallon of water, soak for at least 30 minutes, then rinse thoroughly.
- Let all parts air dry completely after cleaning. Even small amounts of moisture can cause mildew to double in just 20 minutes on wet plastic.
- Never use abrasive tools like steel wool that scratch surfaces and create new hiding places for harmful bacteria inside popular brands such as Honeywell or Dyson.
Why Cleaning Your Humidifier is Important
Stagnant water inside a humidifier invites slime and bacteria. Regular humidifier cleaning helps everyone breathe easier and keeps indoor air fresher, day and night.
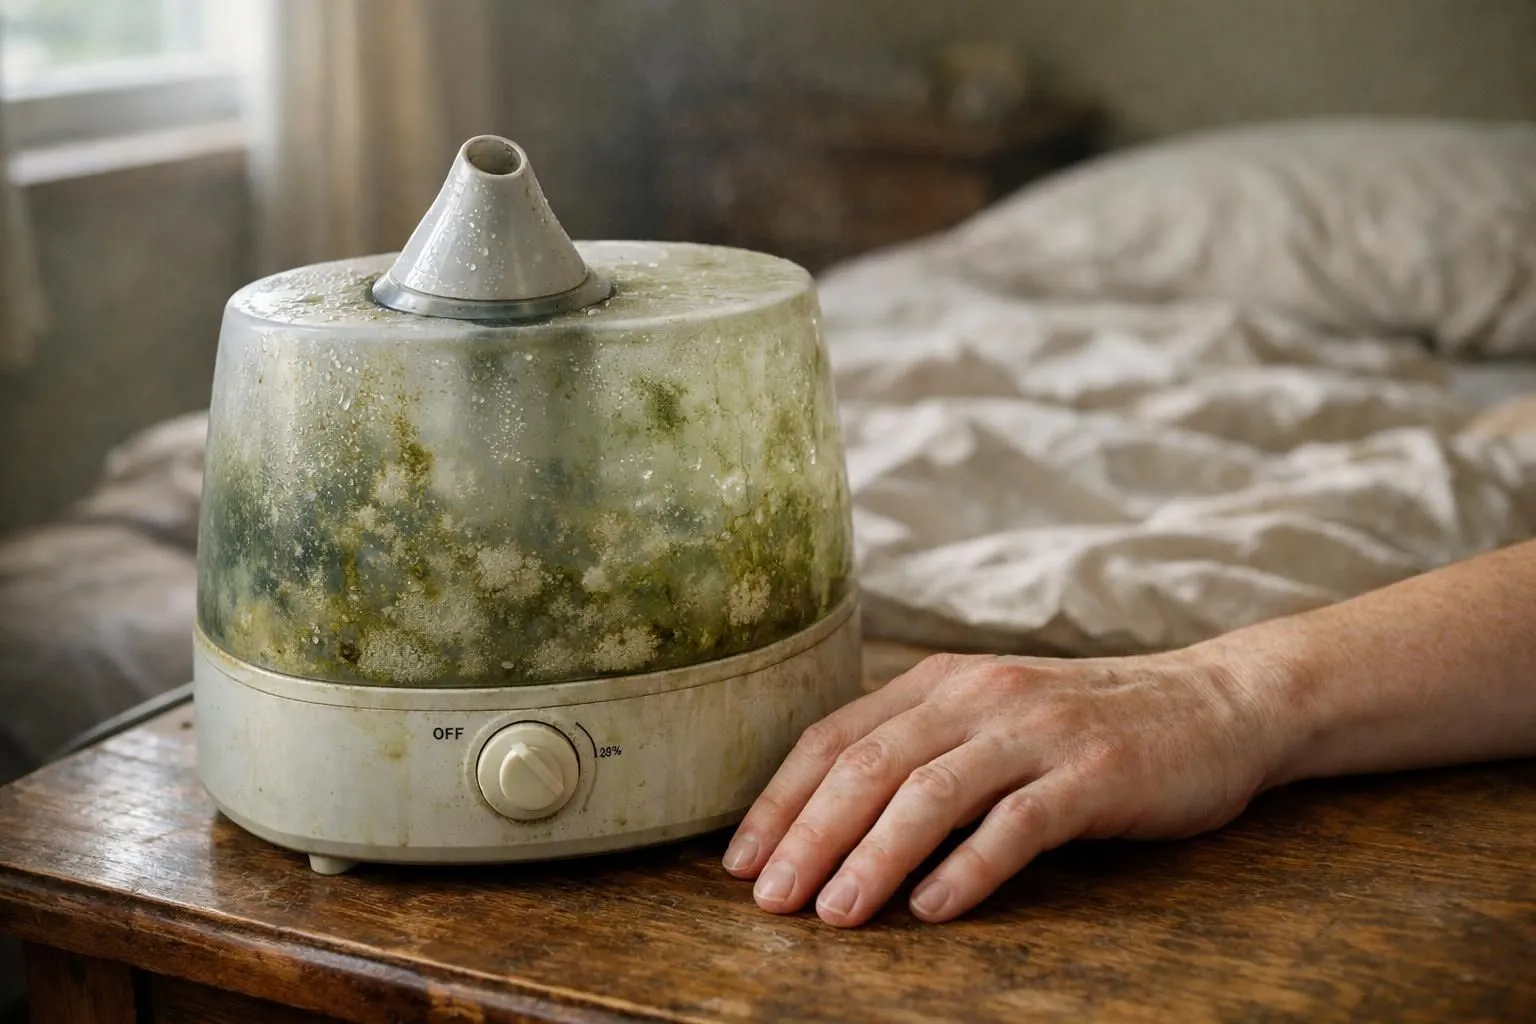
Preventing slime and mold buildup
Slime and mold love damp, dark places. Leaving water in a tank gives them a perfect home. Daily water changes stop slime from settling in the reservoir. Households that use distilled or demineralized water see far less mineral buildup, which leaves fewer spots for mold to grab.
A weekly cleaning routine for an evaporative humidifier puts a hard stop to that slick film. Skipping even one round can let mildew take hold. Let every part air dry before reassembly. Any leftover dampness can fuel new growth fast. Storing the unit in a dry spot between uses helps too.

Reducing bacterial growth for better air quality
Simple daily habits lift indoor air quality. Replacing the water each day keeps bacteria from turning the tank into a camp. A mild disinfectant helps, such as 1 teaspoon of chlorine bleach mixed into 1 gallon of water. This kills most germs hiding inside.
Hydrogen peroxide is another solid option with a lighter smell. Parents and homeowners should rinse each part until the vinegar scent is gone. Any leftover cleaner can lower indoor air quality.
Weekly cleaning with white vinegar or citric acid slows the slimy film that can trigger sniffles. Use lint-free towels so parts dry fully before reassembly. Filling with distilled water instead of tap also reduces mineral deposits that feed germs and mold over time.
Extending the lifespan of your humidifier
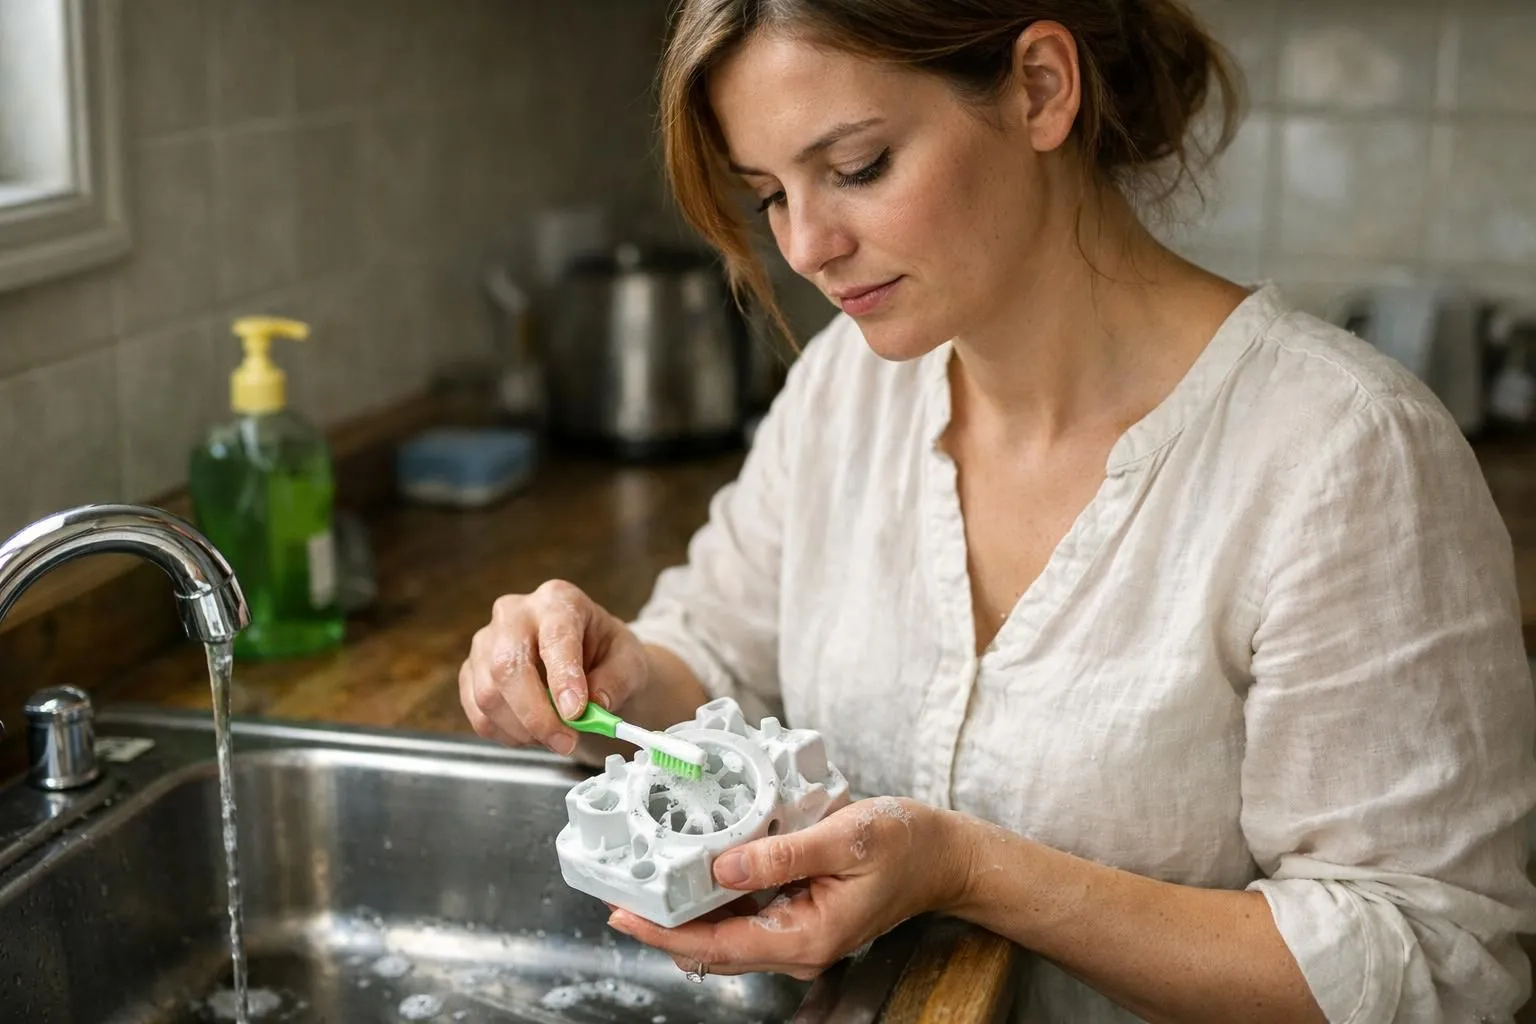
Most families want a humidifier that lasts. Weekly cleaning with gentle dish-washing soap and a soft toothbrush keeps mineral buildup from clogging parts. Monthly bleaching with a safe, diluted mix blocks bacteria before it can damage plastic or rubber pieces inside.
Using distilled water is like clean fuel for the device. Tap water leaves deposits that wear down valves and nozzles over time. Drying each piece fully gives mold nowhere to hide. Skip harsh scrubbers that leave scratches, since grime will settle there later.
What You’ll Need to Clean a Humidifier
Grab white vinegar and a soft-bristled brush, those two handle most grime. Add a fresh towel and clean water to round out the kit for the tank and base.
White vinegar or citric acid

White vinegar breaks down mineral deposits and slime inside a humidifier. Most people use 1 to 2 cups straight, or mix equal parts vinegar and water. Citric acid, a common kitchen powder, works too. Dissolve it in warm water before soaking the tank.
Both options soften buildup fast. Let the solution sit for at least 15 minutes so it has time to work. Busy families like that these are natural cleaners and far cheaper than specialty sprays.
Bleach or hydrogen peroxide
Bleach is effective for disinfecting the tank. Mix 1 teaspoon of bleach per gallon of water, fill the tank, then swish for a few minutes. Let it sit 15 to 20 minutes to target any lingering mold spores or bacteria. Rinse with fresh water until the smell is gone.
Hydrogen peroxide is a reliable alternative that many use around kids and pets. Add two tablespoons of 3% hydrogen peroxide to one gallon of water and soak for about 30 minutes. Rinse thoroughly with clean water. Never mix peroxide and bleach with anything else, and keep the room ventilated.
Soft brush or toothbrush
After disinfecting with hydrogen peroxide, move on to scrubbing. A soft brush or toothbrush reaches nooks a cloth misses. Gently scrub the base and small parts where slime hides. Major brands like Honeywell and Levoit recommend soft bristles for a reason.
A toothbrush shines in tight corners near nozzles and around float valves. Many families discover gunk under lids and around seals. A few light strokes usually take care of it.
Clean water
Scrubbing knocks residue loose. Clean water flushes it away. Experts at Mayo Clinic warn that tap water can carry minerals and small amounts of bacteria. Distilled or sterile water is the safer choice for rinsing.
Thorough rinsing is vital after using bleach or hydrogen peroxide. Any residue left behind can cause coughing or odors once the machine runs. The Centers for Disease Control and Prevention stress careful rinsing to protect indoor air, especially during cold seasons.
Lint-free cloth or towel
A lint-free cloth keeps fuzz out of the tank. Regular towels shed fibers that can clog parts and stick to damp plastic. Many manufacturers suggest lint-free options for drying the tank and base.
This choice matters because leftover moisture helps bacteria grow quickly. Microfiber is a good example. It traps dirt, lifts tiny droplets, and leaves surfaces ready to air dry without streaks.
Step-by-Step Guide to Cleaning a Humidifier
Cleaning a humidifier feels easy once it is broken into steps. Grab vinegar, bleach, and an old toothbrush, then make that water tank sparkle.
Unplug and disassemble the humidifier
Start by pulling the plug. Electrical safety comes first. Next, take the device apart. Remove the water tank, lid, and filter if your model uses one. Some units hide latches, so check the manual or look closely.
Place each piece on a clean towel to stay organized and dry. Keep small parts out of reach if kids are nearby. With everything apart, move to emptying and rinsing the tank.
Empty and rinse the water tank
Carry the humidifier to the sink. Tilt the tank and pour out every drop. Stale water leads to slime or mold. A quick rinse with clean water removes mineral dust, debris, and film on the bottom and sides.
Major brands such as Honeywell advise dumping old water before any cleaning. Sloshing fresh water around also shakes loose bits from corners. This fast step fights odors and reduces the risk of dirty tanks releasing germs.
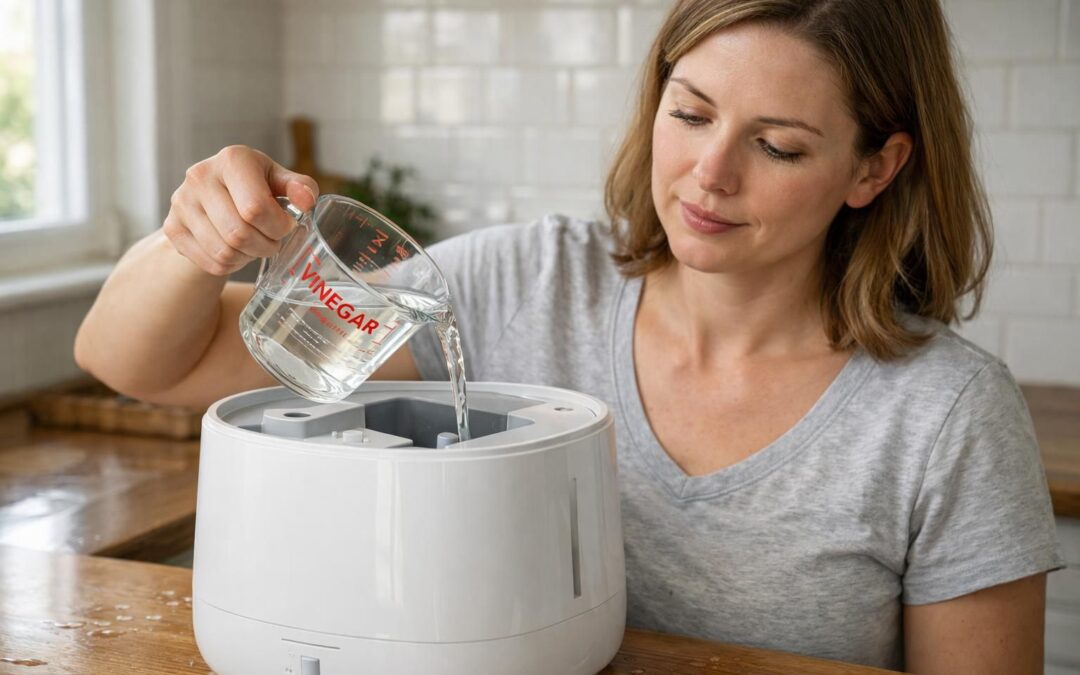
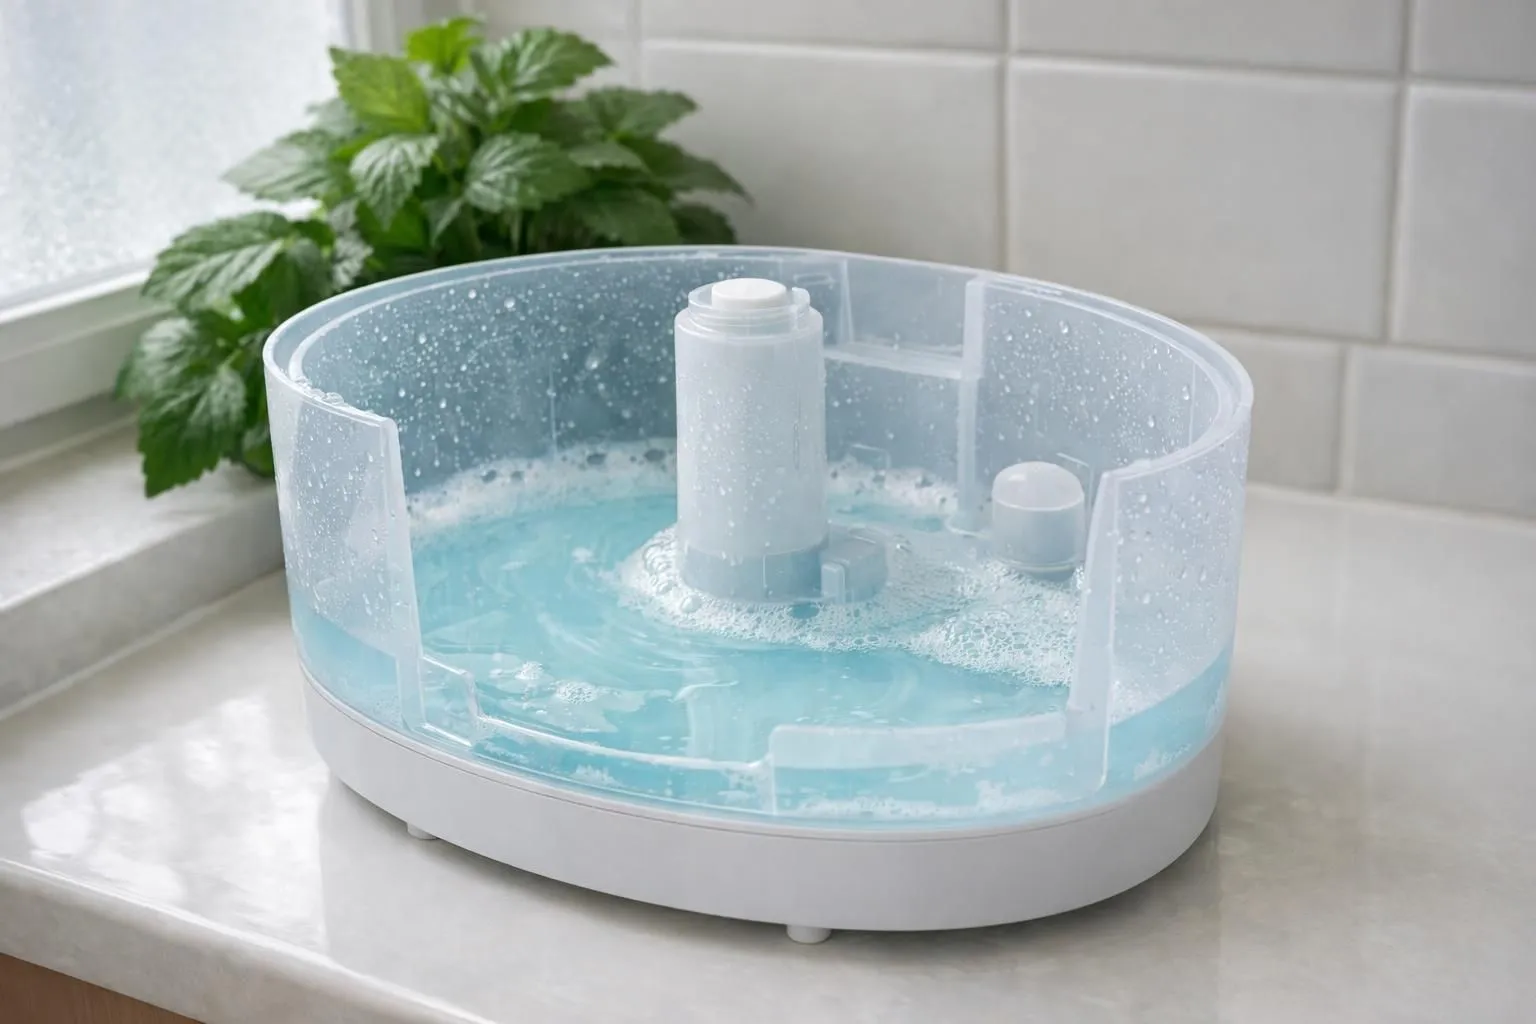
Soak the tank with vinegar or citric acid solution
Pour 1 to 2 cups of white vinegar, or a half-and-half vinegar and water mix, into the empty tank. Let it sit for 15 to 30 minutes to tackle tough mineral buildup. The acetic acid in vinegar breaks down limescale and slime on plastic surfaces.
Citric acid works, too, and it has a lighter smell. A good soak makes brushing easier later. This step lifts grime before bacteria settle in hard-to-reach corners.
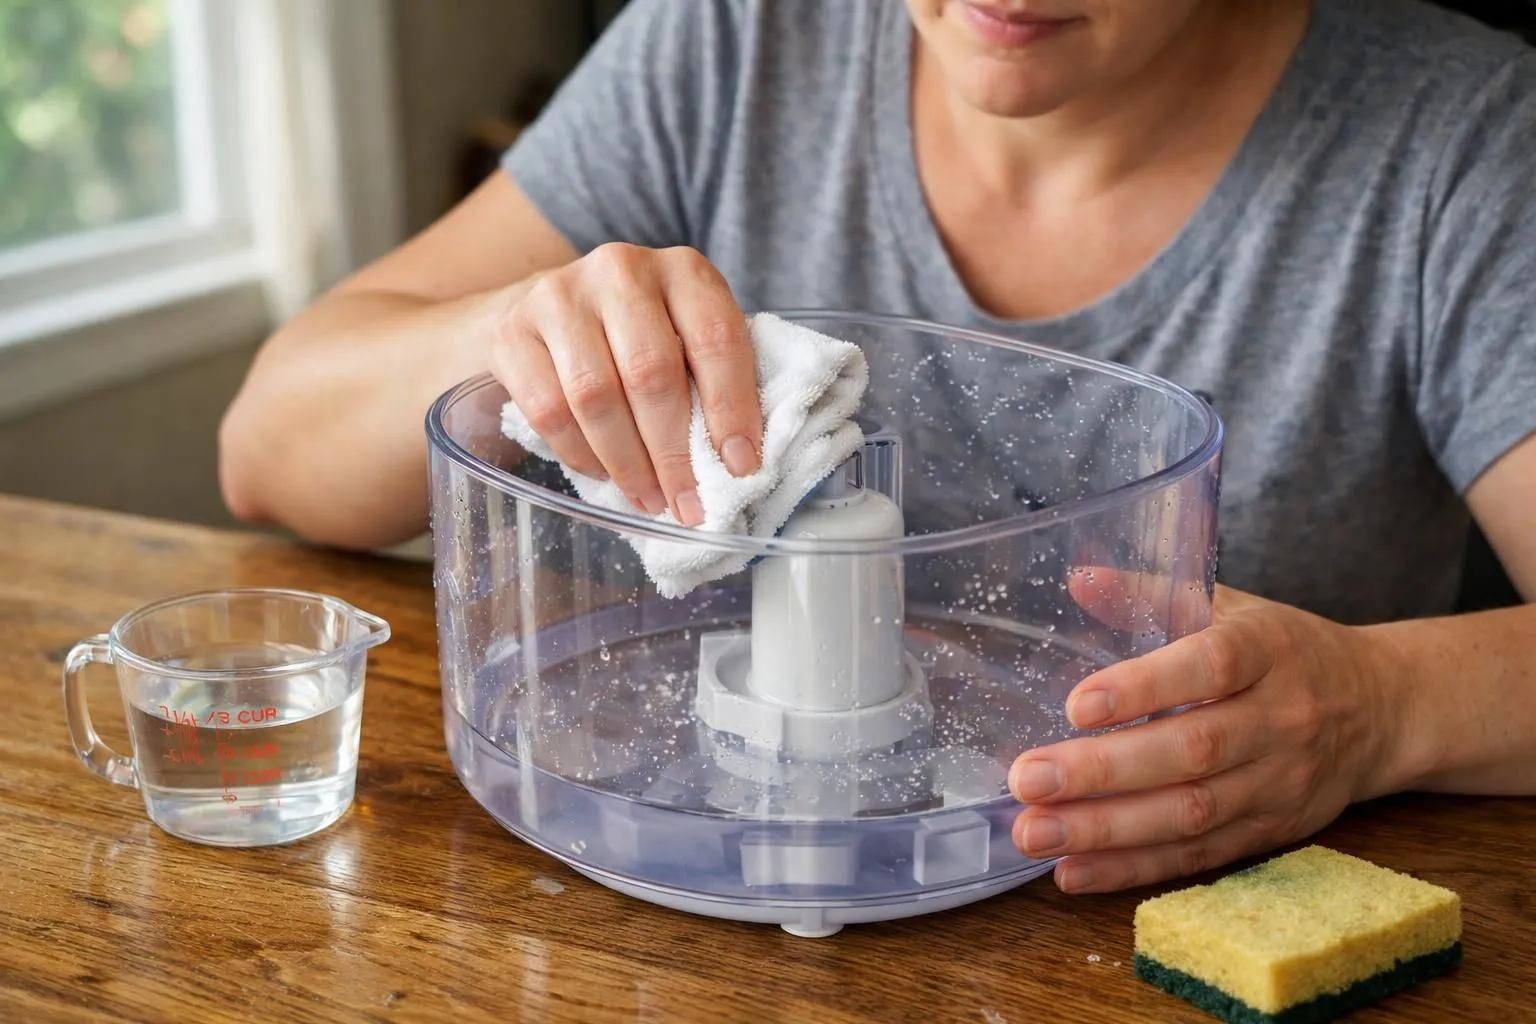
Scrub the base and small components
Use a soft brush or toothbrush on the base and small parts. Work carefully around the transducer, the small metal ring that creates mist. It is easy to overlook but very important for performance.
Dip rubber seals and filter holders in vinegar to loosen buildup. Then brush away residue. Rinse parts well so no cleaner is left behind. Leftover film can harm air quality and shorten the life of the machine.
Rinse thoroughly with water
Run each part under clean running water. Rinse until the vinegar smell is gone from the tank and the small parts. Check under seals and inside edges where solution likes to hide.
Repeat this rinse for every piece, including caps and filter covers. Use clean hands to wipe away stubborn residue. Once rinsed, you are ready to disinfect.
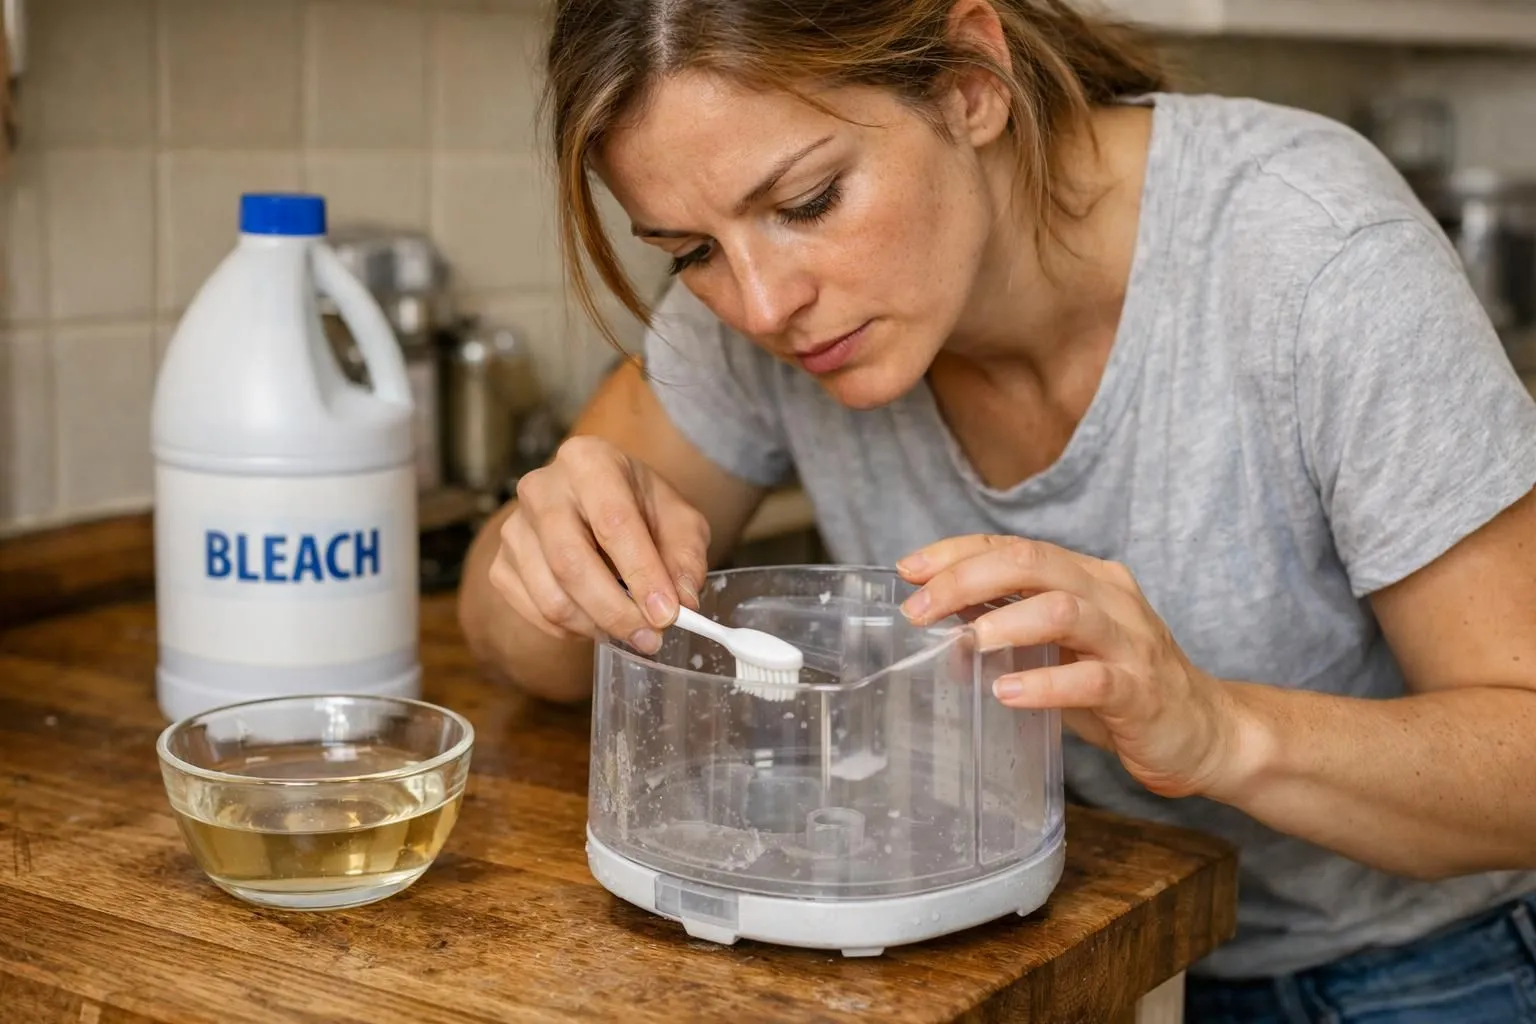
Disinfect with bleach or hydrogen peroxide solution
After rinsing, deep clean the tank. Use bleach or hydrogen peroxide to kill germs and stop mold. Mix 1 teaspoon of liquid bleach into 1 gallon of cool water. Fill the tank and let it sit for about 30 minutes. If bleach is not your choice, use straight 3% hydrogen peroxide instead.
Swish the liquid so all surfaces get wet, especially corners and seams. Pour the solution down the drain when done. Rinse each part well with clean water until no strong smell remains. Never mix bleach with vinegar, ammonia, or peroxide. Open a window or run a fan for ventilation.
Let all parts air dry completely
Do not rush this step. Bacteria and mold thrive in damp spots. Set each cleaned part on a fresh towel and let every drop escape before storage or use.
A lint-free cloth can speed things up, but air drying finishes the job. Reassembling while wet invites that same slime and odor right back. Give it time, then rebuild the unit.
Key Cleaning Steps and Maintenance Tips
- Disassemble & Empty: Unplug the unit and remove all water.
- Vinegar Soak: Fill the tank with 1-2 cups of white vinegar or a 50/50 vinegar and water mix and let it sit for 15â30 minutes to dissolve mineral scale.
- Scrub: Use a soft brush or toothbrush to clean the base, including the transducer and hard-to-reach areas.
- Rinse & Dry: Rinse all components thoroughly with water until the vinegar smell is gone and let them air dry completely.
- Disinfect (Optional): Sanitize the unit monthly by mixing 1 teaspoon of bleach in 1 gallon of water or using hydrogen peroxide.
- Daily: Change the water each day to prevent bacteria growth.
- Water Type: Use distilled or demineralized water to reduce mineral buildup.
- Storage: Ensure all parts are completely dry before storing to prevent mildew.
How Often Should You Clean a Humidifier?

A dirty humidifier can turn swampy faster than expected. Small germs ride the mist right back into the room. A simple routine with white vinegar, hydrogen peroxide, and distilled water keeps the air fresh and the machine humming.
Daily maintenance tips
Replace the water in the tank each day to slow bacterial growth. Wipe the base and lid with a lint-free towel before adding fresh distilled water or filtered water. Tap water adds minerals that stick to parts.
Scrub away any bits with a soft brush, especially along edges where slime hides. Dry any leftover moisture you see. Small damp spots invite mold and bacteria. Homes with children often notice cleaner air when this quick habit sticks.
Weekly deep cleaning
Daily wipe downs help but will not stop all buildup. Experts, including the CDC, suggest cleaning every seven days. This protects air quality and prevents mold from spreading through the mist.
Fill the tank with white vinegar, or use citric acid for tough minerals. Let it soak at least 30 minutes. Scrub nooks with a soft brush or old toothbrush. Disinfect once a month with bleach or peroxide, and stick with gentler soaks the other weeks.
Monthly disinfection
Each month, mix 1 teaspoon of bleach with 1 gallon of water. Soak the tank and parts for at least 30 minutes. If preferred, use hydrogen peroxide instead for disinfecting. Scrub stubborn spots with a soft brush.
Rinse every piece until the odor disappears. Set items on a lint-free towel to air dry fully. Any leftover moisture can invite mildew. Families that keep this routine cut down on germs and help their humidifiers last longer.
Tips for Keeping Your Humidifier Clean
A little upkeep keeps the tank from turning slimy. These simple habits make the mist safer for kids, parents, and even that picky plant in the window.
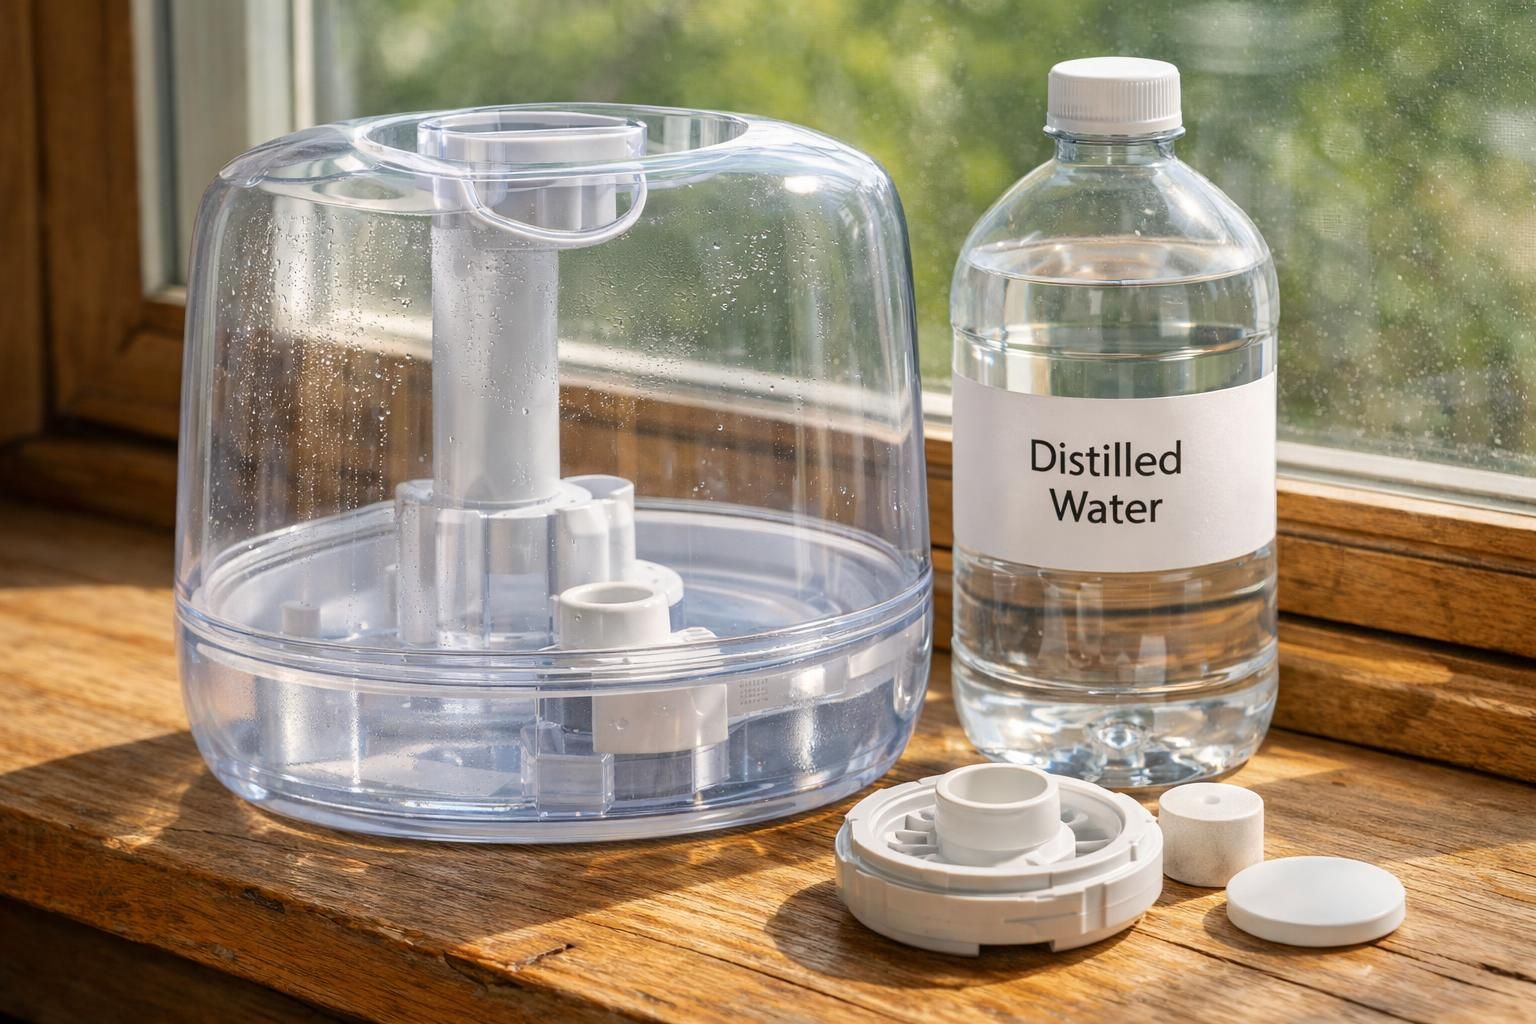
Use distilled or demineralized water
Tap water leaves minerals behind in the tank and base. Those minerals turn into scale and white dust, which makes cleaning harder and gives mold places to grow. Distilled or demineralized water prevents most of that.
Parents notice fewer white dust particles in a child’s room with purified water. Filters often last longer too, saving money and keeping the air fresher.
Empty the tank daily to prevent stagnation
Stale water is a welcome mat for slime and bacteria. The EPA reports standing water breeds germs fast, so dumping yesterday’s water limits their chance to multiply. This habit helps block mold and odors before they spread.
Families with kids or pets know curious hands will touch anything. Emptying the reservoir each night prevents trouble before it starts.
Store in a dry place when not in use
Damp storage makes mildew feel at home. Experts warn that moisture invites mold and bacteria within 24 to 48 hours. Stashing a Vicks or Honeywell unit in a dry closet helps a lot.
Lay parts on a lint-free towel after cleaning and let them air out fully. Many people rush this step, but drying now means fewer germs next season. Put the humidifier away only when every surface is dry.
Common Mistakes to Avoid When Cleaning a Humidifier
Many people skip simple steps like rinsing well or using a soft toothbrush. That leaves bacteria and slime hiding inside the machine. Here is how to dodge the big mistakes.
Skipping regular cleaning
Skipping weekly cleaning lets slime, bacteria, and mold bloom inside the humidifier. A slimy coat can form in only a few days. Research from 2021 shows dirty humidifiers can release harmful particles that trigger allergies or make kids sick.
White vinegar or hydrogen peroxide shuts down that mess before it starts. A soft brush once a week keeps parts clear and extends the machine’s life.
Using harsh or abrasive tools
Harsh tools cause new problems. Wire brushes, steel wool, and scouring pads scratch delicate plastic inside a humidifier. Micro cracks trap moisture and bacteria, which makes future cleanings harder.
Stick with a soft-bristled toothbrush or gentle sponge to lift gunk from the tank and base. Even stubborn scale yields after a good vinegar soak. Protecting the plastic surface is the best way to block hidden slime later.
Failing to dry components before reassembly
Rebuilding the humidifier while parts are still wet invites mildew. Moisture collects inside tight spaces, like around the tank lid or float valve. Mold can show up fast, along with odd odors.
Let each part air dry completely. Even a few drops create a breeding ground for bacteria and may shorten filter life. Waiting an extra hour now saves bigger headaches later.
Model-Specific Troubleshooting Tips
Certain models, including brands such as Honeywell, Dyson, and Levoit, may require extra care in delicate areas. Consult your humidifier’s manual for model-specific cleaning instructions. Use gentle cleaning methods for ultrasonic models to avoid damage to sensitive components.
Conclusion

A clean humidifier is a helpful humidifier. With weekly cleaning using white vinegar, a soft brush, and distilled water, families can send slime packing. Bacteria does not stand a chance if the water gets changed daily.
Skipping care just invites stink and germs back in. Keep parts dry, disinfect monthly with hydrogen peroxide or a mild bleach mix, and store the unit in a dry place. For a quick visual, search âClean That Upâ on YouTube. Tackle the grime today so everyone breathes easier tomorrow.
FAQs
1. How often should I clean my humidifier to stop slime and bacteria from growing?
You need to wash your vaporizer every day if you use it a lot. If not, scrub it at least once a week. Mold and gunk love standing water, so do not give them the chance.
2. What is the best way to get rid of slime inside my humidifier?
First, unplug your mist machine and take it apart. Pour out any leftover water. Use white vinegar or hydrogen peroxide for scrubbing all parts that touch water; let them soak for twenty minutes before rinsing well.
3. Can I use soap when cleaning my humidifier?
Mild dish soap works fine on most pieces but rinse everything until no bubbles remain. Soap residue can float into the air next time you turn on your device; nobody wants to breathe in suds.
4. Why does my humidifier keep getting slimy even after cleaning?
If you fill up with tap water, minerals feed bacteria and help slime stick around longer than an unwelcome houseguest. Try using distilled or filtered water instead; this makes life harder for germs and easier for you!
Disclaimer: This content is for informational purposes only and is not a substitute for professional advice. No affiliate commissions are received from the included affiliate links. Sources include CDC, EPA, Mayo Clinic, and good housekeeping principles.