Moving out can make anyone feel stressed, especially when facing bedroom cleaning before move out. Many homeowners worry about missing a spot and losing part of their security deposit.
The pressure is real. If you leave mess behind, it could cost you extra money or upset the buyers. So you better do a or hire a move out cleaning.
One fact stands out: in the RealEstate forum, most users agree sellers should do more than just pack up. Handing over a clean room matters as much as handing over the keys. Buyers expect floors swept, carpets cleaned, and closets empty.
This checklist will walk readers through each step of house cleaning to help meet those expectations on moving day. From using a carpet cleaner for stubborn spots to wiping windows with glass cleaner, every tip is easy to follow.
By sticking to this list, anyone can ace their inspection and finish strong.
Ready to keep landlords happy and get that deposit back? Keep reading!
Safety Tip: When using strong cleaning products, ensure the room is well-ventilated and wear gloves. Follow label instructions to avoid mixing chemicals.
Key Takeaways
- Start the cleaning process by decluttering, removing all personal belongings from the room. This includes clothes, furniture, and decorations. Empty closets, drawers, and shelves to make deep cleaning easier.
- Dust and clean surfaces like baseboards, windowsills, ceiling fans, light fixtures, vents, and exhaust fans. Use microfiber cloths for effective dust removal.
- Clean windows and mirrors with glass cleaner for a streak-free shine. Don’t forget to address window tracks and frames by vacuuming or scrubbing them clean.
- Conduct a deep clean of carpets using a carpet cleaner machine on high traffic areas and stains. Sweep and mop hard floors with suitable cleaners to remove grime.
- Empty trash cans thoroughly before move-out day; replace furnace or AC filters to ensure good indoor air quality for the next occupants.
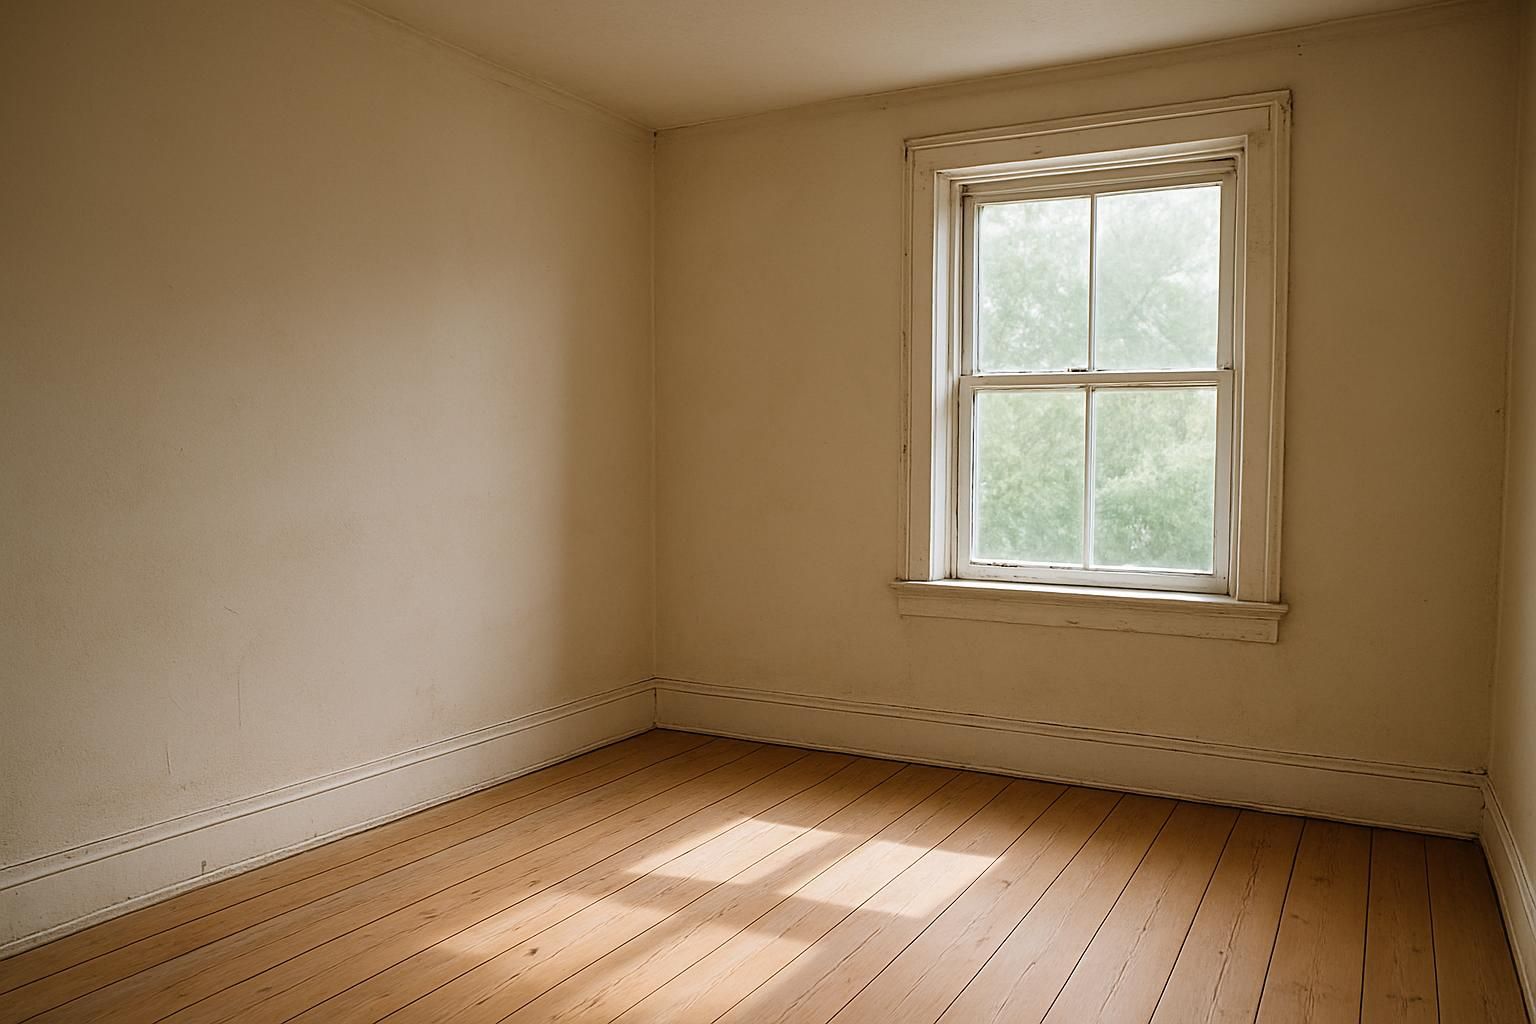
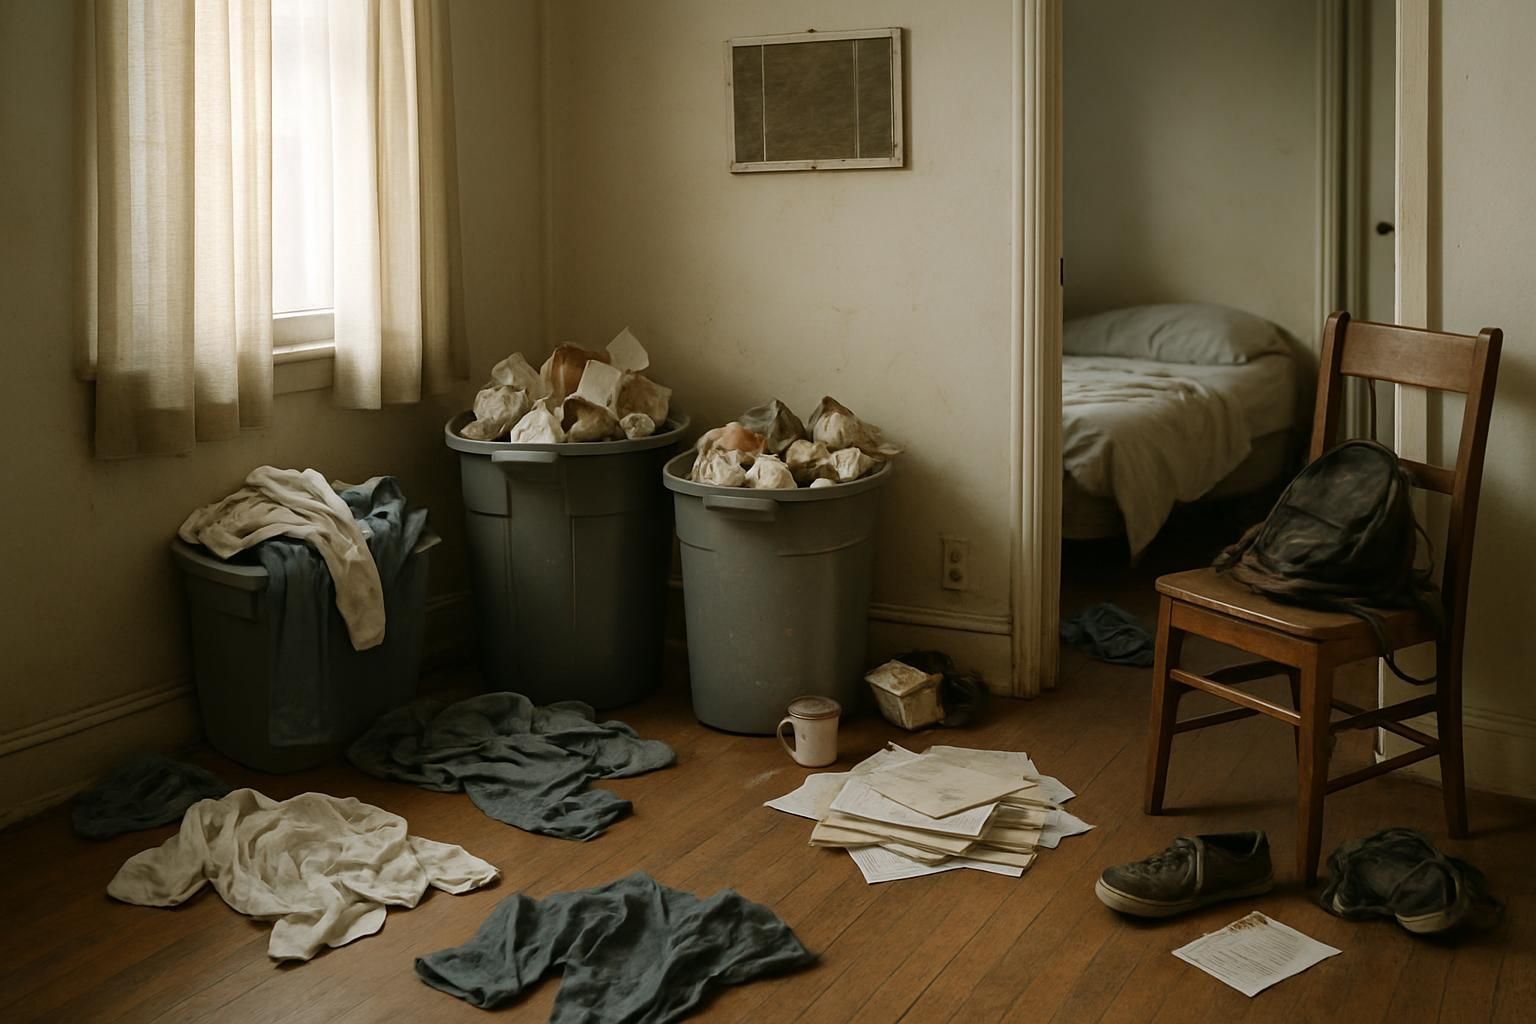
Decluttering the Bedroom
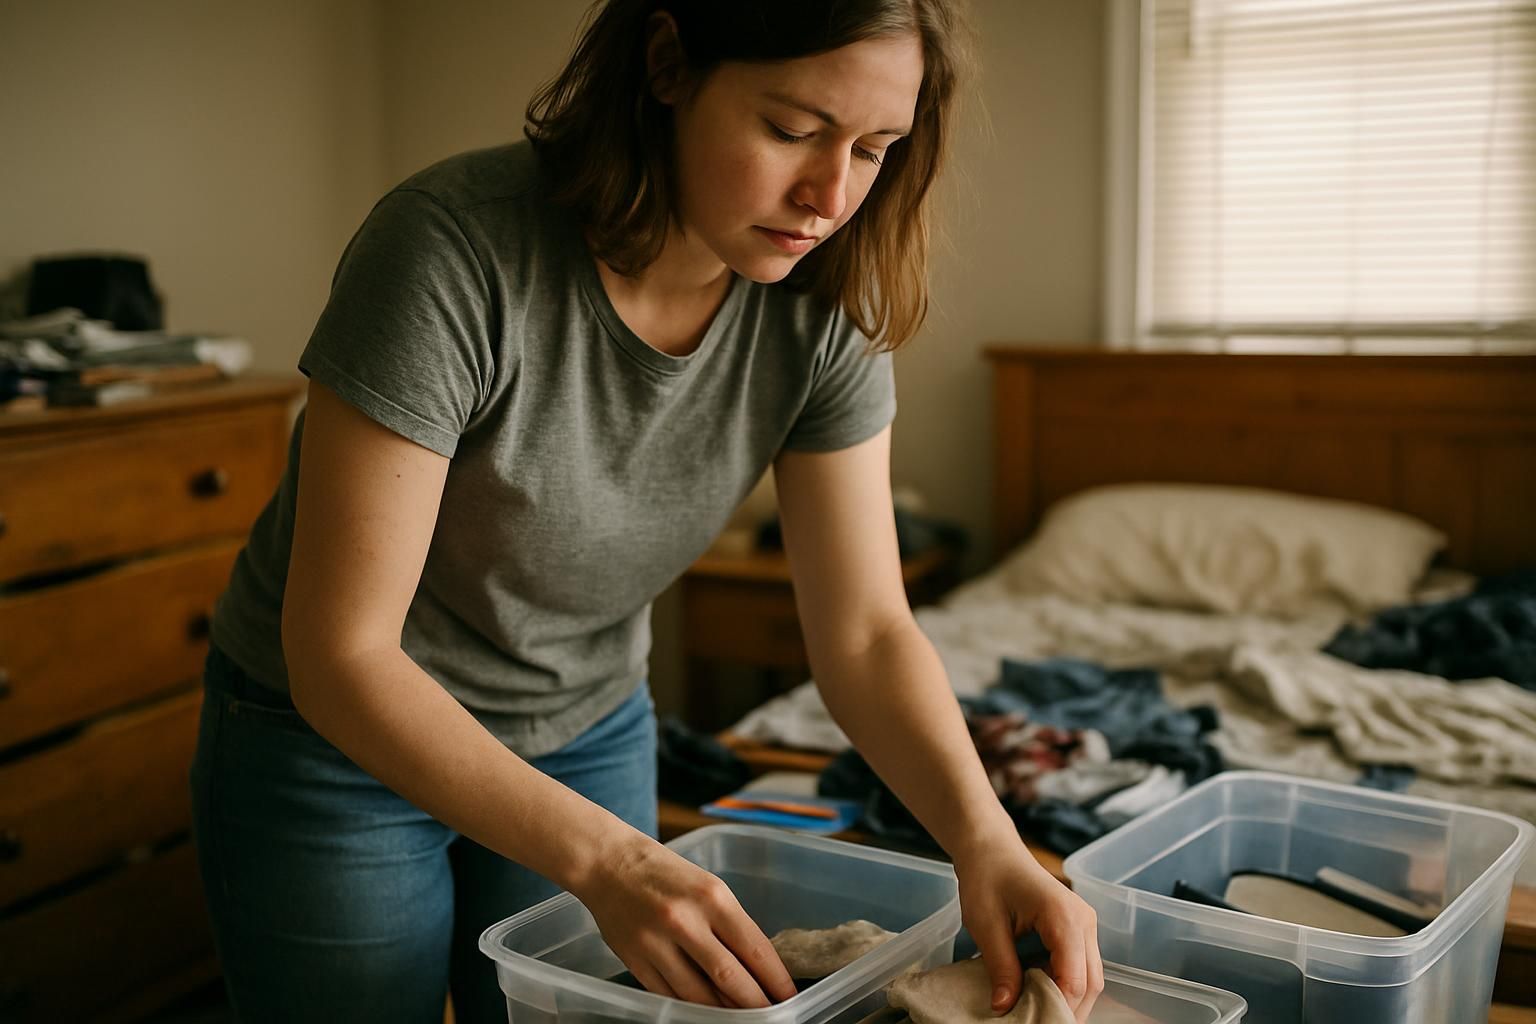
Decluttering starts with packing up your things and sorting what you want to keep, toss, or donate. Rolling up those sleeves and grabbing some storage bins can make this first cleaning task feel a little less like climbing Mount Laundry.
Remove all personal belongings
Take out every personal item from the bedroom. Bags, toys, shoes, and furniture need to go. Empty drawers, closets, and shelves fully before starting any deep cleaning. Even that sock hiding behind the dresser counts here.
âOut of sight is not out of mind, as Grandma used to say.
Move boxes and clothes into another room or load them straight into your vehicle for moving day. Decorations, old paperwork, and small electronics should also vanish from all surfaces if you want a clean slate for apartment cleaning.
Landlords might check nooks with eagle eyes during their inspection since most lease agreements require this step before returning a security deposit.
Clear out closets, drawers, and storage spaces
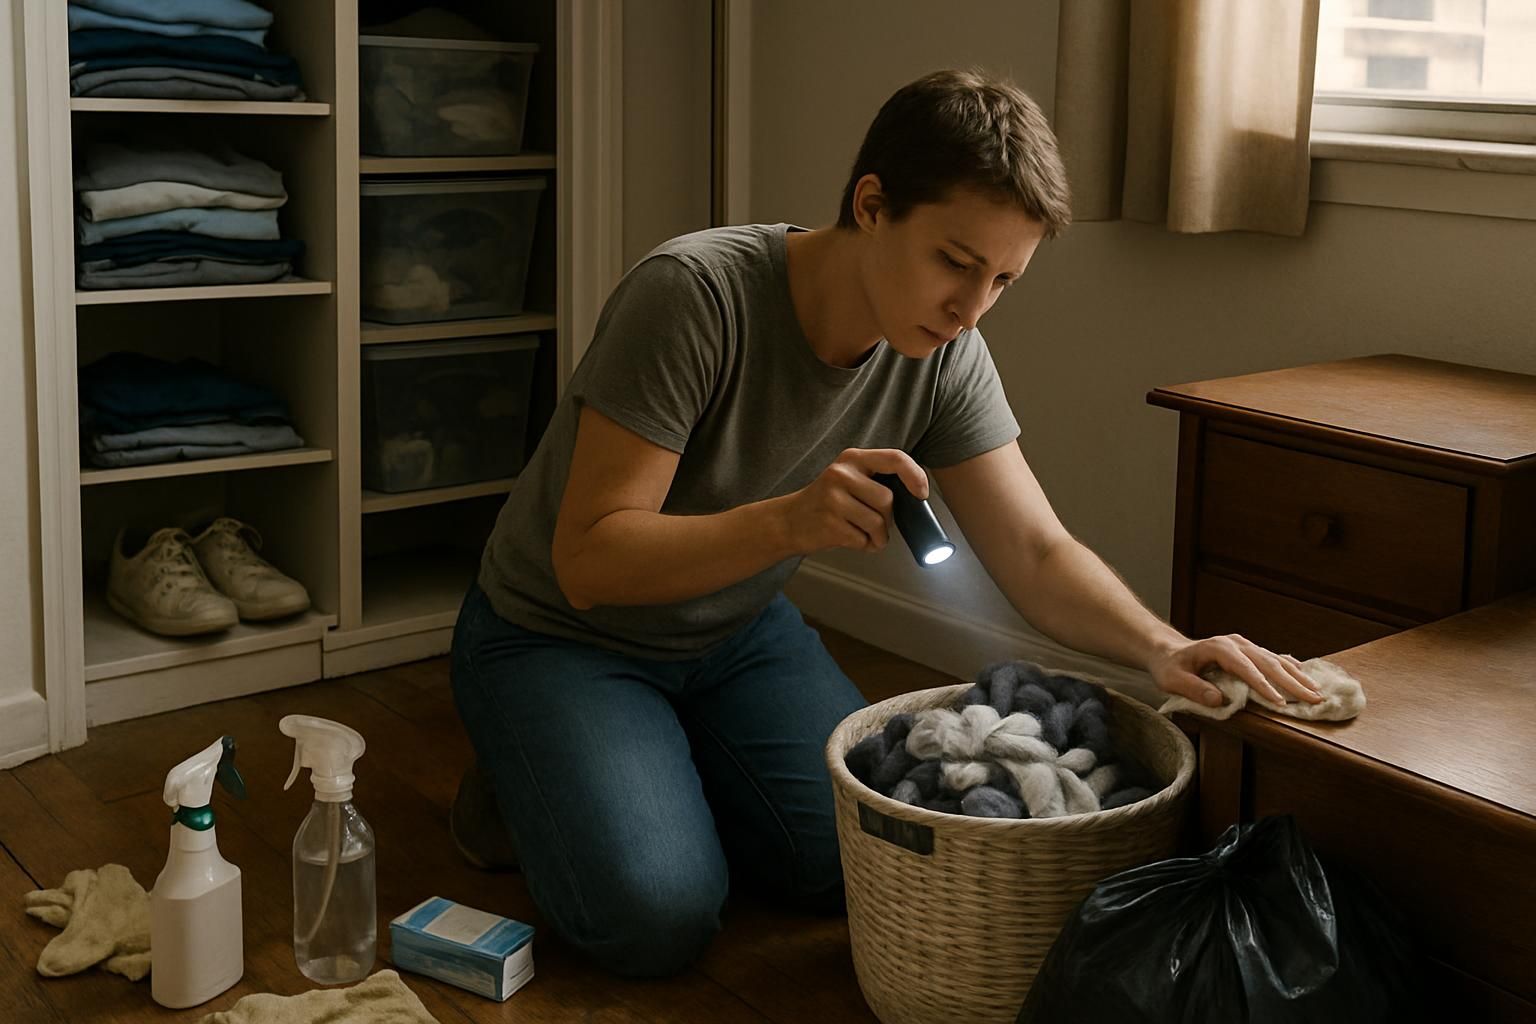
Open every closet door and pull out all shoes, clothes, hangers, and storage bins. Dust bunnies love hiding in the back corners. Tuck a flashlight into your hand to spot forgotten socks or old report cards crammed behind boxes.
Use sturdy trash bags or laundry baskets to separate what goes in the car from what hits the donation pile.
Don’t skip over drawers; leftover baby bibs or lone socks sneak into tiny spaces. Drag each drawer out fully and wipe it with a microfiber cloth sprayed lightly with cleaning products safe for wood.
Check under-bed storage too soccer gear, puzzles, even that missing TV remote can tumble out during this deep cleaning mission. Sorting everything now makes moving day simple and boosts your chances of getting back your security deposit from the leasing office.
Dusting and Cleaning Surfaces
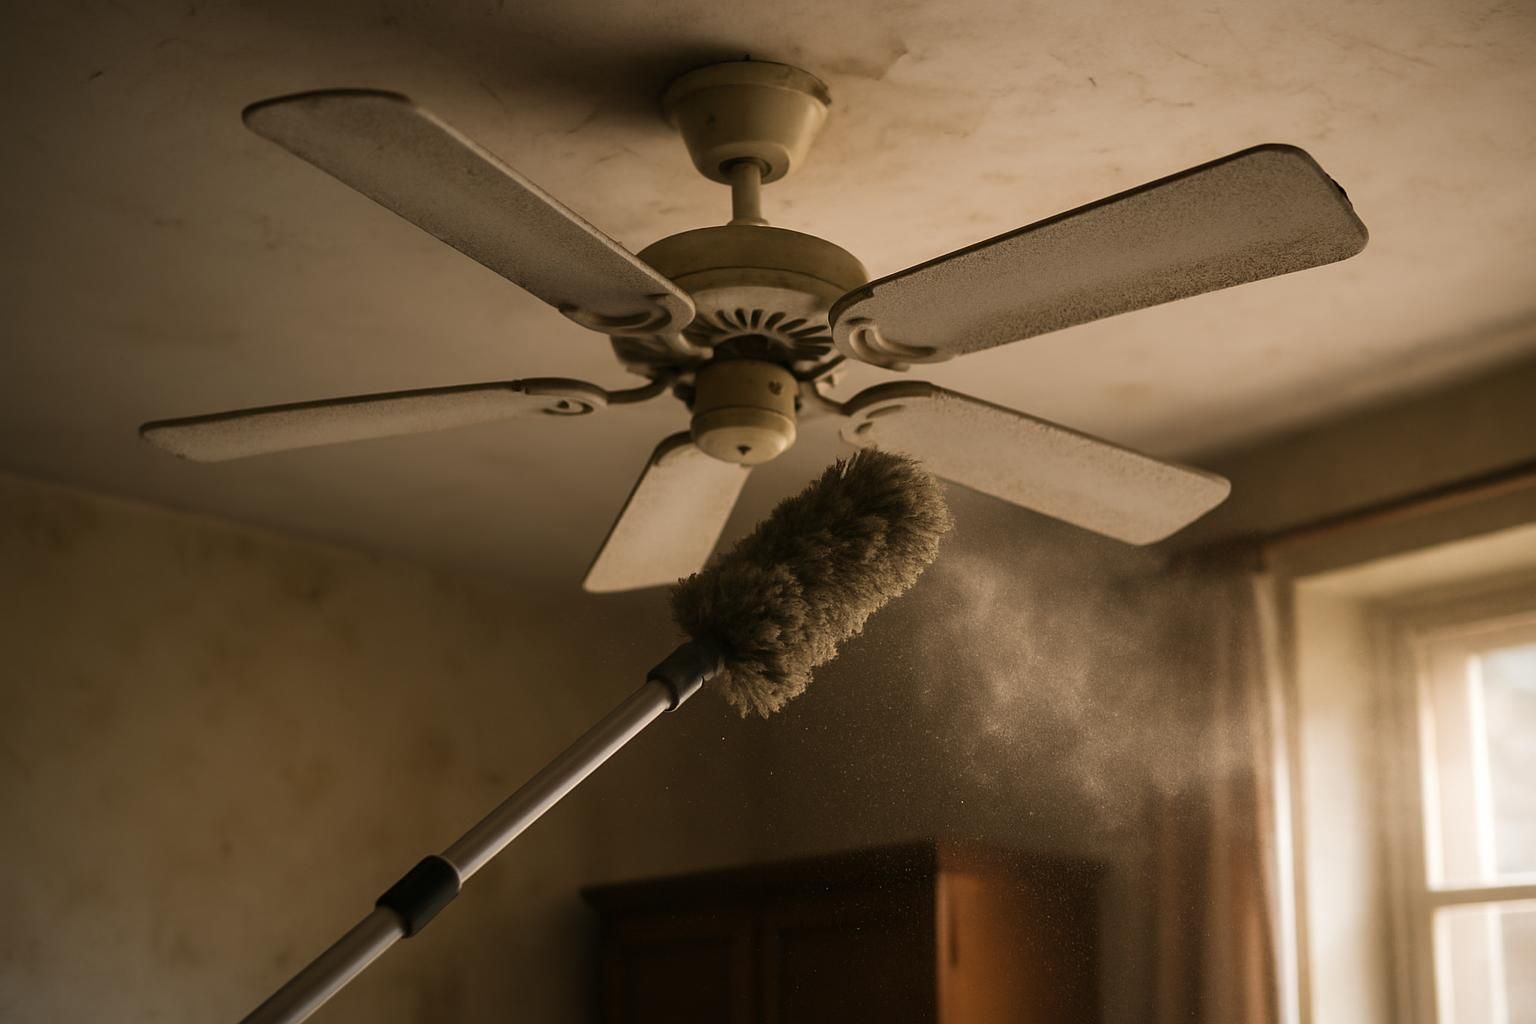
Dust bunnies love hiding on ceiling fans and behind framed pictures. Wipe down those tricky spots with a microfiber cloth or an extendable duster, and you might even surprise yourself.
Dust ceiling fans, light fixtures, and wall-mounted items
Ceiling fans, light fixtures, and wall-mounted items collect more dust than parents notice. A clean fan blade means less sneezing when someone flips the switch on moving day. Using a microfiber cloth handles most of the cleaning jobs fast, but for caked-on dirt, a damp rag is king.
Cobwebs in corners may hide behind light shades or framed photos; check every spot.
Old toothbrushes help reach tight nooks around screws and fixture bases. “A missed ceiling fan can turn your fresh carpet cleaning into an allergy circus,” says Maria from Sparkle Services LLC.
Take down any removable parts like glass lamp covers before wiping for best results. The right cleaning schedule keeps these spots looking sharp in any rental property inspection checklist.
Clean walls, baseboards, and window sills
Grab a damp microfiber cloth and tackle walls, baseboards, and window sills. Dust collects fast in these spots, especially around windows and near the floor. Scuffs from shoes or furniture often show up on baseboards; a bit of dish soap in warm water usually does the trick.
Check for cobwebs hiding behind curtains or under the bed.
Parents know kids love sticky hands. A magic eraser can fight off crayon marks and fingerprints like a superhero with an oven cleaner by their side. Don’t forget those corners where dust bunnies set up camp! A clean space here protects your security deposit during move-out cleaning day if you’re renting, too.
Add this task to any room cleaning checklist before inspection time rolls around.
Dust vents, exhaust fans, and air filters
Dust collects fast on vents, exhaust fans, and air filters. Over time, this buildup messes with airflow and drops indoor air quality. Many parents notice allergies spike when dust hides in these spots.
Always use a microfiber cloth or vacuum with a brush attachment for vents. Clean exhaust fans by wiping blades and housing with damp paper towels.
Swap old air filters for new ones before moving day to keep the landlord happy and protect your security deposit. Most experts say change HVAC filters every 90 days, but after lots of cleaning tasks during move-out cleaning, it’s smart to change them now even if they seem clean.
Don’t forget air conditioning units; clogged filters force these systems to work harder than a dog chasing its tail during summer heat! While you’re plugging away at this house cleaning checklist, check each vent and filter so nothing gets missed before that final room inspection.
Window and Mirror Cleaning
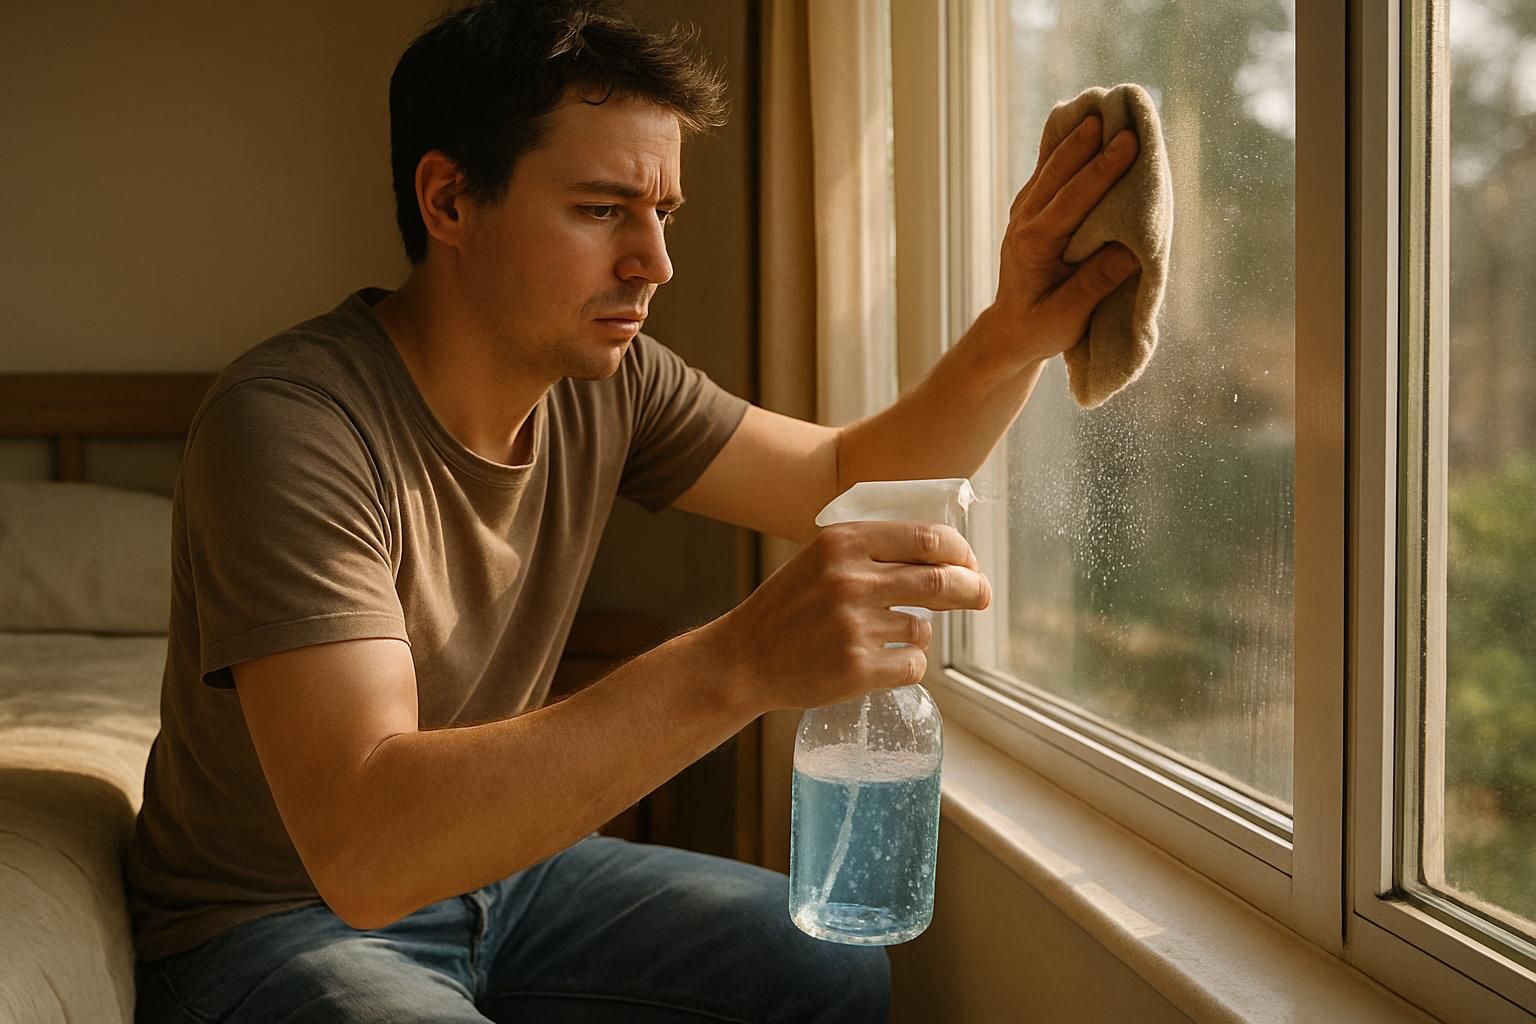
Glass cleaner and a clean rag work wonders on streaky bedroom windows and cloudy mirrors. Sparkling glass makes the whole room shine brighter, almost like flipping on an extra light switch.
Clean windows and mirrors with a glass cleaner
Spray a trusted glass cleaner like Windex on both windows and mirrors. Wipe using a microfiber cloth for streak-free shine. Old newspapers work too, giving a clear view without lint trails.
Families juggling move-out cleaning need every shortcut they can get; smudges disappear fast with the right technique.
Window tracks collect dust, crumbs, and sometimes tiny toys surprising finds before moving day! Scrub those grooves with an old toothbrush dipped in cleaner to tackle grime stuck in corners.
These simple cleaning tips add sparkle and help protect that security deposit during inspection.
Wipe down window tracks and frames
Dust and dirt collect fast in window tracks and frames. Grab a vacuum with a crevice tool to suck up loose debris. Parents often notice sticky messes hiding out of sight, so use an old toothbrush for tough buildup.
Follow it up by wiping everything down with a damp microfiber cloth. This cleaning task helps windows open smoothly and keeps allergies at bay.
Old spills or mold stains can hide in these grooves, especially after rainy days or pollen season. Cleaners like vinegar mixed with warm water lift built-up grime without harming the paint.
Spot-check corners for spider webs or forgotten paper scraps from last winter’s holiday crafts. Tackling the glass comes next on your move-out cleaning checklist, making every bedroom shine bright for that final inspection.
Deep Cleaning Furniture
Scrub bedside furniture and dressers until every hand print disappears. Toss open those drawers sometimes dust bunnies wait inside with their friends, crumbs and lost socks.
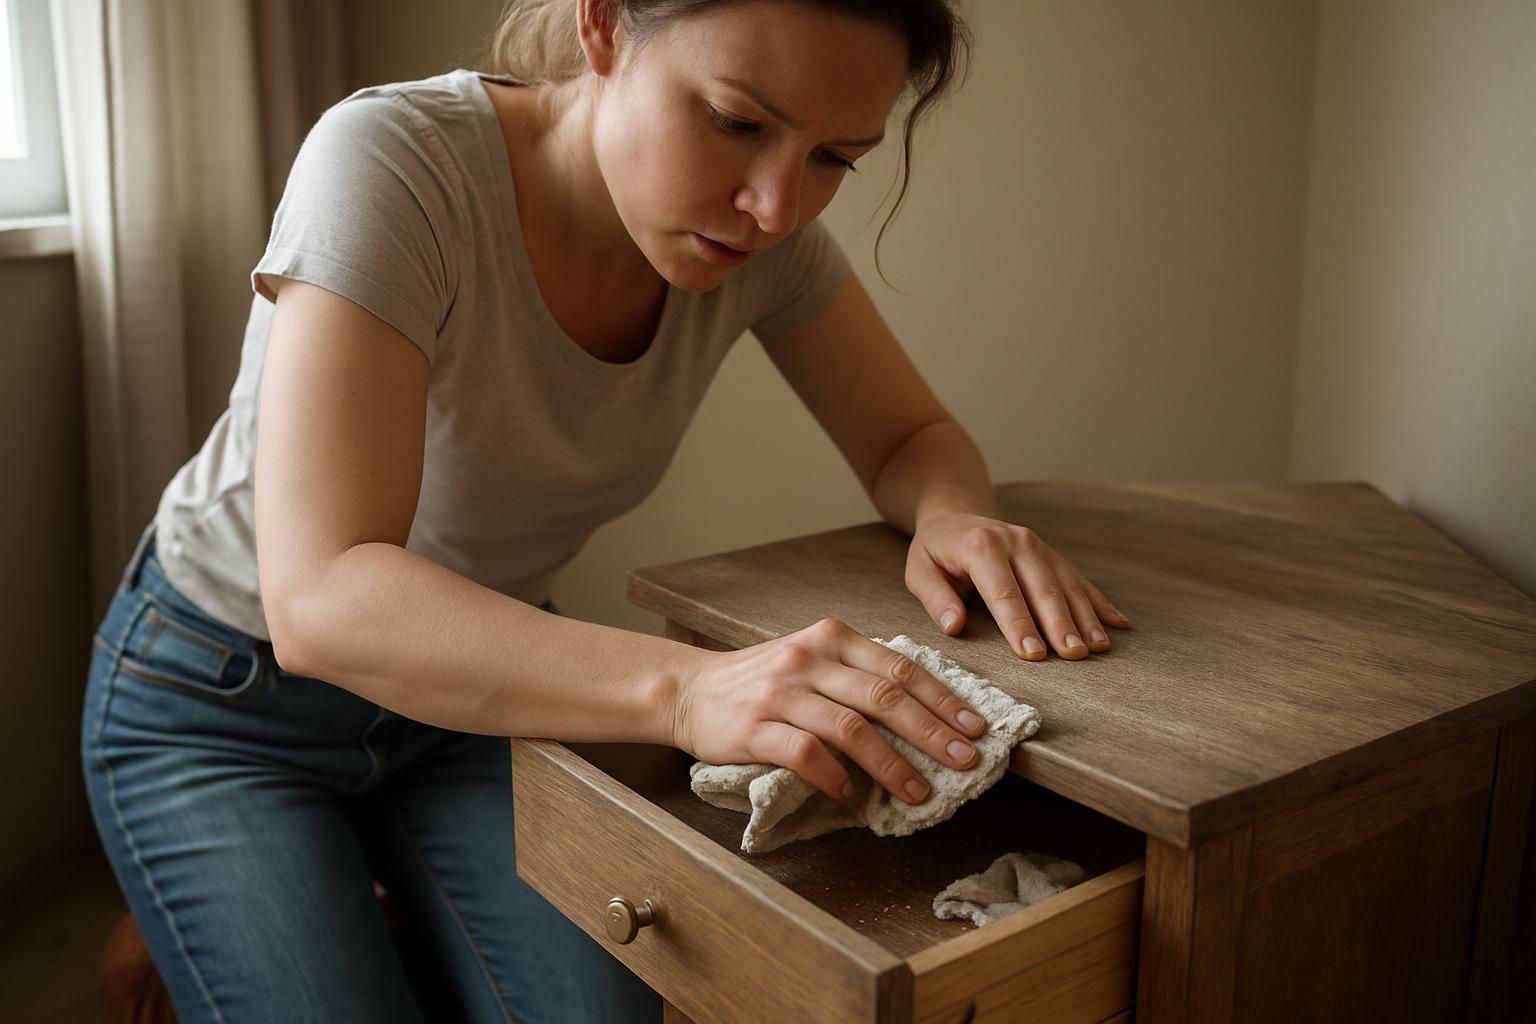
Wipe down bedside tables, dressers, and headboards
Dust gathers on bedside tables, dressers, and headboards faster than socks vanish in a dryer. Use a microfiber cloth and an all-purpose cleaner for each surface. Parents know tiny fingerprints love to linger! Focus on corners, handles, and underneath edges where grime hides like it’s playing hide-and-seek.
Wipe down bedside lamps while at it; those bases can collect dust bunnies too.
Stains or sticky spots? Tackle them with gentle soap and water harsh chemicals may damage the finish. For wooden furniture, try lemon oil to lift smudges and add shine. Check drawer knobs for missed smears left behind by messy hands after snack time.
Next up: roll up sleeves for deeper inside-the-drawer action.
Clean inside drawers and any built-in shelving
Pull out every drawer and check for crumbs, hairpins, or the odd missing sock. Use a vacuum with a crevice tool to grab loose debris from dresser drawers or bedside tables before wiping surfaces with a soft cloth and mild cleaner.
Pay special attention to sticky spots in built-in shelving where syrupy spills love to hide. House owners often forget baseboards at the back of shelves; give these areas a once-over too.
For busy parents tackling their move-out cleaning checklist, this quick step helps avoid drama over lost items or lingering grime that could cost part of your security deposit. Apartment cleaning pros suggest vinegar solutions for stubborn stains, but water and dish soap work wonders on most messes inside kitchen cabinets or bedroom storage units.
Colleges like UCLA report student tenants lose up to $200 each year from uncleaned spaces such as closet shelves or drawers best not leave any dirt behind on moving day!
Floor Cleaning
Carpet cleaning machines can make old rugs look fresh again. Use a strong mop and floor cleaner to lift away grime from tile or hardwood.
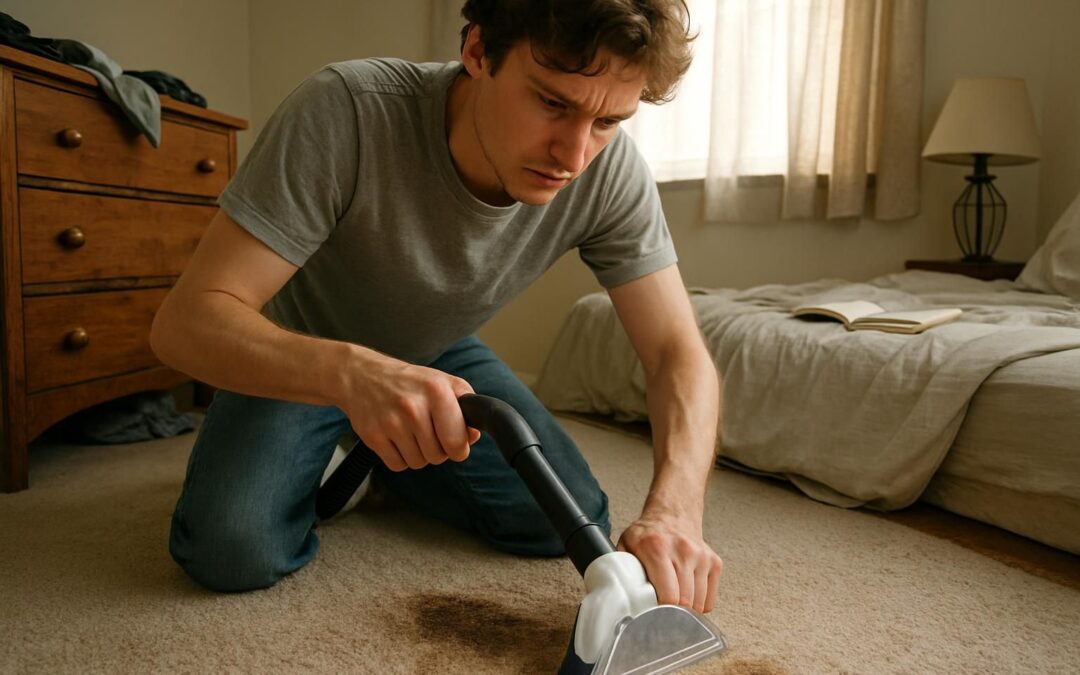
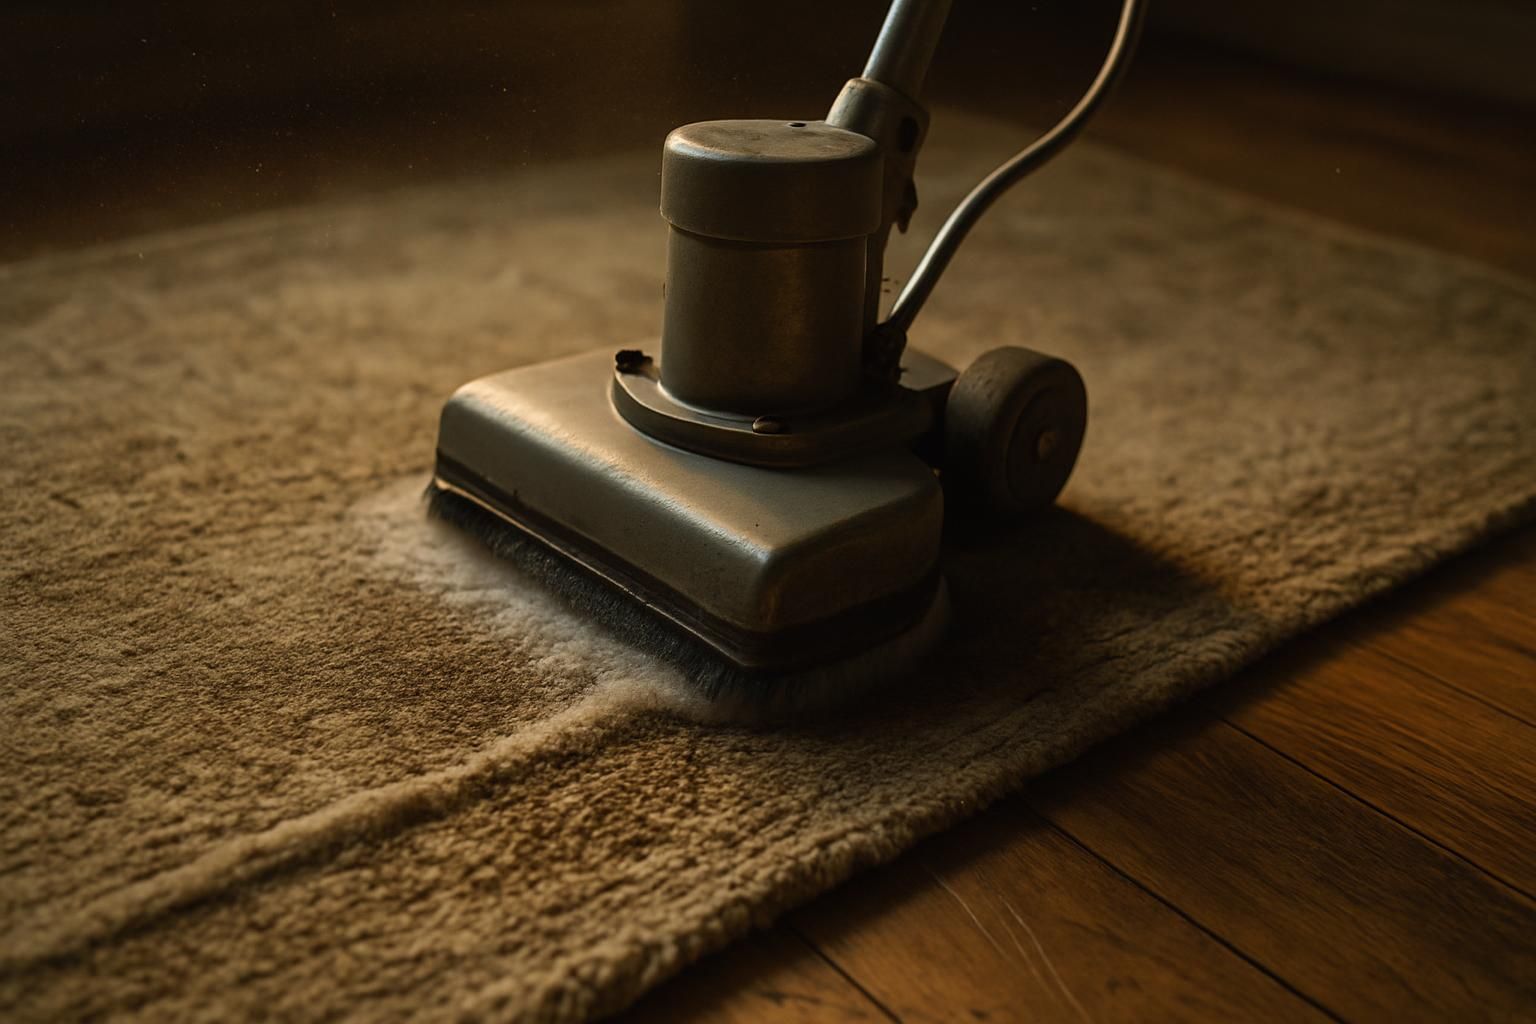
Vacuum carpets and rugs, focusing on high-traffic areas
High-traffic areas collect the most dirt, dust, and crumbs. Kids love to leave trails of snacks behind them everywhere they go. Plug in the vacuum cleaner and attack those paths first.
Push back beds and nightstands to expose any secret treats hiding underneath. A good vacuum with a HEPA filter grabs pet hair, allergens, and sand tracked in from outside.
Use slow passes for deeper cleaning where feet always land by doors or along hallways. For stubborn spots or older stains, rent a Rug Doctor from local grocery stores; it works wonders on carpets that haven’t seen daylight in years.
Multiple studies show carpet cleaning can lift up to 80% of embedded dirt if done right. Sharon from Seattle swears by her Saturday morning routine: she vacuums each rug twice during move-out season because âonce is never enough.
Add this step to your cleaning checklist so landlords have no reason to fuss over forgotten popcorn kernels or muddy footprints come inspection time.
Sweep and mop hard floors with appropriate cleaners
Dust bunnies hide in plain sight, especially on hard floors. Sweep corners and under beds with a sturdy broom to catch crumbs and pet hair. Mops work best after sweeping, so don’t rush the job.
Hard floor cleaners like Pine-Sol or Bona help remove sticky messes left behind by kids or pets.
Parents know muddy shoes can leave marks fast. Choose products designed for wood, tile, or laminate floors using the wrong cleaner might cause damage or streaks. A clean mop head makes a difference; swap it out if it looks too dirty halfway through your room cleaning routine.
For busy families getting ready for moving day, working section by section keeps things simple without missing spots or making more dust than you started with!
Closet and Storage Cleaning
Crack open those old wardrobes and let the light inâthey can hide more dust bunnies than a magician’s hat. Slide out bins, check under stacks of sheets, and give every shelf a swipe with a microfiber cloth or vacuum hose for a fresh start.
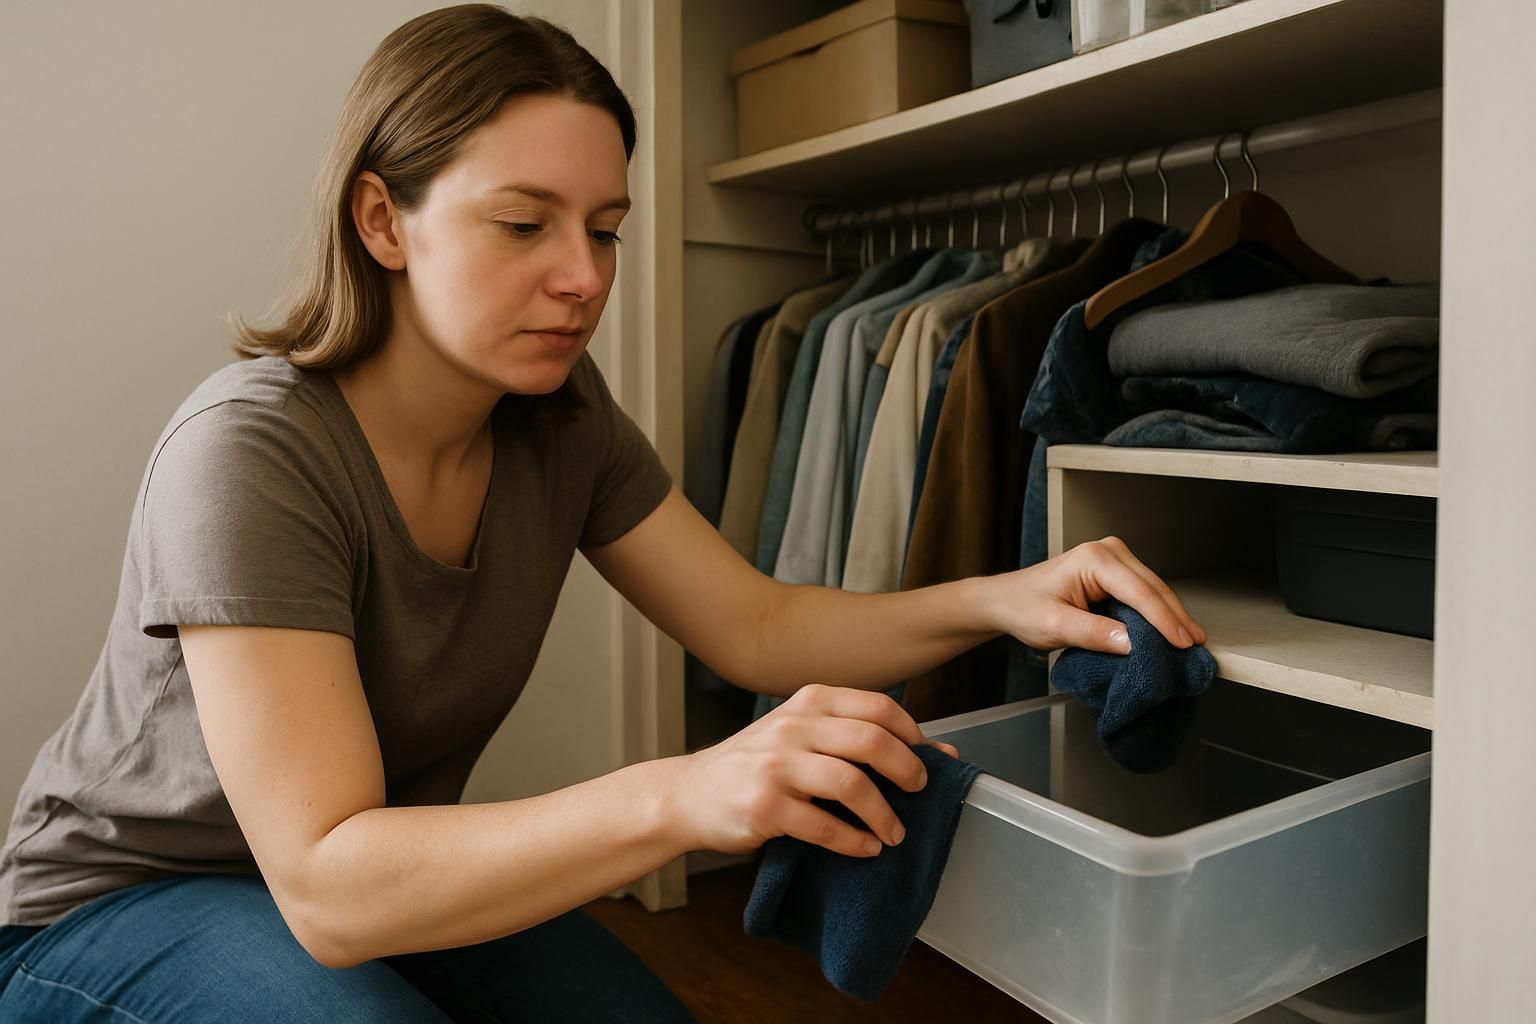
Wipe down closet interiors and doors
Dirt loves to hide in closet corners. Use a microfiber cloth and mild cleaner to wipe down the entire closet interior, including shelves and hanging rods. Check for scuffs or fingerprints on doors; these spots collect faster than dust bunnies under a bed.
Parents can let kids help with lower shelves, making move-out cleaning less of a chore and more like teamwork.
Cleaning tasks like this one mean fewer calls from landlords about leftover grime after moving day. A little elbow grease here saves headaches later and helps protect your security deposit.
After wiping closets clean, tackle any items left behind before starting the next organizing step.
Organize and remove any remaining items
Sort any leftover belongings from closets, drawers, and storage bins. Toss old socks, lone shoes, or stray game pieces that seem to gather like dust bunnies in corners. Place usable items into moving boxes by category keep books stacked flat; pack toys or clothes together for easy unpacking later.
Use baskets or reusable grocery bags for quick sorting jobs.
Vacuum the closet floors and wipe down shelves once empty; even forgotten puzzle pieces hide under piles of sweaters. Parents can motivate kids with a race: who clears out their shelf fastest? Store essentials you’ll need right away on top of your suitcase, not buried at the bottom of a packing mountain.
Finish this cleaning task before move-out day sneaks up so nothing gets left behind and you’ll nail that security deposit inspection without breaking a sweat.
Mattress and Bedding Care
Mattresses collect dust and crumbs like magnets, even when you least expect it. Grab your vacuum or a mild detergent for those pillow covers and mattress shields your future self will thank you at bedtime.
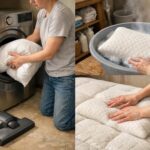
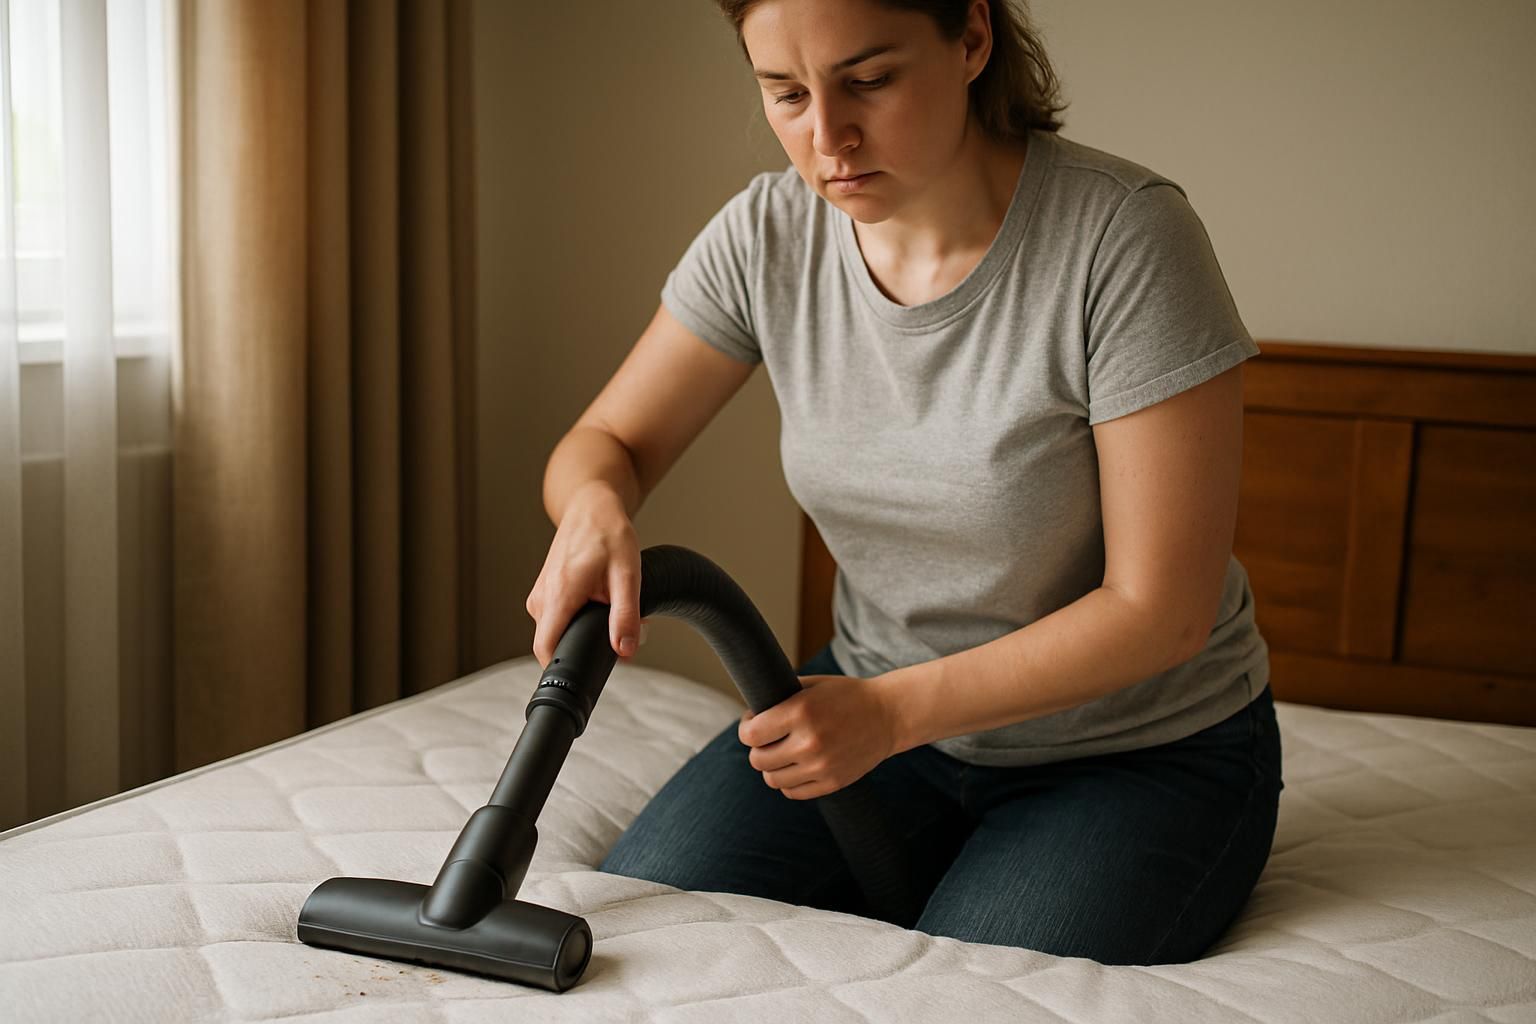
Vacuum or wash pillows and mattress covers
Dust mites and allergens love to hide in pillows and mattress covers. Use a vacuum with an upholstery attachment to suck out dust, pet hair, and crumbs after moving day chaos. Toss washable covers or pillows into the washing machine on hot, at least 130 °F; this kills bacteria and keeps them fresh for the next family.
Pillows can harbor up to 16 different types of fungi if left unwashed for months. Parents should count this step as key house cleaning that supports everyone’s health and helps secure that security deposit.
After tackling the bedding, turn attention to sanitizing the mattress with fabric refresher or a mild detergent solution for a deep clean experience.
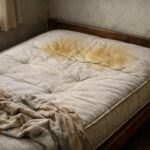
Sanitize the mattress with a fabric freshener or mild detergent
Spray the mattress with a fabric freshener or use a mild detergent mixed with water for deeper cleaning. Work in sections and pay attention to stains, wiping gently but thoroughly.
Let it dry fully before putting sheets back on. Parents who tackle this step help reduce allergens like dust mites, keeping kids healthier during move-out cleaning.
Vacuum the entire surface beforehand for best results; even old mattresses benefit from regular treatment. Clean pillows and mattress covers while at it for an extra layer of protection against leftover germs or hidden messes.
Freshening up bedding pleases landlords and also helps secure that all-important security deposit on moving day.
Final Repairs and Touch-Ups
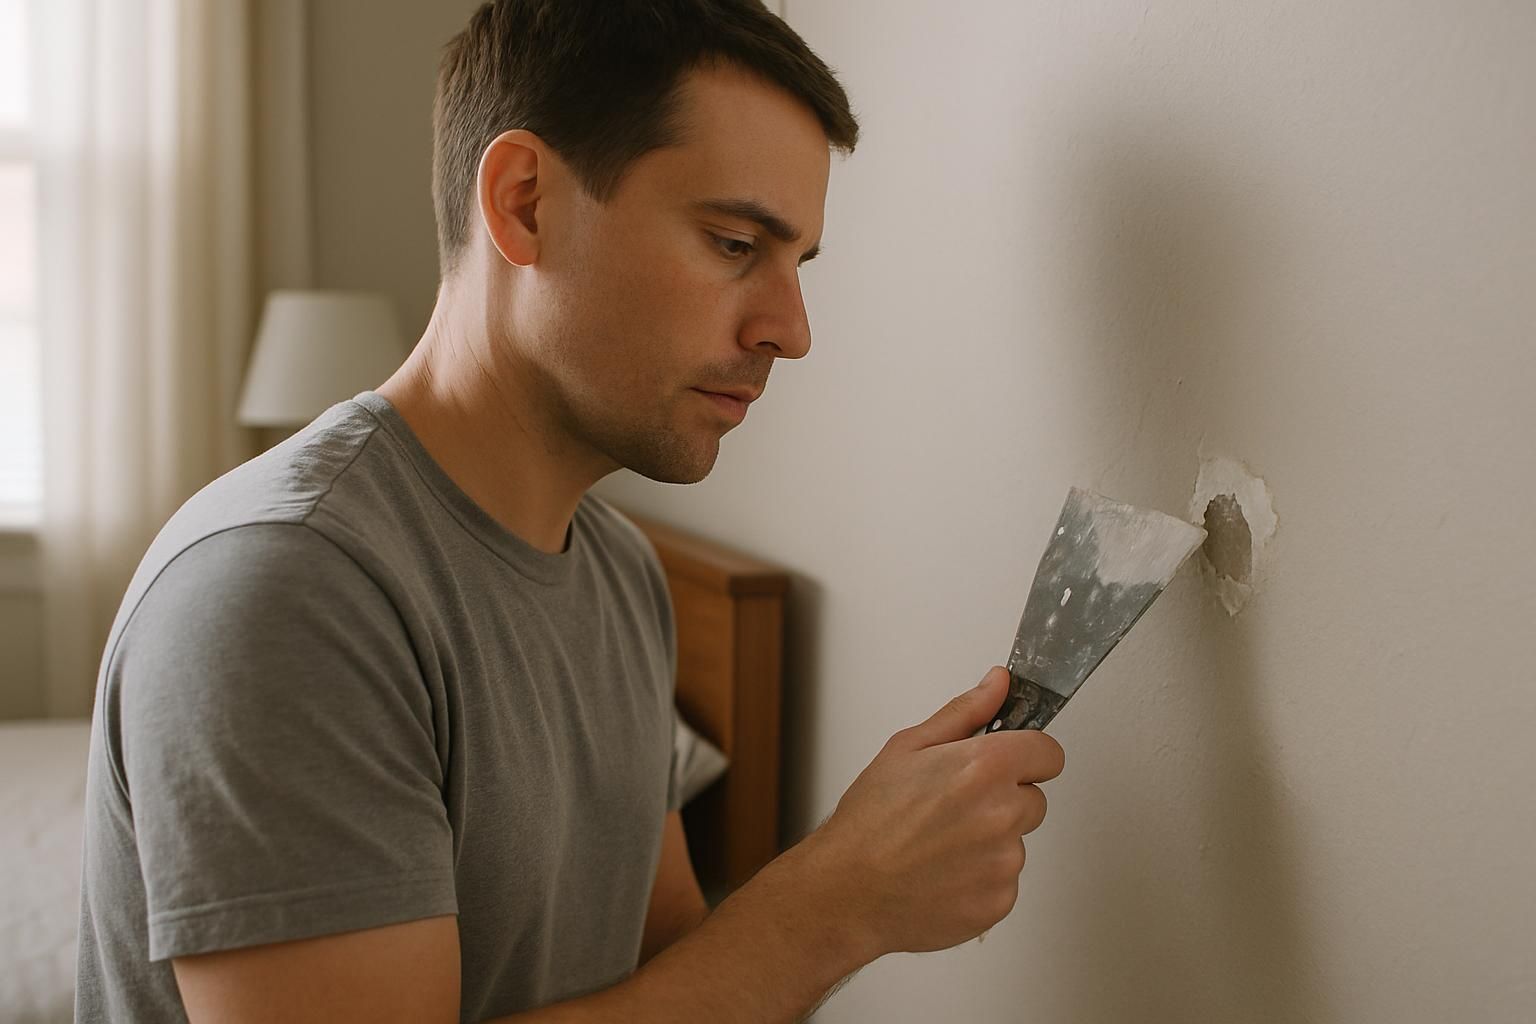
Grab a putty knife, some spackle, and get busy patching any small holes or dents in the walls. Fresh paint and quick fixes can make your bedroom shine like it just got a makeover landlords love that sort of effort!
Patch holes in walls and ceilings
Small holes in drywall from nails, screws, or picture hooks can cost a chunk of your security deposit. Use a putty knife and spackling paste to fill any gaps or cracks. Wait for it to dry, then sand the patched spot smooth.
A bit of touch-up paint helps blend the repair into clean walls and ceilings.
Kids sometimes leave behind mystery dents or scuffs higher up on the ceiling too. Fix these using joint compound and a simple sanding block. Property managers often inspect every patch; do not skip this cleaning checklist step before moving day if you want that deposit back in full.
Repaint or touch up areas, if needed
Many landlords will check walls for scuff marks, chipped paint, or hand prints before returning a security deposit. Use a paintbrush to touch up spots where furniture scraped the wall or crayon art from little ones managed to stick around.
Grab leftover bedroom paint from your last big DIY project, or ask for a sample size at Home Depot, Lowe’s, or Sherwin-Williams.
Patch small holes and stubborn scratches with putty first; then let it dry before rolling on fresh color. Even light stains can call for this step if Magic Erasers just do not cut it.
This quick fix makes the room look cleaner and saves everyone headaches during move-out cleaning, especially if you live in an apartment.
Remove nails, screws, and putty from walls
Grab a hammer or screwdriver and tackle those nails and screws left in the walls. Slide out each nail, screw, or hook with care so you don’t rip drywall or leave scars bigger than a penny.
Fill empty holes with spackling putty or wall filler using a simple putty knife. It takes just a few minutes, but it keeps landlords off your back on moving day and helps protect that security deposit.
Once patched, smooth rough spots with sandpaper for an even finish before any touch-up paint job. These small cleaning tasks save money and headaches during move-out cleaning, especially if you live in an apartment.
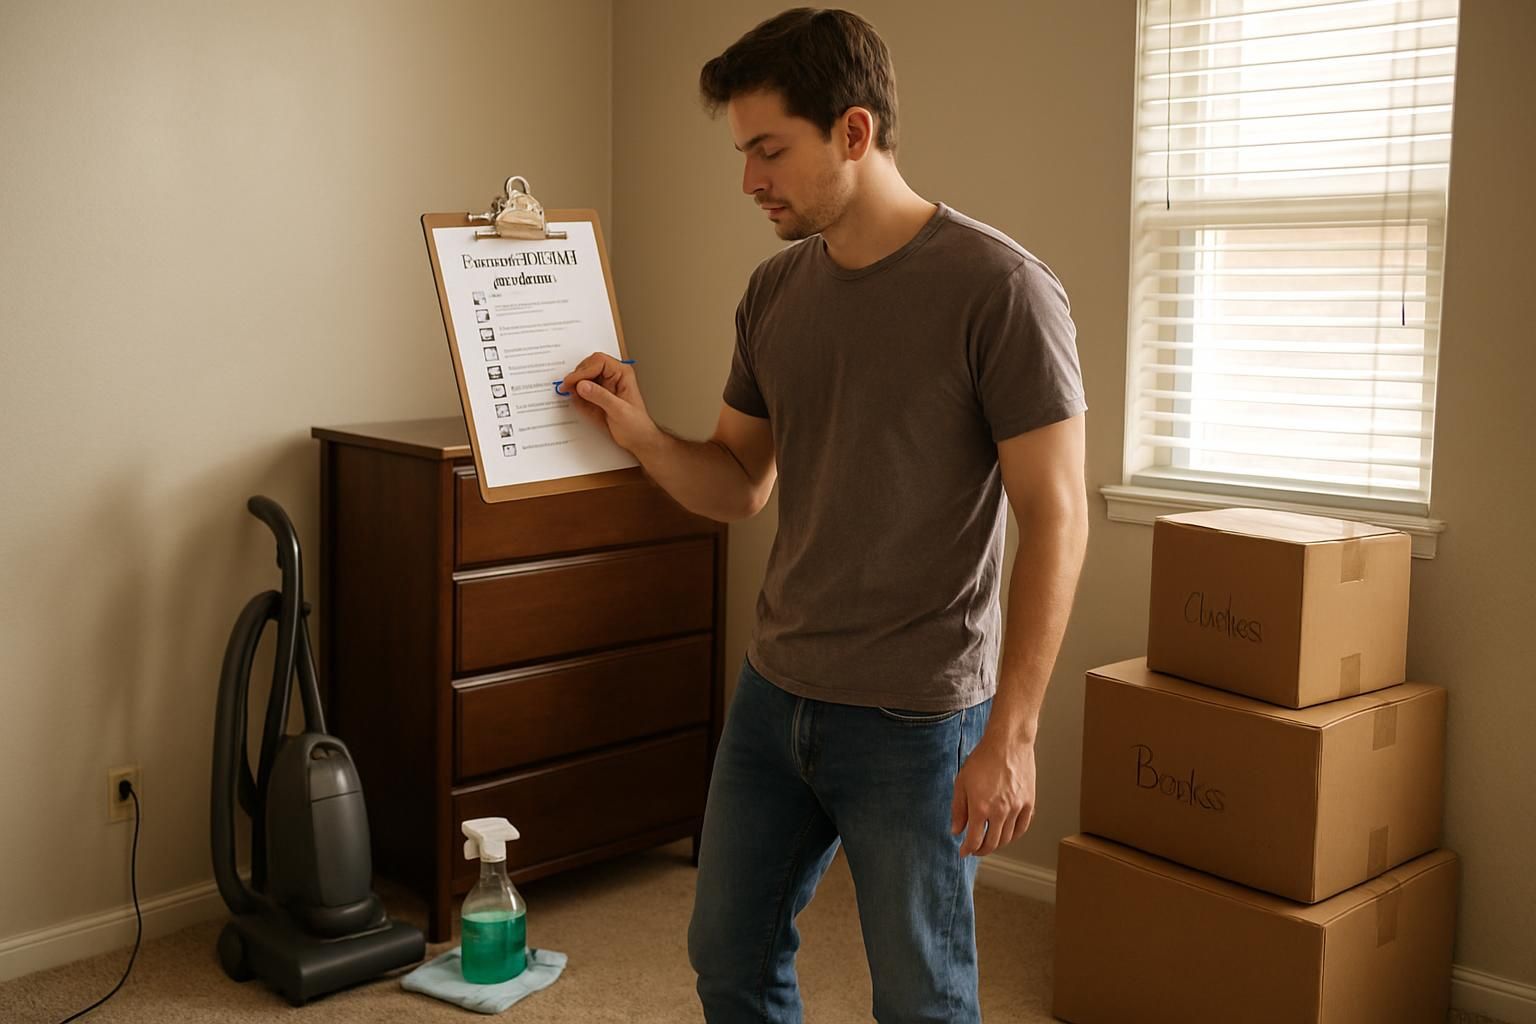
Final Checklist
Double-check trash bins, swap out air filters, and give the bedroom one last look don’t miss any cleaning tasks if you want your security deposit back! Curious about quick tips to make this final step a breeze? Keep scrolling!
Empty and clean trash cans
Take out all trash and recycling from the bedroom before move-out day. Dump any leftover papers, snack wrappers, or forgotten tissues. Cleaning tasks go faster when the trash cans are already emptied.
Wipe each bin with disinfectant wipes or a mild soap solution to remove sticky stains and odors. Parents can show kids how these little jobs help protect that precious security deposit! Replace liners in each bin so fresh bags are ready for future cleaning projects.
Small steps like this make any bedroom shine on inspection day and keep house cleaning stress low.
Replace furnace or AC filters
Dust and pet hair love to cling to air filters, putting your furnace or AC through its paces. Swapping out dirty filters every 3 months helps the HVAC system run smoothly. Fresh filters can also boost indoor air quality, which might stop allergy attacks from starting on moving day.
Parents with kids or anyone with asthma know how fast a clogged filter can turn into an issue.
A clean filter keeps dust and pollen off surfaces, saving work for anyone following a cleaning checklist before handing over keys. Neglecting this step could lead to complaints during inspection or even affect that security deposit everyone hopes to keep.
Once the new filter slides in place, it is time to move onto checking trash cans throughout the bedroom and storage spaces for any missed items.
Ensure the bedroom is spotless and ready for inspection
Every inch of the bedroom must pass a sharp-eyed inspector’s test. Check every corner after moving out furniture. Remove all personal belongings, and run through a final walkthrough to catch missed spots.
Vacuum carpets twice for good measure, and sweep hard floors until they shine like new glass windows. Wipe down baseboards, closet interiors, light switches, and any wall marks.
Empty trash cans so no stray items remain behind to cost that security deposit later. Replace furnace or AC filters one last time for fresh air indoors. Spaces under the bed can hide forgotten socks or toys; look there too before leaving.
Clean window sills with a damp cloth and polish hardware so nothing feels grimy on inspection day a true gold star for house cleaning efforts!
Cleaning Tip
Cleaning Tip: Use a cleaning schedule that breaks tasks into manageable steps. Focus on one area at a time according to your move-out cleaning checklist. This approach streamlines your house cleaning process and ensures you complete every task on moving day.
Conclusion
You can tackle move-out cleaning without losing your mind. A solid room cleaning checklist keeps dust bunnies and dirty carpets at bay. Buyers like to walk into a spotless bedroom, not last year’s gym socks.
With each task checked off, parents and sellers can breathe easy on moving day. That security deposit or buyer smile won’t chase itself, so grab the mop, crank some music, and finish strong!
FAQs
1. What’s the first step in my ultimate bedroom cleaning before move-out checklist?
Start with a deep cleaning of your carpet to get rid of any dirt and stains. This is crucial to ensure you don’t lose part of your security deposit due to unclean carpets.
2. How do I handle kitchen cleaning during move-out?
When it comes to the kitchen, focus on key areas like kitchen cabinets, stove, sink and refrigerator cleaning. A good scrubbing will make them look as good as new for moving day!
3. Can you give me some tips for bathroom cleaning before moving out?
Sure! Pay special attention to the toilet bowl – it needs a proper clean! Also, don’t forget about washing clothes that might be left behind; nothing says ‘goodbye old home’ like fresh laundry.
4. Is there an order I should follow when performing my move-out cleaning tasks?
Yes indeed! Start from top-to-bottom and inside-to-outside. For example, begin with house or apartment cleaning tasks such as dusting ceiling fans or light fixtures then work down towards floor-level chores like carpet or tile scrubbing.
5. Do I need a specific schedule for my room-cleaning activities prior to moving out?
Having a detailed move-out cleaning checklist can really help keep things organized while ensuring no task gets overlooked in all the hustle-bustle of relocating homes.