
Most homeowners know the frustration of a vacuum that fails to pick up dirt. A task meant to take minutes starts dragging into hours, with carpets still dusty and floors far from clean.
Often, the real issue is a dirty vacuum itself.
Regularly taking time to Clean Vacuum Cleaner parts helps extend its lifespan and keeps it running strong. This simple upkeep cuts the risk of losing suction power or facing costly repairs later on.
By following clear steps outlined here from emptying bins and washing filters, to finding hidden clogs anyone can restore their machine’s cleaning strength quickly. Keep reading for easy tips that save stress, money, and maybe even some sneezes.
Key Takeaways
- Regularly empty bins or vacuum bags after each use to maintain strong suction and prevent clogs; bagged vacuums lose effectiveness when bags get two-thirds full.
- Wash reusable filters gently under cold water, air-dry completely before reinstalling, and replace non-washable filters every 6–12 months for better airflow and vacuum motor protection.
- Using scissors or a box knife regularly to clear hair, threads, and debris from the brush roll prevents blockages that slow down performance and stress the motor.
- Check hoses with a flashlight monthly to remove hidden clogs safely using broom handles (not sharp objects); compressed air or pipe cleaners keep attachments clean in tight spots.
- Robotic vacuums need weekly dustbin emptying plus careful cleaning of sensors and wheels to ensure smooth navigation around furniture; avoid spraying liquids directly on parts.
Why Regular Vacuum Maintenance Matters
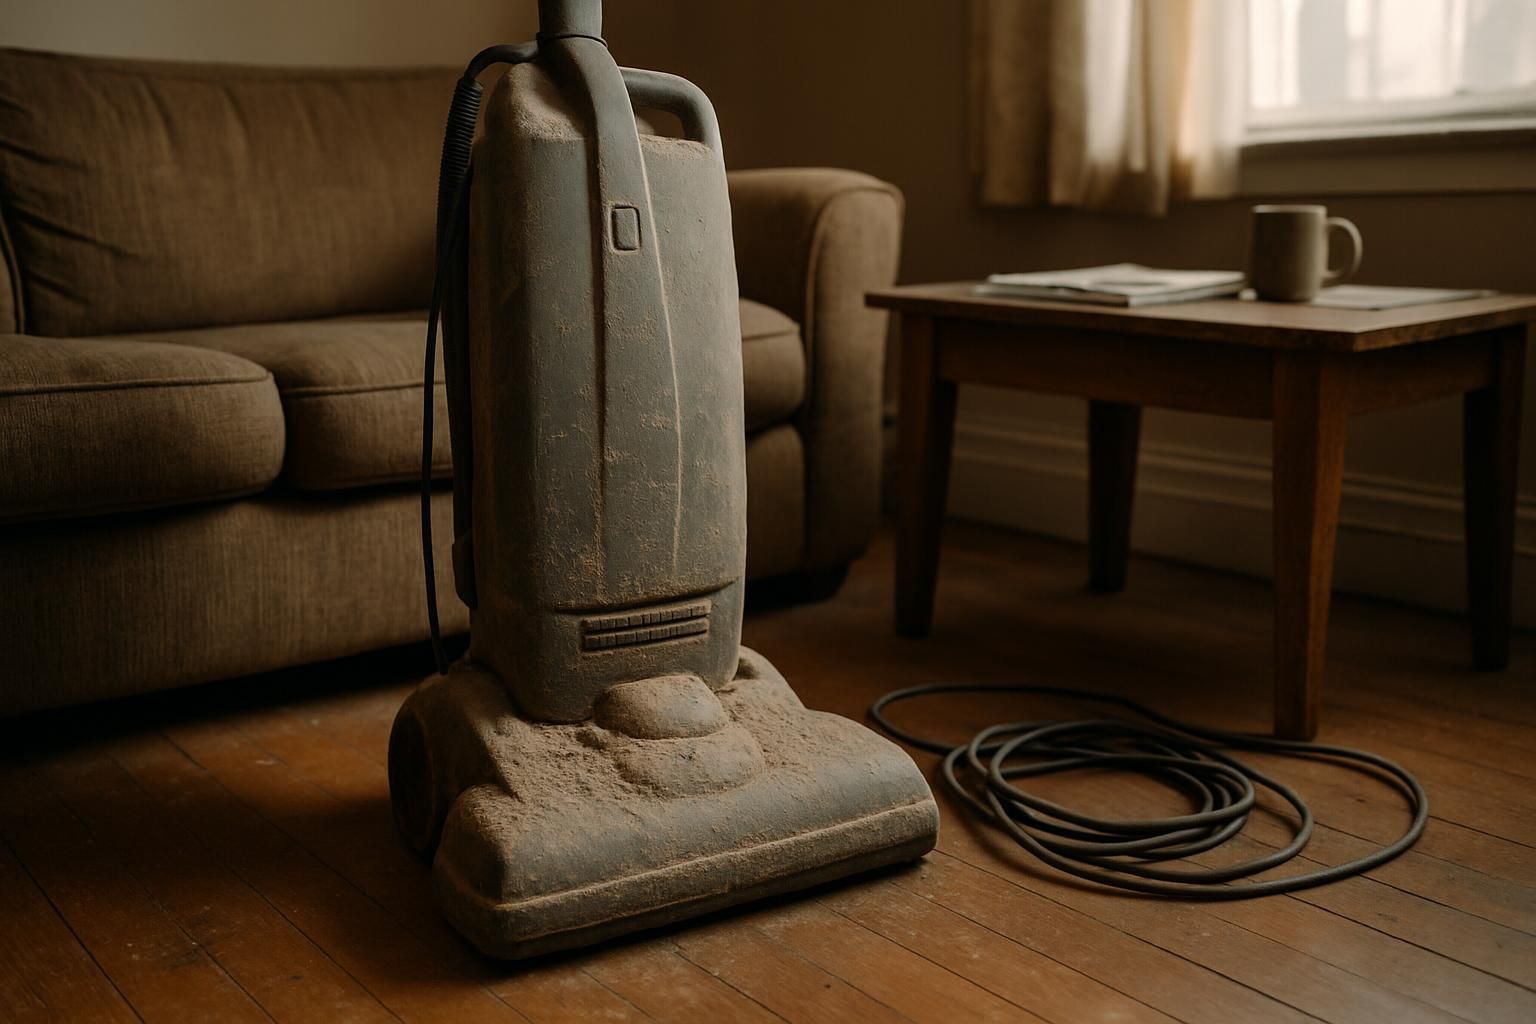
A vacuum cleaner needs routine care to perform at its best. Without proper upkeep, dirt and dust build up quickly within the machine, limiting suction power and performance. Families dealing with allergies rely heavily on clean indoor air quality; a dirty vacuum can actually worsen allergy symptoms by spreading dust back into carpets and furniture.
Regular vacuum maintenance protects families from this issue and helps avoid costly breakdowns that often happen after just 1 2 years of neglecting appliance maintenance.
A quick, simple tune-up lasting around 10 minutes can get most vacuums working like new again. Keeping a regular cleaning schedule also extends the overall lifespan of any model significantly, saving homeowners money in replacements or repairs later on.
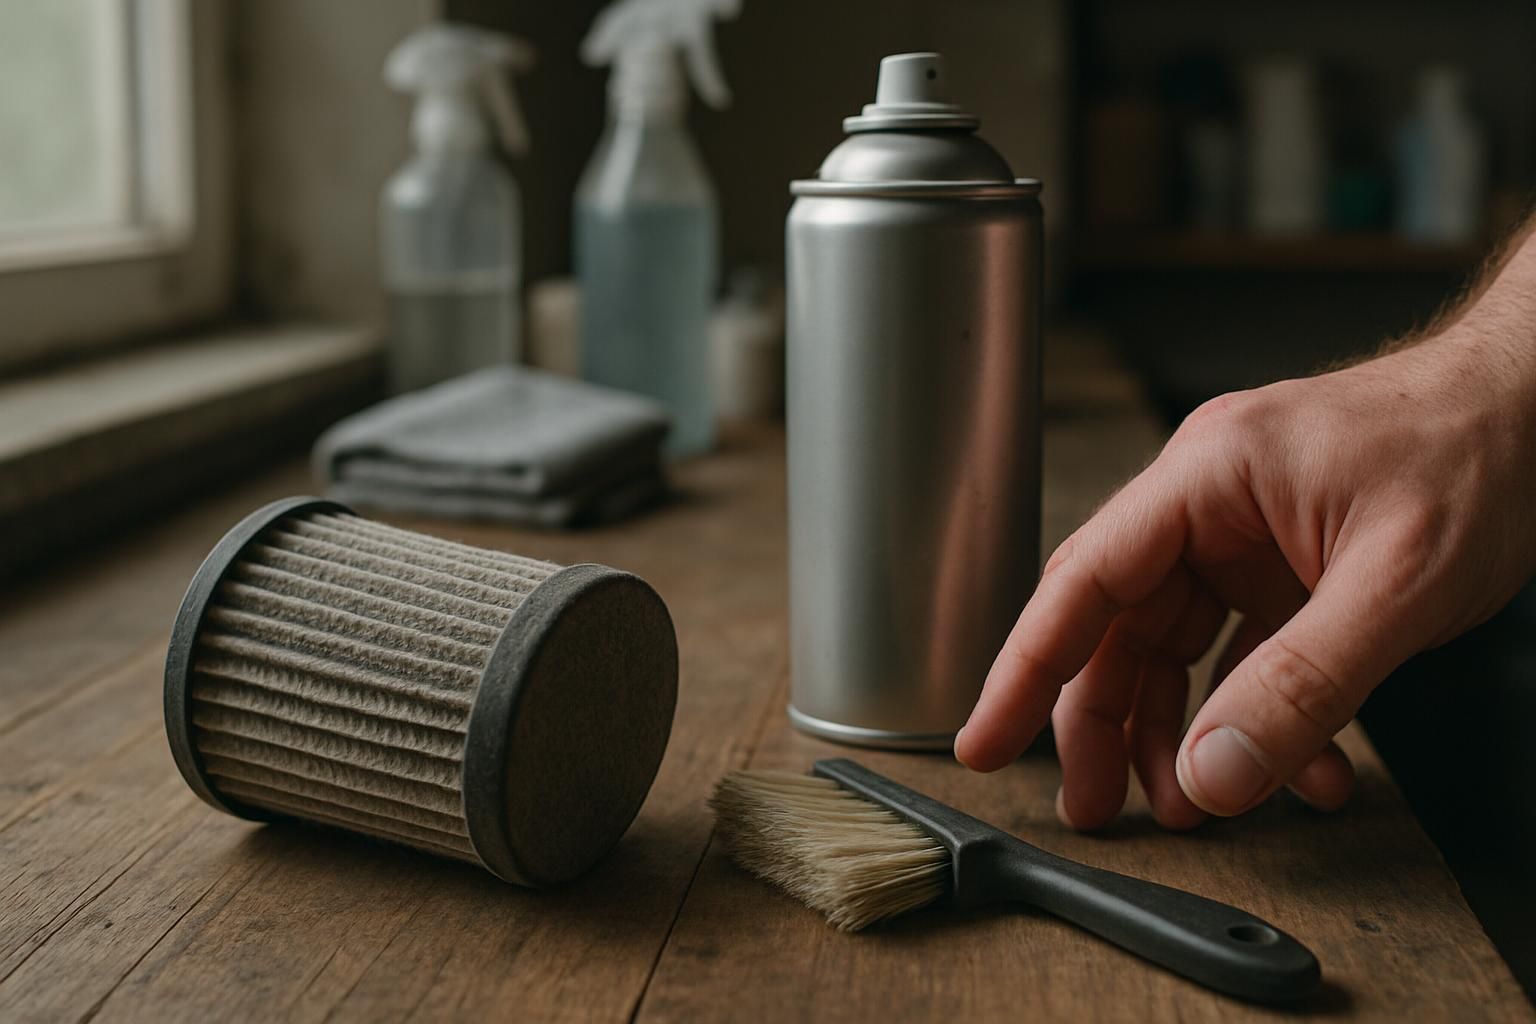
Supplies You’ll Need to Clean Your Vacuum

Having the right supplies makes cleaning vacuum parts easy and safe. Owners should gather these items before jumping into vacuum cleaner maintenance:
- Gloves for hand protection to avoid touching dirt, hair, or allergens.
- New disposable filter if the vacuum uses replaceable filters.
- Box of new bags on hand ready for regular vacuum bag replacement.
- Pair of scissors or a box knife to cut away tangled hair on brush rollers.
- Compressed air can for dusting vacuum components and tight areas.
- Pipe cleaners ideal for cleaning hard-to-reach vacuum areas like hoses and attachments.
- Mild detergent or soap useful in washing removable bins, washable filters, or dirty attachments.
- Soft microfiber cloth or rag handy for wiping down the exterior surfaces without scratching finishes.
Gathering these necessary vacuum maintenance tools upfront lets parents smoothly tackle the job ahead: preparing to clean your vacuum.
Preparing to Clean Your Vacuum

Getting your vacuum ready for cleaning isn’t rocket science, but it helps to know the basics—let’s take a quick look.
Unplug the vacuum
Turning off the vacuum is essential for safety before starting any maintenance. A plugged-in appliance carries a risk of accidental powering on, leading to injury or shock hazards.
House owners should power down the vacuum and disconnect it before removing parts or cleaning to avoid any dangerous mishaps.
After making sure the device no longer has power, homeowners can safely move forward to disassemble removable parts carefully and thoroughly clean each piece.
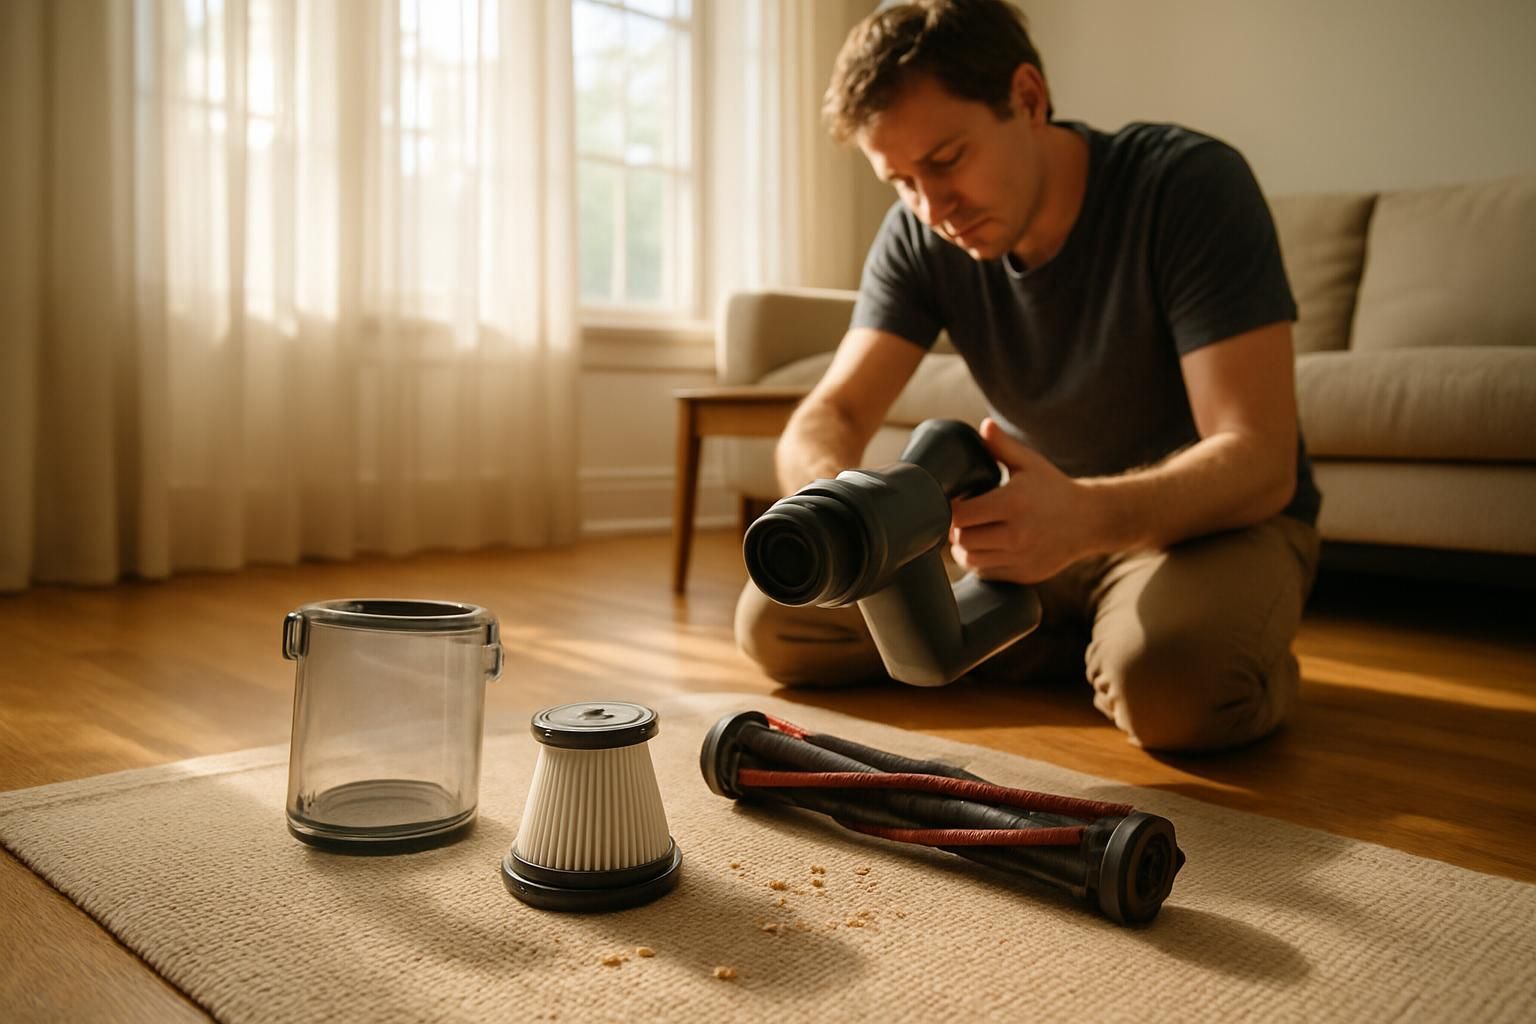
Disassemble removable parts
To effectively break down the vacuum, homeowners first unplug it from the power source for safety. Next, they disassemble removable parts like hoses, attachments, filters, bins or bags and brush rolls carefully without forcing any components.
Households can gently detach these sections by hand or with simple tools; if unsure about a specific part, checking the owner’s manual helps avoid mistakes.
Each detached part needs careful inspection to identify dirt build-up, clogs or signs of damage before cleaning begins. Placing separated components neatly on an old towel simplifies organization and prevents misplaced pieces during reassembly later on.
House owners who regularly dismantle their vacuums have fewer performance issues and longer-lasting units overall.
How to Clean the Vacuum Bin or Bag

Cleaning the vacuum bin or bag regularly stops dust buildup, nasty odors, and keeps suction strong—curious to find out how simple it is?
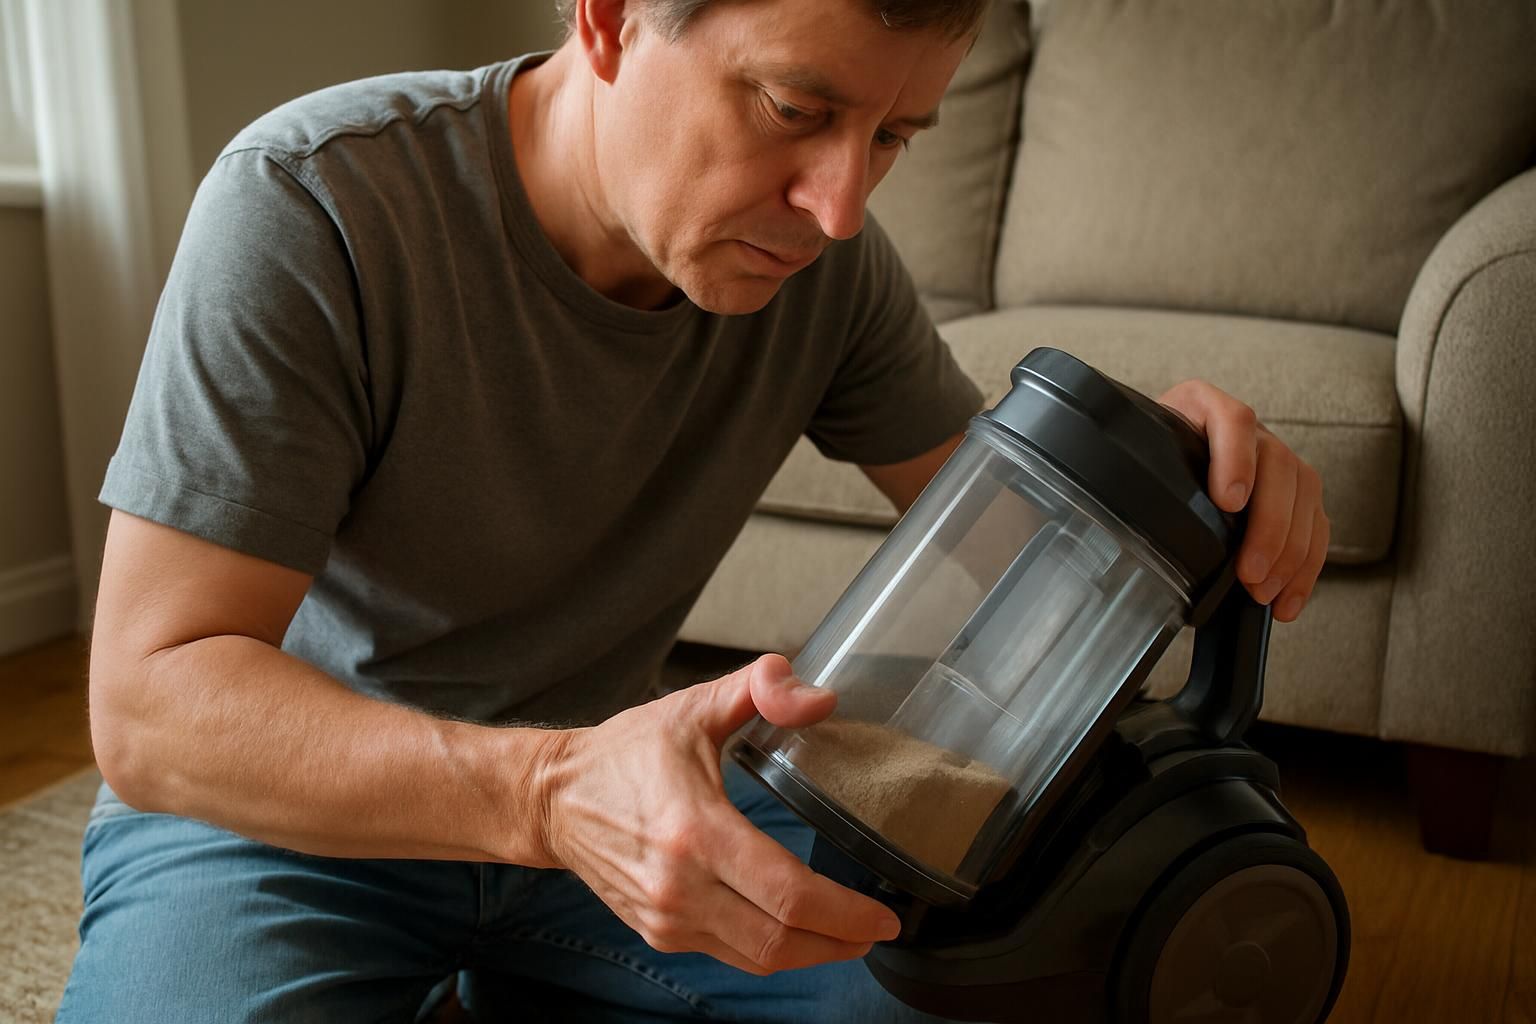
Empty and wash the bin
House owners should empty and wash the vacuum cleaner bin frequently. For bagless vacuums, this means emptying the vacuum dustbin every time after use. Keeping the vacuum dustbin clean helps prevent clogs and stops dirt from blowing back into a home’s air.
Warm water with mild soap does the trick for cleaning the vacuum canister; then letting it dry completely before putting it back prevents mold growth and odors. Regularly removing debris from the vacuum bin improves suction and makes hygienic disposal of vacuum dust easier, helpful especially around homes with kids or pets.
Replace disposable bags if applicable
Disposable vacuum bags need timely replacement for steady cleaning results and strong suction power. Most bagged vacuums lose performance once the bag reaches about two-thirds full, as an overly filled bag restricts airflow.
Owners should regularly check vacuum bag capacity and replace disposable bags accordingly before they become completely full. Changing these bags promptly also prevents unpleasant odors, improving indoor air quality for families with kids or pets at home.
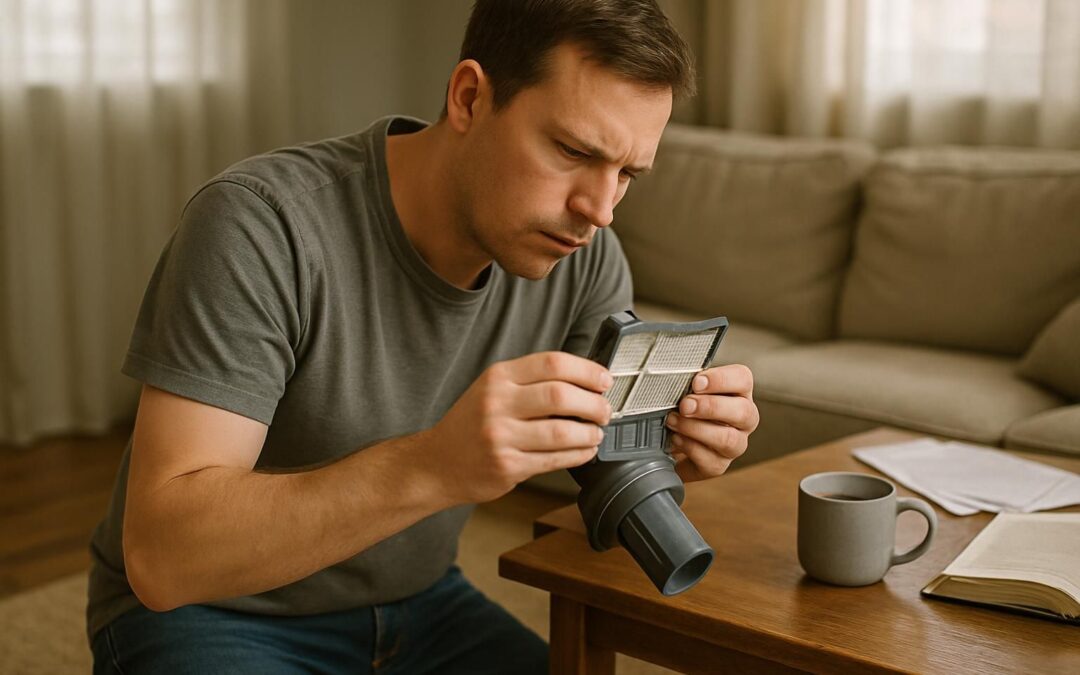
How to Clean Filters
Cleaning vacuum filters brings your suction power back to life read on for easy tips!
Wash washable filters
Washable filters keep the vacuum working well if cleaned regularly. House owners should first check the owner’s manual, then rinse reusable filters under cold water to remove dust gently but fully.
After washing reusable filters, air-dry them completely before placing these cleanable parts back into the machine. Avoid heat or dryers because that shortens filter life and harms overall performance.
This simple filter maintenance guideline helps vacuums pick up dirt better and extends their lifespan.
Replace non-washable filters
Non-washable filters need changing regularly to maintain filter performance. Replacing non-washable filters protects the vacuum motor, improves airflow, and traps dust better. Most vacuum makers suggest replacing disposable filters every 6 to 12 months based on cleaning frequency.
Fresh clean filters enhance air quality at home and prevent allergens from building up around kids or pets. Extending filter lifespan by regular replacement saves homeowners money by reducing frequent vacuum repairs in the long run.
Cleaning the Brush Roll
Digging tangled hair and threads out of the brush roll can feel like a wrestling match, but it’s easier than you’d think—stick around to find out how.
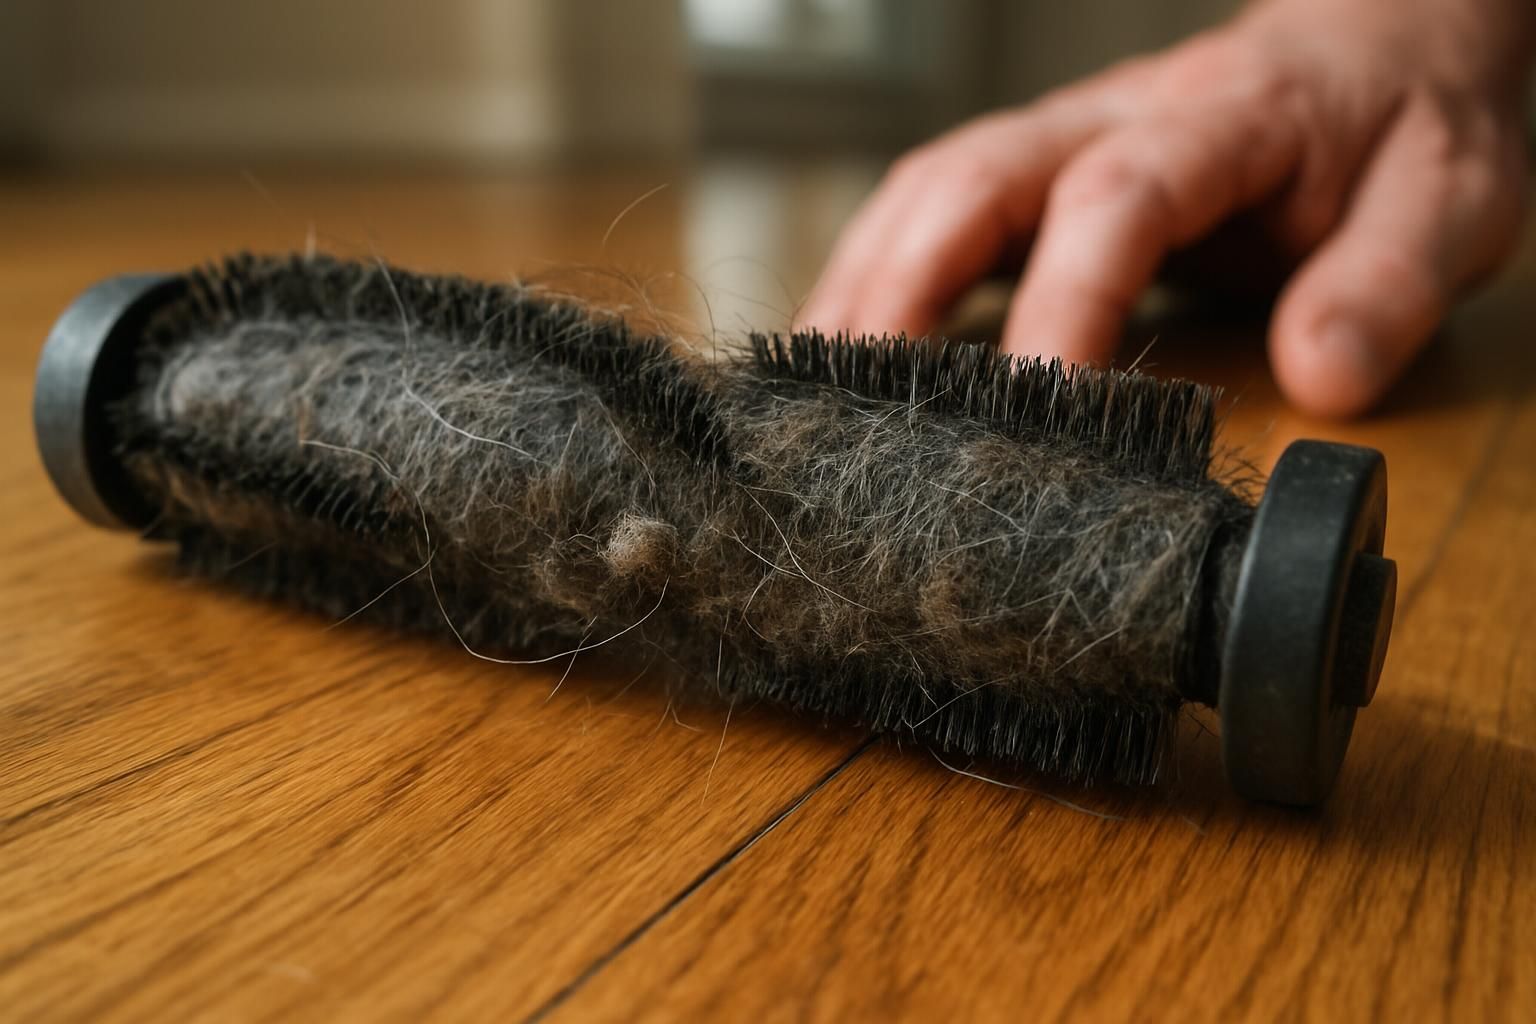
Remove hair and debris
Hair and debris trapped in the vacuum brush roll slow down performance. Long hair strands, strings from toys, or carpet fibers often cause blockages around the roller. House owners can use scissors or a knife to easily cut away tangled hair wrapped around the brush.
Inspecting for tangled hair, string pieces, or other household debris helps prevent clogs later on. Properly clearing debris from vacuum brush rolls also reduces future repair costs.
Next up is checking carefully for any damage or wear to keep things running smoothly.
Check for damage or wear
Brush rolls face frequent use, picking up dirt, pet hair, and other debris over time. House owners should regularly inspect for damage or wear to maintain performance. Signs like frayed edges or worn bristles mean the brush roll needs replacing soon.
Extreme tangling with threads or pet fur can stop the brush from spinning properly and cause extra strain on vacuum motors. Quickly examine for harm or aging after removing tangled materials.
Spotting issues early can prevent costly repairs later on.
Clearing Clogs in Hoses and Attachments

Clogs lurking in hoses and attachments can choke vacuum suction faster than crumbs clogging a straw read on to learn easy tips for keeping your vacuum’s airways clear.
Inspect the vacuum hose
The vacuum cleaner hose tends to collect hair, toys, socks, or random objects around the house. To clear blockages in hoses safely, straighten the vacuum hose fully and look inside using a flashlight.
Grab a broom handle to carefully dislodge blockages without using any sharp items. This trick helps in unclogging vacuum attachments while preventing hose damage at home.
Clean attachments thoroughly
After checking hoses, house owners should clean attachments thoroughly. Dirt and dust buildup can block airflow in nozzles, brushes, or extension wands. Compressed air quickly clears out dirt from tight spaces that are hard to reach.
Pipe cleaners also remove stubborn clogs deep inside narrow tools. Regularly inspecting transfer points prevents unnoticed blockages from reducing suction power or causing overheating damage.
Purging dirt consistently keeps vacuums working strong without interruption saving families extra hassle later on.
Cleaning Robotic Vacuums
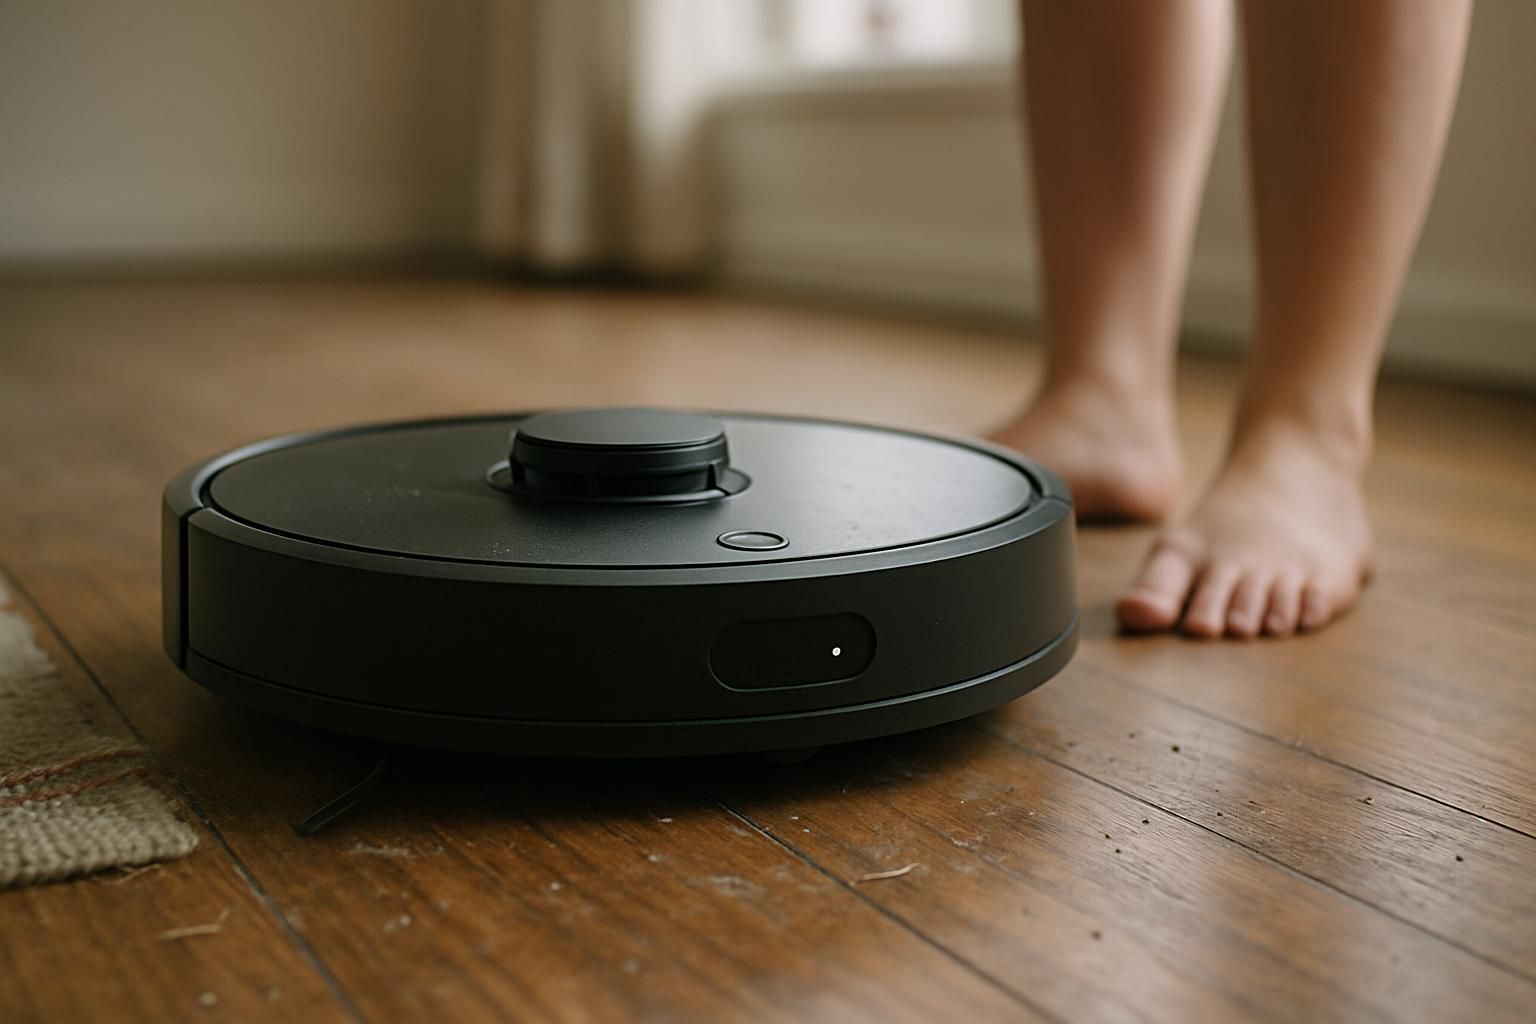
Cleaning robotic vacuums takes only a few minutes, but skipping it means your little robot helper could end up dizzy—bumping into walls like it’s lost its glasses so keep reading to discover simple tips!
Empty the dustbin
For robotic vacuums, emptying the dustbin regularly keeps them working effectively. Most robot vacuum brands recommend users clear debris from the bin after every use or at least weekly for optimal results.
Removing waste frequently prevents clumps of hair and dirt from blocking airflow in the unit. Users should dump the dust reservoir into a garbage bag outdoors to stop dust clouds from forming inside their home.
Keeping this habit protects indoor air quality and prolongs their vacuum’s life span, especially with heavy usage around kids or pets.
Clean sensors and wheels
Dirty sensors can mess up how well a robotic vacuum cleans, causing confused movements or poor performance. House owners should check the user manual for clear sensor cleaning instructions to maintain top efficiency.
Wheels clogged with hair and debris slow down robotic vacuums, so regularly clearing debris from wheels helps maintain smooth movement. Carefully removing tangles from wheels and wiping down axles gently with a damp cloth keeps the robot rolling freely around furniture and tight corners.
Proper axle care prevents wheel slowdown that negatively affects cleaning quality.
After making sure the sensors and wheels are clean, owners can move onto wiping down their vacuum’s outer surfaces.
Wiping Down the Vacuum Exterior

Give the vacuum a quick wipe-down, and it’ll sparkle like new want even more handy tips to boost your vacuum’s performance?
Use a damp cloth for the body
A simple, damp cleaning cloth with mild soapy water or a gentle cleaning spray works well for wiping down the vacuum cleaner body. House owners can easily remove dust and dirt buildup by carefully rubbing all exterior surfaces once every few weeks.
To reach narrow areas like buttons or corners, an old toothbrush or soft brush helps loosen grime without causing damage.
By regularly performing this basic household cleaning task, parents quickly eliminate unwanted germs from frequently touched parts of their vacuum cleaners. Gently wiping outer components reduces wear over time and keeps the device looking clean and tidy around visitors at home too.
Avoid spraying directly on components
Spraying cleaning liquids directly on vacuum components can harm the machine. Electrical parts easily break if moisture gets inside, causing shorts or permanent damage. Owners should wipe down the outer shell of the vacuum using a damp cloth instead.
Protecting electrical parts from moisture prevents costly repairs and keeps vacuums running smoothly longer.
Reassembling and Testing Your Vacuum
Putting the vacuum cleaner back together correctly helps keep suction power strong. Testing afterward lets house owners spot any performance issues early.
- Start by checking each cleaning part, such as filters and bins, to confirm they are completely dry before assembling.
- Place clean filters securely into the filter compartment until fully seated.
- Carefully lock the bin or bag area tightly closed, making sure catches click into place.
- Insert the brush roll and its cover securely onto the vacuum cleaner base using small twists or firm pressure, confirming attachments fit snugly.
- Firmly reconnect hoses or accessories into each respective port without forcing them excessively.
- Inspect wheels closely for tangled hair strands or debris that might affect smooth gliding across household floors.
- Connect robotic vacuum parts slowly and correctly; replace dustbins fully, then verify sensors sit clearly visible with no dirt smudges.
- Plug in the power cord directly into an electrical outlet located nearby, avoiding extension cords for best results.
- Turn on the vacuum briefly after assembly to listen carefully for unusual noises or vibrations indicating assembly mistakes or missed obstructions inside parts.
- Test suction strength quickly through practical methods like running it over crumbs that fall during typical household chores, noting weaker suction immediately signals troubleshooting needs before cleaning tasks continue further.
- Inspect assembled parts swiftly again after initial testing completes; loose connections may slip out easily if improperly joined earlier causing headaches during later use around home spaces.
How Often Should You Clean Your Vacuum?
Household vacuum maintenance depends on the type and frequency of cleaning. Bagless vacuums need dustbin emptying after every use to keep performance sharp and avoid clogs. Robotic vacuums demand weekly cleaning, especially during heavy usage periods from messy kids or shedding pets.
General upright or canister vacuums require thorough upkeep at least once each year, or sooner if signs like weaker suction appear in daily household cleaning routines. Regular vacuum care boosts appliance longevity and maintains consistent suction strength.
Tips for Prolonging Vacuum Performance

Vacuum cleaner maintenance helps extend vacuum lifespan, saving money and hassle over time. Checking filters monthly and cleaning them every three months keeps suction strong; clogged filters mean poor airflow and reduced efficiency.
Cordless vacuums benefit from battery care too: regularly charging fully before unplugging improves battery health, capacity, and overall runtime. Genuine vacuum replacement parts maintain warranty coverage, reliability, and peak performance for years ahead.
Owners can reduce frequent breakdowns through simple upkeep tasks like avoiding large debris that strains motors or belts. Keeping sharp items away prevents hose punctures or bin damage that can cost extra cash later on repairs.
Regularly inspecting brushes helps detect wear early to protect carpet fibers from unwanted tears or snags during cleaning chores—protecting carpets means less stress for parents who worry about kids crawling around safely at home.
Troubleshooting and Model-Specific Tips
This section offers vacuum cleaner upkeep and cleaning tips to improve maintaining vacuum suction and overall performance. The checklist below provides guidance for troubleshooting common issues and outlines model-specific considerations for both bagged and bagless systems.
- Confirm that the vacuum dustbin is empty and filters are clean; weak suction may mean filters need washing or replacing.
- For bagless vacuums, check for residual debris in the bin; for bagged models, inspect and replace the bag as needed.
- Examine the vacuum cleaner hose and attachments for blockages; use scissors or a box knife to remove tangled hair and debris.
- Inspect the brush roll and wheels for damage or buildup; cleaning these components can yield vacuum suction improvement.
- For robotic vacuums, ensure sensors and wheels are free from dust and hair to maintain smooth performance.
- Review the owner’s manual for model-specific cleaning instructions and maintenance intervals.
- If unusual noises occur, reassemble components carefully and verify that all parts are securely in place.
Conclusion
Keeping a vacuum cleaner clean helps it run smoothly for years. Regular maintenance saves families money by avoiding early breakdowns. A well-maintained machine lifts dirt and dust without hassle or frustration.
Simple weekly cleanings protect this household hero from clogs and lost suction power. With just a few minutes of care, homeowners can keep their floors spotless and breathing spaces fresh no magic required!
FAQs
1. How often should I clean my vacuum cleaner for optimal performance?
Clean your vacuum at least once every two months if you use it regularly. If you have pets or heavy dust, monthly cleaning keeps suction strong and prevents clogs.
2. What’s the best way to clean a vacuum filter without damaging it?
Gently tap the filter over a trash bin to loosen dirt first. Then rinse under cool water until clear, but never scrub hard or use soap. Let it dry fully before placing back inside.
3. Can I safely wash all parts of my vacuum cleaner with water?
Not exactly—only washable filters and removable plastic attachments can handle water safely. Keep electrical parts far away from moisture unless you’re eager for sparks to fly!
4. My vacuum smells funny after cleaning; how do I fix this issue quickly?
Sprinkle baking soda lightly on carpets before using your machine next time it absorbs odors like magic! Also check hoses and brushes carefully; trapped hair or debris might cause funky smells too.