When your home feels like a chaotic mess, it’s hard to imagine it ever feeling tidy again. Finding every surface covered in clutter can be a scary thought. But with the right approach, you can get your home back on track. This will help you maintain your house clean for longer. Let’s face it: most of us have too much stuff in our homes and not enough storage solutions. It is estimated that clearing the clutter from a household may save chore time by 40%.
Getting your home organized doesn’t have to be difficult. If you follow these simple steps, decluttering your home can be a stress-free experience – not something that fills you with dread and anxiety! These ten simple steps will help you declutter your home and make staying tidy a breeze.

Step 1: Tidy Up Your House Room by Room
Before you start decluttering rooms in your house, take a few minutes to tidy up your home. Every guide to declutter your home will tell you that you don’t need to spend hours cleaning; just spend 20 minutes tidying up the areas you use most often.
You may also want to tidy up as you go along and put items away as you go. However, if you decide to tidy, make sure your home is clutter-free (or as close to it as you can get it) before you start decluttering. This will help you stay focused and motivated throughout the decluttering process. If you have different areas in your home, such as a living room, dining room, kitchen, and one or two bedrooms, tackle these areas room by room. In case you have lots of small spaces, such as a bathroom, two bedrooms, a kitchen and a living room, tackle these areas as well.
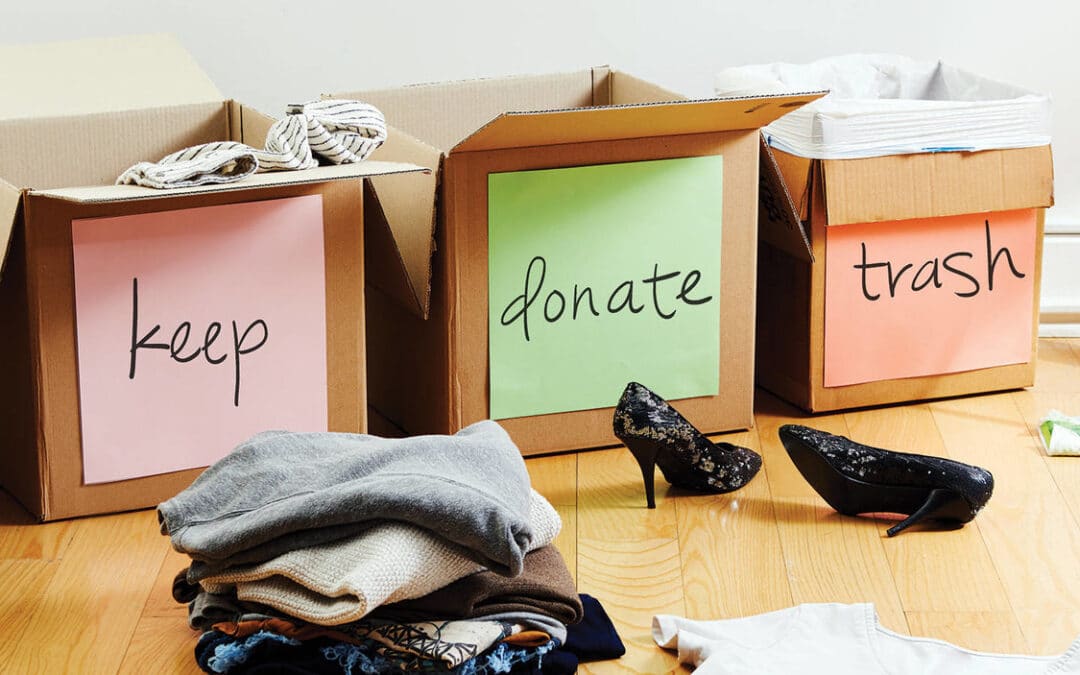
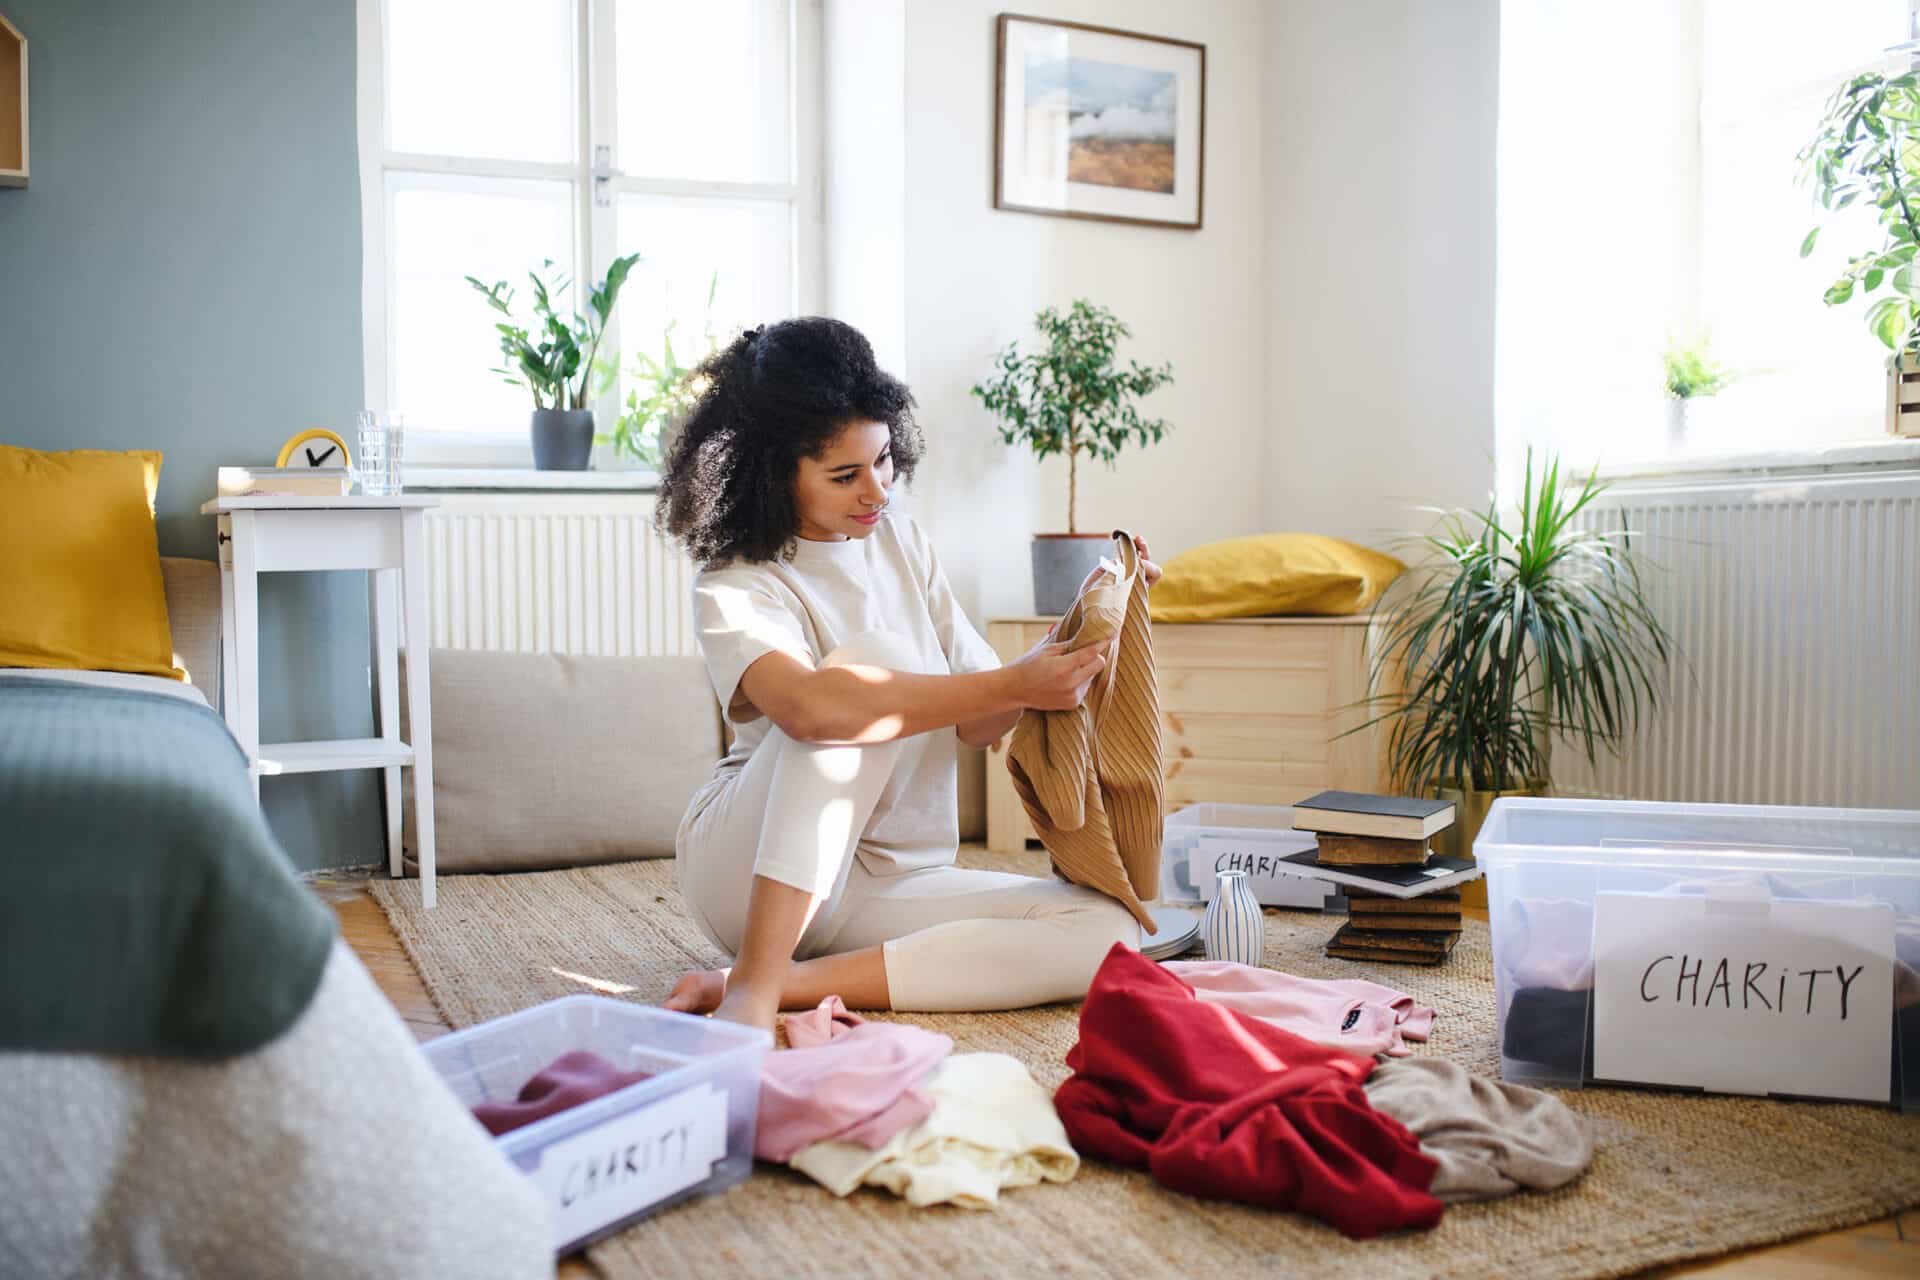
Step 2: Decide What to Keep and What to Toss While Declutter Your Home
According to a guide to declutter your home, before you can decide how to organize your belongings, you first need to decide what items to keep and what items to throw away. According to the National Association of Professional Organizers, we throw away 80% of our belongings every year. For everything you’re not keeping, decide whether it’s worth it to take it to a donation center. If yes, take it there now. In case not, place it in a box and toss it.
When it comes to deciding what to keep, use this rule of thumb: if you haven’t used it in the last year, it’s worth tossing. If you’re not sure if an item is worth keeping, ask yourself the following questions:
- How often do I use this?
- How often do I wish I had this?
- Do I have a place to put this where it’s easily accessible?
- Does this have sentimental value?
Is you answer yes to any of these questions? Keep the item. If not, toss it.
Step 3: Organize the Items You’re Keeping
Once you’ve decided what items to keep and what items to toss, the next step is to organize the items you’re keeping. If you’re not sure how to organize the items you’re keeping, think about the way you currently use your home.
A simple guide to decluttering your home is to ask yourself, what areas of your home are you using most often? What areas are in need of organization? If you’re not sure how to organize specific items, there are lots of online resources that can help, such as organizing blogs, videos, and websites.
Organizing blogs and websites are great resources for creative and effective tips to declutter your home. Pinterest, for example, is a great resource for home organization ideas. Simply search for “home organization” or “home decorating” ideas and you’ll be able to see lots of pins that can help you get your home decluttered. Similarly, YouTube is full of videos with tips for declutter your home.
Step 4: Declutter Your Kitchen
Your kitchen is likely the busiest room in your house. Which means it can quickly become messy, and stay that way for a long time. The kitchen can be an especially great place to declutter. Because you can use many of the items you already have at home (such as containers, bags, and baskets) to organize your items and declutter your kitchen.
There are plenty of tips for decluttering your home. But whatever technique you use, make sure you do it in 10 minute cleaning bursts. This is enough time to declutter one small area of your kitchen while also keeping your mind focused and motivated to finish the job. These areas of your kitchen are worth decluttering:
- Counters: Clear off your counters and wipe them down. If possible, store away any items you don’t need on the counter. In case you cannot store items away, put them in a bag or bin and schedule a time to toss them later.
- Cabinets: Tidy up your cabinets and store items away. You may want to consider hiring a professional organizational consultant to help you organize your cabinets.
- Drawers: Tidy up your drawers and store items away. If you have lots of loose items that don’t need to be stored, consider putting them in a bag or bin. And scheduling a time to toss them later.
- Fridge and Freezer: Clean out your fridge and freezer. If you have items in your fridge and freezer that you don’t need and can’t or don’t want to eat, put them in a bag or bin and schedule a time to toss them later.
- Shelving: If you have shelving in your kitchen, tidy up the items on the shelves.

Step 5: Declutter Your Bedroom
Your bedroom is the place you rest and rejuvenate each day,. Which means it’s worth taking the time to declutter your room. If you’ve been putting off decluttering your bedroom because you’re not sure where to begin, a simple trick can help you get started.
The best tip for declutter your home is to tackle one item in your bedroom every 10 minutes. Once you’ve completed the item, move on to the next one. This is enough time to declutter your bedroom. Keep your mind focused so you don’t get side-tracked or overwhelmed by the task at hand. Your bedroom is a great place to declutter these areas:
- Drawers: Tidy up your dressers and drawers and store items away. If you have lots of loose items that don’t need to be stored, consider putting them in a bag or bin and scheduling a time to throw them away later.
- Closet: If you have a walk-in closet, tidy up your closet and store items properly. You can sort items by clothing, footwear, and accessories, and place them accordingly. Neatly fold or hang up clothes that you actually use, while donating the clothing items you no longer use or need.
- Walls: If you have posters or framed pictures on your walls, take them down and store them away if they have started looking old or worn out.
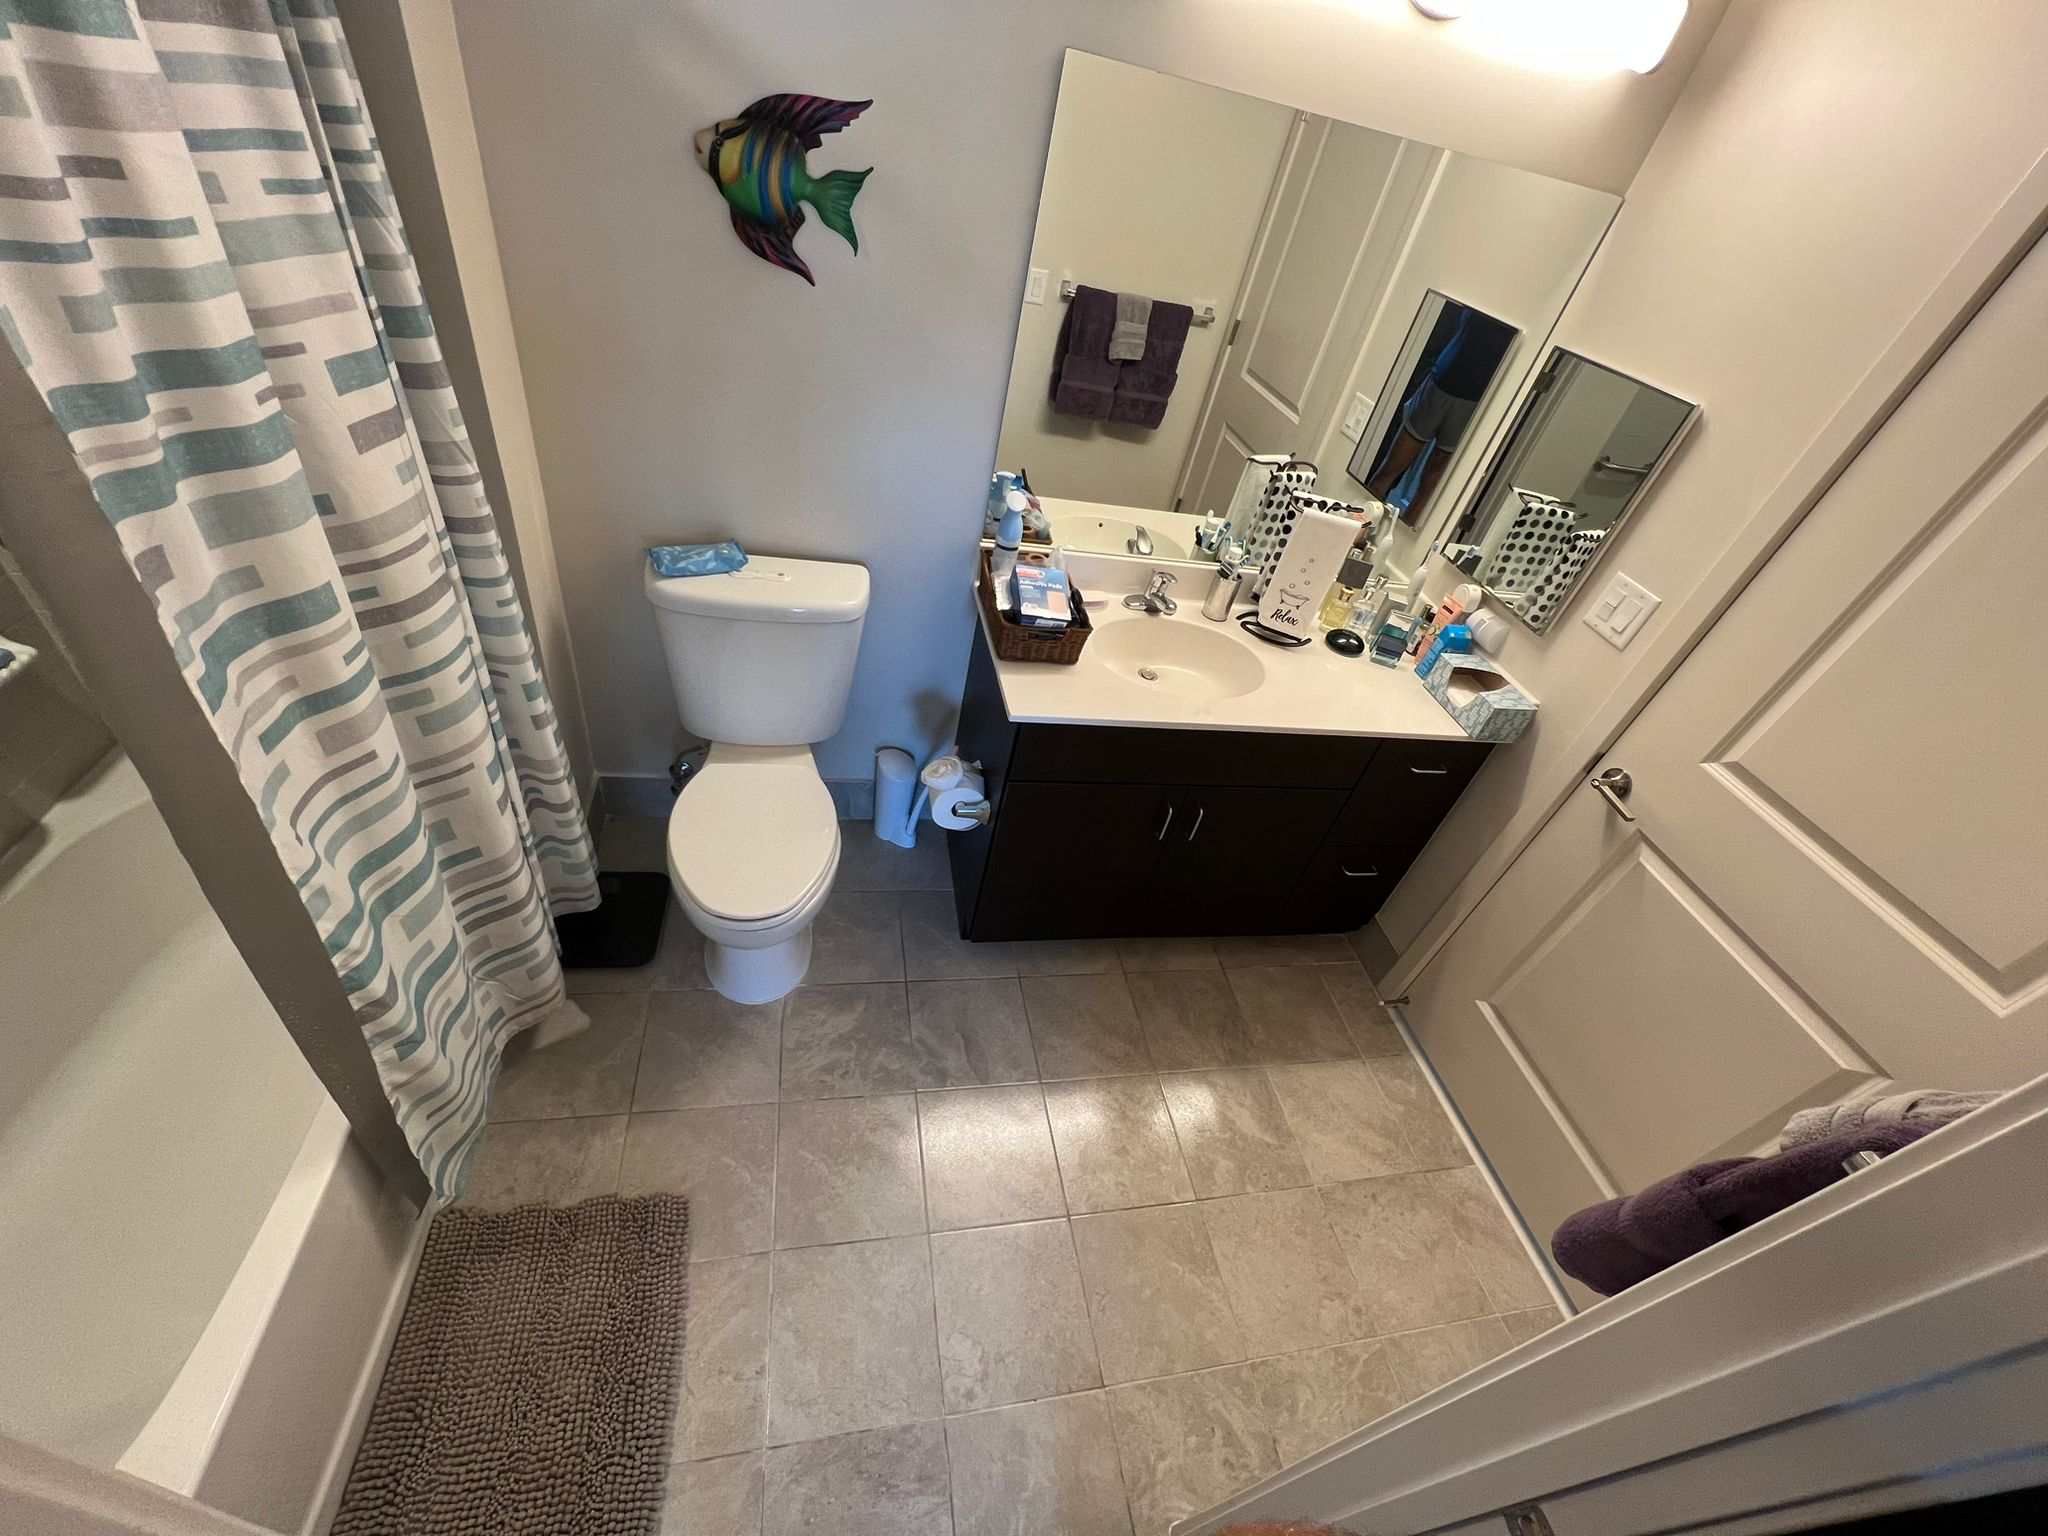
Step 6: Declutter Your Bathroom
Your bathroom is one of the toughest rooms to declutter your home. It’s easy to let the clutter build up in your bathroom simply because it seems like a tough job. To declutter your bathroom, start by tackling the places you use daily. These areas of your bathroom are worth decluttering:
- Sinks: The bathroom sink has a high potential for becoming unsightly. Start with a good clear-out. Then clean and sanitize the sink, using warm water and detergent.
- Counters: One proven way to declutter your bathroom counters is by using a tray to organize your toiletries. You can also use wall-mounted holders to shift the extra stuff, like bottles, jars, and brushes.
- Cabinets: Take stock of the items you have piling up in your bathroom cabinets, and see if take away the items that don’t really belong there. Throw away any worn-out, damaged, brittle, or out-of-date hair accessories, dental items, medicine, and toiletries.
- Walls: You should declutter your bathroom by sections. Just as you remove unnecessary items from shelves and counters, it’s equally important to declutter your walls. Take down picture frames, wall hangings, and wall-mounted holders that look unsightly or clutter the small space.
Step 7: Declutter Entry, Mudroom, and Foyer
Even if you lack a formal foyer or mudroom, your home still has an entrance. The greatest approach to making the most of any doorway, no matter how small or narrow, is to routinely tidy it up.
The most efficient tips for decluttering your home tell you to begin with the entryway furniture you already have,. Such as a desk, console, or side tables. Empty all of the drawers and make a snap judgment about what to retain and what to throw away. Check the tops of all the workstations and game consoles.
Are your keys and other valuables safely stored? Check that there is enough space for people to move about and that nothing is in the way. This will make packing up and leaving the home in the mornings much less of a hassle.
Similar to cleaning out any other closet, you should begin by putting away shoes and boots, then coats, and last, any extras you may have. Just like the living room, the entryway tends to accumulate a lot of clutter as a result of people leaving their belongings there. You should spend some time clearing up the clutter that has accumulated in the foyer.
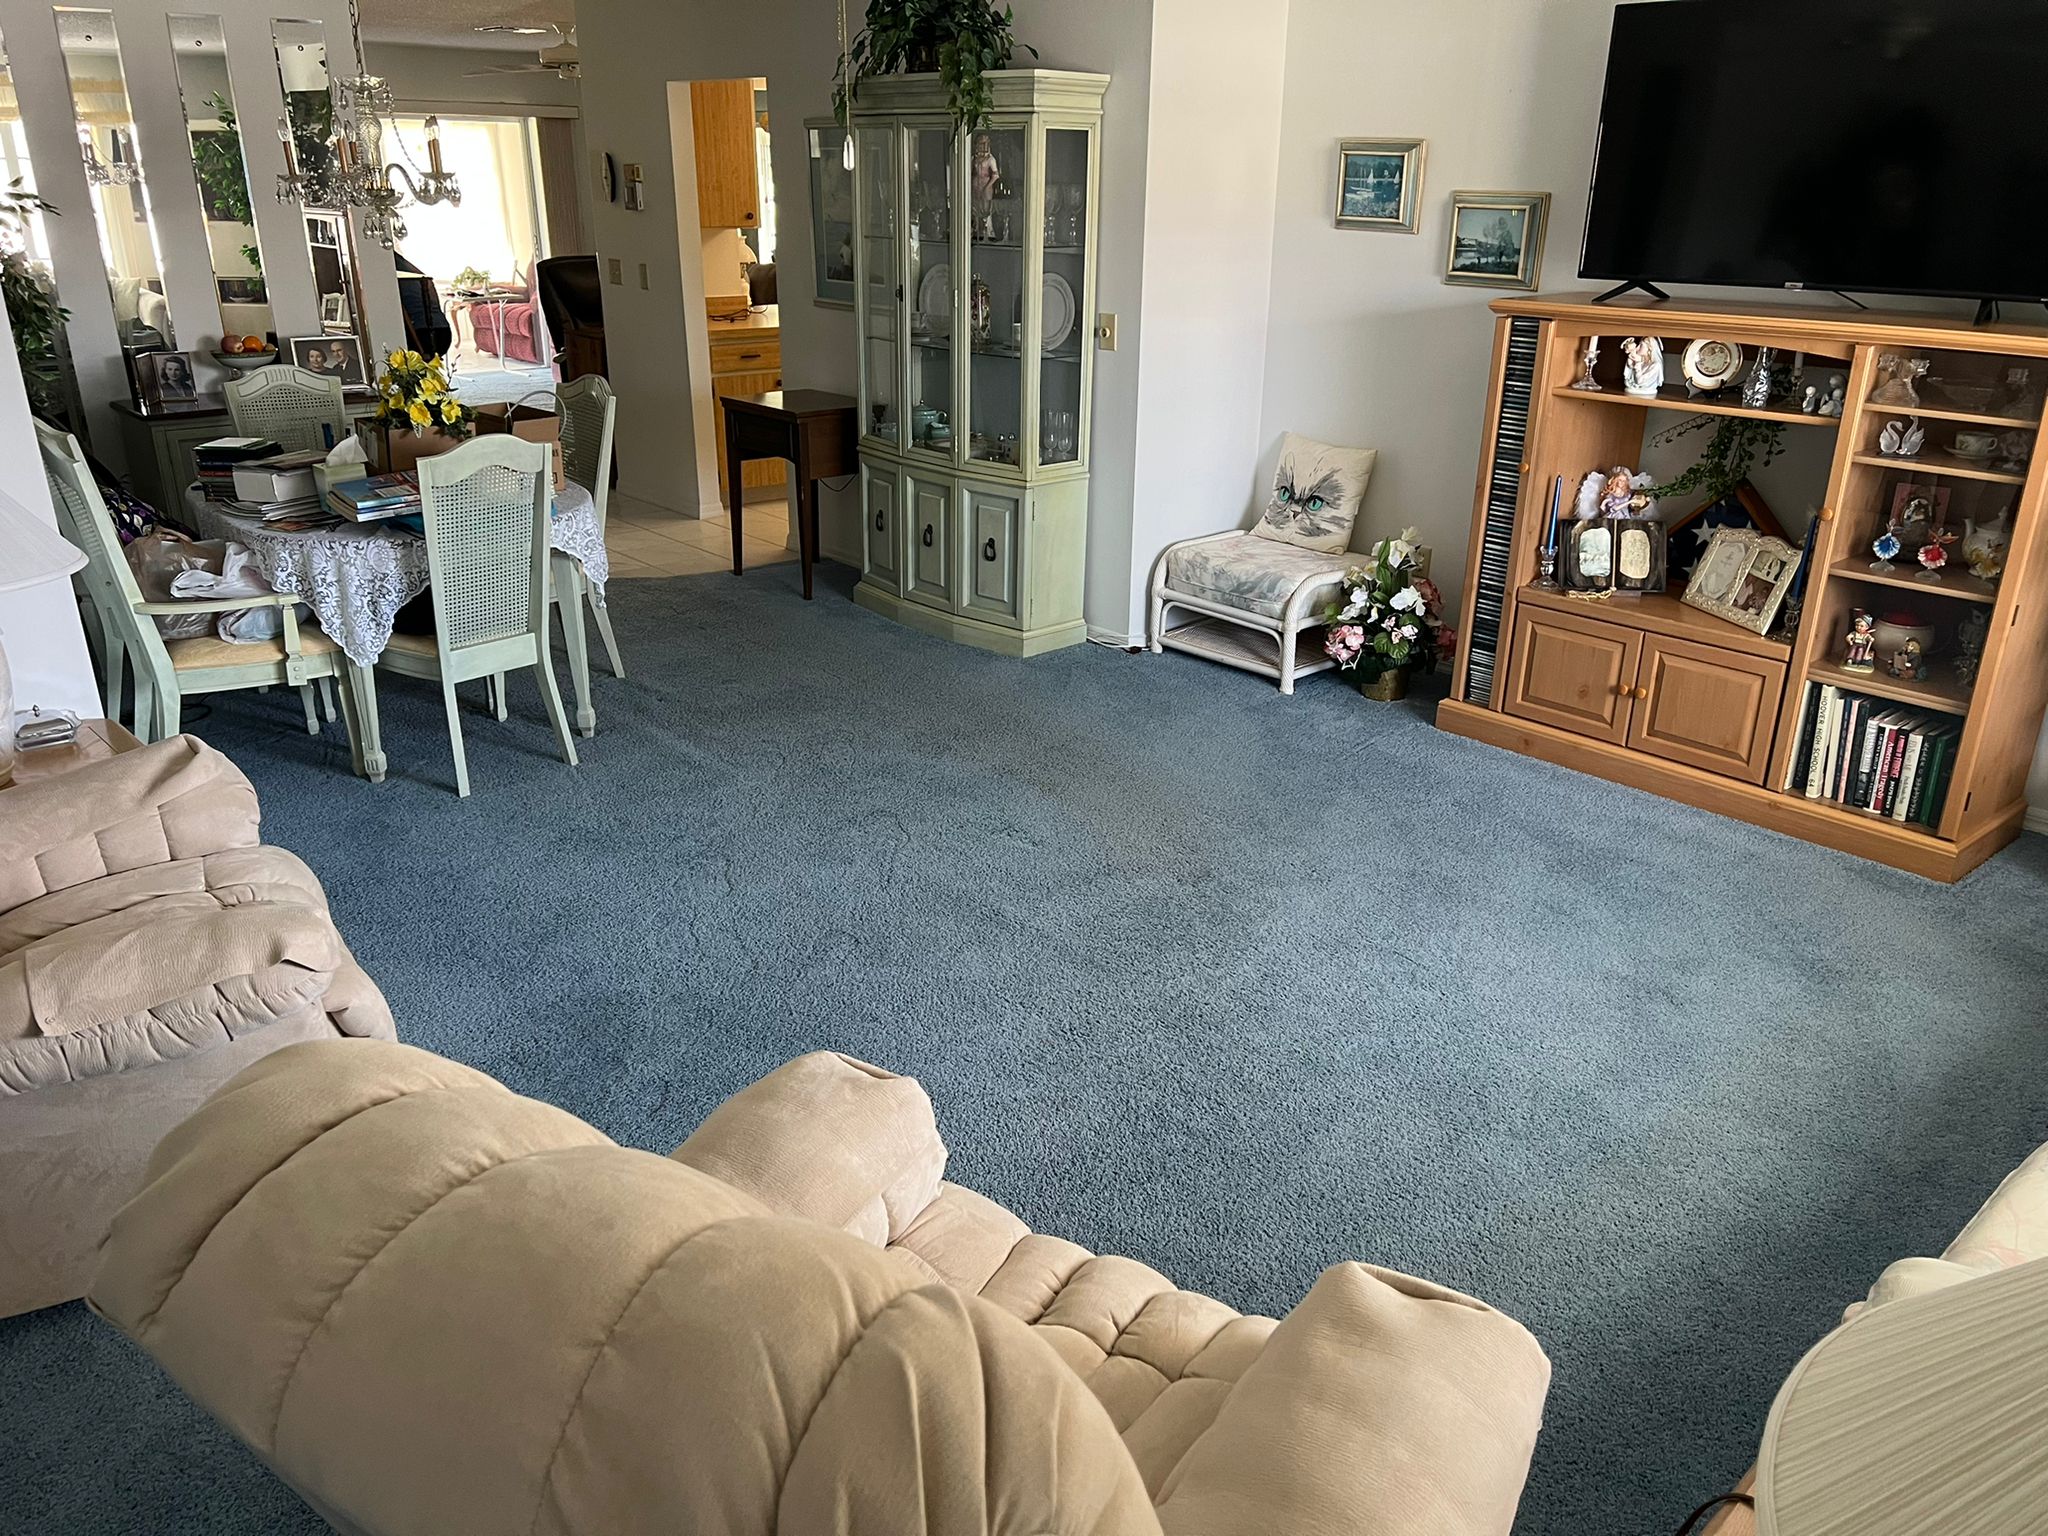
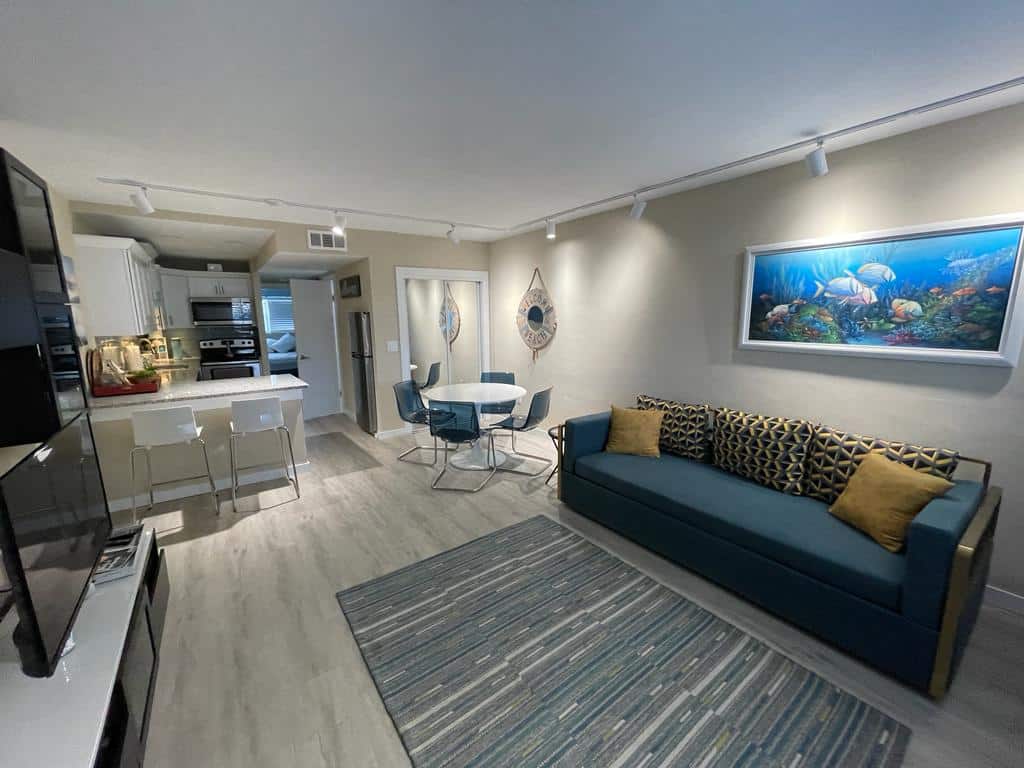
Step 8: Tackle the Living Room
The living room is notoriously difficult to maintain in terms of cleanliness on a regular basis. For the simple reason that storage space is at a premium in bedrooms and not the living room. Where most people spend the majority of their time. Although you have a TV stand and bookshelves, they aren’t very ideal for keeping all sorts of mess.
Consider reserving a specific cabinet or shelf for often used items like a TV remote, stacks of periodicals, or books. Start with the smaller pieces, including bookshelves, consoles, and end tables. Following that, you should concentrate on the coffee table and the media console.
Toss their contents after a thorough evaluation, and put the containers back where they belong. Organize the room by putting away books, sorting through mail, putting away the TV remote, folding the blankets, etc.
One of the best tips for declutter your home requires you to get rid of everything that’s not associated with your TV or media center. Do you have it and use it? How well does it perform? It’s best to keep things like power cords and gaming gear close to where you use them.
Take care of the toys, at long last. Check for damage on all of the playthings. Can you tell whether it works properly now? Do they still use it as a toy? Put away or recycle every toy. Get your put-away basket ready and return items from other rooms to their rightful locations.
Step 9: Clear Out Your Office
Often, people cease seeing the mess in their homes and workplaces because they have gotten used to it. However, clients or visitors will notice the disarray in your home workplace far more than you would.
There are probably things in your home office that haven’t been used in months. So it is time to find them and declutter your home so you can make more space for what really matters.
It may sound counterintuitive, but a good way to start clearing out the clutter in your workplace is to empty it totally. Clean all surfaces, and then gradually put items back in as they are needed. This way, it can be seen which items are necessary and which are not. Eliminating all potential sources of disruption will aid in maintaining order and increasing efficiency.
Once you’ve cleared out all the clutter in your workplace, take a look around and see if there’s a better way to lay out the space. Simply making better use of our available workplace space may help us maintain a clutter-free environment. You can divide the room into zones for different jobs, or you can just move the things you use most often to the front.
Step 10: Schedule another Round of Declutter Your Home
While this isn’t ideal, it’s important to remember that declutter your home is an ongoing process. Clutter has to be addressed every three to six months to prevent it from becoming out of control again. You should schedule frequent blocks of time to organize your life, since this will go a long way to make your living space safe, sanitary, and healthy for you and your loved ones.
Conclusion
Decluttering a whole house is a massive task, whether you’re relocating or just wanting to live more simply. Doing things in phases is the greatest approach to simplifying the process of decluttering. Don’t try to do too much at once; instead, concentrate on one area (like the kitchen cabinets) at a time. You should not stop on until you’ve finished everything in one area.
Hiring professional cleaners can make this process much easier since they bring the right tools and expertise to the job. They not only save you lots of time and hassle but also stress. Whether you are looking for a routine cleaning or deep cleaning, we offer the most affordable and reliable home cleaning services in town. Call My Cleaning Angel today to discuss how we can help!


Trackbacks/Pingbacks