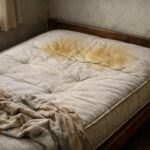
Renovating a house feels exciting until the dust settles. Many homeowners walk in after the work is done and find thick layers of construction dust, smudged windows, and piles of leftover debris.
The whole place looks like it needs another makeover before anyone can even think about relaxing on the sofa.
A clean post-renovation house does not happen by accident. Finishing touches matter just as much as fresh paint or shiny tiles. Studies show that cleaning up after construction goes beyond daily sweeping; it removes harmful particles like mold spores and fine dust that you cannot always see.
This guide breaks down every step for a top-to-bottom cleanup from getting rid of renovation debris to deep cleaning hard surfaces and hidden spots. With an easy checklist and smart tools like HEPA vacuums, even tricky areas get covered.
Keep reading if you want your new space spotless without breaking a sweat!
Refer to our printable Cleaning Checklist PDF for Post Construction Cleanup to support dust removal, deep cleaning, and surface sanitization.
Ensure that all your cleaning supplies include items required for post construction cleanup, dust removal techniques, and home cleaning supplies. These tools help with deep cleaning methods, air quality maintenance, and renovation debris removal.
Key Takeaways
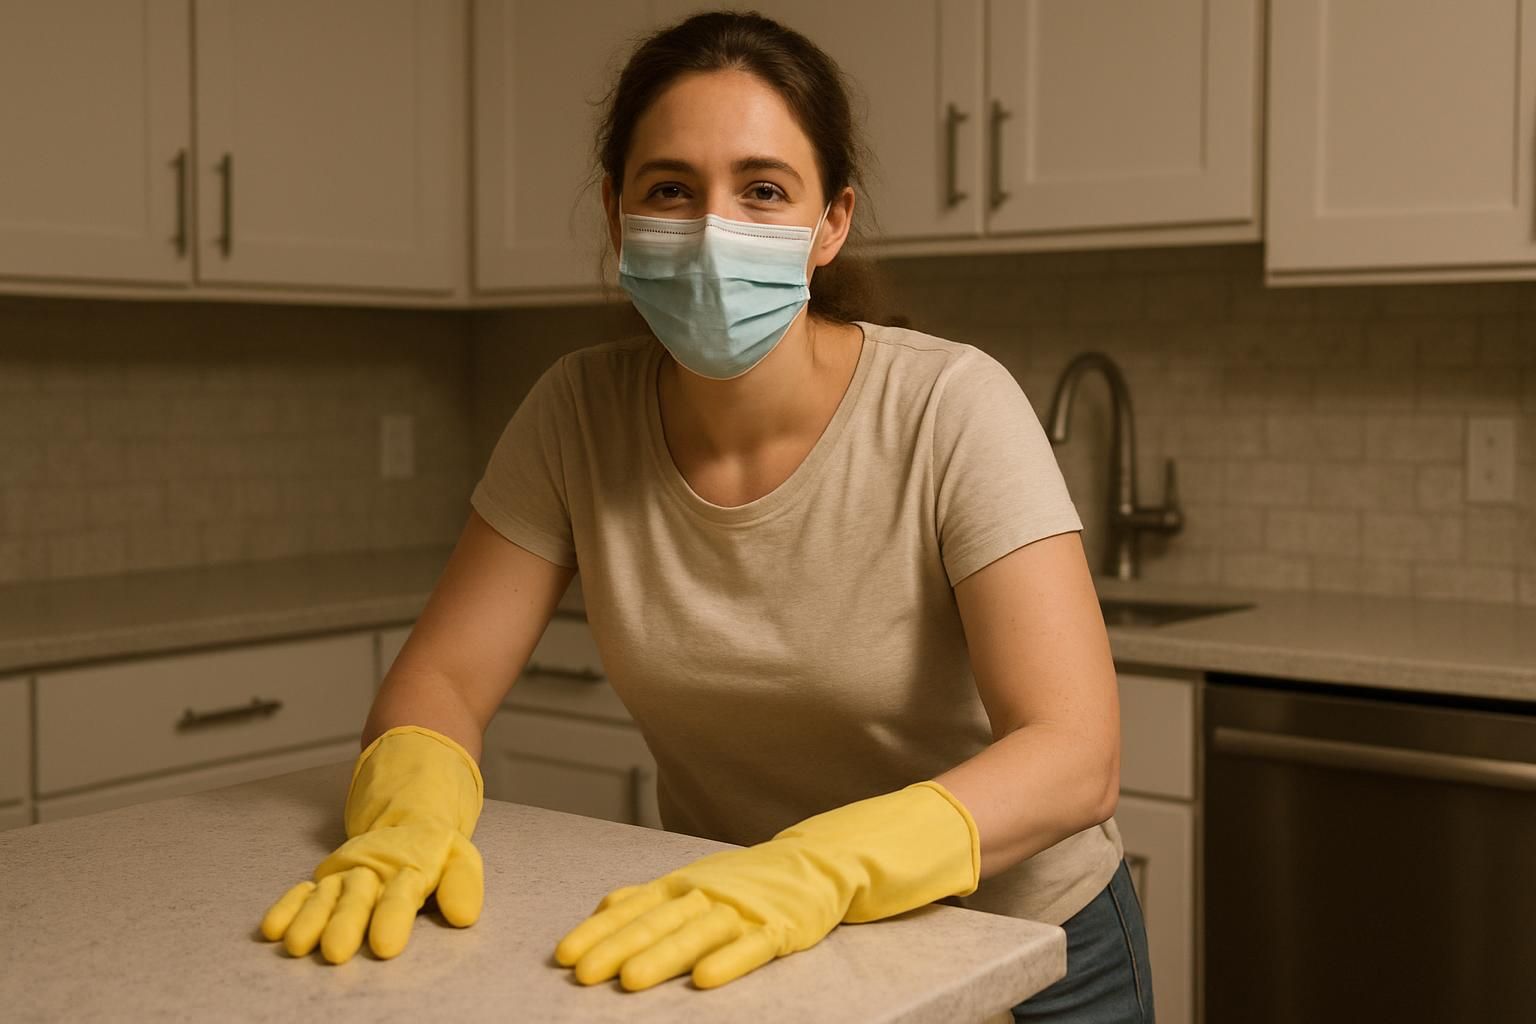
- Before starting the post-renovation cleanup, gather all necessary cleaning supplies like heavy-duty tarps, HEPA vacuum cleaners, microfiber towels, and disinfectants. Protect yourself with gloves and masks to avoid inhaling harmful particles.
- For effective cleaning, start by removing large debris and construction waste. Then vacuum carpets, rugs, upholstery with a HEPA filter vacuum. Wipe down walls, ceilings, hard surfaces as well as windows and mirrors using damp microfiber cloths to trap fine dust.
- Don’t forget hidden areas that collect dust such as air vents where you should replace filters or clean deeply if needed. Also sanitize frequently touched spots like door handles and switch plates. Clean inside cabinets, drawers and focus on baseboards for thorough dust removal.
- Using a HEPA filter in vacuums significantly reduces airborne particles from renovation dust. Avoid vigorous sweeping which can spread more dust around; instead use damp cloths or microfiber towels for capturing fine particles effectively.
- Consider professional cleaning services for extensive renovations or when dealing with delicate surfaces that require specialized care to prevent damage during cleaning process. Regular deep cleanings scheduled every few months help maintain a fresh environment post-renovation.
Preparing for Post-Renovation Cleaning
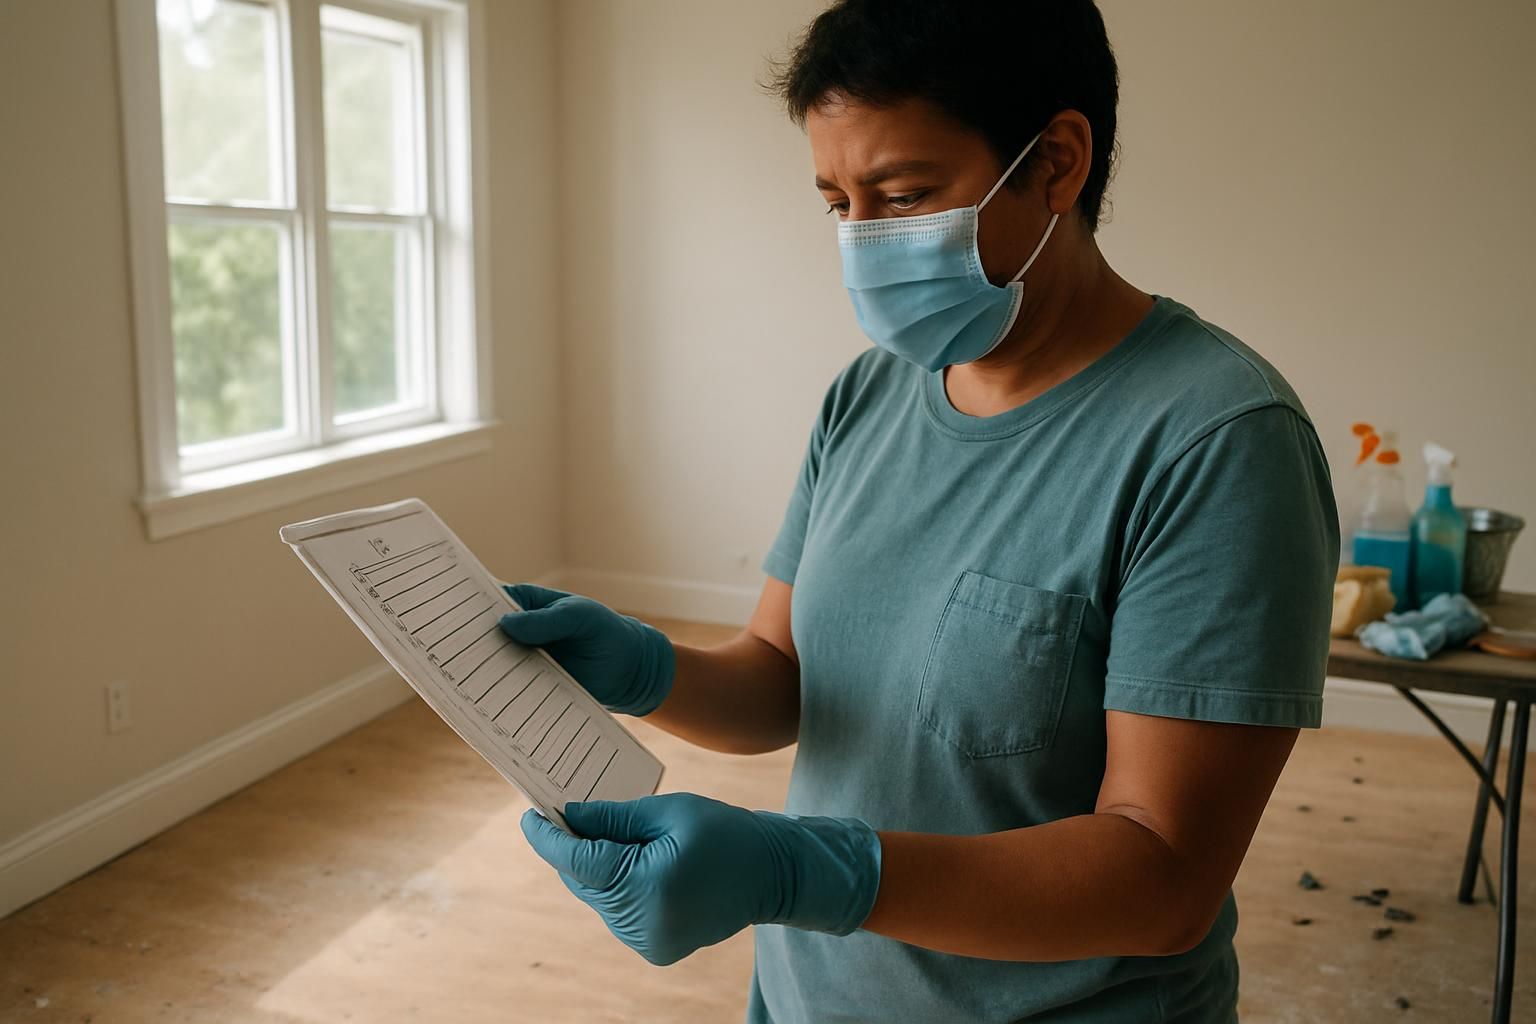
Before starting the cleanup, grab your home cleaning supplies and check them twice. Slide on gloves, throw on a mask, and crack open some windows you’ll thank yourself later!
Gather the necessary cleaning supplies

Heavy-duty tarps at least 0.8 millimeters thick work best to seal off dusty renovation zones. Drop cloths or plastic sheets cover furniture and window treatments from grime and paint splatters.
Quick tip: Lay down continuous paper or tarp through high-traffic halls to shield floors.
On cleaning day, grab a broom for bulky messes and a rented HEPA vacuum cleaner for stubborn construction dust removal. Don’t forget microfiber towels for surface treatment since they trap fine dust better than old T-shirts.
Stock up on trash bags, mops, buckets, sponges, and disinfectants too parents will want everything handy with kids underfoot! Save every receipt from cleaning supply runs or equipment rental because insurance might pay you back later.
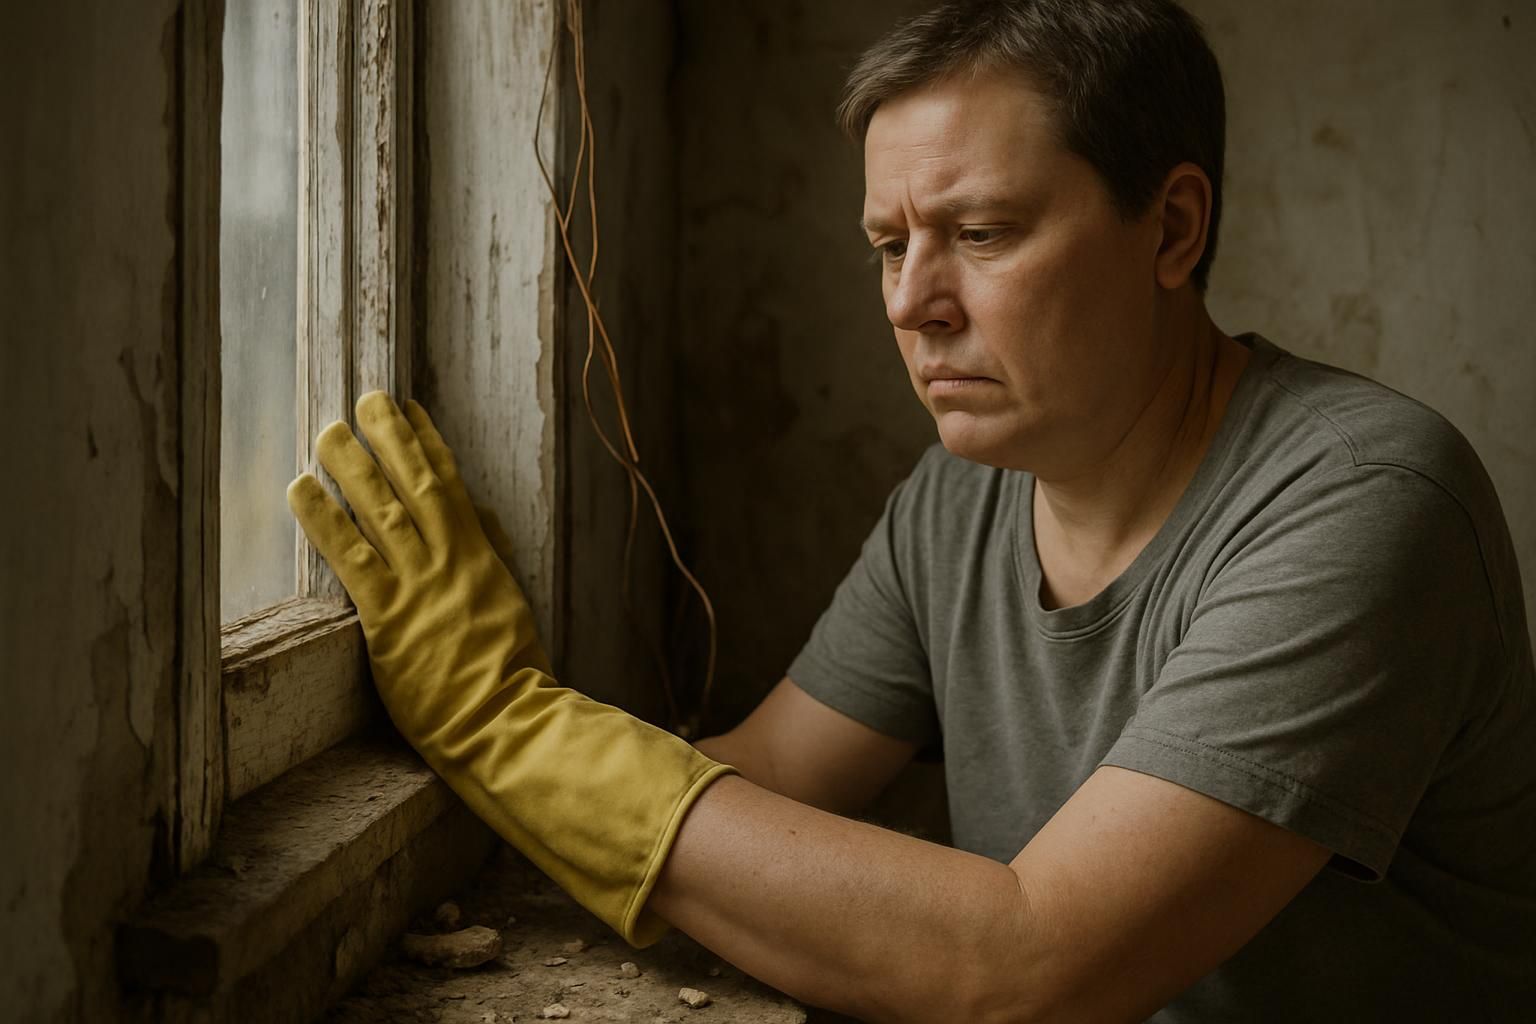
Protect yourself with gloves and masks
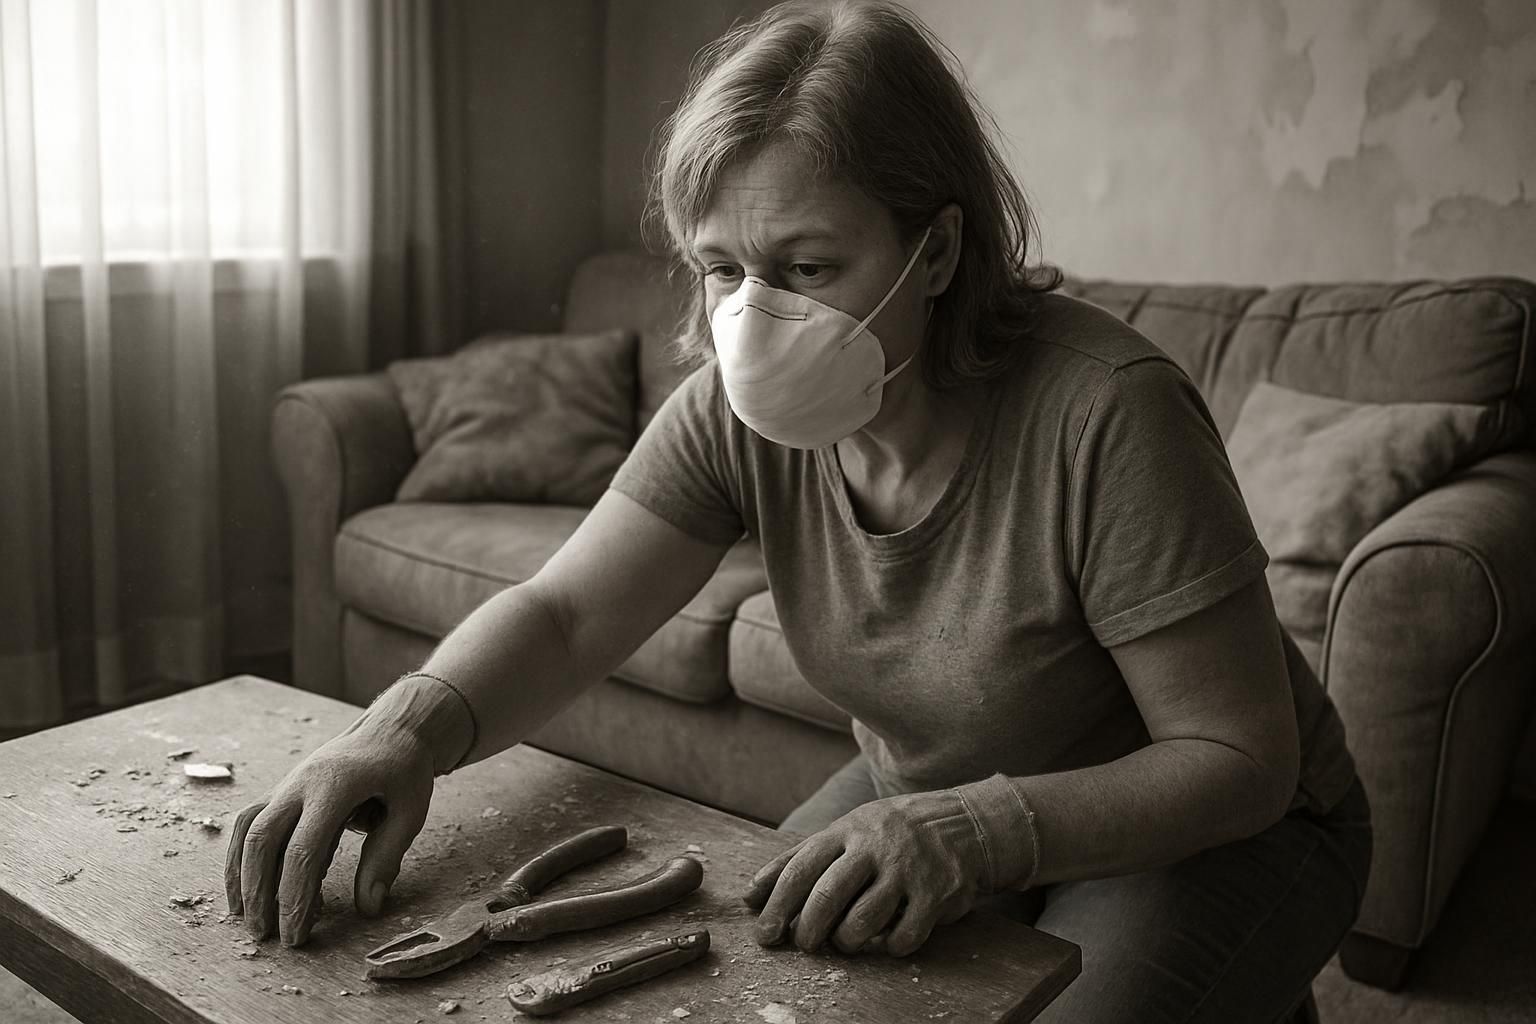
Gloves and dust masks act like a shield in post-renovation cleanup. Parents and homeowners should grab sturdy gloves to steer clear of chemical exposure from paints, primers, or cleaning products.
Dust masks or even NIOSH-approved respirators block out fine construction particles that can harm lung health. Experts warn that toxins like mold spores and silicates often float in the air after renovations.
Kids love to explore, but those tiny bits of drywall dust? They settle everywhere floors, furniture, you name it. Wearing protective gear cuts down on risk while handling hazardous materials left behind by contractors.
Many professional cleaning crews never go without safety equipment; it’s their daily uniform for good reason. Good filtration keeps indoor air quality high too, so running a HEPA purifier helps parents breathe easier at home during cleanup days.
Ensure proper ventilation in the house
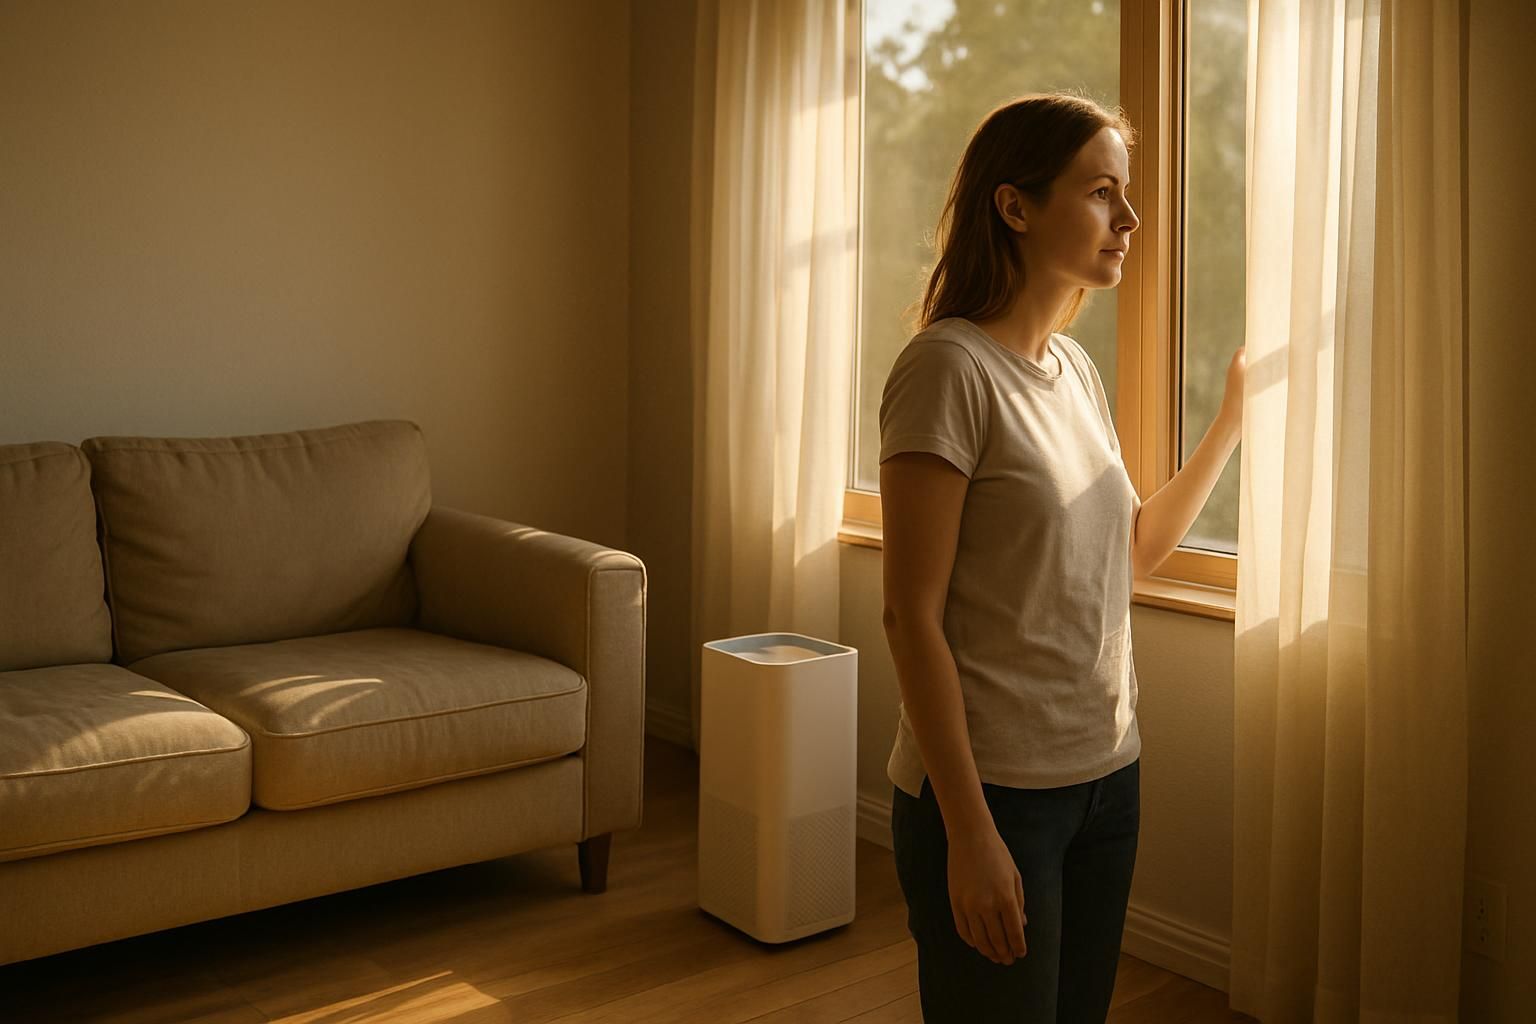
Crack open the windows and swing wide the doors. Fresh air helps flush out paint fumes, primer smells, and floating renovation dust. Let airflow do its magic by using box fans or switching on bathroom exhausts.
Without enough ventilation, particles can hang around for days and affect indoor air quality.
Plug in a HEPA air purifier to trap fine dust and allergens lurking after construction work. Swap out or clean filters often clogged filters slow down airflow. Try high-quality furnace filters; change these every few weeks to keep things fresh inside your home.
Purified air makes it safer for kids and anyone sensitive to dust or chemical fumes during cleaning time.
Step-by-Step Guide to Cleaning a Post-Renovation House
Tackling post construction cleanup can feel a lot like chasing tumbleweeds after a dust storm. Grab your cleaning supplies and get ready for some deep cleaning that covers every nook, cranny, and tricky corner!
Remove large debris and construction waste
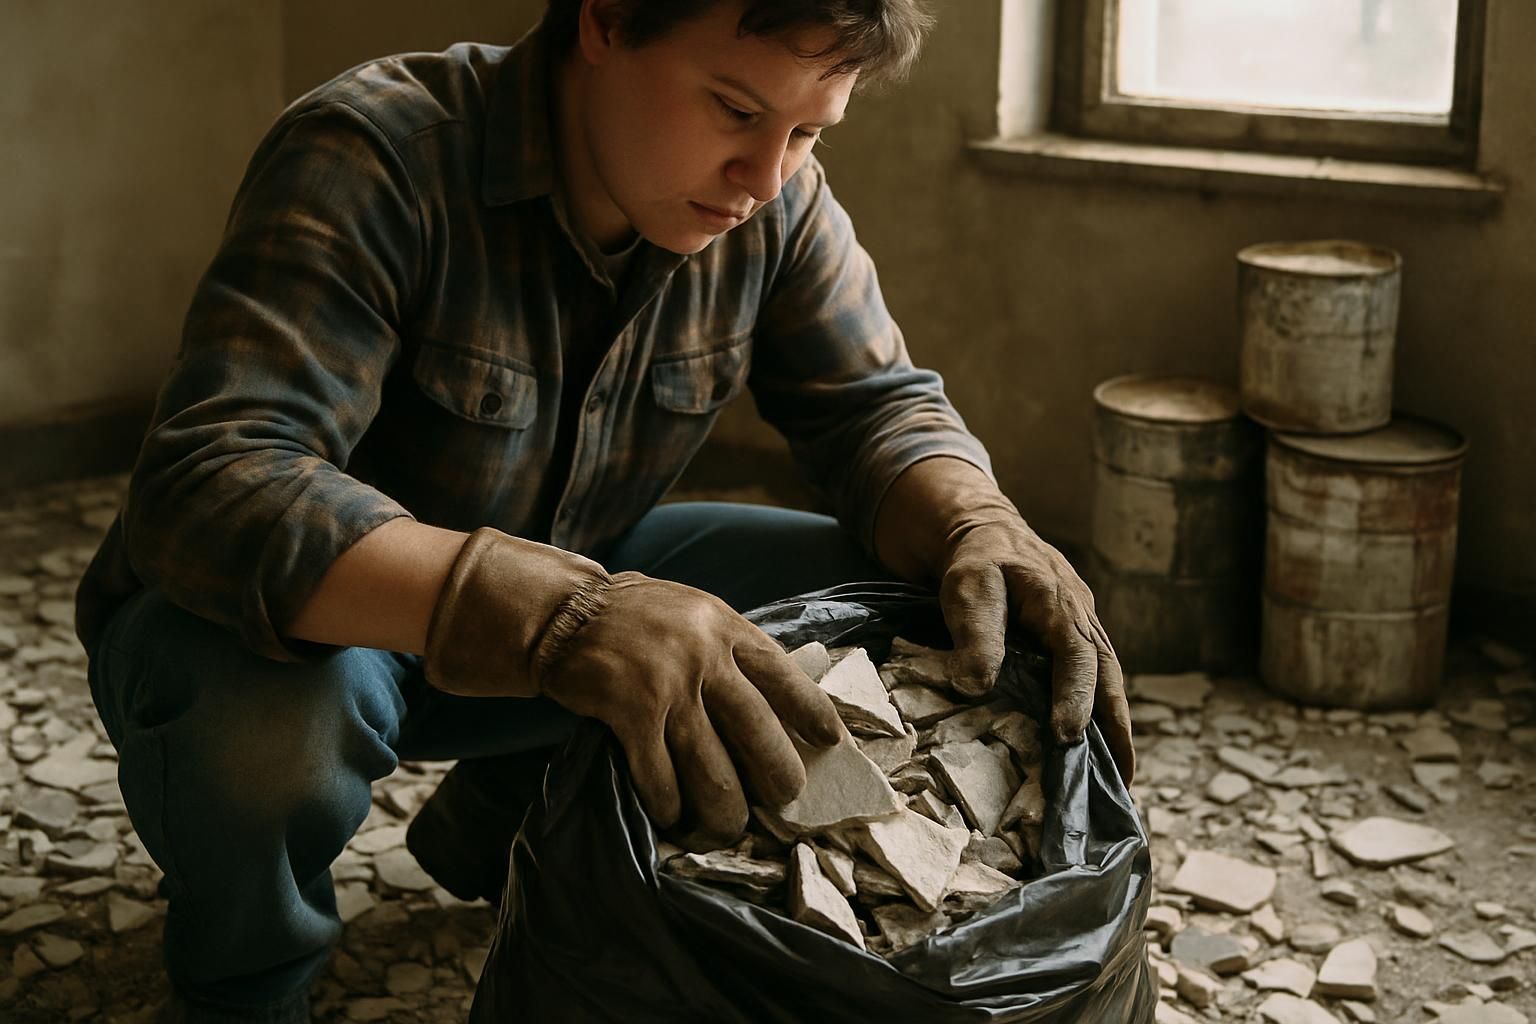
Homeowners often find that contractors haul off the bulk of trash and debris, but a final site inspection is key. Walk through each room and the yard to catch any leftover renovation debris, like scrap wood or drywall bits hiding behind furniture or bushes.
Construction cleanup may include hauling bags of broken tiles out to the driveway or carting paint cans from corners of the basement. Don sturdy gloves and fill up large trash bags for disposal at a local landfill.
Professional cleaning services can save time by including debris removal in their rough cleaning phase. This step also means scrubbing sticky residue from surfaces and peeling old labels off windows.
Sweep driveways and pressure wash walkways outside to remove stray nails or cement chunks before anyone steps on them barefoot. Check flower beds for rogue screws hiding under mulch; fast repairs prevent future landscaping headaches!
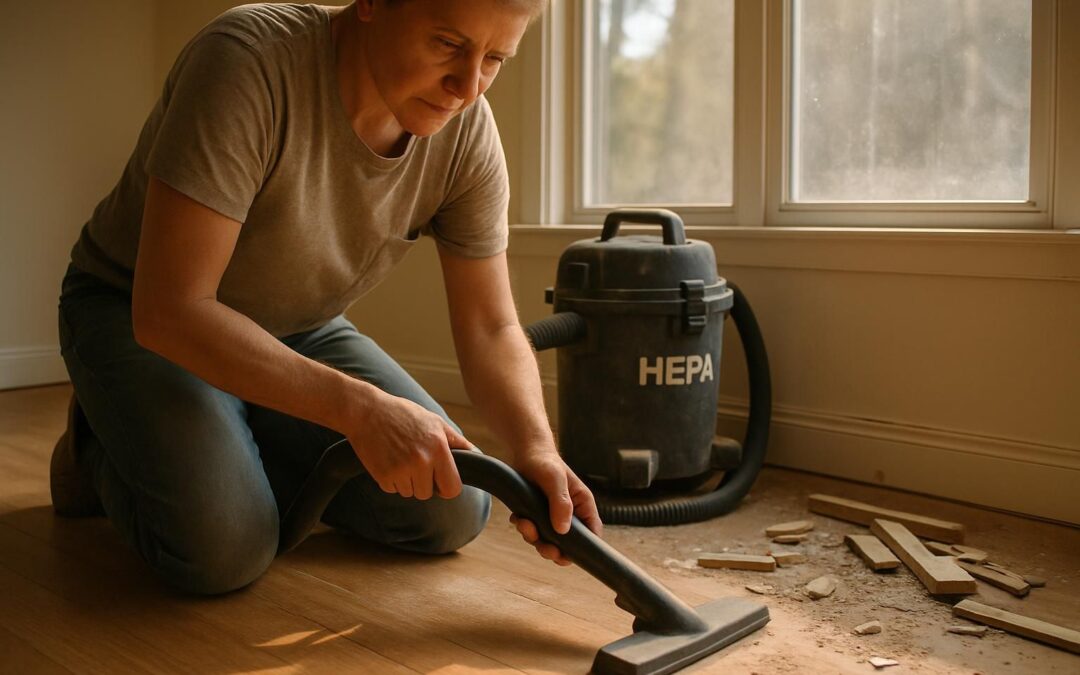
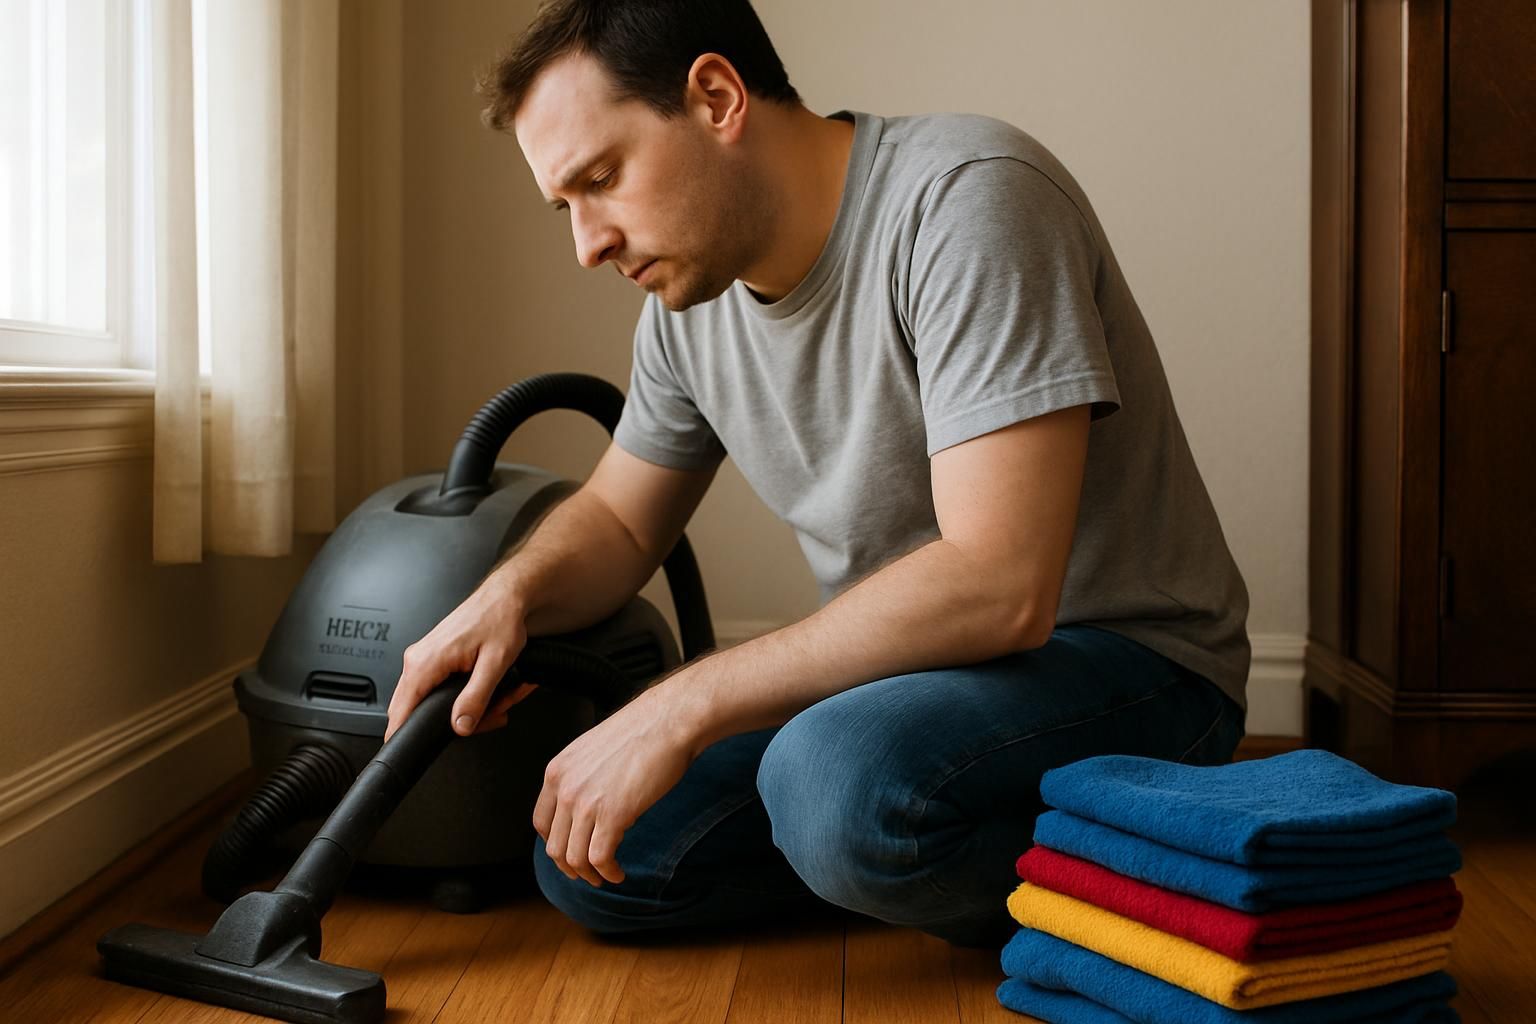
Vacuum carpets, rugs, and upholstery
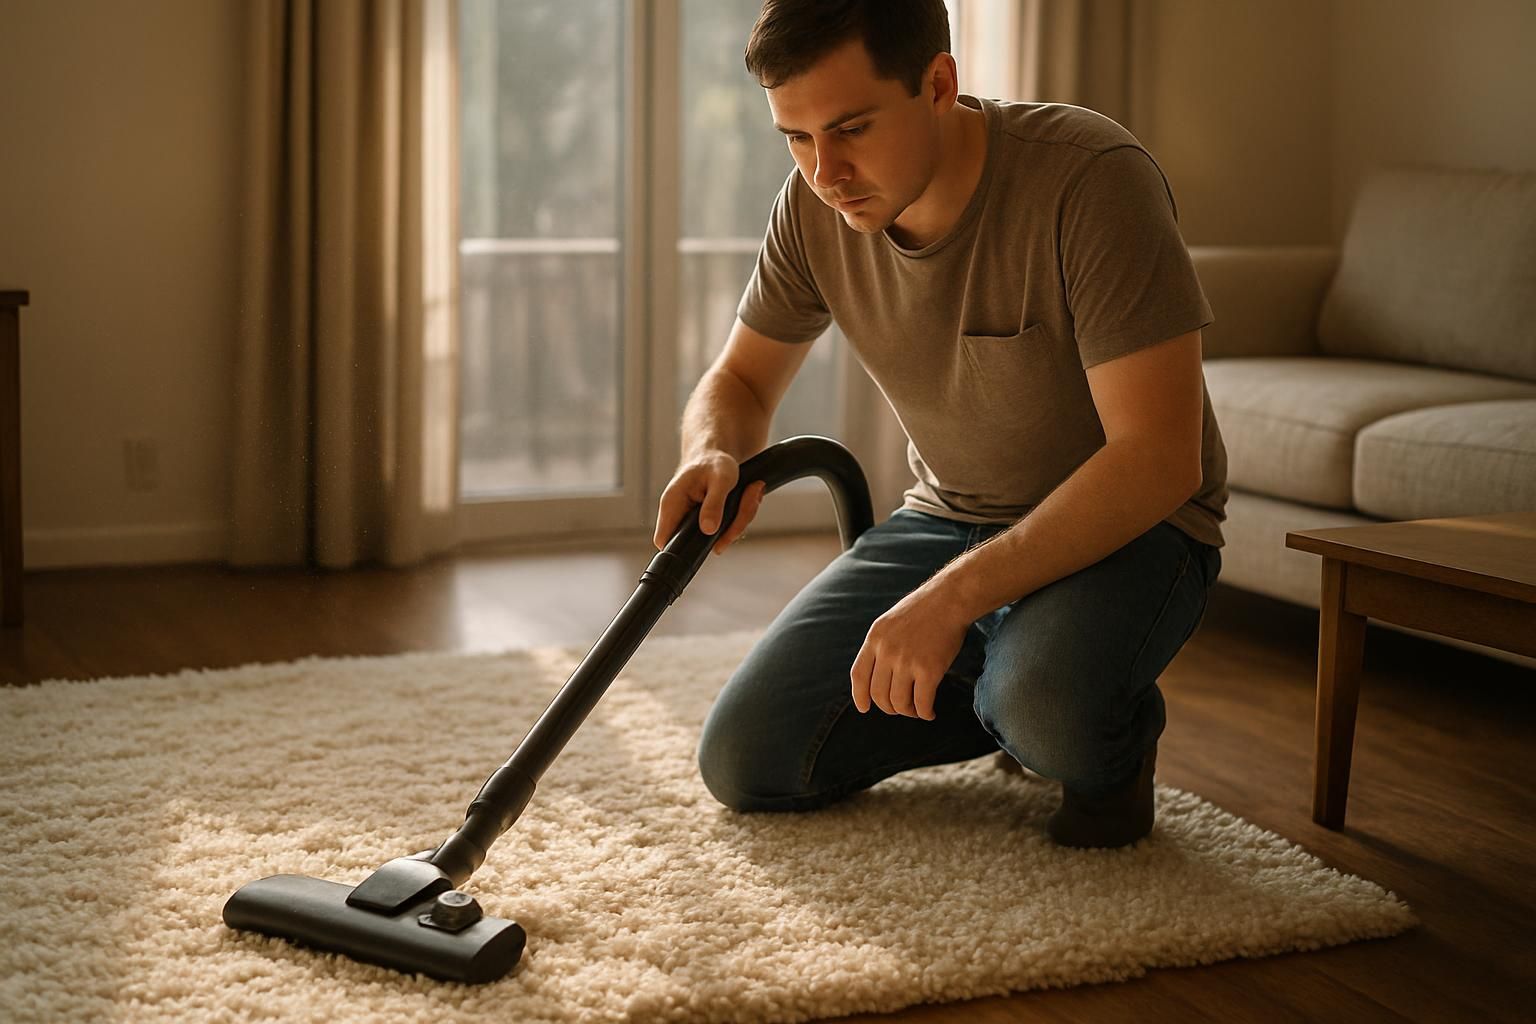
After hauling out big debris and leftover construction junk, focus shifts to vacuuming carpets, rugs, and upholstery for deep cleaning. Fine dust from renovations hides everywhere even in couch cushions and bedroom mattresses.
Skip the standard shop vac here; use a HEPA filter vacuum to catch tiny particles that ordinary filtration misses. Professionals rely on these vacuums for postconstruction cleanup because they guard air quality and support family health.
Mattresses in bedrooms trap stubborn dust just as much as living room sofas or area rugs do. Vacuum every inch, using hose attachments to reach corners and pet beds too.
Even after post-renovation cleanup wraps up, regular carpet maintenance keeps allergens at bay think weekly passes instead of waiting until piles return underfoot. This method supports upholstery maintenance and effective HEPA vacuuming for deep cleaning.
Wipe down walls, ceilings, and hard surfaces
Fine dust and residue stick to walls, ceilings, and every hard surface after a renovation. Use damp microfiber towels or cloths to trap dust instead of spreading it into the air. Start at the topâceilings first, then work down each wall to baseboards and moldings.
Wipe doors, hardware, window frames, shelves, cabinets, wood fixtures, even light switches and knobs.
In kitchens and bathrooms, clean countertops and backsplash surfaces with mild soap or sanitizer for safe housekeeping. Professional services in 2024 now focus their âlight cleanâ on cabinets and installations before final disinfection of floors by sweeping, mopping, then polishing as needed.
Attack one room at a time; fine particles lurk everywhere! Even kids’ rooms need attention to keep surfaces safe for little hands crawling around.
Clean windows, mirrors, and glass surfaces
Once the walls and ceilings look spotless, it is time to tackle windows, mirrors, and glass. Leftover dust clings to glass like a stubborn child. House owners should open every window wide for better light as they work.
Remove all installation stickers or labels during this phase; they love to linger after renovation crews leave.
Start with dusting window sills, frames, and moldings using microfiber cloths. Spray a streak free solution on both sides of each pane for that flawless shine everyone appreciates.
Pay extra attention to bathroom mirrors and sliding glass doors in bedrooms or living rooms fingerprints multiply overnight!
Parents will thank themselves later when sunlight streams through clean panes instead of dusty haze from weeks-old construction debris.
Dust and sanitize light fixtures and ceiling fans
After leaving mirrors and glass sparkling, eyes often land on the next source of stubborn dust light fixtures and ceiling fans. Layers of construction dust love to hide up high. Homeowners should grab a step stool before tackling these grime magnets.
Feather dusters or microfiber towels work wonders for removing loose dirt from every bulb, blade, or vent cover.
Sanitizing comes next. Use gentle cleaning sprays safe for hardware and glass parts; avoid soaking wires or sockets. Don’t overlook vents and exhaust fans in living rooms or bathrooms where fine particles settle fastest during renovation cleanup.
Cleaning crews report finding piles of debris sitting atop woodwork, fan housings, hinges, handles even shelves near lighting fixtures collect clumps of residue if skipped over too long.
This detailed approach helps maintain surface sanitization and improves air quality maintenance while reducing allergens floating around your home after cleaning.
Mop and polish floors
Dust and dirt from renovations love to cling to floors. Homeowners should sweep every room first, clearing away debris tracked in by workers or tools. Mops work best on hard surfaces after dusting, so nothing sticks back onto fresh flooring.
Sanitize each floor using an approved disinfectant for safety, especially if kids play on them.
Some floors need special care after a renovation storm rolls through. Hardwood might want a gentle cleaner and then some polish for that lost shine. Stone needs pH-neutral soap and microfiber mop heads; tile calls for deep scrubbing of grout lines to undo any paint splatter or residue left behind.
If there’s wax buildup or scuff marks, use the right buffer or polisher per manufacturer directions sometimes elbow grease rivals fancy machines! Decks and patios deserve a good wash too, while driveways respond well to pressure washing blasts of water.
Professional cleaners can help conquer large jobs with proper gear when time is short or dust feels endless. These floor cleaning procedures help restore a sparkling finish and support overall home cleaning.
Cleaning Hidden and Overlooked Areas

Even the cleanest homes hide dust in vents, around radiators, and behind handles think your place is spotless? Take a closer look; you might be surprised at what’s lurking.
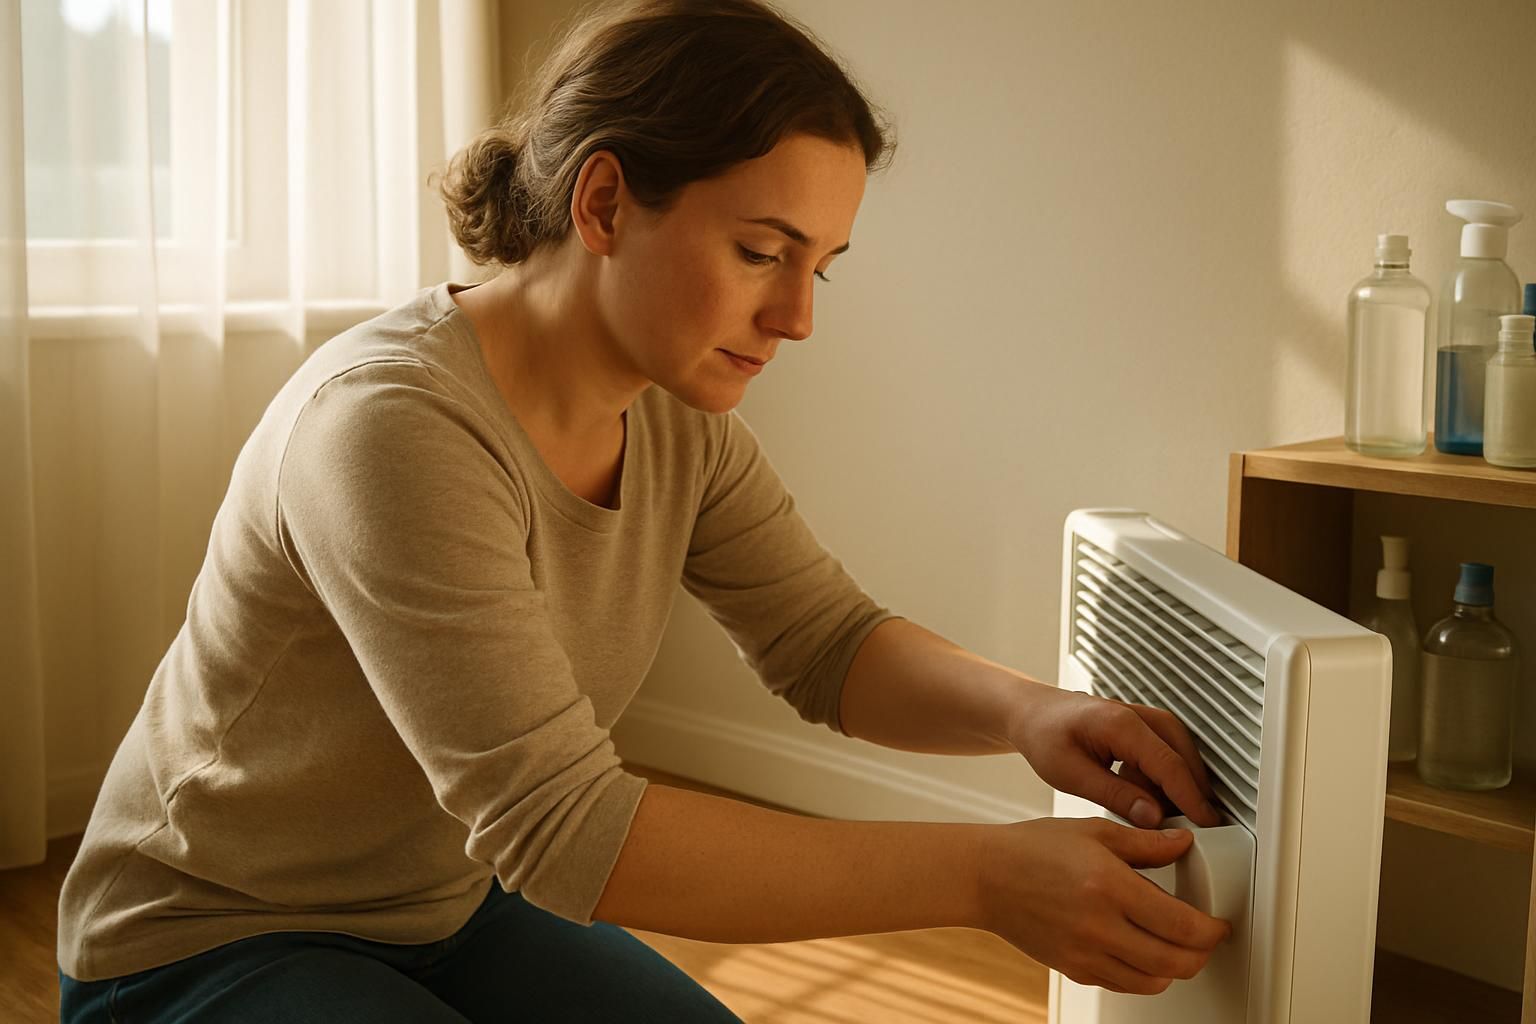
Clear air vents and replace filters
Construction dust loves to settle in air ducts, HVAC vents, and exhaust fans. Take off vent covers and wash them with soap and water. Slide a vacuum hose into the air ducts to grab loose debris hiding inside.
For deep cleaning or if clouds of dust billow out, call an HVAC technician for professional duct service. Most experts say new filters are a must after any big renovation job.
Parents want clean indoor air for their kids; allergy triggers lurk in dirty filters or clogged returns. Replace all HVAC filters at least once after the work is done.
Save receipts from filter buys as some homeowners get insurance reimbursement for post-renovation cleanup costs! Filters protect your family while you finish that dream remodel.
Sanitize door handles, switches, and knobs
With air vents clear and new filters in place, attention shifts to the house’s most-touched surfaces. Door handles, light switches, and cabinet knobs collect more germs than a playground at recess.
Each hand print left by workers carries dust and bacteria. Parents know kids love to grab every knob within reach; that’s why regular disinfection matters.
Grab disinfectant wipes or a surface treatment spray with proven germ-fighting power. Wipe down doors, hardware, hinges, and even closet pulls throughout the house. Focus on high-touch spots in kitchens and bathrooms first these areas see heavy traffic after any renovation project.
Fingerprints and sticky residue disappear fast with proper cleaning techniques recommended by professional services like Merry Maids or The Maids. This step helps maintain surface sanitization and reduce the spread of germs.
Clean inside cabinets, drawers, and closets
Parents know how fast dust gathers after renovations. Grab soapy water and scrub the inside of kitchen, bathroom, and bedroom cabinets until they shine. Construction crews often forget storage spaces like closets, drawers, and shelves.
Take out leftover screws or debris from every shelf before you start cleaning.
Dust surfaces first with a microfiber towel to grab fine particles. Wipe down all wood panels for a fresher look. Sanitize handles and knobs since children’s hands end up everywhere.
Use baskets or bins as storage solutions to boost tidiness and organization in these spaces once everything dries. A little elbow grease now means less clutter and more hygiene laterâno fairy godmother required!
Inspect and clean baseboards and moldings
Baseboards and moldings love to catch dust after renovations, especially where walls meet floors. Wipe down every inch with a damp microfiber towel to banish construction grit.
Check corners and trim for hidden build up these tiny details keep dirt from bouncing back onto clean floors.
Professional crews include trim, baseboards, and door jambs as part of a deep clean because dust likes to hide in the grooves. Some older houses have hand-carved details that need gentle cleaning by hand instead of a vacuum brush or stiff rag.
Give extra care if you see ornate moldings near stairs, window frames, or under radiators. Finish off with touch-ups using matching paint if you find chips or scratches during inspection; it freshens up the space like new socks on laundry day!
Tips for Handling Construction Dust
Fine dust left from renovations loves to hide in every corner. Smart use of a HEPA vacuum and microfiber towel can help keep your air fresh and surfaces clean for kids and pets.
Use a HEPA filter vacuum for fine dust
HEPA filter vacuums tackle fine construction dust far better than regular machines. They use advanced filtration to trap ultrafine particles, allergens, and even harmful bits from renovation debris.
Standard vacuums often send these tiny irritants back into the air; a HEPA vacuum catches them before they can affect your home’s air quality or put kids’ lungs at risk. This method supports industrial vacuuming techniques and effective deep cleaning.
Houseowners should rent a HEPA vacuum during and after messy projects for best dust removal. Always pair it with a HEPA air purifier if possible for cleaner breathing space. Change or wash the filters regularly, especially in heavy-use areas like living rooms and bedrooms.
This approach helps protect families from sneaky respiratory hazards that linger after renovations end.
Avoid vigorous sweeping to reduce airborne particles
Vigorous sweeping in a post-renovation house stirs up more than just dust bunnies. It spreads fine construction particles, allergens, and even toxins into the air where kids or pets can breathe them in.
Studies from health agencies show that airborne dust after renovation can linger for days, raising risks of coughing, allergies, or worse issues for sensitive people.
Instead of stirring things up with a broom, parents should grab a vacuum fitted with a HEPA filter to trap those nasty particles right at their source.
Professional cleaners skip the aggressive sweeping knowing it causes greater contamination. For high-traffic zones, laying down continuous tarps or protective paper helps keep stray particles from drifting into other spacesâlike putting boots on before stomping through mud.
Choosing smart cleaning methods tackles dirt and keeps the home’s air quality as fresh as possible after any renovation project.
Use damp cloths or microfiber towels for dust removal
Sweeping less keeps dust from flying, but wiping with damp cloths or microfiber towels makes a bigger impact. These tools capture fine particles and trap them, not just push them around.
Slide a slightly wet towel over shelves, picture frames, and light fixtures to catch stubborn residue left behind by renovation work. Use soft microfiber for the same job; it grabs even tiny specks most paper towels miss.
Damp methods beat dry dusting on wood surfaces, ceilings, cabinets, or vents by locking in particles before they float away again. Microfiber shines at cleaning because its fibers hold onto dirt instead of letting it escape into the air.
Parents can breathe easier knowing this method leaves fewer loose particles for little noses to pick up later. This technique aids in surface sanitization and supports dust removal procedures.
When to Consider Professional Cleaning Services

If you walk into clouds of fine dust or find sticky paint splatters everywhere, it might be time to call in a pro cleaning crew catch more tips on what they can handle next!
Large-scale renovations or extensive dust
Heavy-duty renovations or thick layers of construction dust call for a pro. A professional cleaning service handles post construction cleanup with the right gear, like HEPA filter vacuums and deep-cleaning tools.
Homeowners in states such as New York, Florida, Texas, or Illinois spend around $475 for regular debris cleanup after remodeling. For larger homes measuring 2,000 square feet or more, deep cleaning often starts at $500.
Companies like The Cleaning Authority use a multi-phase method to chase out every speck of dust and scuff mark left behind. Junk removal services haul away bulky debris fast. Hiring experts saves time and tackles stubborn dirt that basic mopping cannot touch.
Large-scale jobs bring hidden hazards too; fine dust settles inside air vents or coats delicate surfaces where kids play. Parents gain peace of mind knowing professionals can handle these tough spots while reducing health risks from lingering particles in the house.
Specialized cleaning for delicate surfaces
Some surfaces need extra care. Marble floors, glass cabinets, or delicate hardware can get scratched by the wrong cleaner or tool. Professional services bring the right products and know-how for these jobs.
The Cleaning Authority often tackles tough stains while protecting finishes. Experts use special waxing and buffing equipment for wood and stone surfaces so nothing gets ruined in the process.
Labels stuck on new countertops? Professionals remove installation stickers without scraping up your shiny surfaces. A certified HVAC technician will clean ducts after a renovation to keep dust out of your air while avoiding any expensive damage to the system itself.
These cleaning teams work with care around tricky hardware, hinges, and moldings to prevent chips or cracks that might spoil months of remodeling effort. For fragile areas, sometimes it just makes sense to let someone experienced handle it all instead of risking mishaps yourself.
Post-Cleaning Maintenance Tips
Keep extra dust under control by swapping out your heater filter, airing out rooms, and planning a deep scrub every few months want more housecleaning tips? Check out the next post.
Schedule regular deep cleaning
Dust and debris love to hide in corners long after the renovation crew leaves. Parents and homeowners can conquer this by penciling in deep cleaning on their calendars every few months.
Sticking to a regular schedule stops grime before it takes over, keeps allergens low, and helps air quality stay fresh.
A clean house feels like a fresh start every time. Break out reliable cleaning supplies like HEPA vacuums, microfiber towels, safe disinfectants, and rubber gloves for these sessions.
Professional cleaning services offer periodic move-in or disinfection packages if things get overwhelming or as an occasional treat.
Replace HVAC filters periodically
Changing HVAC filters every two to three months helps keep indoor air clean, especially after renovation. Fresh filters trap fine construction dust and cut down on indoor air pollution.
A clogged filter forces the unit to work harder, raising energy bills and sending particles back into the house. Families with kids or pets should use high-quality pleated filters for better filtration.
Some experts suggest checking filters monthly during the first four months after a remodel, as extra debris can build up fast in ducts. Scheduling duct cleaning may also help remove leftover dust deep inside vents for optimal ventilation and efficiency.
Saving receipts for filter purchases or professional duct cleaning might even help with insurance claims if problems pop up later on. Swapping out old filters makes breathing easier at home plus it keeps heating and cooling systems running smoother year-round.
Ensure proper air circulation to reduce dust buildup
Open windows and doors throughout the house to boost airflow. This simple move can cut down on lingering dust after a renovation. Let ceiling fans spin or set portable fans near entryways to push dust outside, not just into another room.
Air purifiers work wonders for keeping indoor air quality high once the big cleanup is done; place one in the main living area or kids’ rooms.
Kids and pets notice that odd paint smell after workers pack up their drills. Good circulation clears away those leftover fumes from primer and paint, making it safer for everyone inside.
Try ventilating rooms daily, even during cooler months when possible. Swap out HVAC filters every month for at least three months post-renovation fresh filters trap more hidden dust floating through vents.
Busy families can keep surfaces cleaner by using quick bursts of fresh air each day instead of letting things settle back in quietly over time.
Conclusion
Post-renovation cleaning is no walk in the park, but it brings your house back to life. A proper checklist keeps you on track. From dust removal with HEPA vacuums to surface sanitization and air vent cleaning, every step matters.
Hard work now means fewer headaches later and a home that truly shines. Grab those gloves; that sparkling finish is within reach!
FAQs
1. What’s the first step to clean my house after a renovation?
Start by dusting off surfaces and fixtures, then sweep up any visible debris. It’s like shaking out a dusty rug, you want to get rid of the big stuff first!
2. How can I deal with stubborn stains or marks left from the renovation?
For those pesky stains that just won’t budge, try using a mild detergent mixed with warm water. If it’s as stubborn as a mule, consider hiring professional cleaners who have special tools for such tough jobs.
3. My furniture is covered in dust after renovations; how do I clean it without damaging it?
Use soft microfiber cloths to gently wipe down your furniture. For upholstery, vacuuming should do the trick! Remember, treat your furniture like an old friend – gentle and caring.
4. Are there any precautions I need to take while cleaning post-renovation?
Absolutely! Safety comes first – always wear protective gear like gloves and masks when cleaning because construction dust can be harmful if inhaled or touched directly.